These easy Sheet Pan Chicken Fajitas are a no-fuss, one-pan dinner that’s big on Tex-Mex flavor. You’ll love how easy they are to make and they’ll love how delicious they taste!
One Pan, One Happy Family
There are times that call for elaborate family dinners. And then there are Wednesday nights. Or summer nights. Nights when all four kids have somewhere different to go. And those are sheet pan dinner nights. One pan, easy ingredients, pop it in the oven and tell everyone to wash up. These Sheet Pan Chicken Fajitas are not only so delicious, they make quick work of a healthy, flavorful dinner the whole family can get behind. They’re especially nice in the middle of a heatwave (whew, y’all, it’s hot here) when grilling is just too sweaty of an affair.
Fajitas are flexible by nature. Choose your favorite peppers (we like a rainbow!), slice up a big onion, and prep some chicken breast. Season and bake it all together. Then just let everyone pick their favorites to fill a warm tortilla. It’s impossible to go wrong! Especially with some fresh guacamole and easy homemade salsa. Yum!
What is a Sheet Pan Dinner?
A sheet pan meal, or a sheet pan dinner, is an easy, one-pan dinner you make on a sheet pan! It’s one of my favorite ways to prepare dinner for my family without a ton of fuss. My favorite sheet pan meals are:
What’s a sheet pan? Great question. A sheet pan (you’ll also hear it called a baking pan, baking sheet or sometimes a rimmed cookie sheet, which is why it can be confusing), is usually a rectangular, flat aluminum pan with a rim around it. A full sheet pan (that’s what I use) measures about 17×12. They’re super versatile and no kitchen is complete without one! Note: a cookie sheet can be another pan entirely, because some, unlike a baking sheet, do not have a raised rim.
Can I use parchment on my sheet pan dinner? Short answer: usually. Parchment or aluminum foil are great for making clean-up quick! You can use parchment to line your sheet pan unless you’re going to use the broiler. Parchment will catch fire under a broiler, so opt for foil in that case.
How to Make Sheet Pan Chicken Fajitas
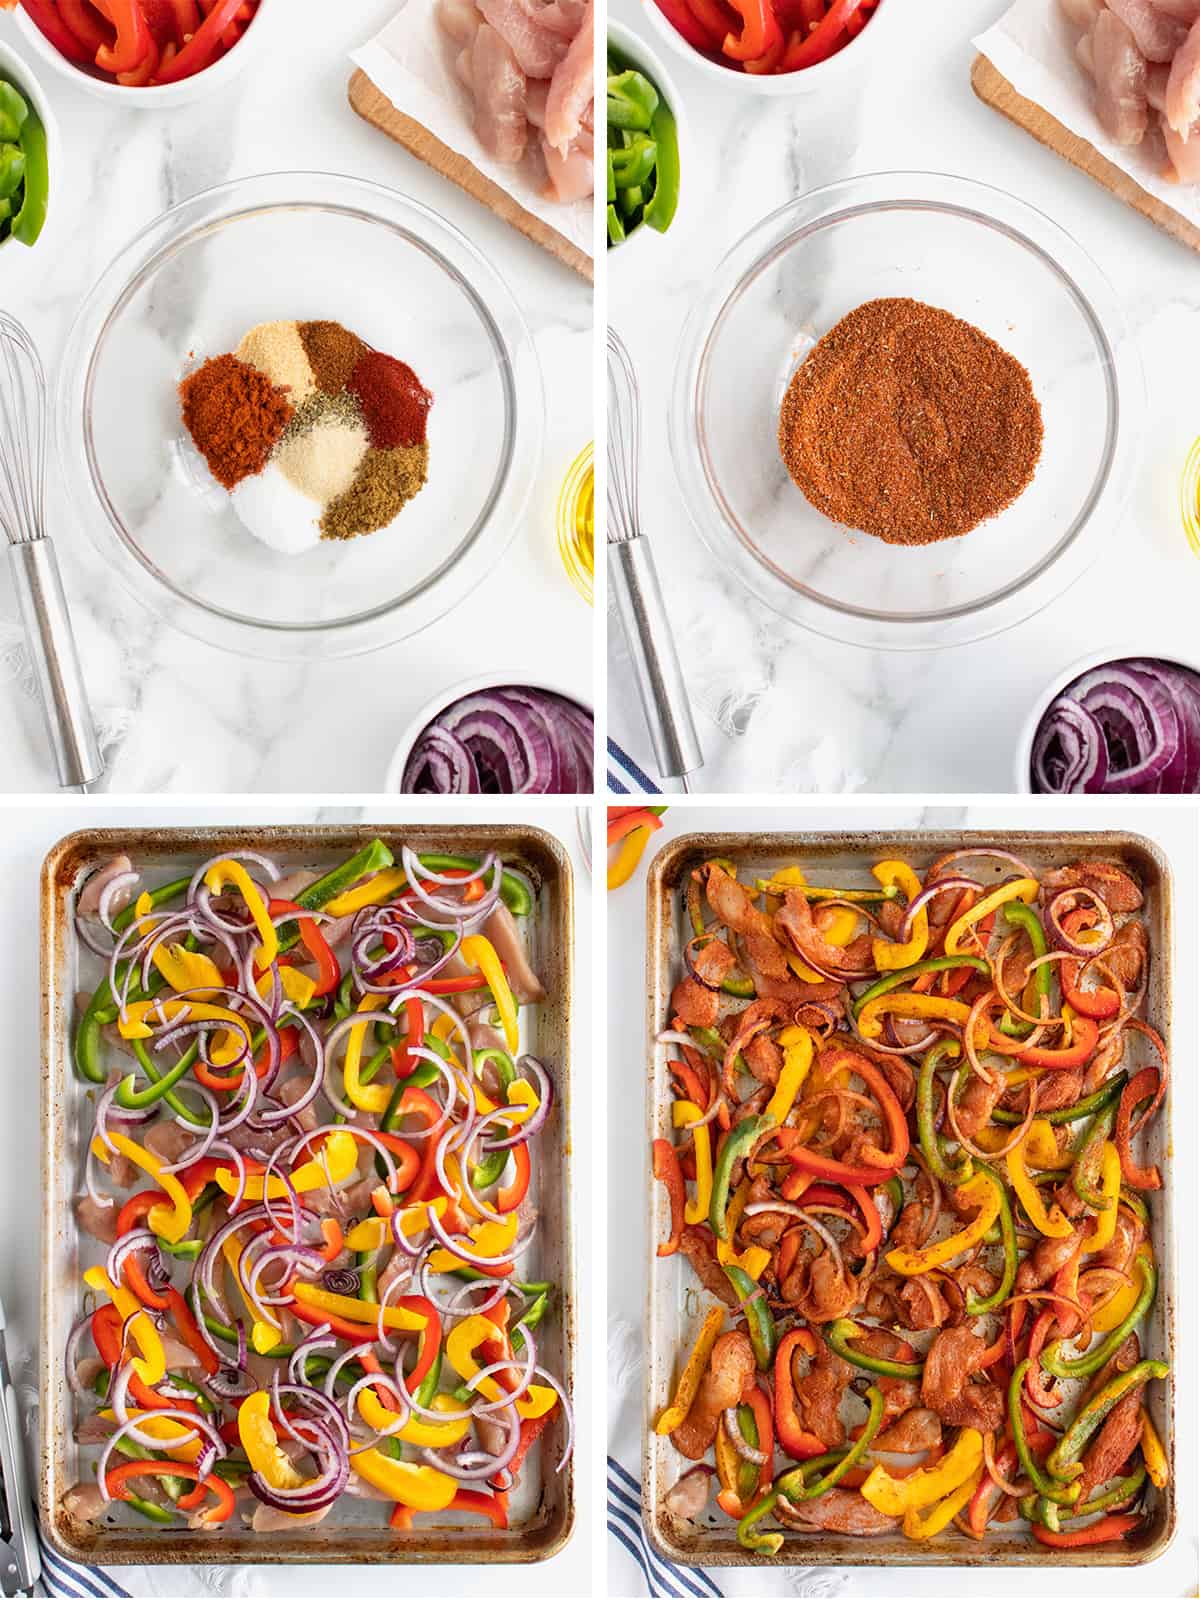
First, preheat the oven to 400°F. Then pray a large rimmed sheet pan with non-stick cooking spray (or line with foil and spray for easier clean up). Next, in a small mixing bowl, whisk together the fajita seasoning ingredients. Add the chicken, bell peppers and onion slices to the prepared sheet pan. Drizzle with olive oil and toss to coat evenly.
Sprinkle the fajita seasoning over the chicken and veggies and toss to coat again. Arrange in an even layer on the pan, making sure the chicken slices are not overlapping.
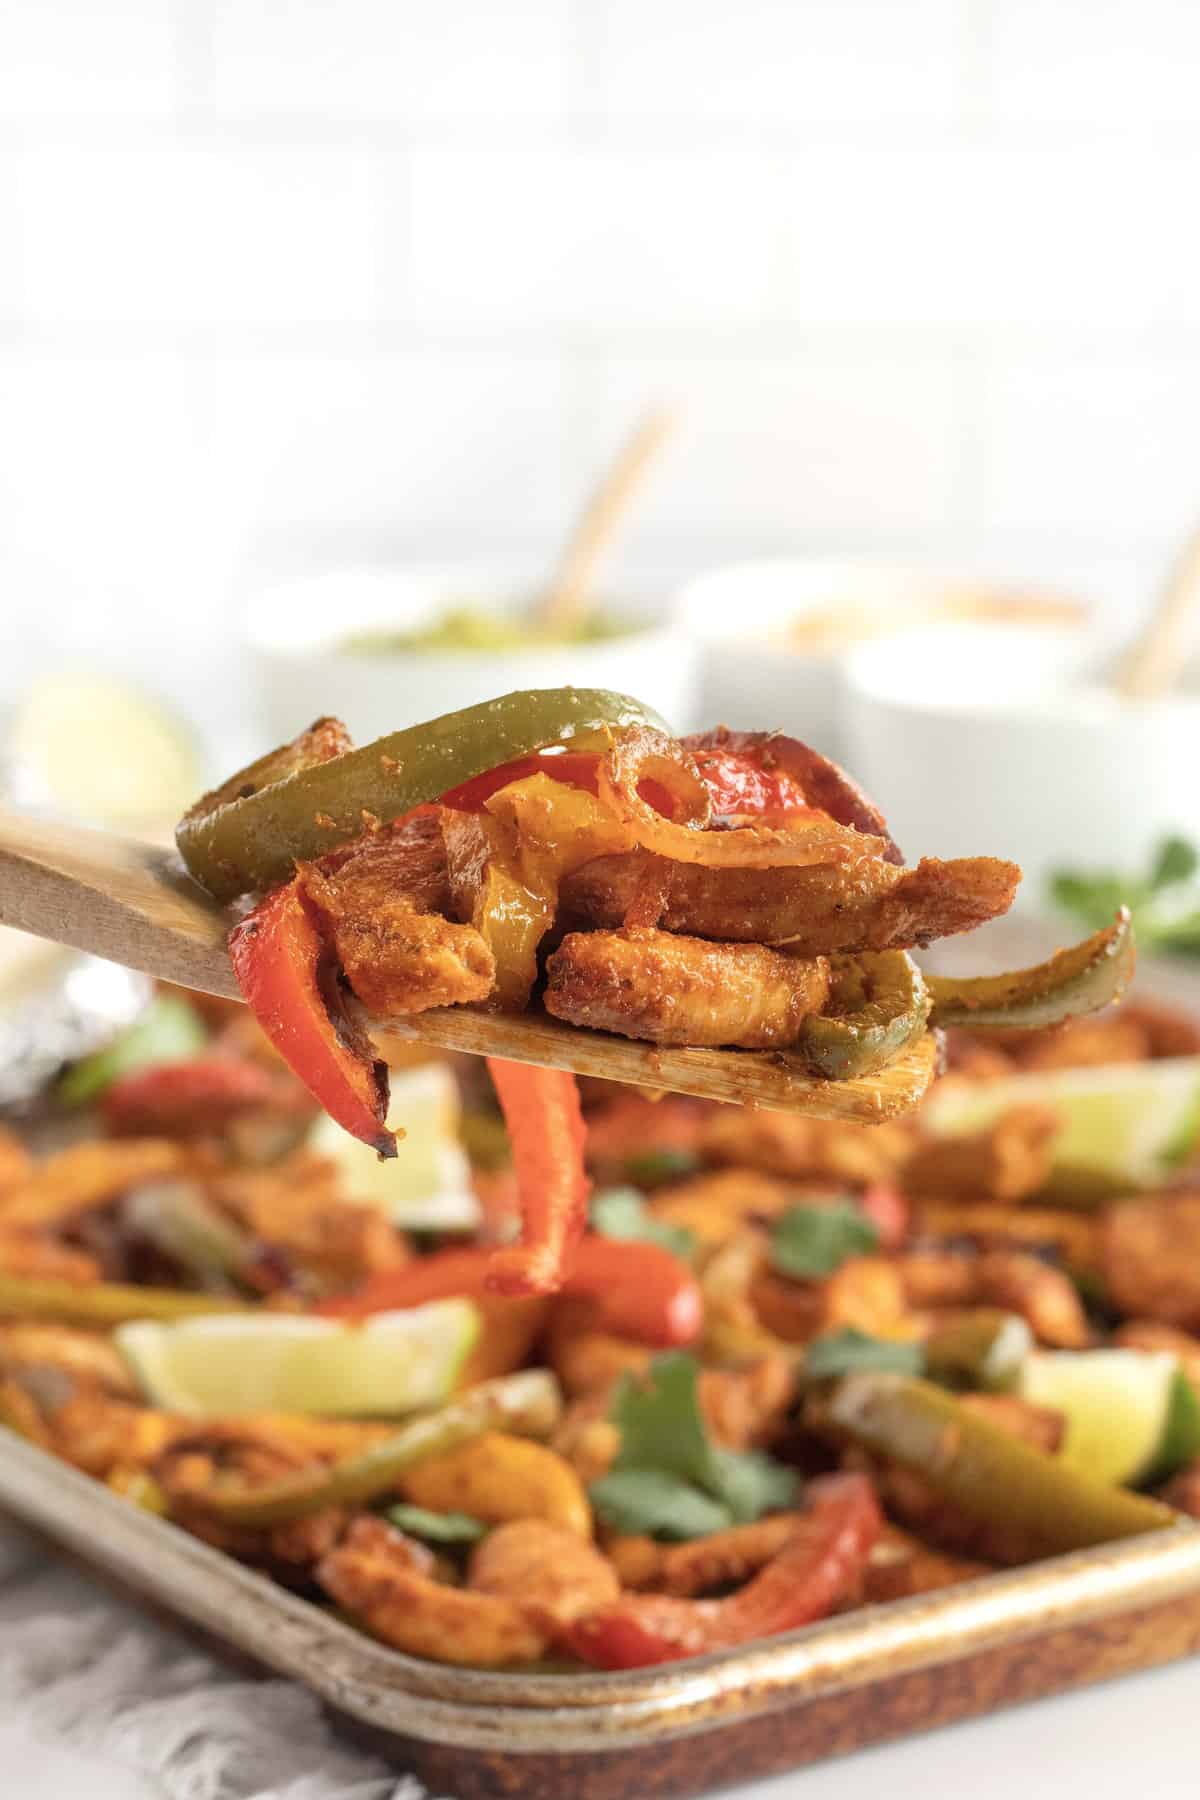
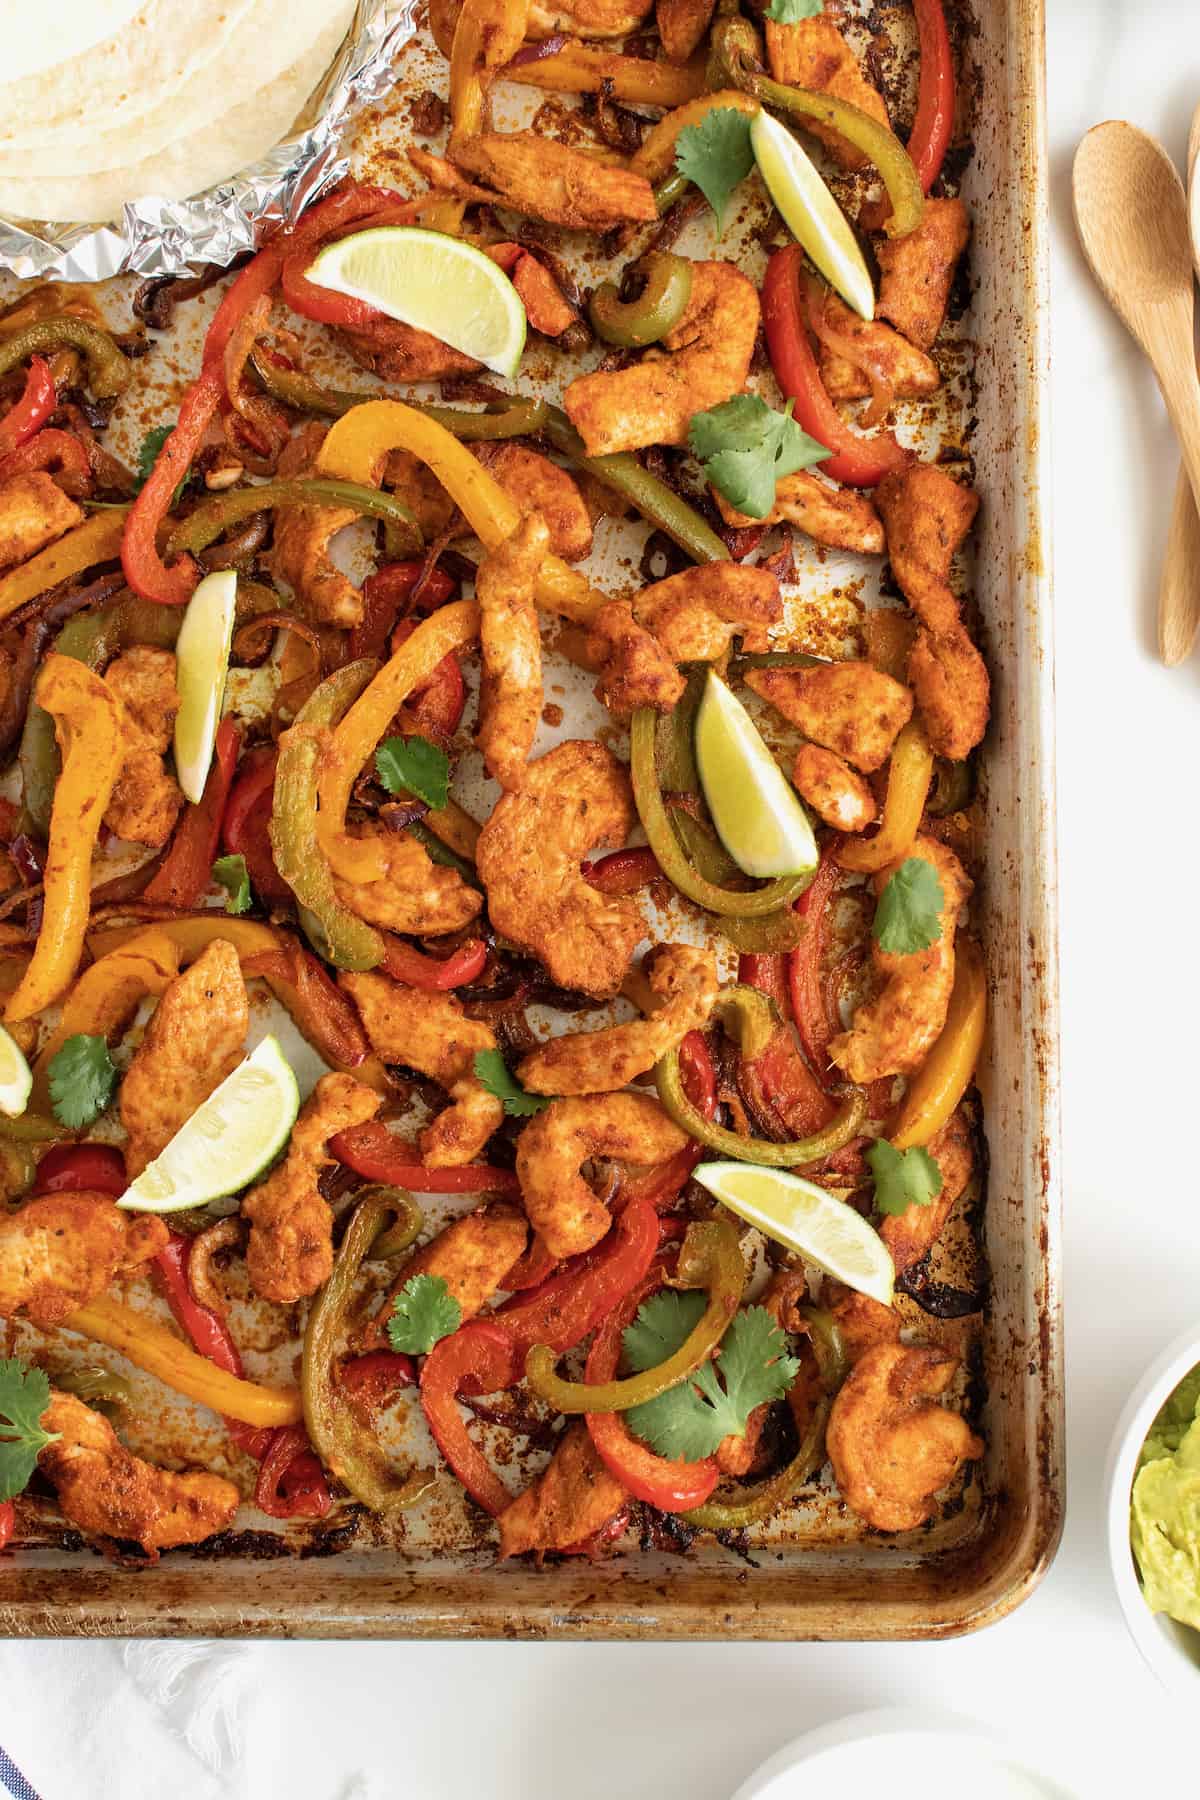
Roast in the oven, tossing halfway through the roasting time, until bell peppers are tender and chicken is cooked through, about 25-30 minutes.
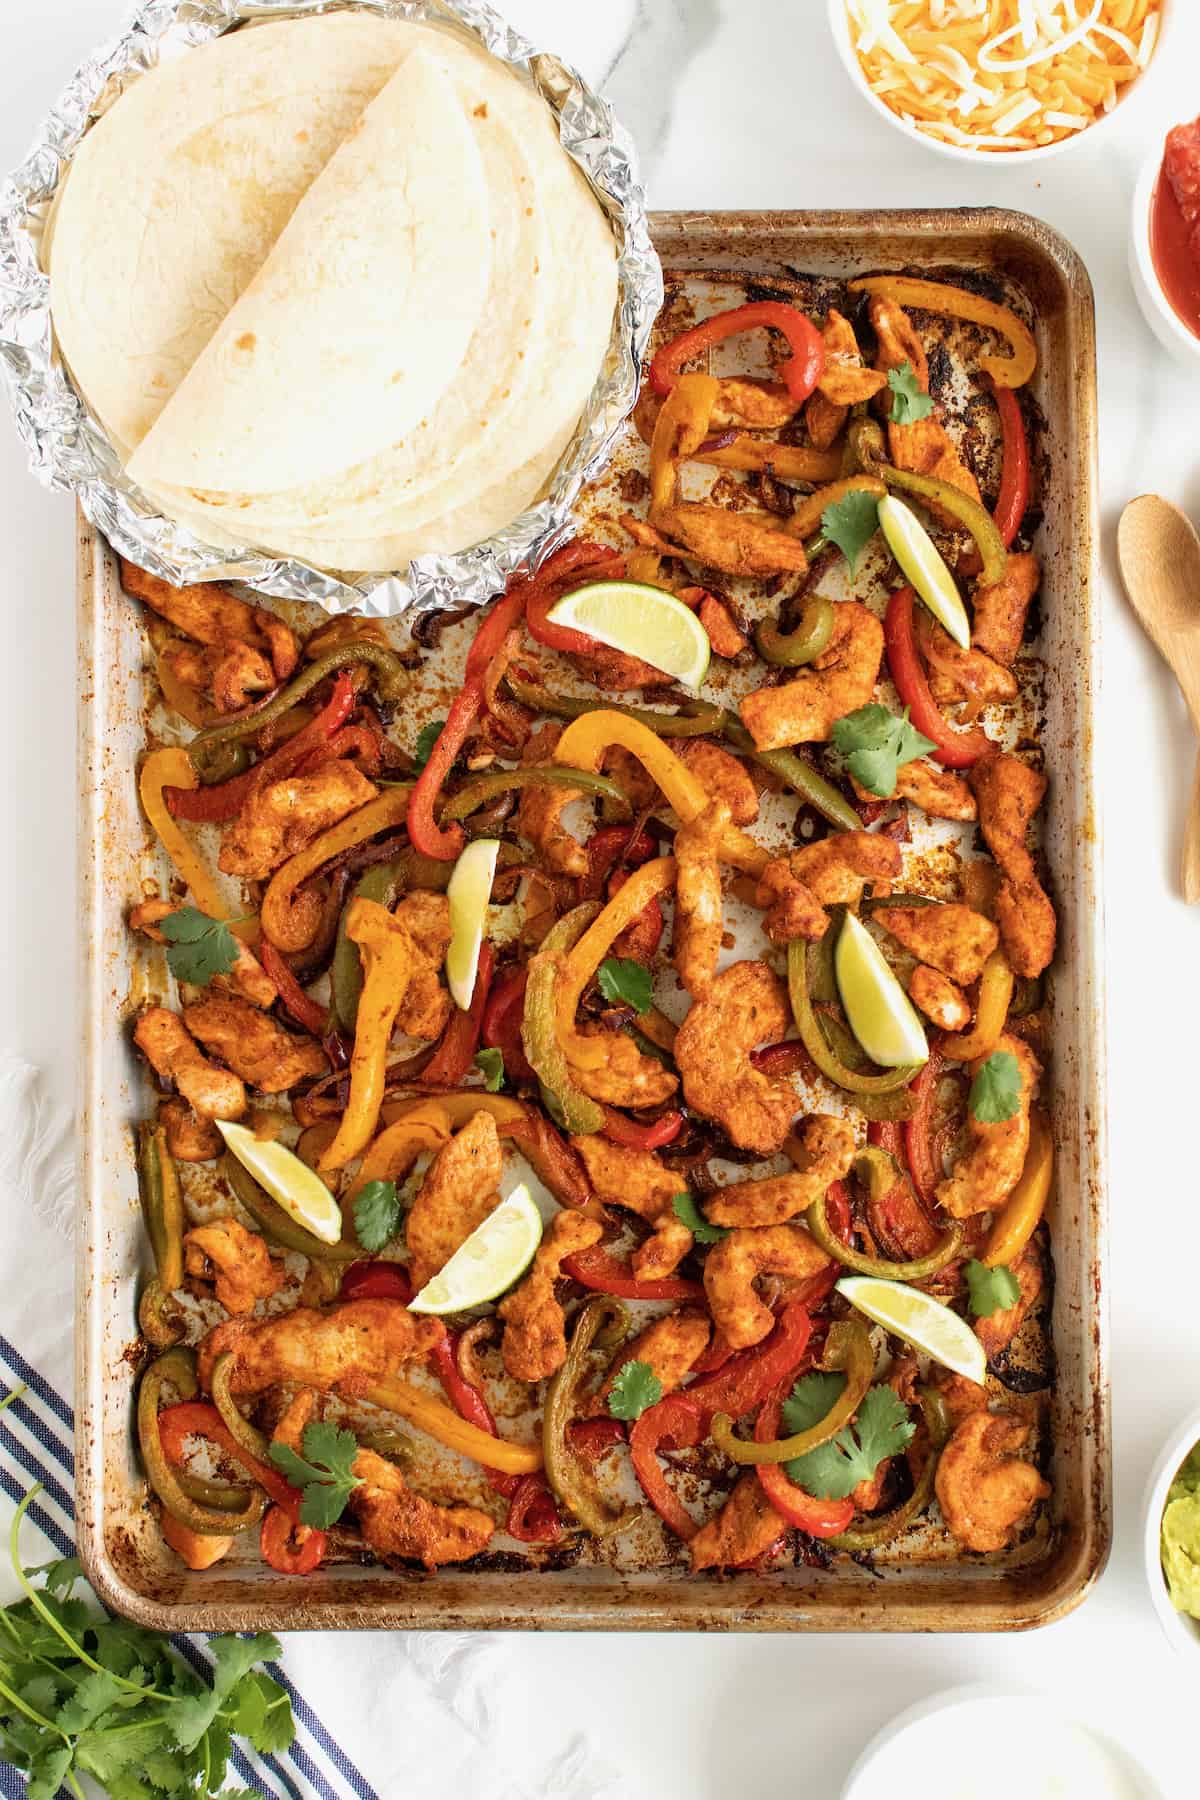
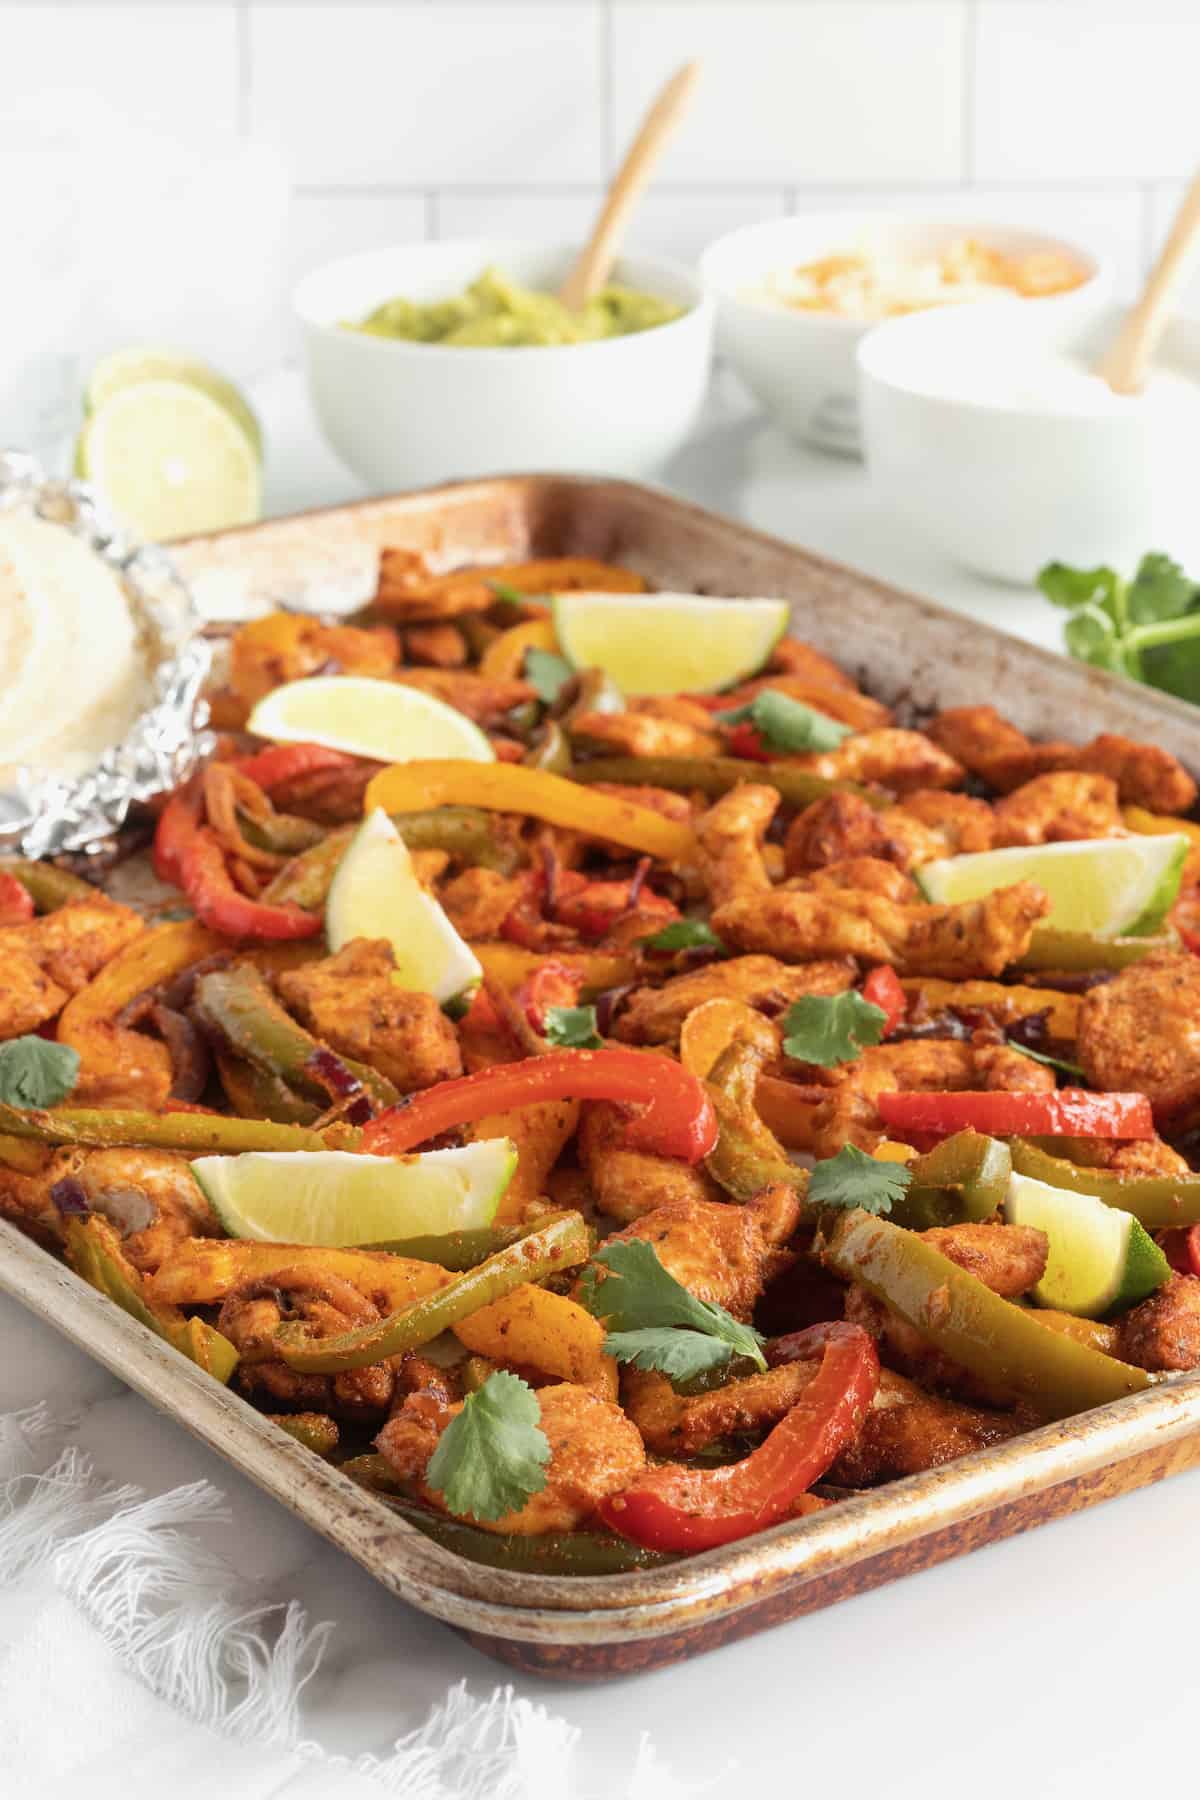
How to Serve and Store Sheet Pan Fajitas
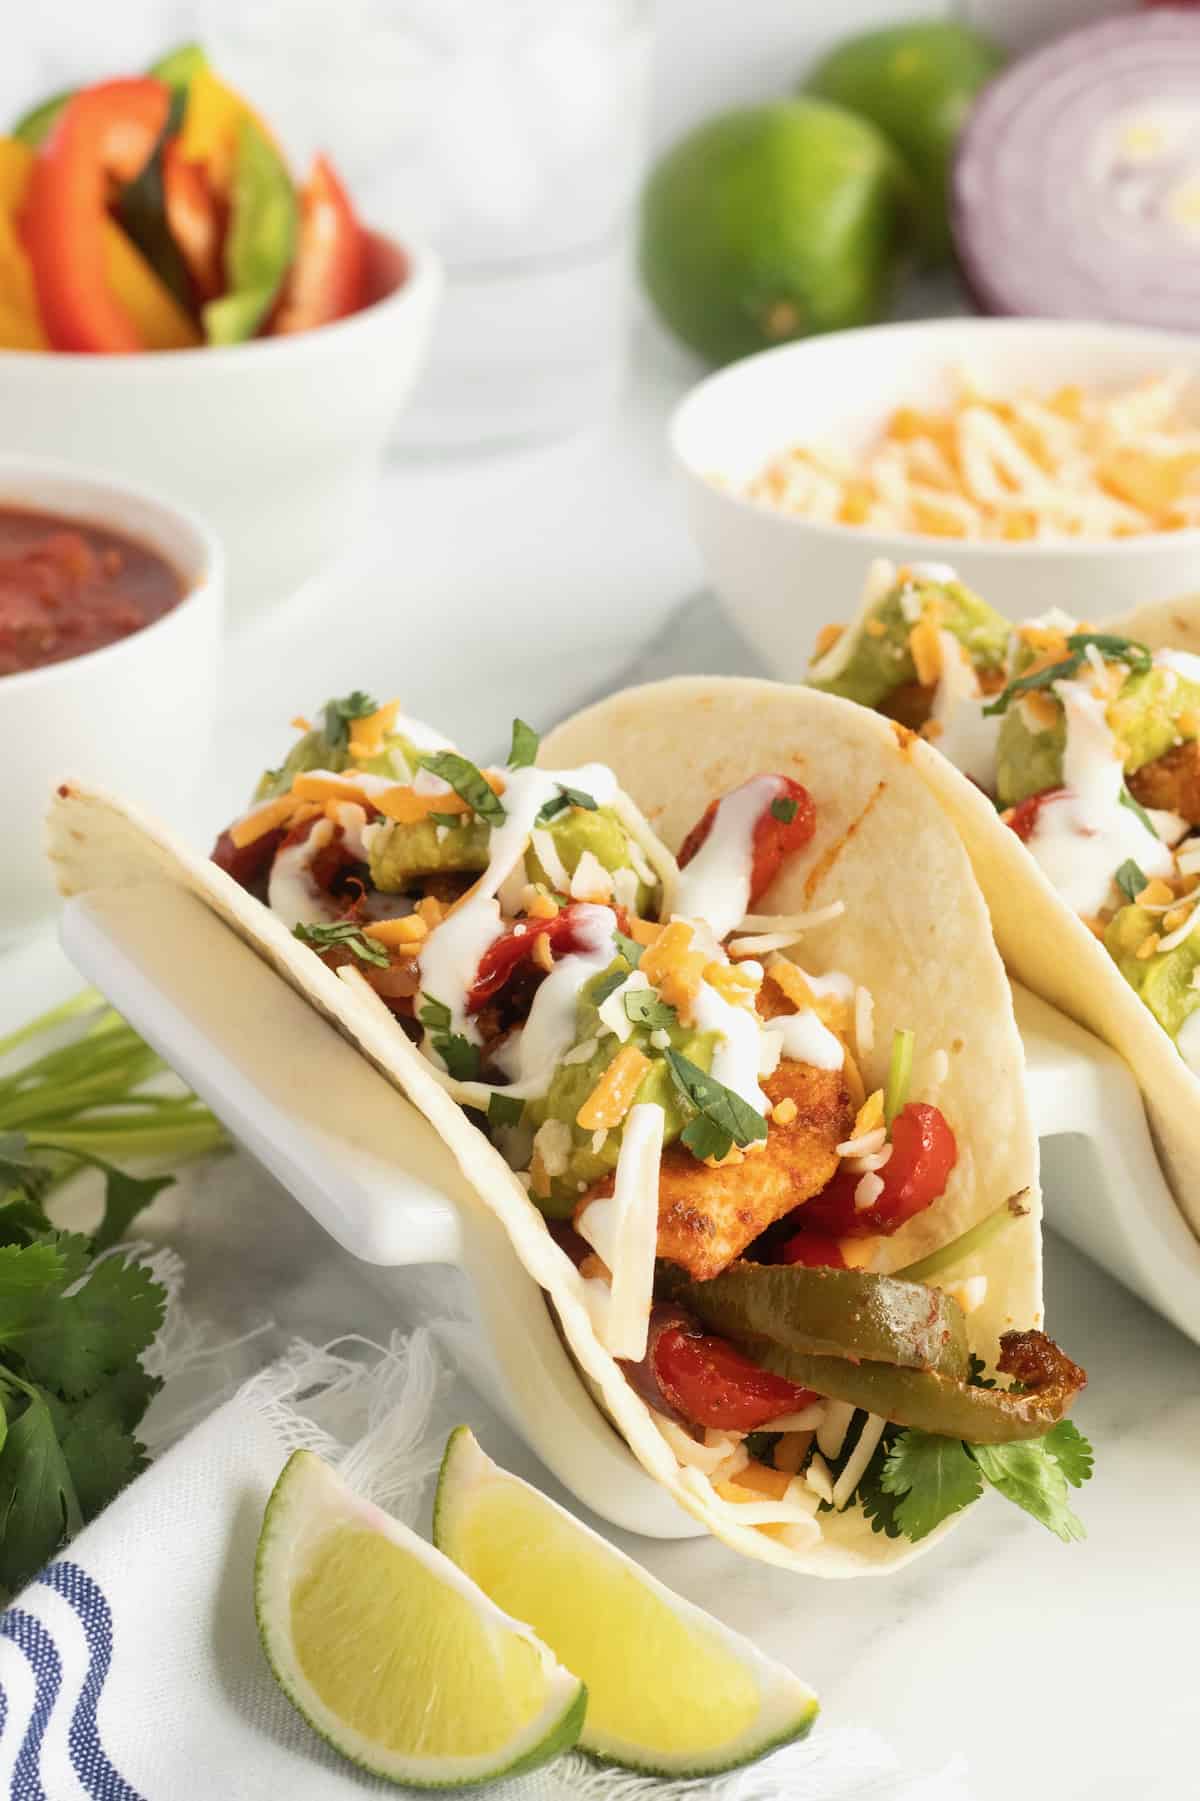
Serve on warm flour tortillas and with desired toppings. Some of our favorite fajita toppings:
- Shredded Monterey jack and cheddar cheese
- Guacamole
- Sour cream
- Salsa
- Chopped fresh cilantro
- Lime wedges
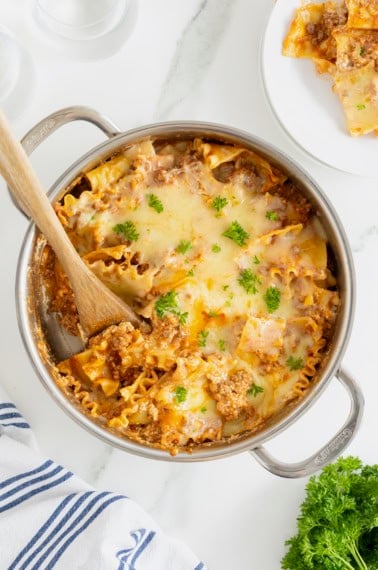
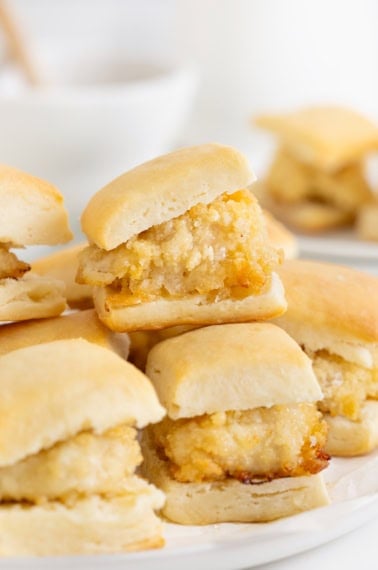
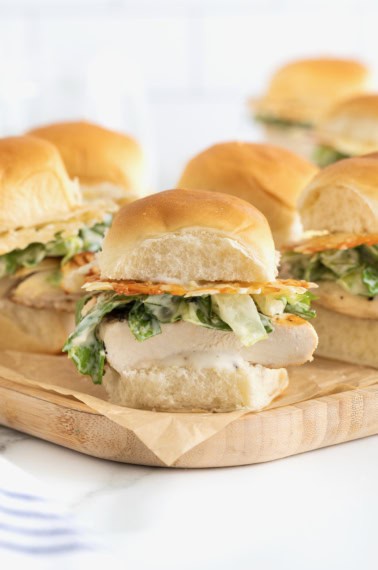
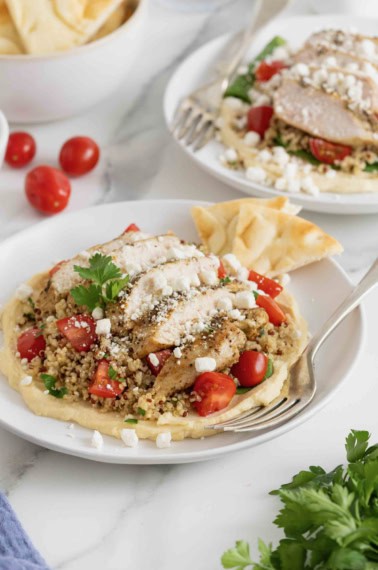
More Sheet Pan Meals You’ll Love
Seriously delicious nachos baked on a sheet pan with homemade tortilla chips, black beans, chicken and all the fixings. These Sheet Pan Chicken and Black Bean Nachos are sure to be a family favorite for an easy meal or game day great! Try a scrumptious scratch-made Sheet Pan Pizza with simple and satisfying toppings that everyone will love!
If you make these Sheet Pan Chicken Fajitas, be sure to snap a picture and share it with me or tag me on Instagram @thebakermama so I can see.  I love seeing how inspired and creative y’all get with the recipes I share. Enjoy!
xoxo,


Sheet Pan Chicken Fajitas
- Prep Time: 10
- Cook Time: 30
- Total Time: 40 minutes
- Yield: 6
Description
These easy Sheet Pan Chicken Fajitas are a no-fuss, one-pan dinner that’s big on Tex-Mex flavor. You’ll love how easy they are to make and they’ll love how delicious they taste!
Ingredients
Seasoning:
- 1 tablespoon chili powder
- 1 teaspoon paprika
- 1 teaspoon cumin
- 1 teaspoon salt
- 1/2 teaspoon garlic powder
- 1/2 teaspoon onion powder
- 1/2 teaspoon dried oregano
- 1/4 teaspoon cayenne pepper
Fajitas:
- 1 and 1/2 pounds boneless, skinless chicken breast, sliced into 1/4-inch thin slices
- 1 green bell pepper, seeded and thinly sliced
- 1 red bell pepper, seeded and thinly sliced
- 1 yellow bell pepper, seeded and thinly sliced
- 1 red onion, thinly sliced
- 3 tablespoons olive oil
Serve with:
- Warm flour tortillas
- Shredded Monterey jack and cheddar cheese
- Guacamole
- Sour cream
- Salsa
- Chopped fresh cilantro
- Lime wedges
Instructions
- Preheat the oven to 400°F. Spray a large rimmed sheet pan with non-stick cooking spray.
- In a small mixing bowl, whisk together the fajita seasoning ingredients.
- Add the chicken, bell peppers and onion slices to the prepared sheet pan. Drizzle with olive oil and toss to coat evenly.
- Sprinkle the fajita seasoning over the chicken and veggies and toss to coat again. Arrange in an even layer on the pan, making sure the chicken slices are not overlapping.
- Roast in the oven, tossing halfway through the roasting time, until bell peppers are tender and chicken is cooked through, about 25-30 minutes.
- Serve on warm flour tortillas and with desired toppings.