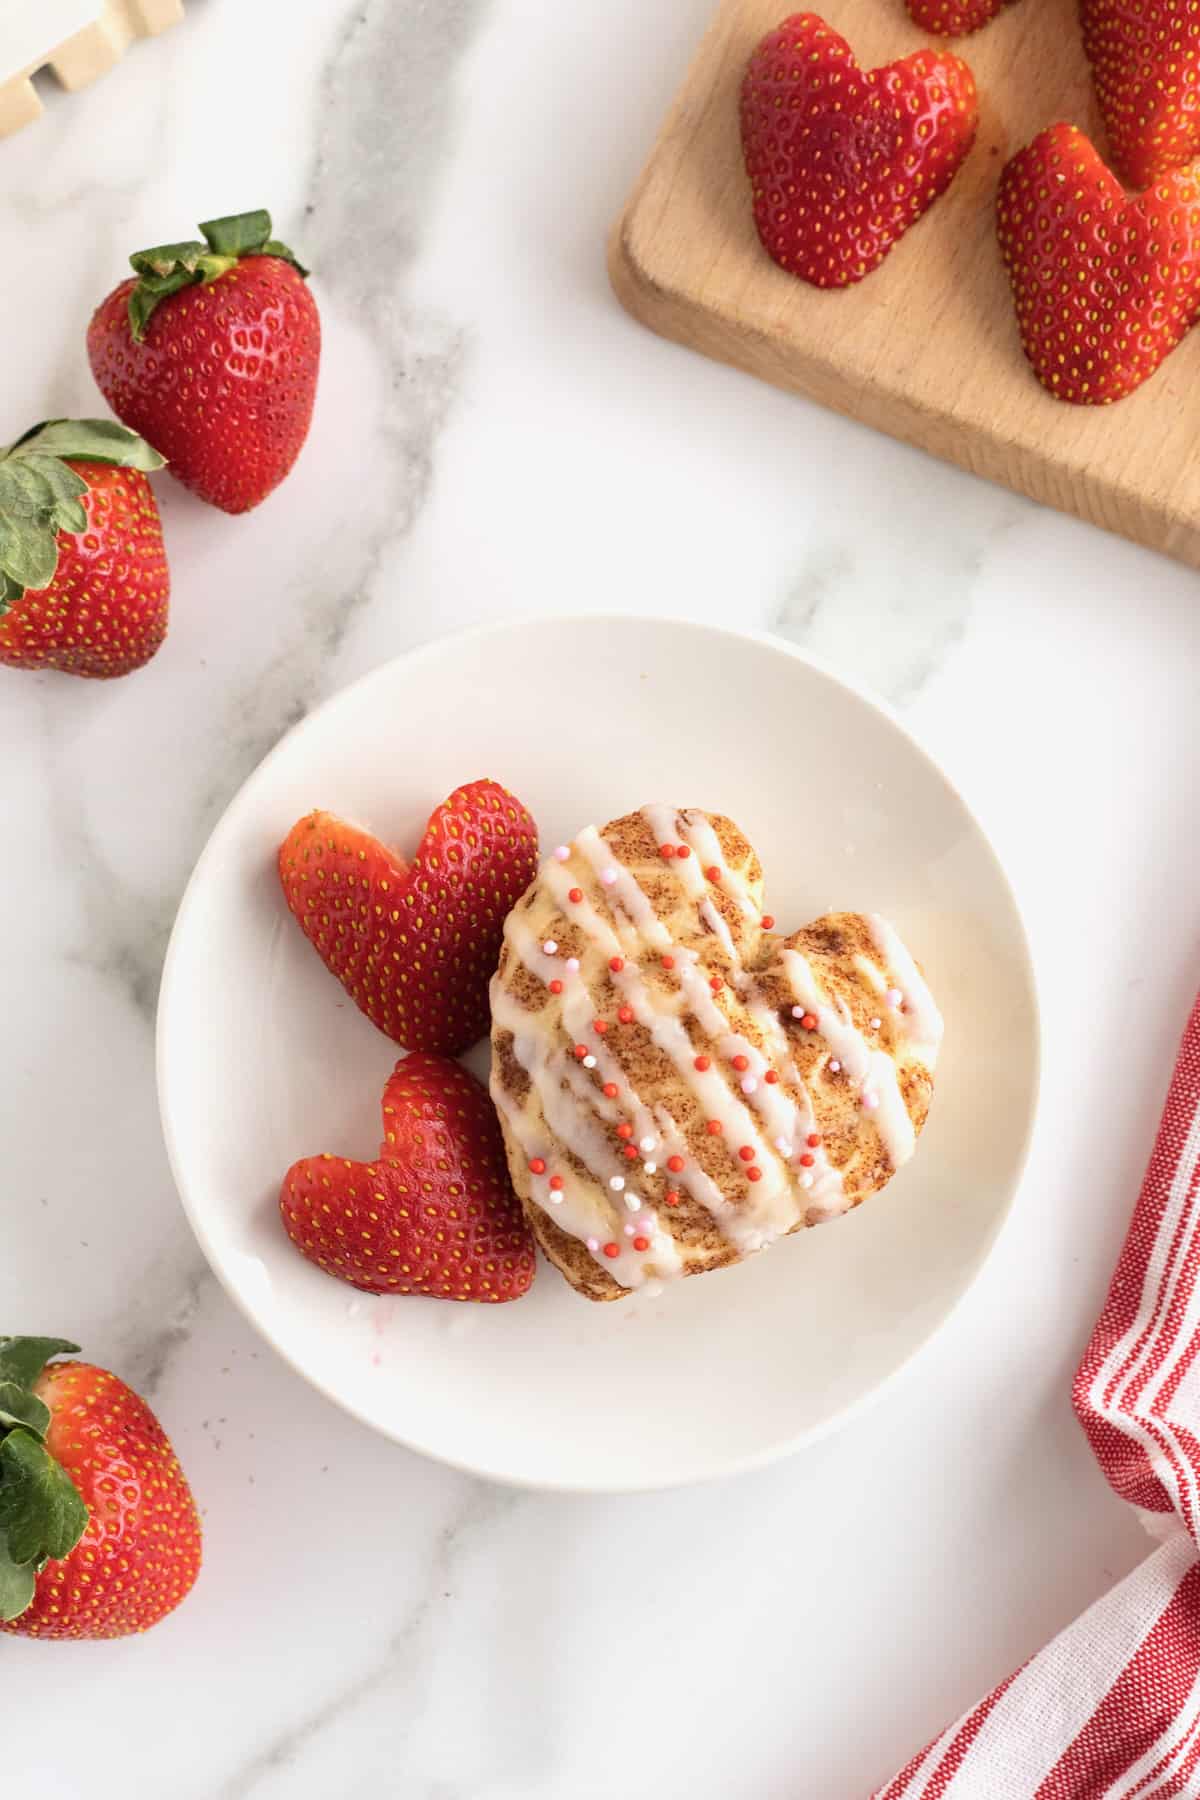
These Heart Shaped Cinnamon Rolls are super simple to make and would be the perfect sweet treat for Valentine’s Day or any day you’re wanting to serve some love!

I Heart You
Nothing shares love like a warm, gooey cinnamon roll drizzled with sweet icing, especially if it’s in the shape of a heart! Whether it’s Valentine’s Day, an anniversary, a wedding brunch or just a Saturday morning you’re craving some love, these Heart Shaped Cinnamon Rolls are so festive and sure to be enjoyed.

Watch Me Make Heart Shaped Cinnamon Rolls
Check out this video to see exactly how they’re made:
The Perfect Valentine Breakfast Treat
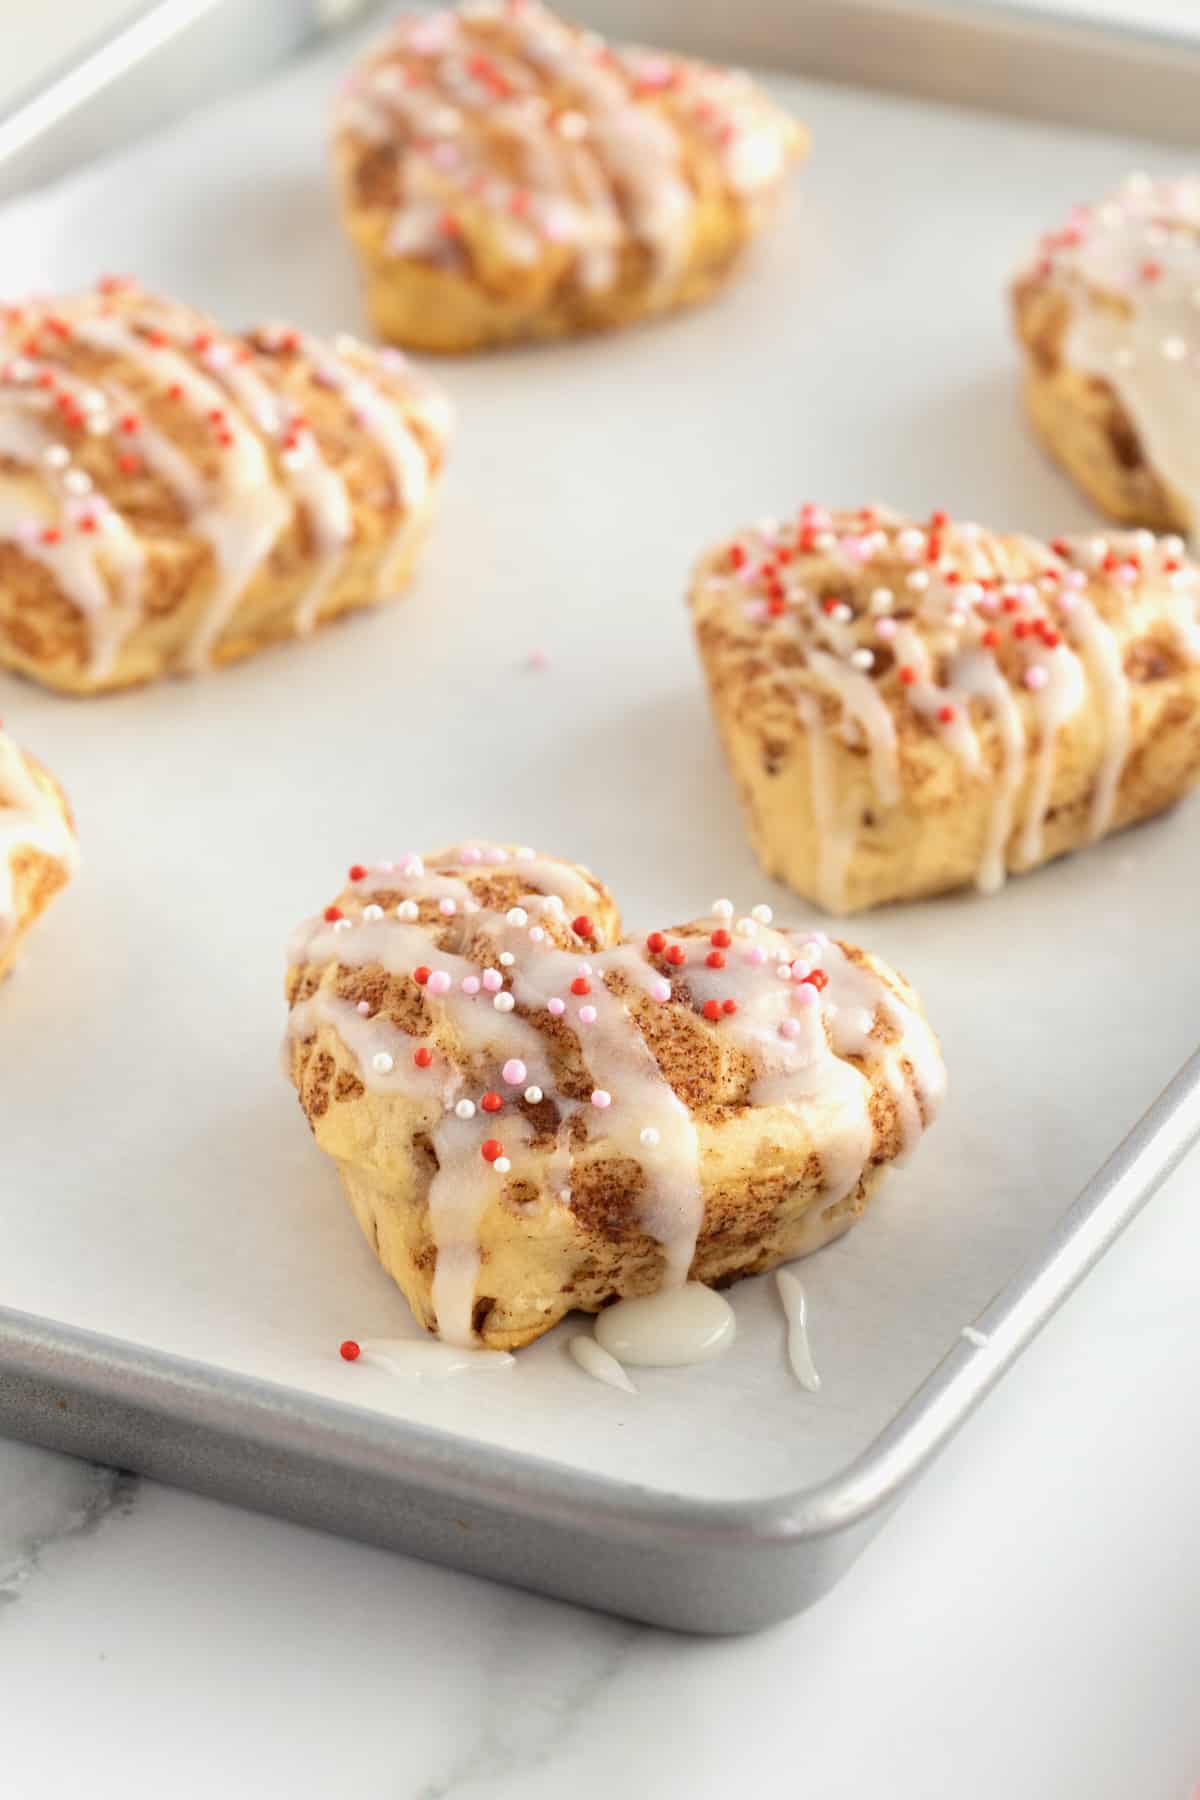
Are they not the cutest cinnamon rolls you’ve ever seen?! You’ve got to make them for your loved ones soon. The perfect breakfast treat to show someone just how much you love them! They’re easily made with canned cinnamon rolls that you shape into hearts before baking.
More Heart-Shaped Treats for Valentine’s Day
- Dark Chocolate Fudge with Sea Salt: This smooth, creamy confection is the perfect mix of salty and sweet — an easy treat to make the holiday even sweeter.
- Heart-Shaped Bacon: Learn the simple trick of shaping bacon strips into heart shapes and baking them to crispy deliciousness. It’s is love served at its best!
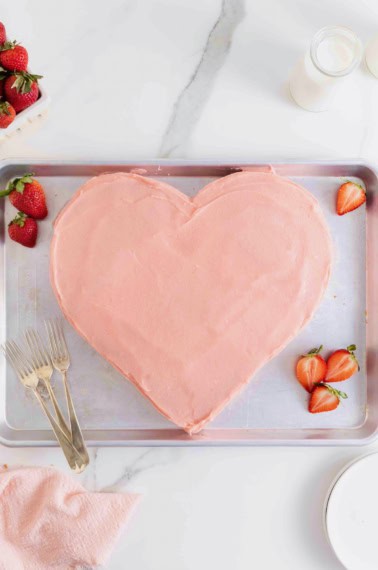
- Mini Heart-Shaped Cakes: Keep it sweet and simple this Valentine’s Day with these adorable and delicious Mini Heart-Shaped Cakes! So easy and fun, have the kids join in the baking!
- Pull-Apart Cinnamon Roll Heart: Such an adorable and delicious way to serve breakfast on Valentine’s Day or any day you’re wanting to show your loved ones just how much you love them!
- Heart Caprese Salad: A simple and delicious appetizer to serve on Valentine’s Day, Mother’s Day, a date night in or just as a special starter to any meal. The classic salad of fresh tomatoes, mozzarella and basil served in a heart shape for an unforgettable dish that’s sure to make any occasion extra special!
What Do I Need to Make Heart-Shaped Cinnamon Rolls?
- 1 can of store-bought cinnamon rolls with icing
- Valentine nonpareils
- Baking sheet
- Parchment paper

How to Make Heart-Shaped Cinnamon Rolls
- Preheat the oven according to the package directions on the canned cinnamon rolls you use. Separate the cinnamon rolls so you can start forming each one into the heart shape.
- Use your hands to press down at the top where the end of the roll rests and then squeeze the other side into a V shape to form the bottom of the heart.
- Transfer them to a baking sheet and reinforce the shape so each one looks like a heart.
- Place the heart shaped cinnamon rolls in the oven and bake according to the directions on the can.
- Halfway through the baking time, remove the cinnamon rolls from the oven and reinforce the heart shape with the handle of a spoon and/or carefully with your hands as they’ll be warm.
- Place the cinnamon rolls back in the oven to finish baking.
- Once baked, remove the heart shaped cinnamon rolls from the oven and drizzle with the included icing while still warm.
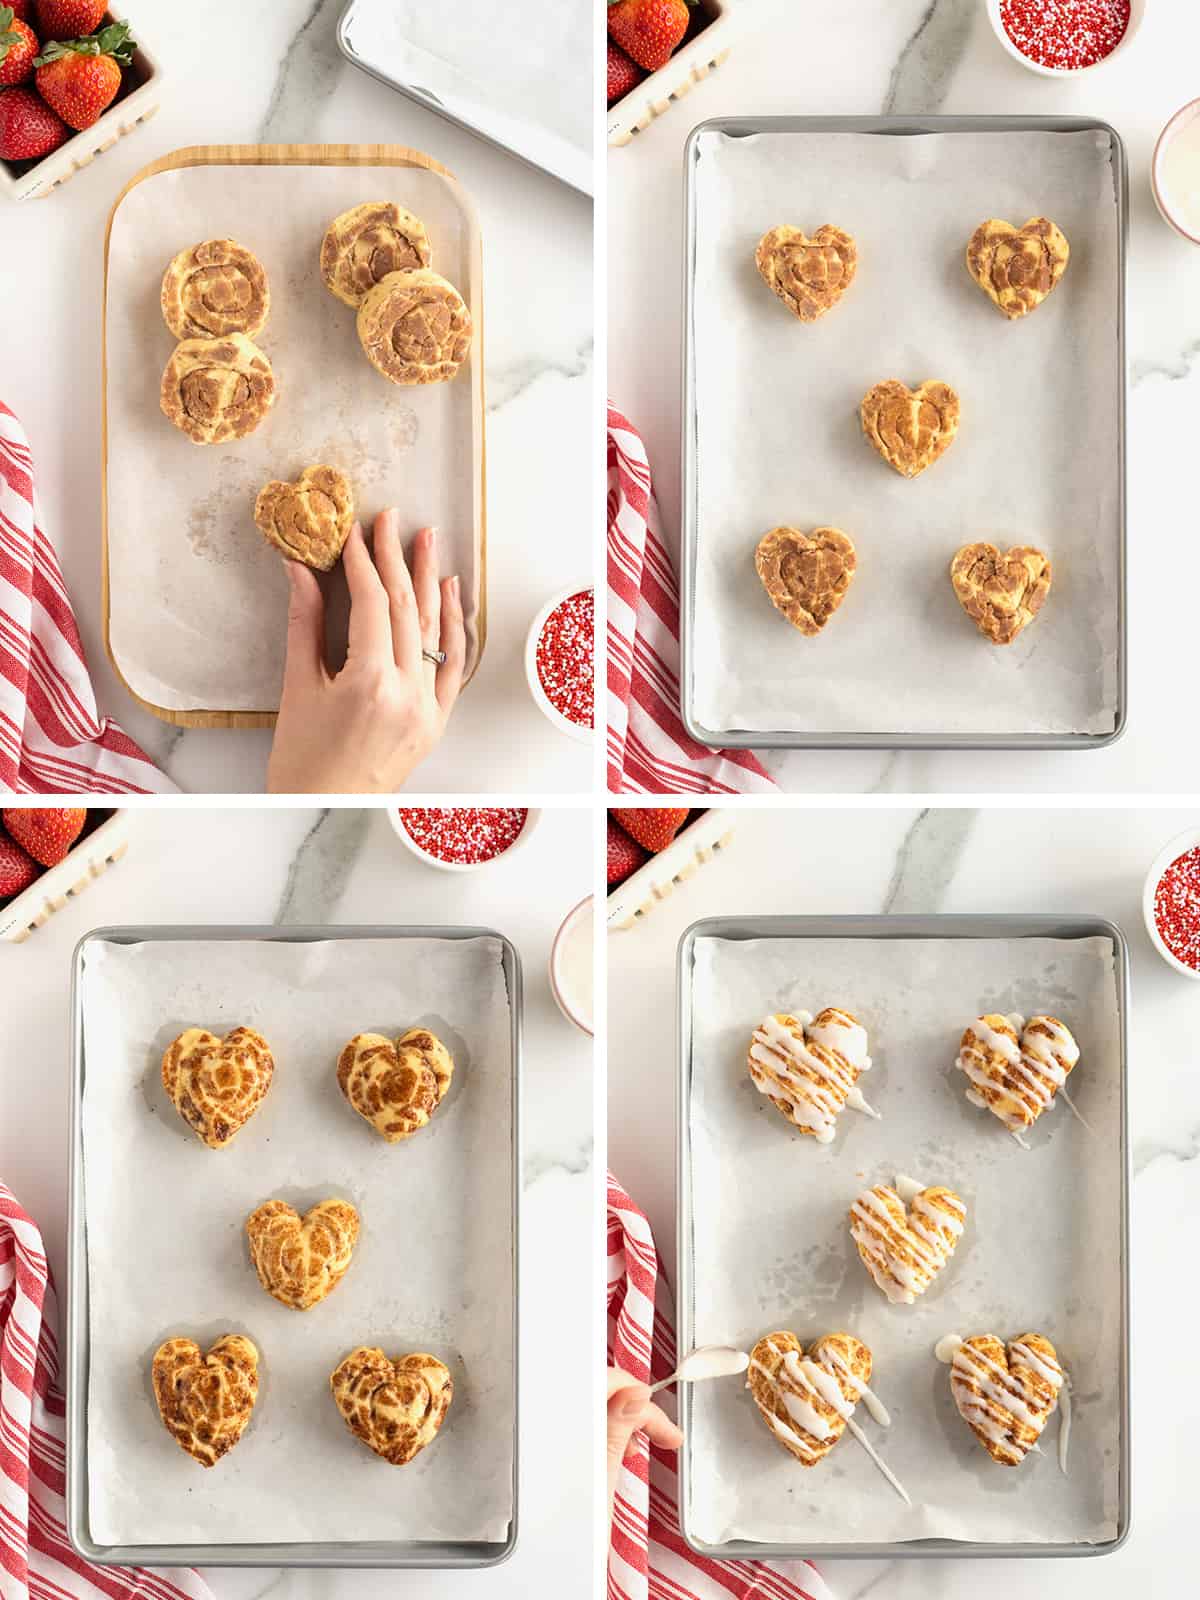
- Sprinkle with Valentine nonpareils, if desired.
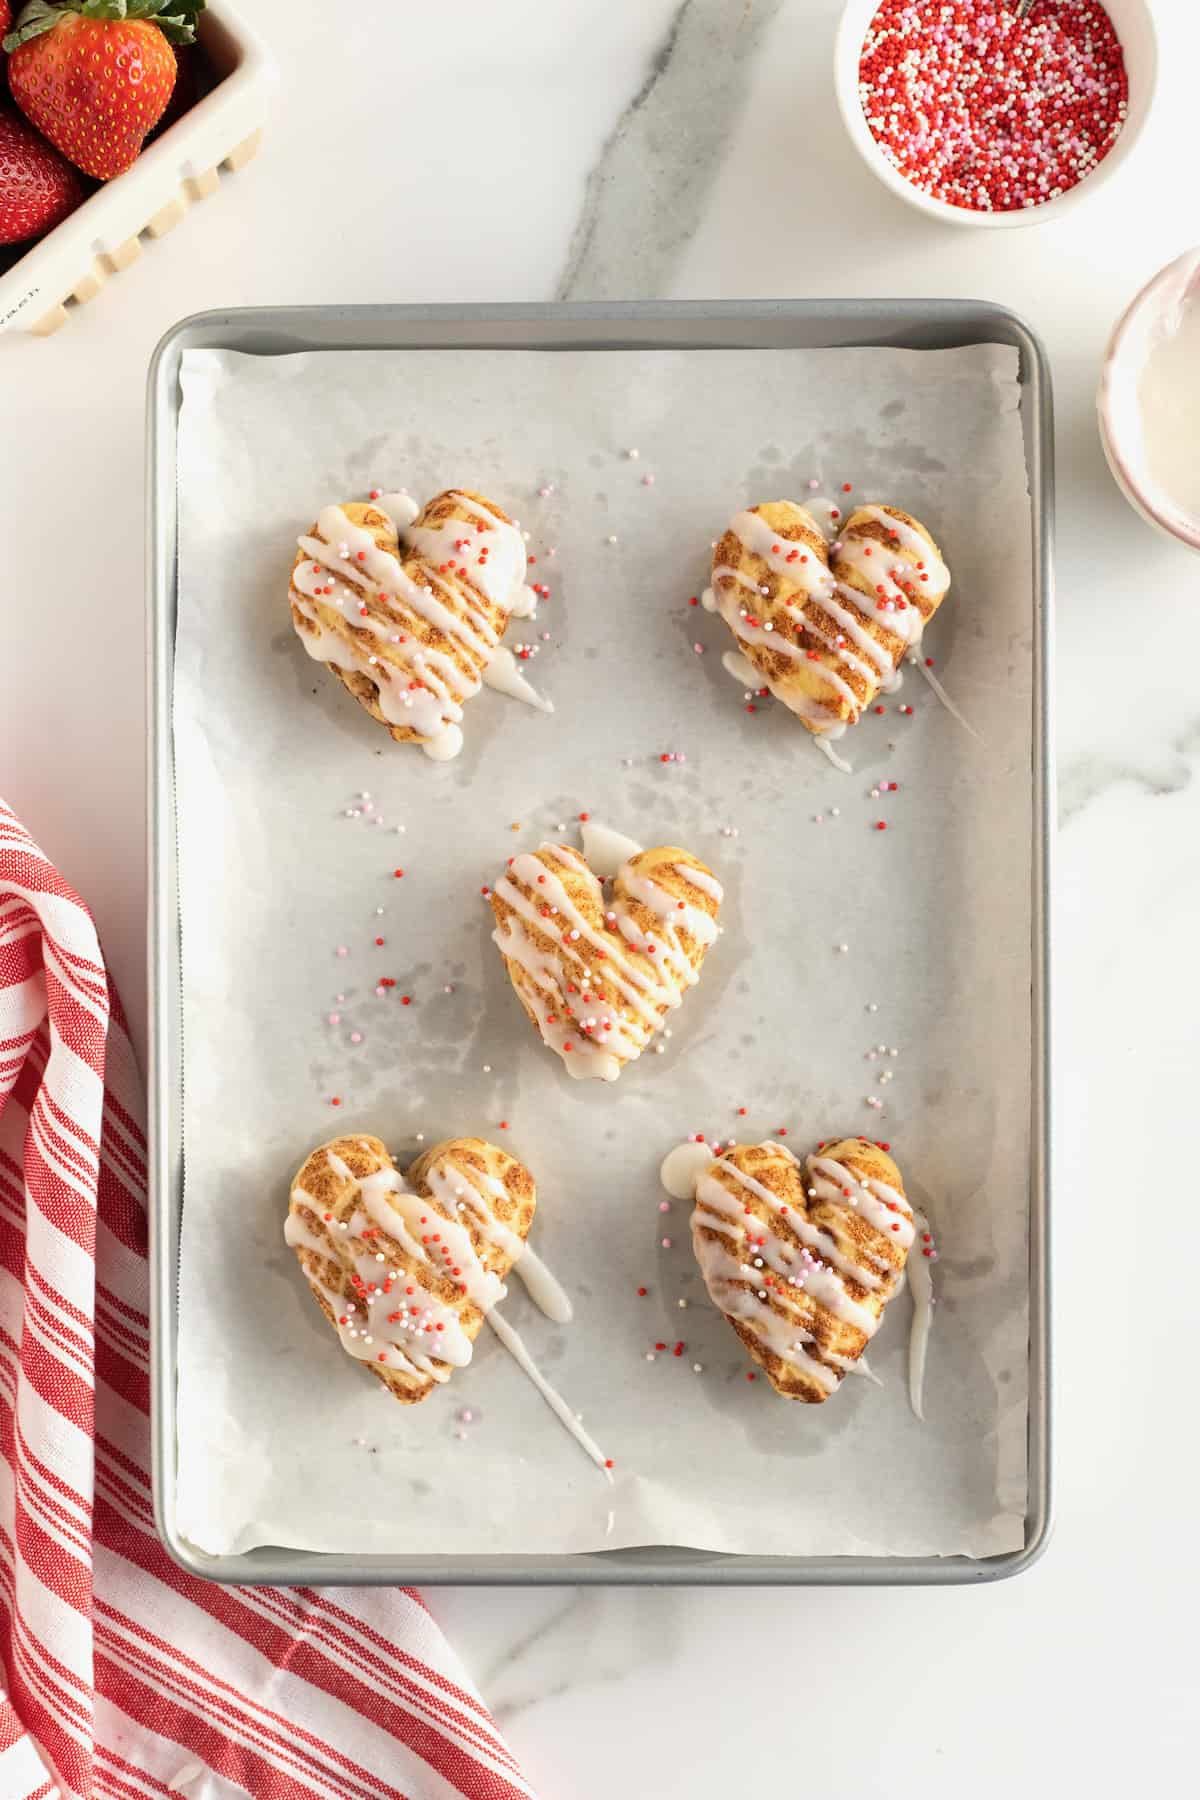
That’s all there is to them! They’re so quick, easy and fun to make. Everyone is sure to go crazy over them!
More Valentine’s Recipes You’re Sure to Love
Whether you need to make something special for the class Valentine’s party, a Valentine’s dinner in with your sweetheart(s), or a Galentine’s get-together with your besties, I’ve rounded up my favorite Valentine’s Day inspired recipes and boards that are sure to be loved by all!

What better way to show someone you love them than by baking up a batch of these cuties! If you make these Heart Shaped Cinnamon Rolls, be sure to snap a picture and share it with me or tag me on Instagram @thebakermama so I can see. 😍 I love seeing how inspired and creative y’all get with the recipes I share. Enjoy!
xoxo,


Heart Shaped Cinnamon Rolls
- Prep Time: 10 mins
- Cook Time: 15 mins
- Total Time: 25 mins
- Yield: 5
- Category: Breakfast
Description
These adorable Heart Shaped Cinnamon Rolls are super simple to make and would be the perfect sweet treat for Valentine’s Day or any day you’re wanting to serve some love!
Ingredients
- 1 can of store-bought cinnamon rolls with icing
- Valentine sprinkles
Instructions
- Preheat the oven according to the package directions on the canned cinnamon rolls you use. Separate the cinnamon rolls so you can start forming each one into the heart shape.
- Use your hands to press down at the top where the end of the roll rests and then squeeze the other side into a V shape to form the heart. Transfer them to a baking sheet and reinforce the shape so each one looks like a heart.
- Place the heart shaped cinnamon rolls in the oven and bake according to the directions on the can. Halfway through the baking time, remove the cinnamon rolls from the oven and reinforce the heart shape with the handle of a spoon and/or carefully with your hands as they’ll be warm.
- Place the cinnamon rolls back in the oven to finish baking. Once baked, remove the heart shaped cinnamon rolls from the oven and drizzle with the included icing while still warm. Serve and enjoy!