
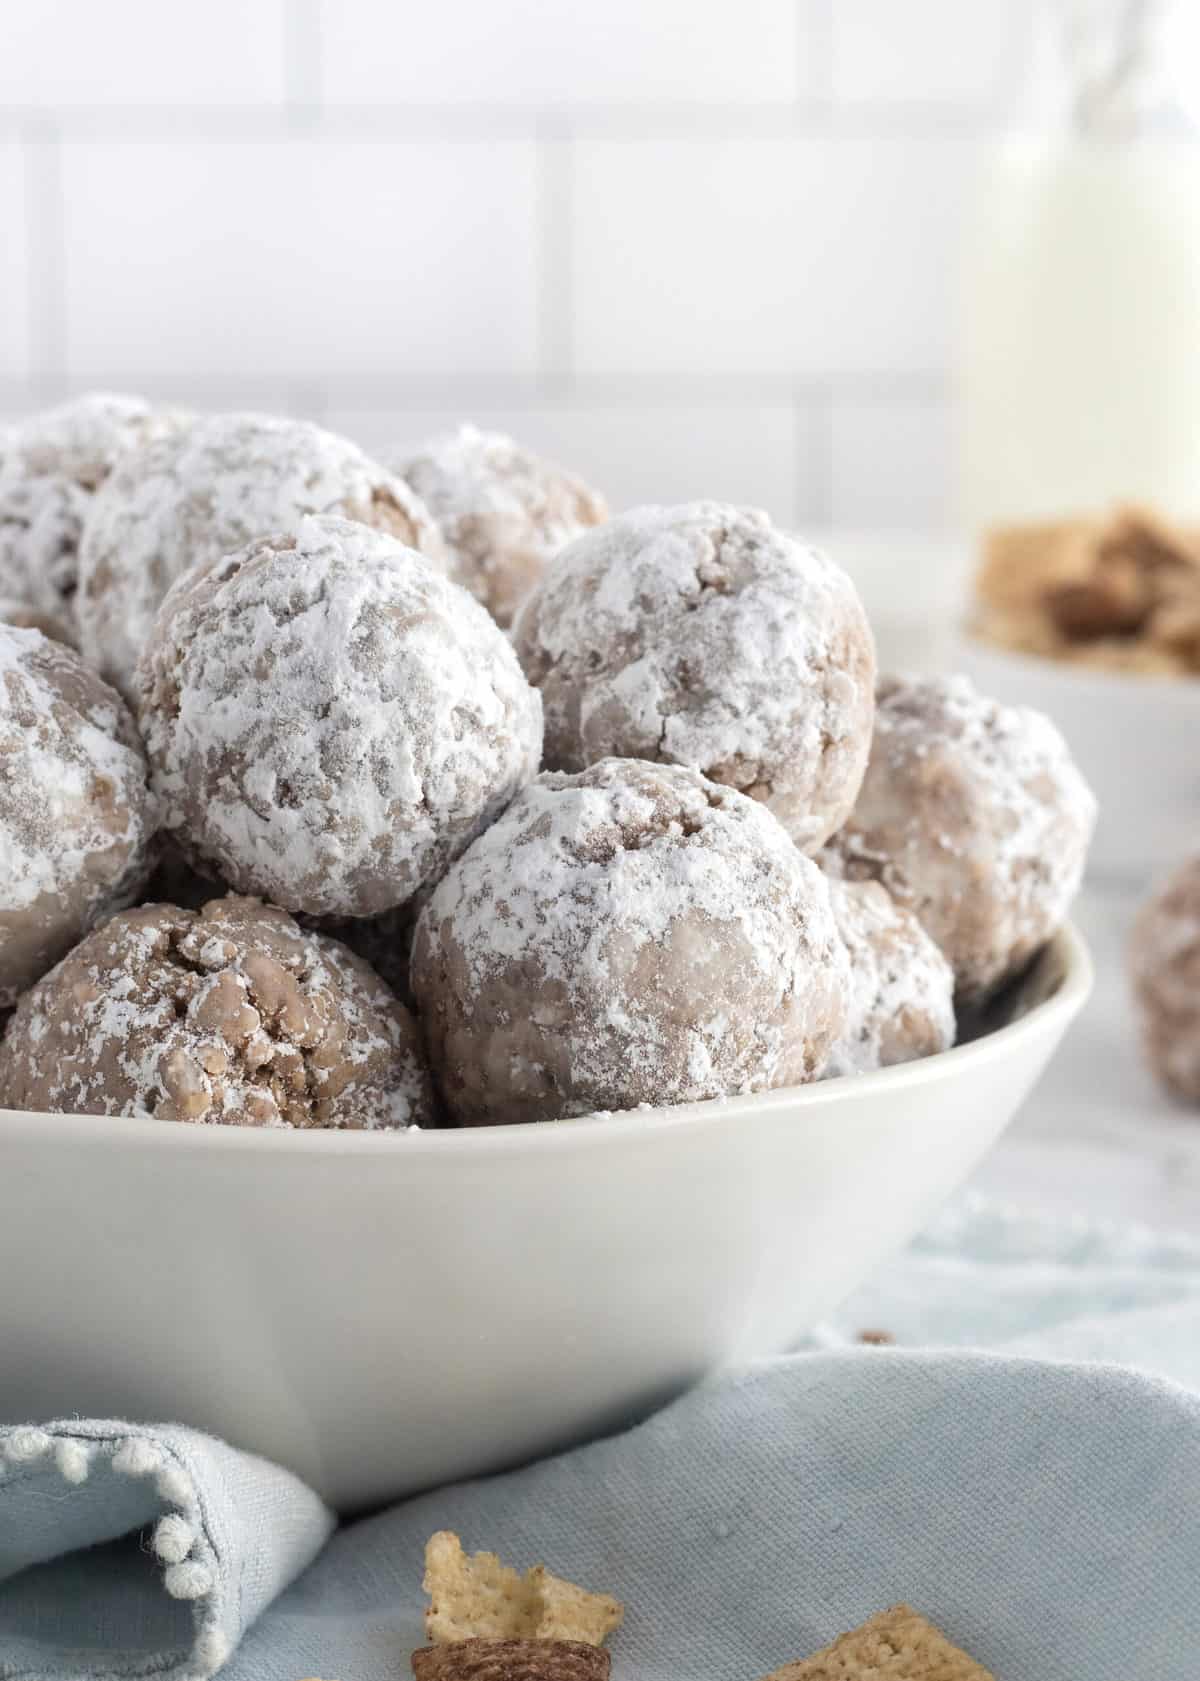
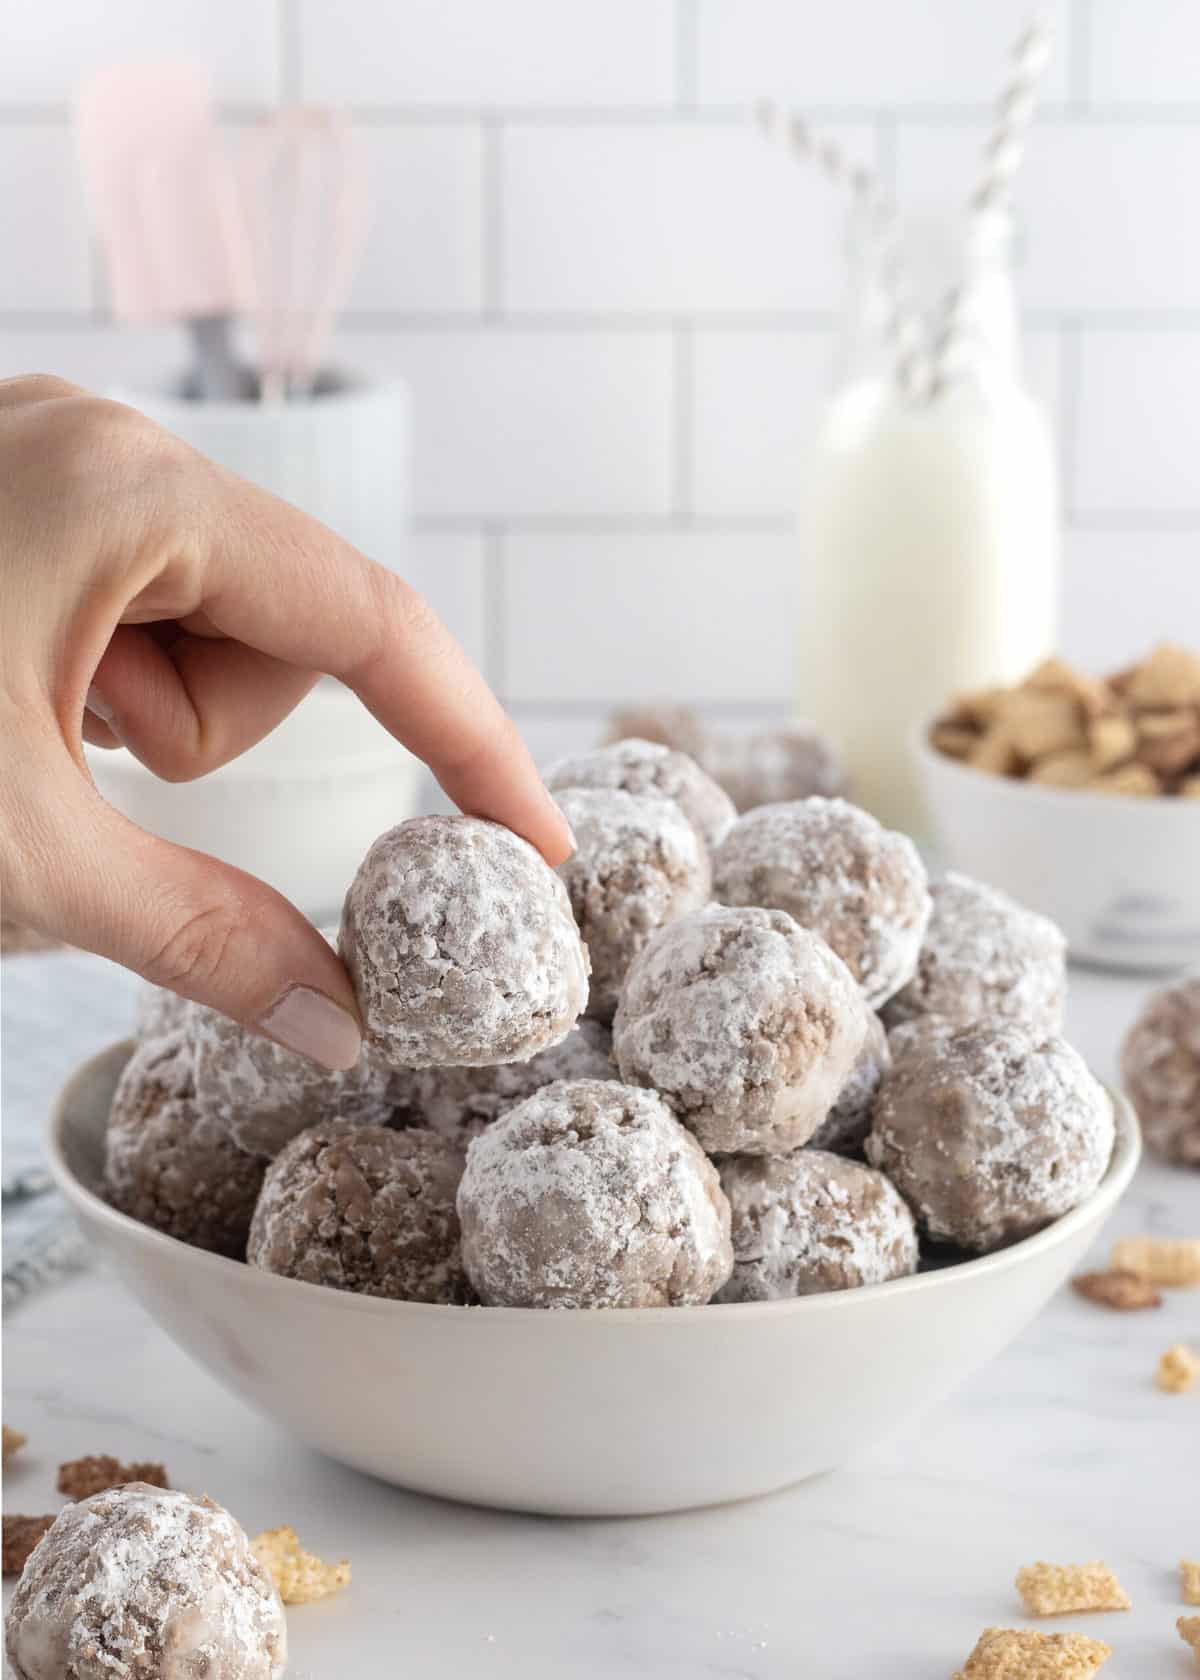
With the same great taste as the original, these Muddy Buddy Bites deliver all the crunchy, peanut-buttery goodness without all the mess. You’ll have a ball with these delicious treats!
Have a Ball — or Three!
You know it’s going to be a good one when you show up to a party and there’s a bowl of muddy buddies. Oh my gosh, I love them so much! The crunch of cereal, the yum of peanut butter. The powered sugar! Love them as much as I do, I don’t always love sticky mess they make of my fingers. So, here you go! This Muddy Buddy Bites recipe captures all the peanut-buttery deliciousness, without all the “where is my napkin?” mess.
Watch Me Make Muddy Buddy Bites
Ready for more Muddy Buddy Bites goodness? Step into my kitchen and see how it’s done!
Something to Smile About
These bites take the same ingredients, rolls them up into two-bite balls, and are just sure to put a smile on your face.
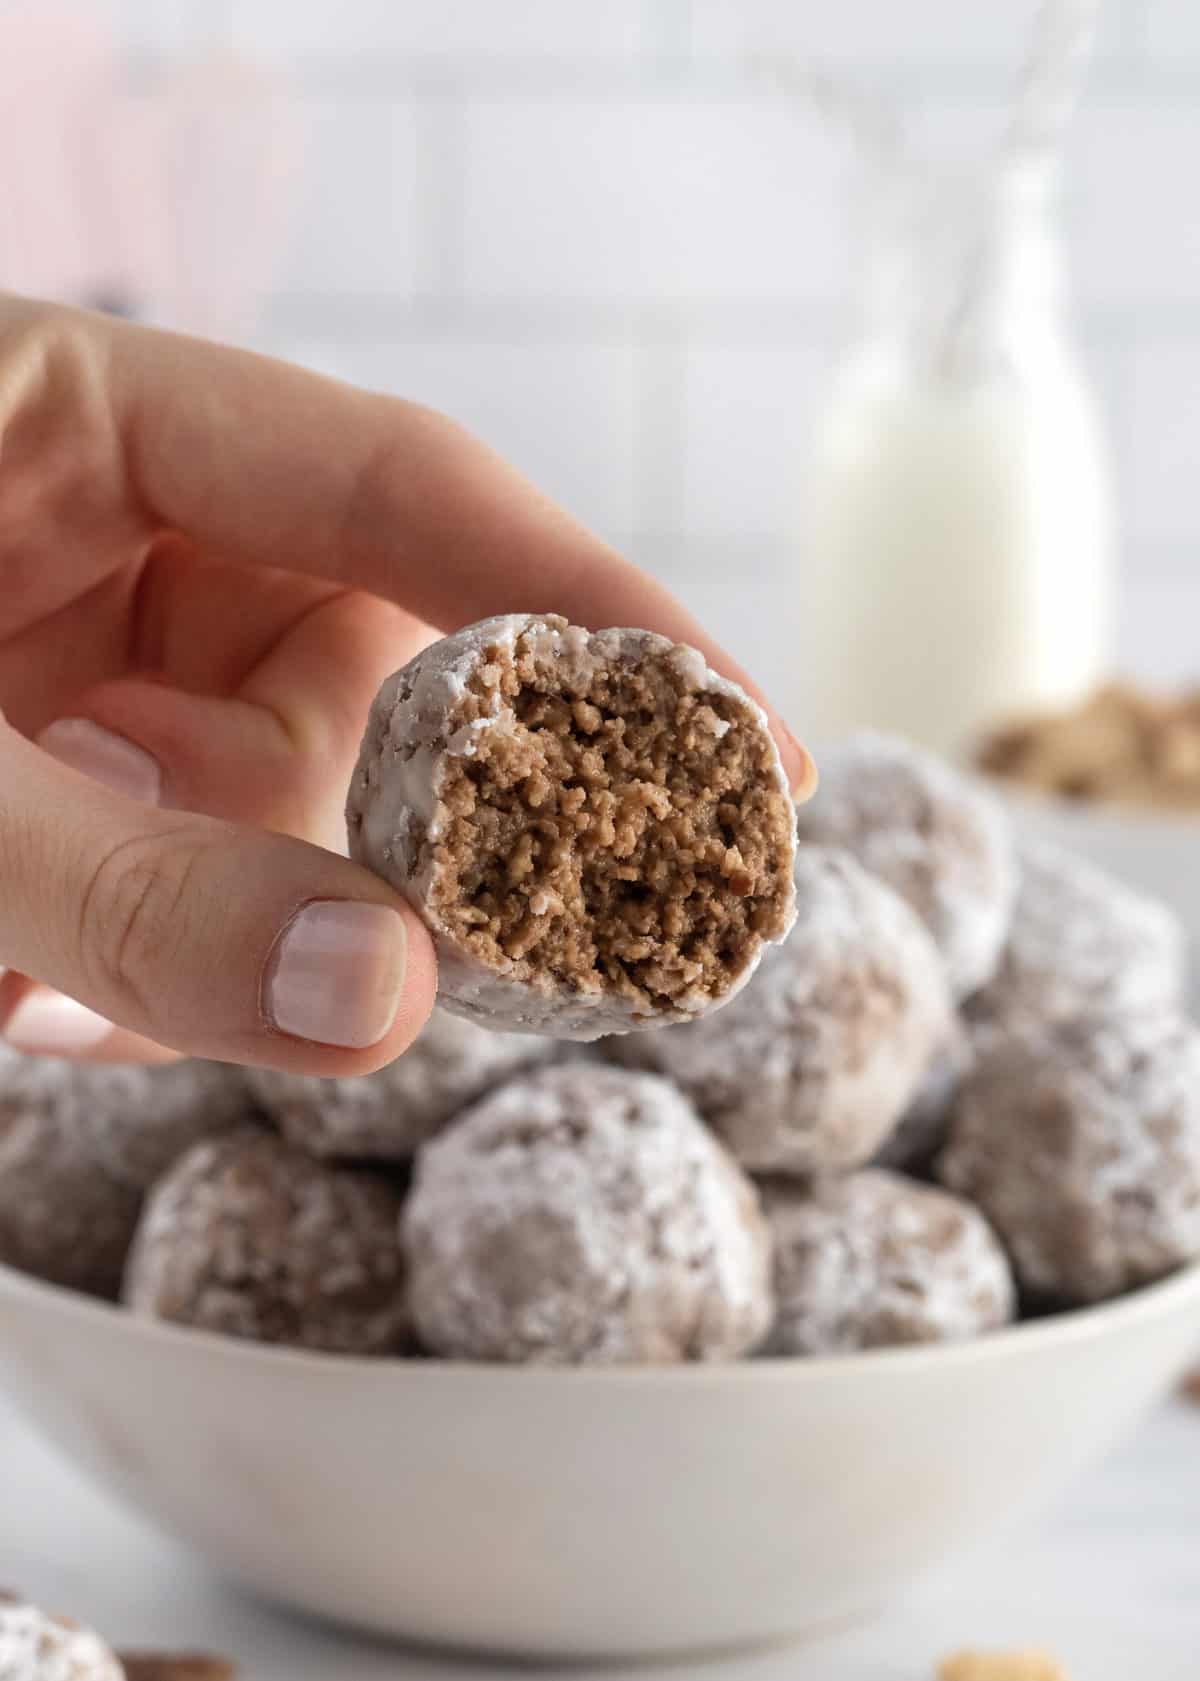
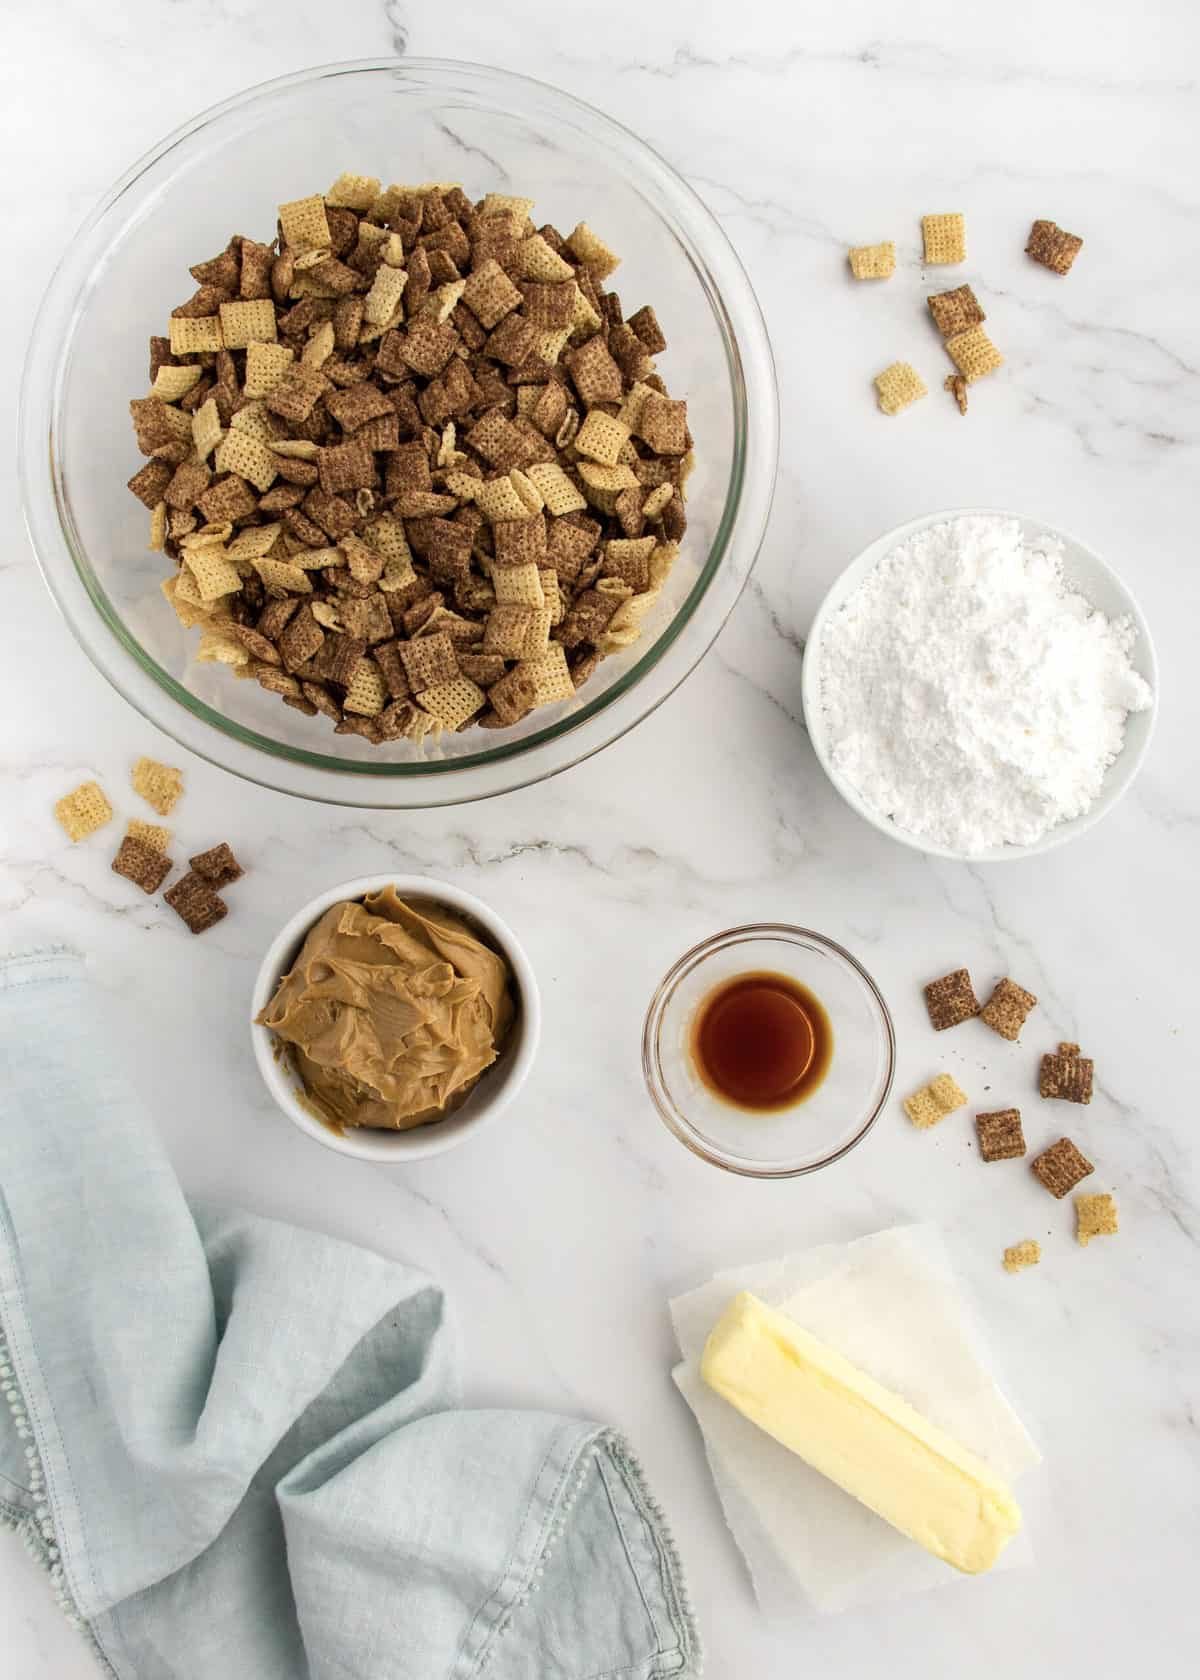
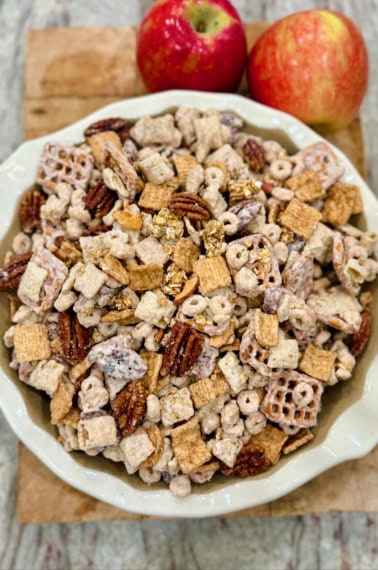
Chocolate Chex, peanut butter, a bit of vanilla and of course, sugar and butter. It doesn’t get much simpler or much yummier. Do yourself a favor, though. Keep a box of Chex on hand, because after you make these, you’re going to crave them all the time!
How to Make Muddy Buddy Bites
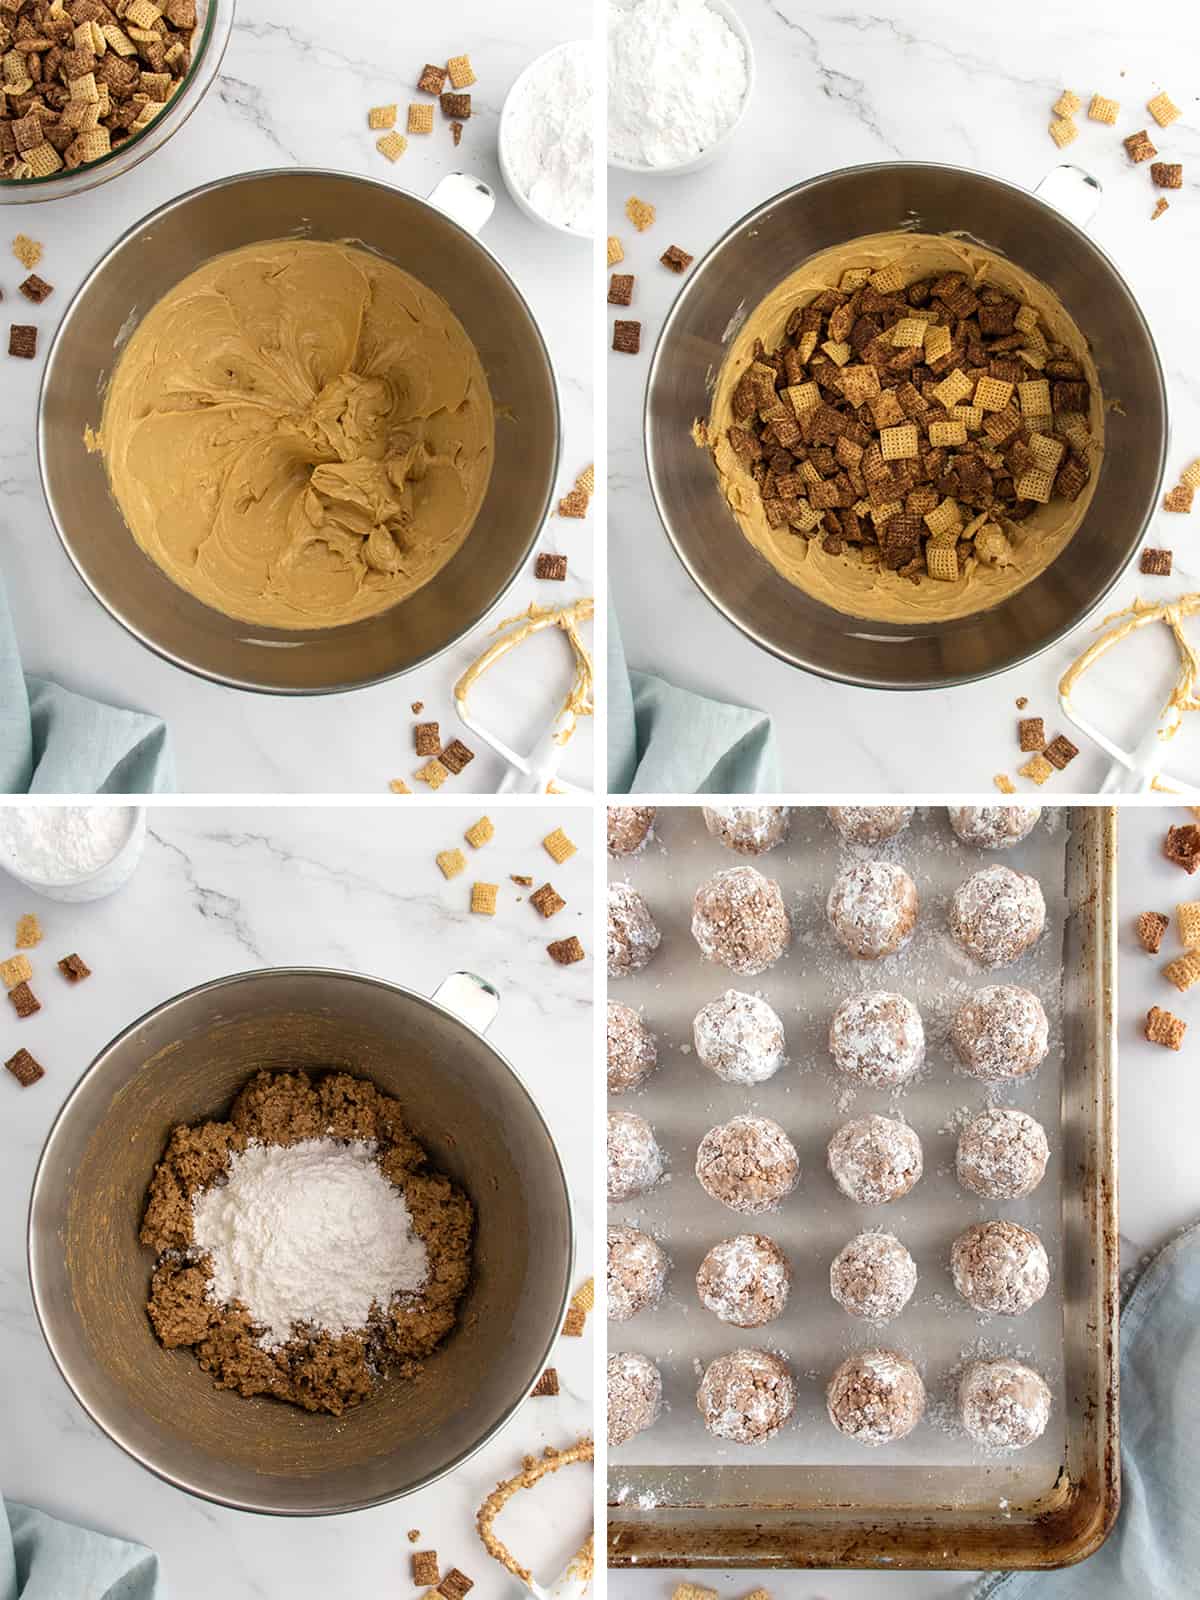
In the bowl of an electric mixer fitted with the paddle attachment, beat the peanut butter, butter and vanilla until well combined. Add the cereal and beat on low speed until just combined. Then turn the mixer to medium-high speed and beat the mixture until the cereal is thoroughly crushed. This will take several minutes.
Add 1 cup powdered sugar and beat at low speed until just combined and then on medium speed until well combined. Mixture should be thick and creamy enough to roll into balls.
Using a medium cookie scoop, scoop about 2 tablespoons of the mixture at a time and form into balls. Place on a parchment-lined baking sheet. You should get about 28 balls out of the mixture. Put the balls in the freezer for 10 minutes or the refrigerator for about 20 minutes to allow them to set.
Place the remaining ½ cup powdered sugar in a large resealable baggie and add the balls to the bag. Seal the bag and gently toss the balls in the powdered sugar until they are all coated evenly. Remove one bite at a time from the bag and place it back on the parchment-lined baking sheet, reforming them into ball shapes, if necessary.
Serve immediately or transfer to an airtight container and store at room temperature or in the refrigerator. We love eating them chilled!
Other Sweet Bites You’re Sure to Love
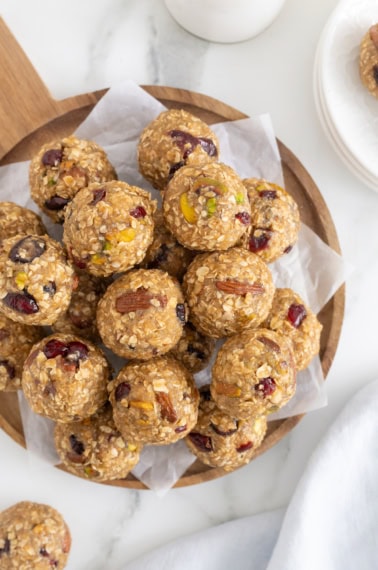
Fuel your busy day with quick and delicious No-Bake Energy Bites. With peanut butter and bits of dark chocolate, there’s no sacrificing taste when it comes to these healthy treats! These Healthy Edible Cookie Dough Bites are so so yummy! Just 5 ingredients for an easy-to-make treat that you can eat right out of the bowl! Blueberry bliss in these Baked Blueberry Fritter Bites! Fresh blueberries baked into bite-sized fritters that are tender on the inside, crisp on the outside and coated in a sweet blueberry glaze.
If you make these Muddy Buddy Bites, be sure to snap a picture and share it with me or tag me on Instagram @thebakermama so I can see.  I love seeing how inspired and creative y’all get with the recipes I share. Enjoy!
xoxo,


Muddy Buddy Bites
- Prep Time: 20
- Total Time: 20 minutes
- Yield: 28 balls
Description
With the same great taste as the original, these Muddy Buddy Bites deliver all the crunchy, peanut buttery goodness without all the mess. You’ll have a ball with these delicious treats!
Ingredients
- 1 cup creamy peanut butter
- 1/2 cup (1 stick) unsalted butter, softened
- 1 teaspoon vanilla extract
- 9 cups Chocolate Chex cereal (12.8 ounce box)
- 1 and 1/2 cups powdered sugar, divided
Instructions
- In the bowl of an electric mixer fitted with the paddle attachment, beat the peanut butter, butter and vanilla until well combined. Add the cereal and beat on low speed until just combined. Then turn the mixer to medium-high speed and beat the mixture until the cereal is thoroughly crushed. This will take several minutes.
- Add 1 cup powdered sugar and beat at low speed until just combined and then on medium speed until well combined. Mixture should be thick and creamy enough to roll into balls.
- Using a medium cookie scoop, scoop about 2 tablespoons of the mixture at a time and form into balls. Place on a parchment-lined baking sheet. You should get about 28 balls out of the mixture. Put the balls in the freezer for 10 minutes or the refrigerator for about 20 minutes to allow them to set.
- Place the remaining ½ cup powdered sugar in a large resealable baggie and add the balls to the bag. Seal the bag and gently toss the balls in the powdered sugar until they are all coated evenly. Remove one bite at a time from the bag and place it back on the parchment-lined baking sheet, reforming them into ball shapes, if necessary.
- Serve immediately or transfer to a sealed container and store at room temperature or in the refrigerator.
I have 2 large boxes of Rice Krispies to use up. Do you think I could substitute them for the cereal since we’re crushing them anyway?
I’m assuming I would need to add 2 to 3 more cups since the actual size of the smaller than the Chex cereal.
Hi Debra! Absolutely, I think they would taste great with Rice Krispies cereal. Similar to my chocolate peanut butter balls recipe: https://thebakermama.com/recipes/chocolate-peanut-butter-balls/. Just add about a cup extra at a time until you get a thick and creamy texture. Enjoy!
Hi!
Have you tried it with the other types of Chex other than chocolate?
Hi Jan! No, but it would certainly work great and they are sure to still taste so yummy. Have fun with the recipe! Enjoy!
I just made these 30 mins ago and they are delicious. I deviated slightly by using cruchy JIF peanut butter instead of creamy. The recipe is so easy.
can the cereal be crushed separately in a baggie and then added to mixture as I don’t have paddle?
Hi Joann! Absolutely! That would work just as great. Enjoy!