
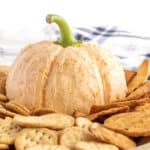
A hint of pumpkin spice adds some fall pep to this festive Pumpkin Cheese Ball. Perfect for dipping, it makes a fun and delicious appetizer for your Friendsgiving or Thanksgiving get together.
Have a Ball this Fall!
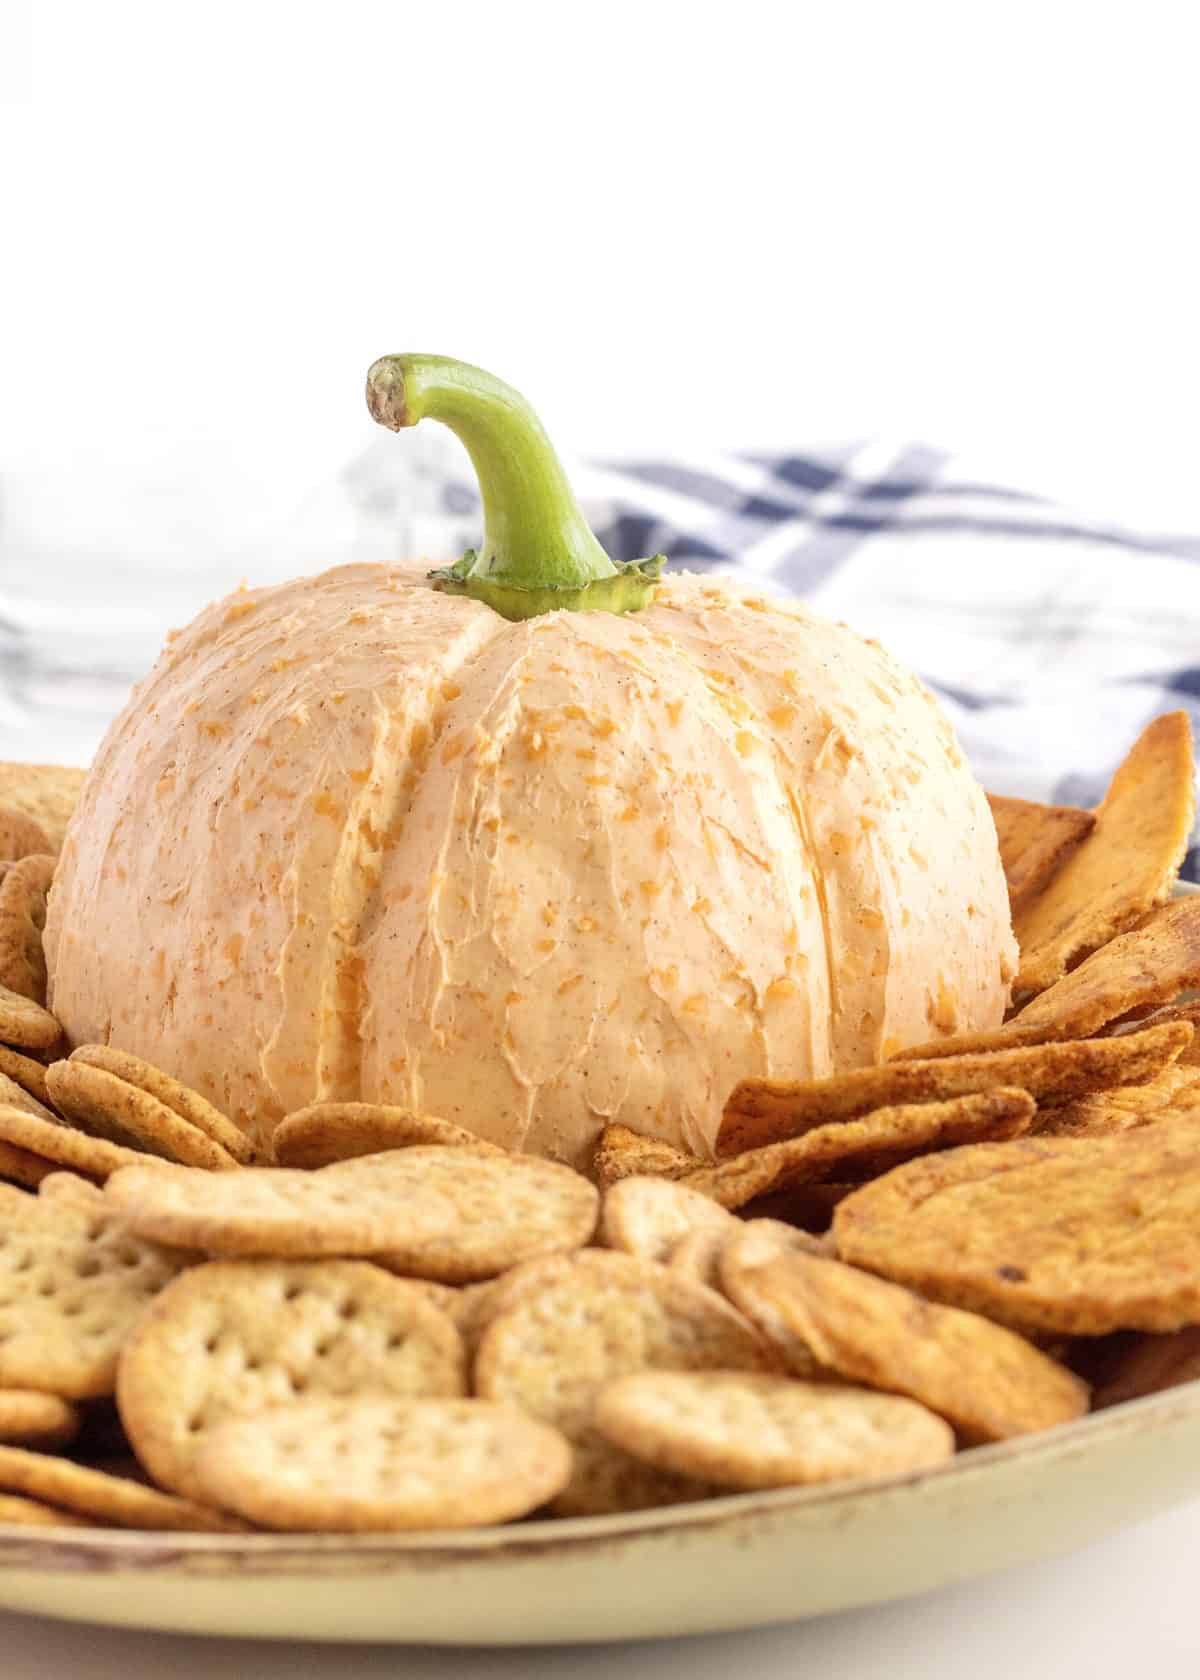
I’m pretty sure cheese dips have their own gravitational force. I’m immediately drawn to them! There’s something about creamy cheese and a crunchy cracker that pulls me right in! And this Pumpkin Cheese Ball recipe will definitely draw hungry guests at your Friendsgiving or Thanksgiving get-together. Formed into a perfect, cheesy pumpkin, it’s such a cute way to celebrate the autumn holidays. This delicious pumpkin shaped cheese ball is the star of my Fall Snack Board. Check it out!
Delicious Fall Dip!
I love to serve a crowd-pleasing dip at gatherings and parties. Whether it’s a Smoked Salmon Bagel Dip for brunch, a Charcuterie Dip for date night in, or a Chocolate Cheesecake Dip for dessert, it’s such an easy way to bring enjoyment.
This pumpkin cheese ball is a combination of Mellow cheddar cheese, cream cheese and a hint of pumpkin spice. All served up o crunchy crackers–my mouth is already watering! Made with either pumpkin cream cheese or plain, with a bell pepper stem on top of the cheese ball, this appetizer is as adorable as it is simple to make. Everyone at your party will be drawn to this delicious dip!
This recipe is so versatile! You can easily make it fit your favorite flavors or the crowd you’re serving:
- Savory fall twist: add crisp bacon bits, chopped chives, or a dash of smoked paprika.
- Sweet and spiced: stir in a touch of honey, hot honey, cinnamon, or nutmeg. Or use a honey goat cheese in place of the cream cheese.
- Spicy kick: try diced jalapeños or pepper jack cheese for a little heat.
- Crunchy coating: roll the outside in chopped pecans, pepitas, or even crushed pretzels.
Ingredients and Supplies
(see recipe card at the bottom of this post for measurements and details)
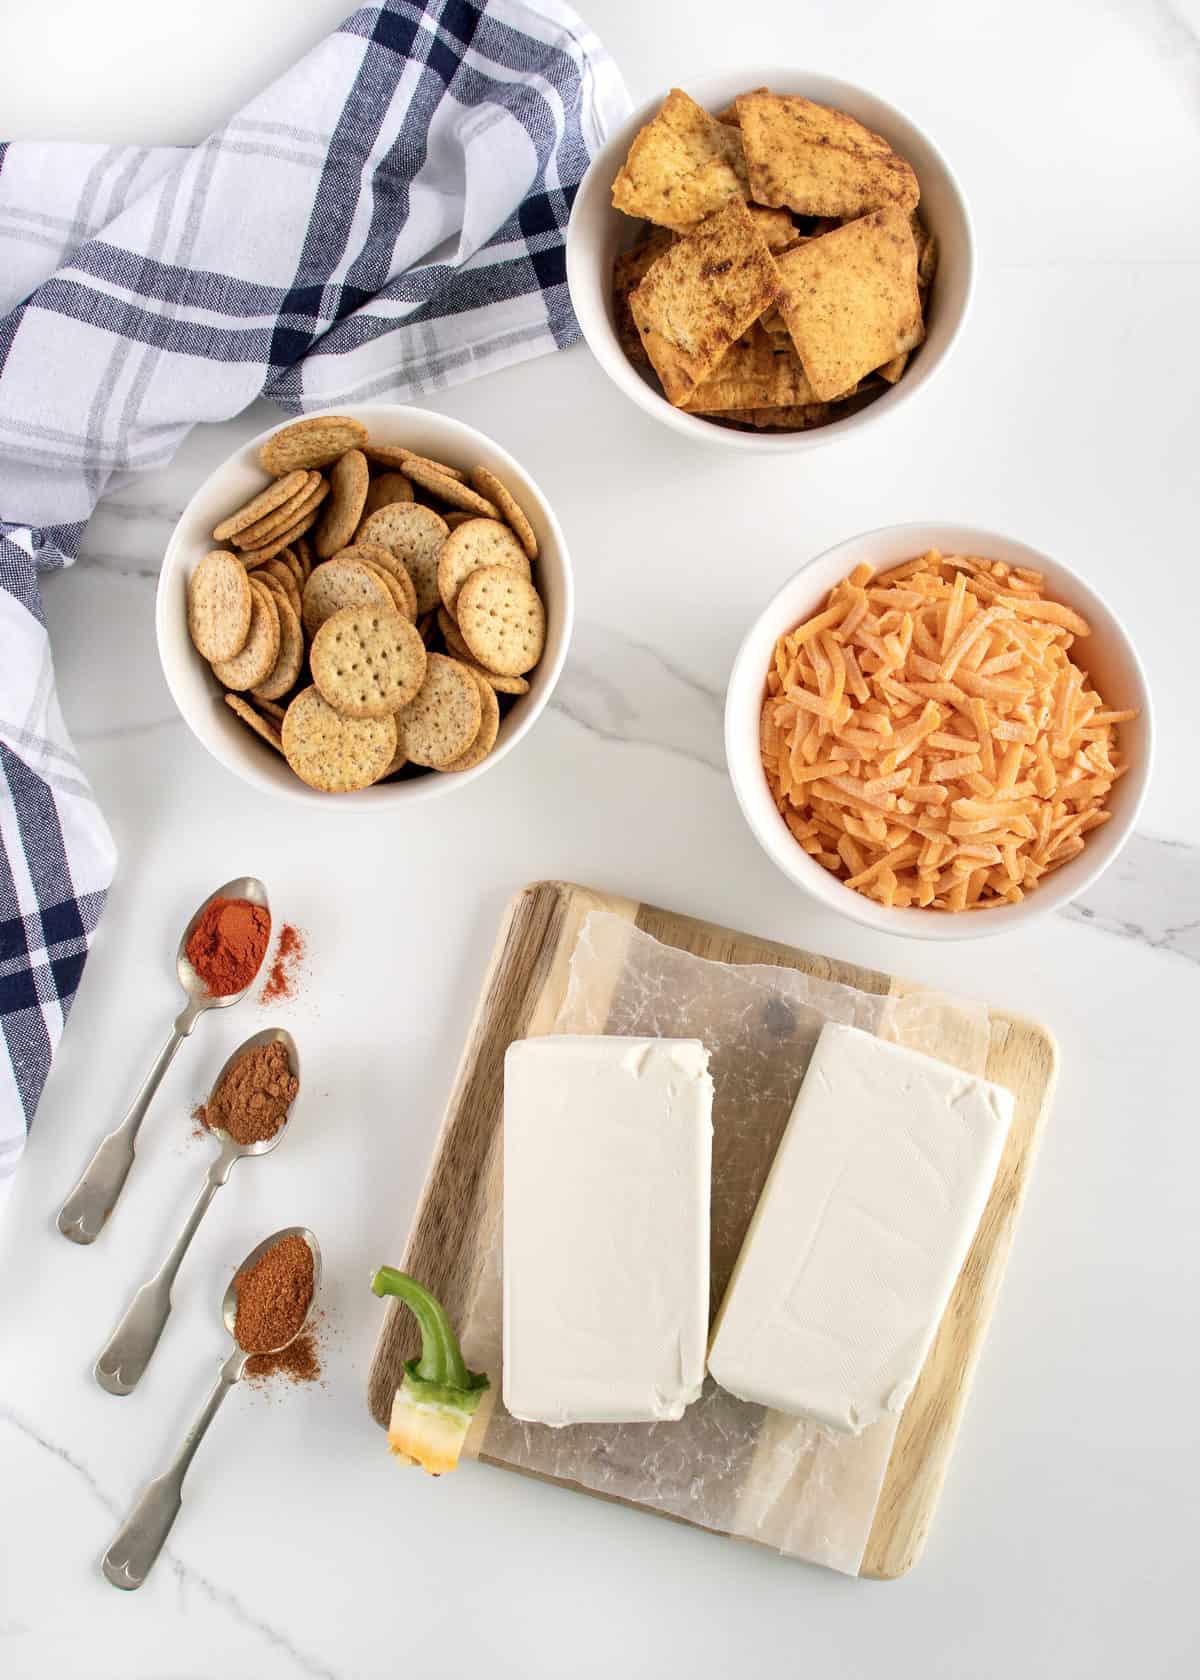
Ingredients:
- Pumpkin spice cream cheese (softened): the creamy, flavorful base that gives the cheese ball its smooth texture and seasonal pumpkin spice flavor. If you can’t find pumpkin-flavored cream cheese, use regular cream cheese and add 2 tablespoons of pumpkin purée plus a pinch more pumpkin pie spice or cinnamon. Let it soften before mixing — this helps everything blend evenly.
- Shredded orange cheddar cheese: adds sharpness, color, and body. It balances the sweetness of the pumpkin cream cheese and gives that beautiful orange “pumpkin” hue. Use sharp or extra-sharp cheddar for more flavor, or try Colby Jack for a milder, creamier version.
- Pumpkin pie spice: Brings warm, cozy fall flavor that ties the pumpkin theme together. You can make your own pumpkin pie spice with my simple how-to.
- Cayenne pepper: adds a subtle heat that cuts through the creaminess and balances the sweetness of the pumpkin spice. If you’re serving kids or don’t want spice, reduce to 1/4 teaspoon or swap for chili powder or smoked paprika for warmth without the heat.
- Paprika: enhances the color and adds mild depth. It gives the cheese ball that rich orange tone that looks perfectly “pumpkin-y”. Smoked paprika adds a deeper, savory note, while sweet paprika keeps it mild and bright.
- Bell pepper stem: the finishing touch that turns your cheese ball into a pumpkin! It gives it that perfect realistic look. You can also use a pretzel rod, celery stick, or even a cinnamon stick for a fun twist. Don’t toss the rest of that bell pepper! Slice it into strips and serve alongside your crackers for a fresh, colorful dipper.
- Multigrain pita crackers, for serving
- Multigrain crackers, for serving
Supplies:
- Large serving platter or wood board
- Large piece of plastic wrap
Quick Tips!
Making this Pumpkin Cheese Ball is so simple, and with a few little tricks, you can make it look (and taste!) extra special. Whether you’re serving it as a show-stopping appetizer, adding it to a festive fall board, or keeping it easy as a dip in a bowl, here are my best tips to help you make it successfully.
- Soft cheese is key: Make sure your cream cheese is softened before mixing so it combines easily and forms a smooth, creamy texture.
- Chill before shaping: After mixing, chill the cheese mixture for at least an hour to make it easier to mold.
- Use plastic wrap: Wrap it tightly in plastic wrap before shaping. It helps form a perfect round shape and keeps your hands clean.
- Pumpkin details: Once chilled, us a butter knife to easily score lines in the cheese ball to create the pumpkin shape. You can also gently wrap rubber bands or kitchen twine around the cheese ball before chilling it to create the pumpkin-like ridges.
- Stem ideas: When it’s time to serve, add your “stem”! A bell pepper stem looks super realistic, but a pretzel rod or cinnamon stick works beautifully too.
Watch Me Make a Pumpkin Cheese Ball
Step into the kitchen with me to make an adorable and delicious pumpkin cheese ball.
How to Make a Pumpkin Cheese Ball
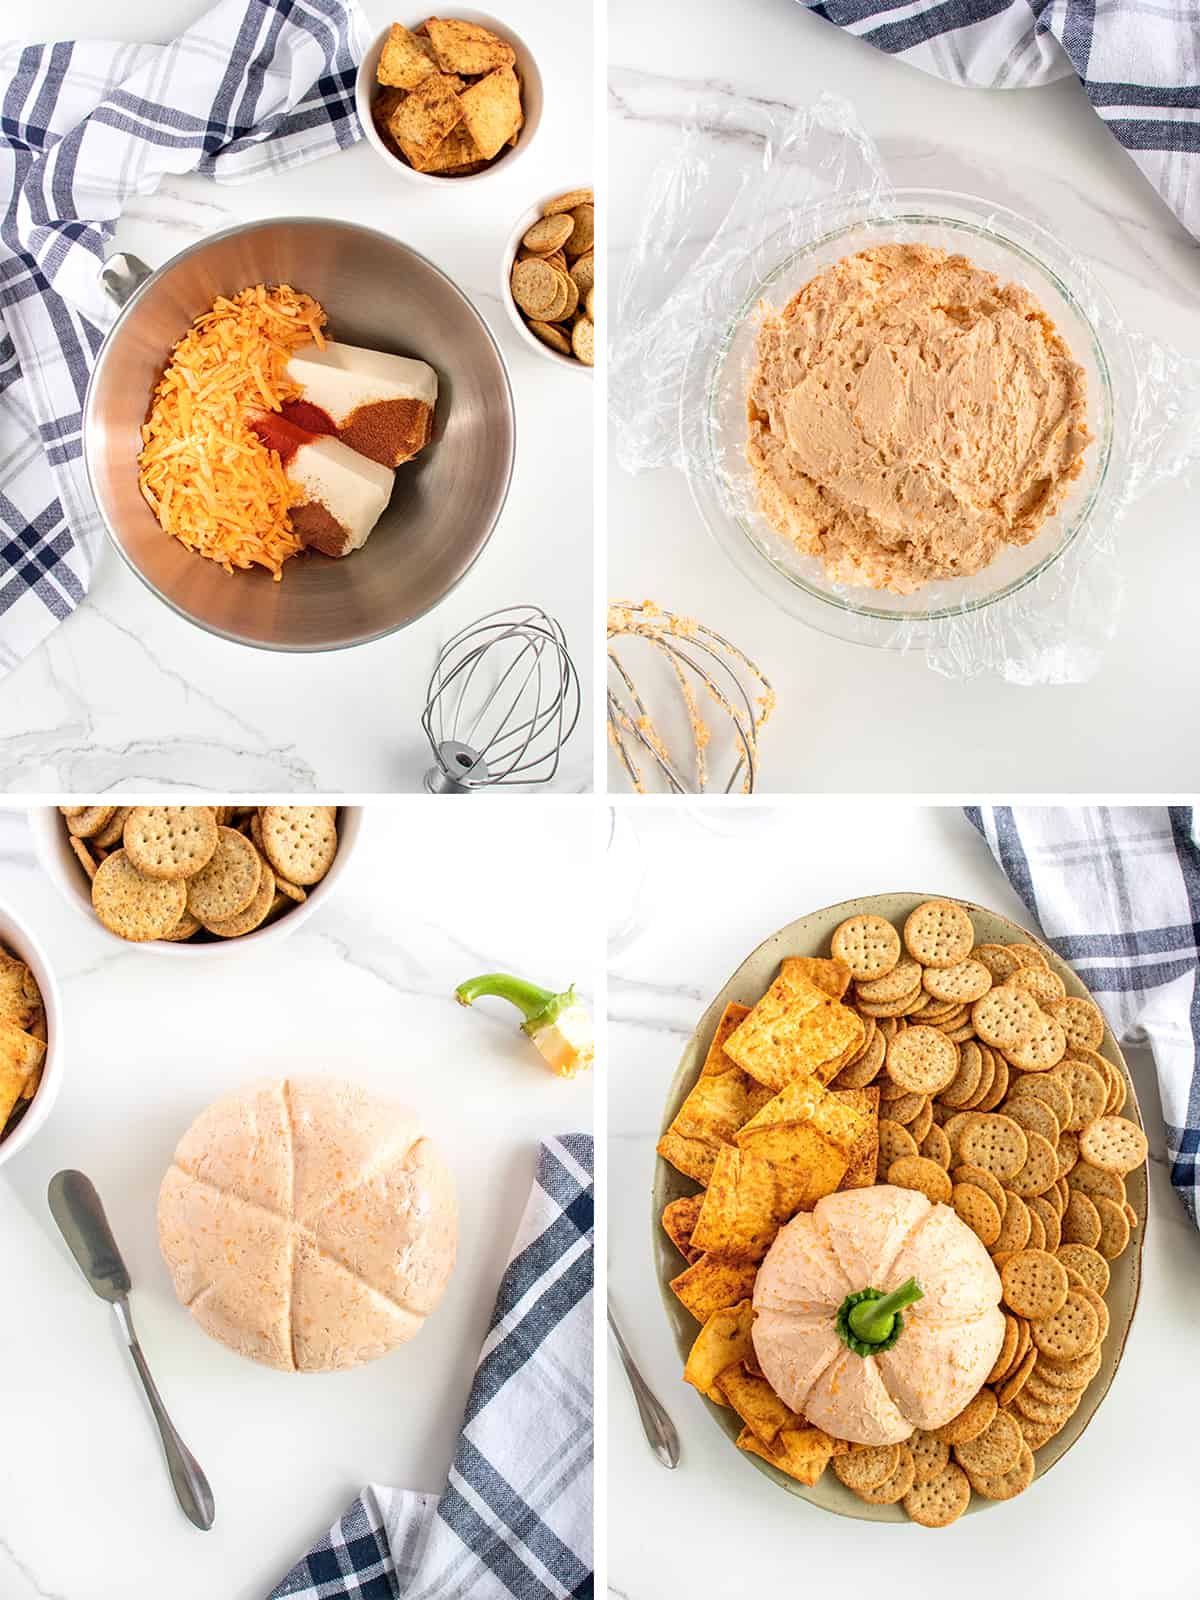
- Using a stand mixer or sturdy spoon, mix all ingredients together until well combined.
- Line a 1.25 quart mixing bowl (7.25”x3”x3”) with plastic wrap and press the cheese mixture into the bowl.
- Form the mixture into a ball with the plastic wrap so that it’s completely covered in plastic wrap.
- Place the cheese ball in the refrigerator for at least an hour.
- Once the cheese ball is chilled, lift it from the bowl with the plastic wrap and place it flat side down on a work surface. Leave the plastic wrap around the cheese ball and with the tip of a butter knife, carve lines down the sides to resemble a pumpkin.
- Lift the cheese ball from the work surface with the palm of your hand and gently remove the plastic wrap. Transfer the cheese ball to the center of your serving platter. Use the butter knife to indent the carved lines even more to look like a pumpkin, if necessary.
- Stick the bell pepper stem in the top of the pumpkin-shaped cheese ball.
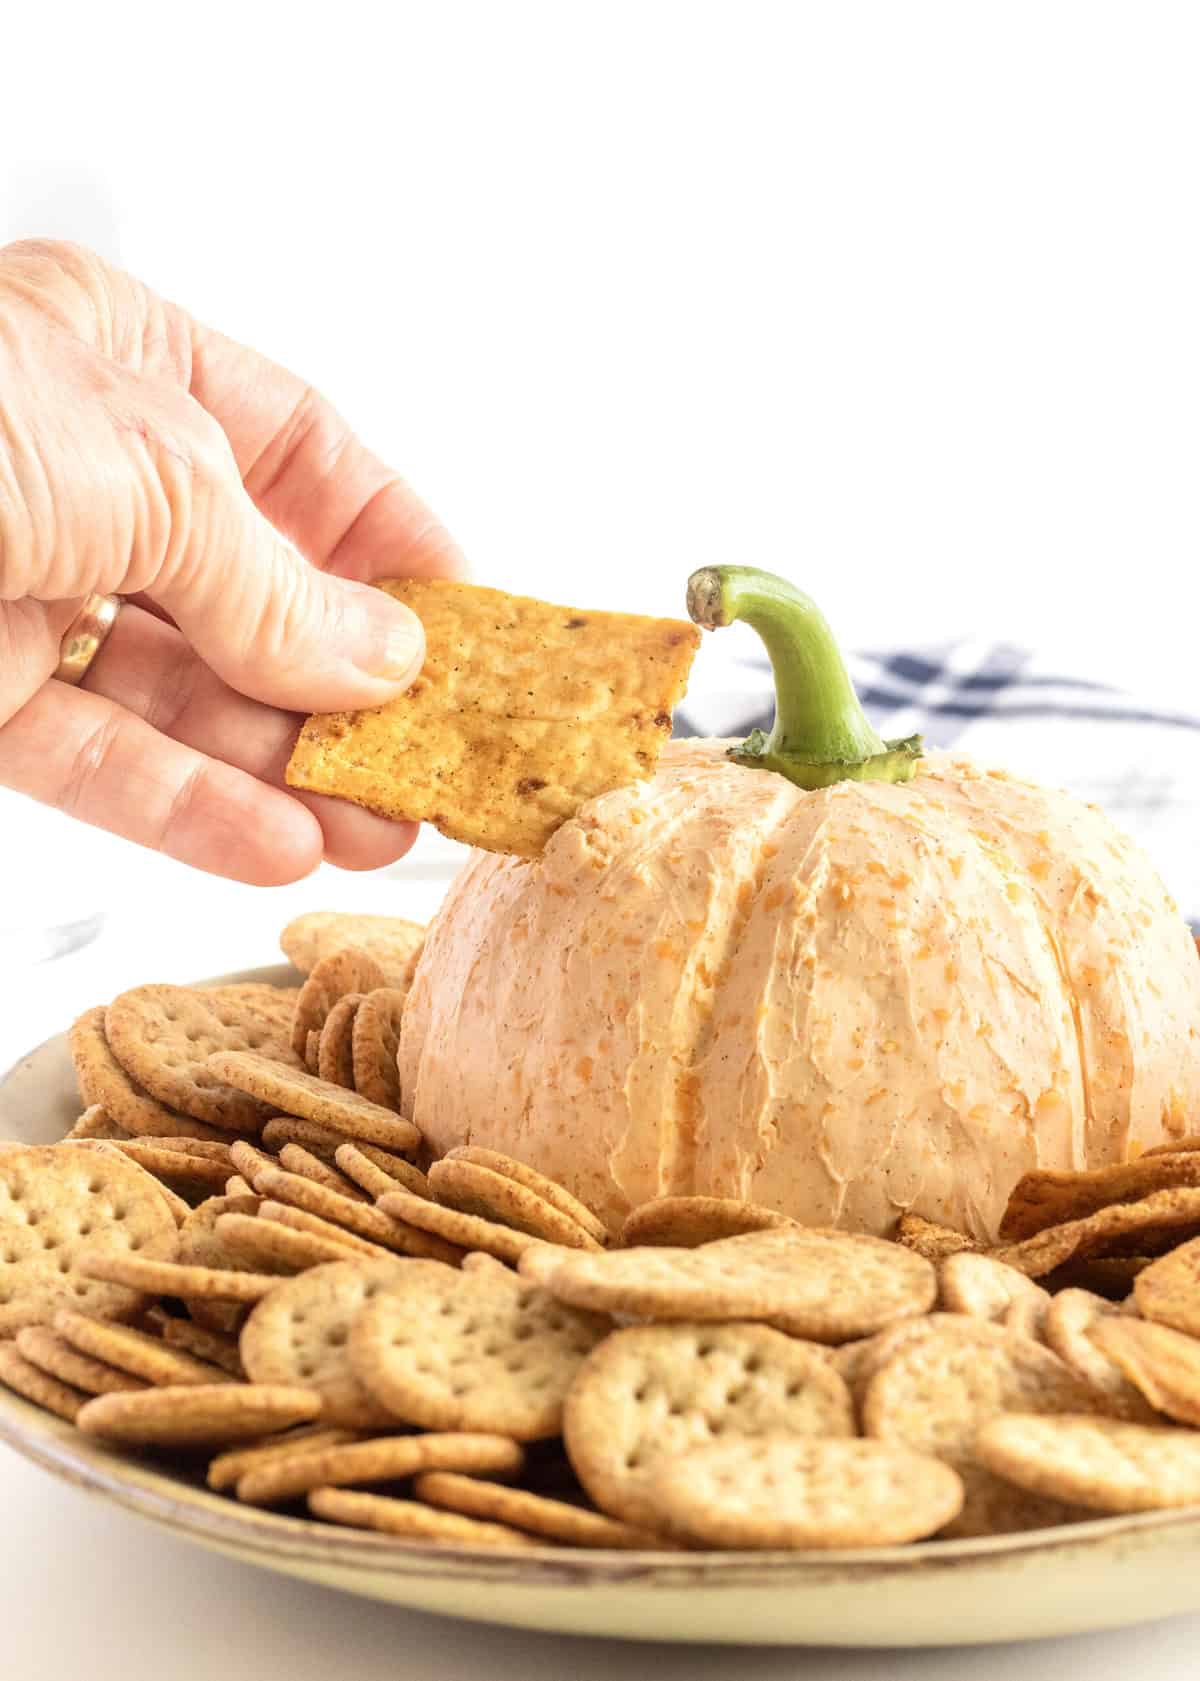
- Serve with crackers and other dippers. Enjoy!
Make Ahead Instructions
You can make the cheese ball up to 2–3 days in advance. Just wrap it tightly in plastic wrap (or place it in an airtight container) and store it in the refrigerator until ready to serve. If you’re shaping it into a pumpkin, wait to add the “stem” or any fresh garnish until serving time so it looks its best.
Serving and Storage
One of the best things about this recipe is that it’s adorable shaped like a pumpkin, but just as delicious served as a simple dip or centerpiece on a board.
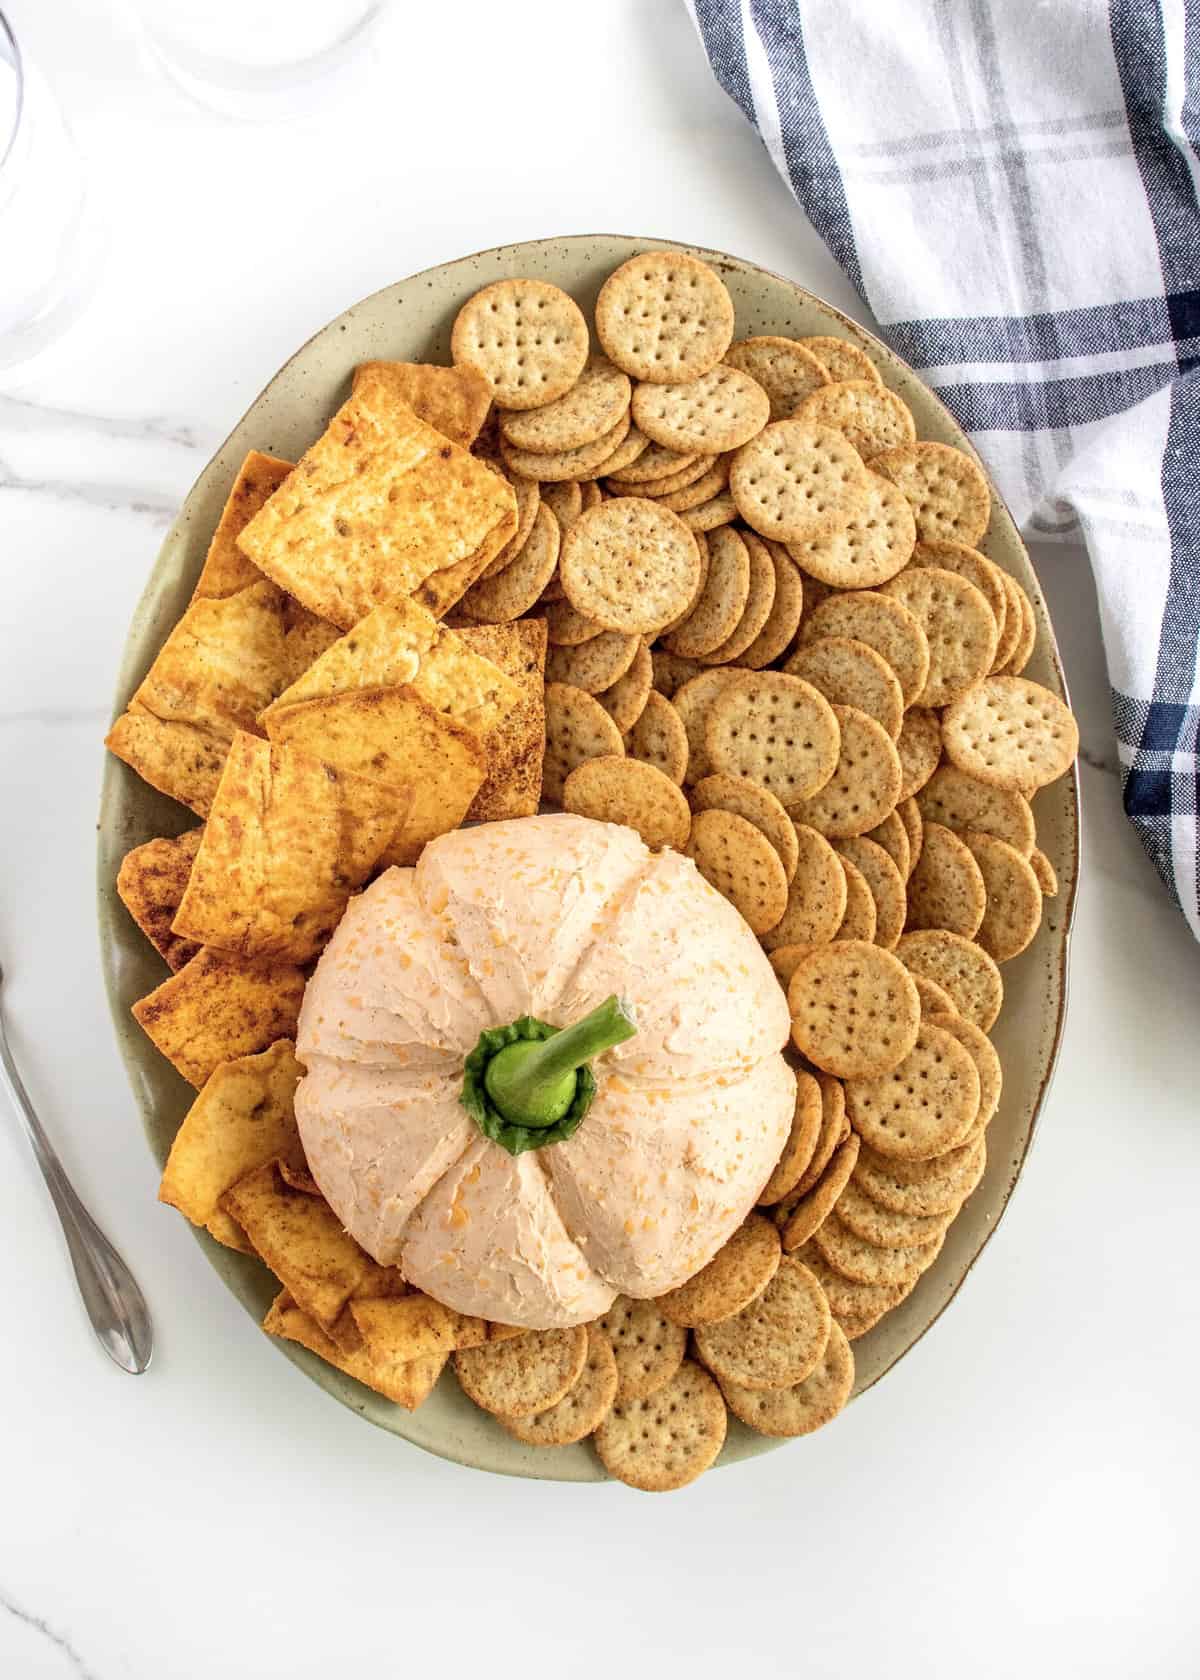
- To serve on a board: Place the pumpkin cheese ball in the center of a large wood board and surround it with fall-colored dippers like pretzels, apple slices, dried fruits, veggies and festive cookies. Check out my Fall Snack Board for all the inspiration.
- To serve as a dip: Skip the shaping and spoon the mixture into a bowl. Top with chopped nuts or pepitas and drizzle with honey or hot honey for a little sparkle.
- Mini versions: Roll the mixture into bite-sized balls and stick a pretzel stick and some parsley in each one like I do in my Thanksgiving Pre-Feast Snacks spread on pages 209-213 in my Spectacular Spreads cookbook. Easy to grab, fun to eat!
Because it’s made with cream cheese, you’ll want to keep it refrigerated until about 30 minutes before serving so it softens slightly. It can safely sit out for about 2 hours at room temperature (or 1 hour if you’re outdoors or it’s a warm day). After that, pop it back in the fridge.
Wrap any leftovers tightly and refrigerate. They’ll stay fresh for up to 5 days. The flavor actually deepens a bit after a day or two!

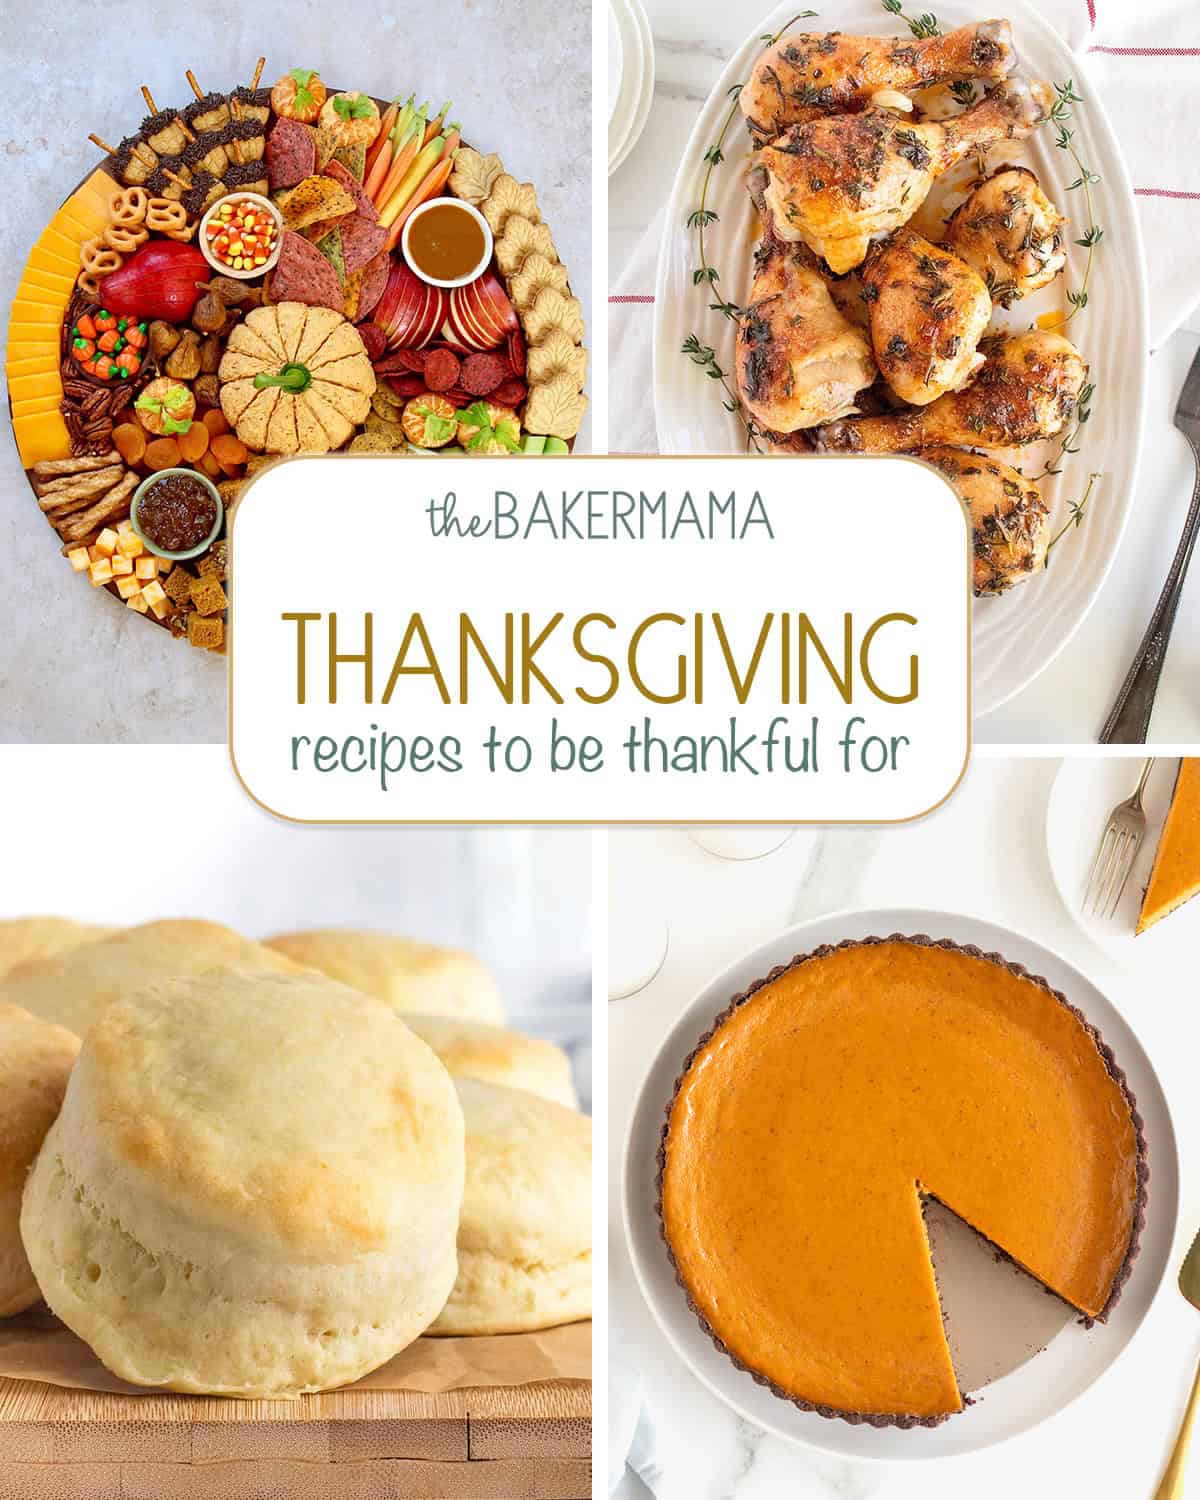
More Thanksgiving Recipes You’ll Love
Let’s get you ready for the big feast with these festive, delicious and easy Thanksgiving recipes everyone is sure to be thankful for!
If you make this Pumpkin Cheese Ball for your Friendsgiving or Thanksgiving feast, be sure to snap a picture and share it with me or tag me on Instagram @thebakermama so I can see.  I love seeing how inspired and creative y’all get with the recipes I share. Have fun and enjoy!
xoxo,

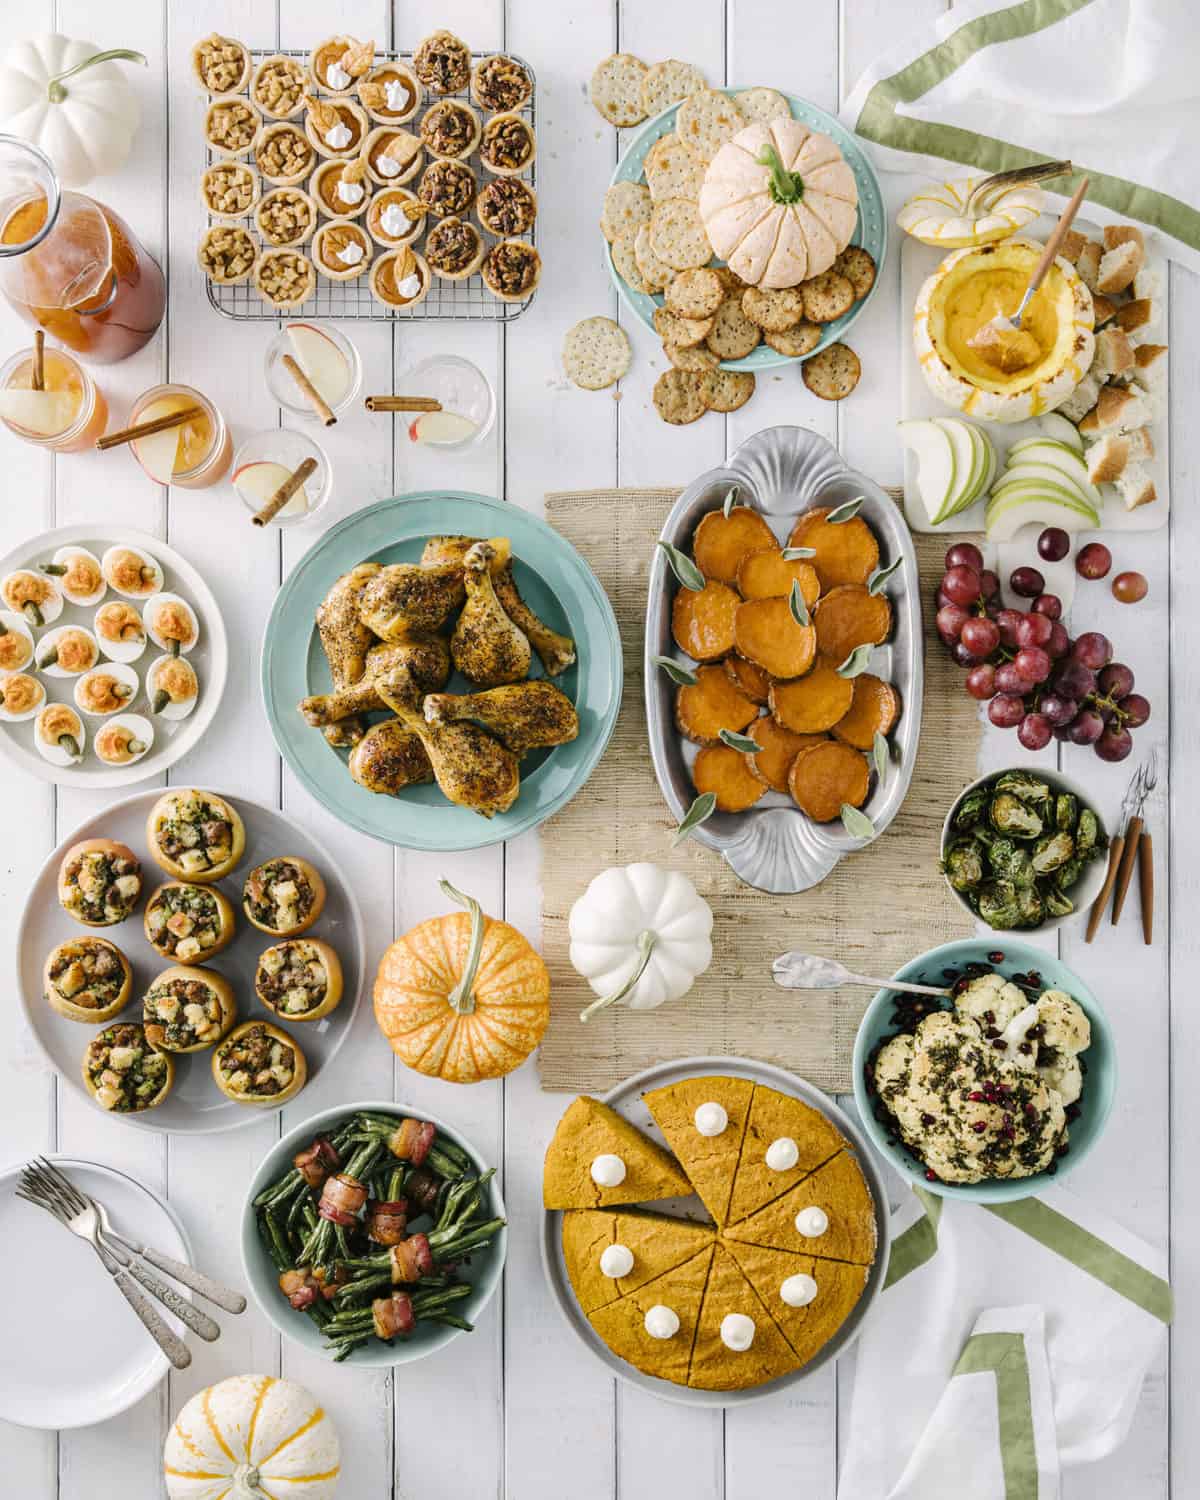
The Friendsgiving Spread
This recipe is part of the Friendsgiving Spread, filled with charming details and inventive and delicious twists on your favorite holiday dishes. From appetizers to the main dish, sides and dessert, everything on the menu is planned carefully so all you have to do it put it together. Or, better yet, make it a potluck affair with your friends, for a meal and a memory you will cherish making together.

Pumpkin Cheese Ball
- Prep Time: 10 mins
- Total Time: 10 minutes
- Yield: 10-12
Description
A hint of pumpkin spice adds some fall pep to this festive Pumpkin Cheese Ball. Perfect for dipping, it makes a fun and delicious appetizer for your Friendsgiving or Thanksgiving get together.
Ingredients
- 16 ounces pumpkin cream cheese, softened (regular will do if you can’t find pumpkin flavored)
- 2 cups shredded orange cheddar cheese
- ½ teaspoon pumpkin pie spice
- ½ teaspoon cayenne pepper
- ½ teaspoon paprika
- 1 bell pepper stem
- multigrain pita crackers, for serving
- multigrain crackers, for serving
Instructions
- Using a stand mixer or sturdy spoon, mix all ingredients together until well combined.
- Line a 1.25 quart mixing bowl (7.25”x3”x3”) with plastic wrap and press the cheese mixture into the bowl.
- Form the mixture into a ball with the plastic wrap so that it’s completely covered in plastic wrap.
- Place the cheese ball in the refrigerator for at least an hour.
- Once the cheese ball is chilled, lift it from the bowl with the plastic wrap and place it flat side down on a work surface. Leave the plastic wrap around the cheese ball and with the tip of a butter knife, carve lines down the sides to resemble a pumpkin.
- Lift the cheese ball from the work surface with the palm of your hand and gently remove the plastic wrap. Transfer the cheese ball to the center of your serving platter. Use the butter knife to indent the carved lines even more to look like a pumpkin, if necessary.
- Stick the bell pepper stem in the top of the pumpkin-shaped cheese ball.
- Serve with crackers and other dippers. Enjoy!
So easy and so good 😊
Hi Agnes! Yay! I’m so happy that it was easy and that you enjoyed it! Thank you for sharing and I hope you had a wonderful holiday!
so cute and fun to make! tasted great too! #TheBakerMamaRecipeChallenge
Hi, Lily! It does make such a cute addition to the party, right? I am so happy you had fun making it and that it was yummy. Thank you for sharing.
tested the recipe this weekend and it turned out great! planning on making it for Thanksgiving 🙂 #TheBakerMamaRecipeChallenge
Hi, Ella! Happy to hear it turned out great. Can’t wait to hear how it goes on Thanksgiving! Happy holidays!
So cute and delicious!
Made for Friendsgiving, it was a hit!
I added the bacon bits and chives.
#TheBakerMamaRecipieChallenge
Hi, Vanessa! Oh, I love the idea of adding bacon bits and chives – so delicious! Thrilled it was part of your Friendsgiving celebrations. Thank you for sharing.
This was the perfect appetizer for my Friendsgiving get together! I served it with crackers and veggies and it was super cute and delicious!
#TheBakerMamaRecipeChallenge
Hi, Adrienne! Yay! I’m so thrilled it was part of your Friendsgiving celebration and that you enjoyed it so much. Thank you for sharing! ❤️
I made this for my Friendsgiving party and it was a big hit! #TheBakerMamaRecipeChallenge
Hi Alvy! I’m so glad to hear it was such a hit at your Friendsgiving! Thanks for making it and sharing your success!
Can I make this ahead and how long can I keep it refrigerated ?
Hi Mary Beth! Absolutely! Just wrap it tightly in plastic wrap or put it in a sealed container and store in the refrigerator for at least a week. Enjoy!