
Once you learn how to Cook Runny Eggs in a Mini Muffin Pan, breakfast will never be the same! In this Basics by The BakerMama, I teach you this easy egg method that makes quick work of feeding a crowd for a holiday breakfast or a weekend brunch!
Basics by The BakerMama
Welcome to Basics by The BakerMama! I created this how-to series to help beginner cooks hone their skills, make the most of their time in the kitchen, and create great family memories. I hope you enjoy!
Save Time and Effort
Y’all know how much I love my eggs sunny side up. The yolk is hot and runny, and the edges of the whites are crisp. But they require a bit of a gentle touch, and there’s not always time for that! Learning how to cook runny eggs in a muffin pan saves time and effort. And they’re so delicious!
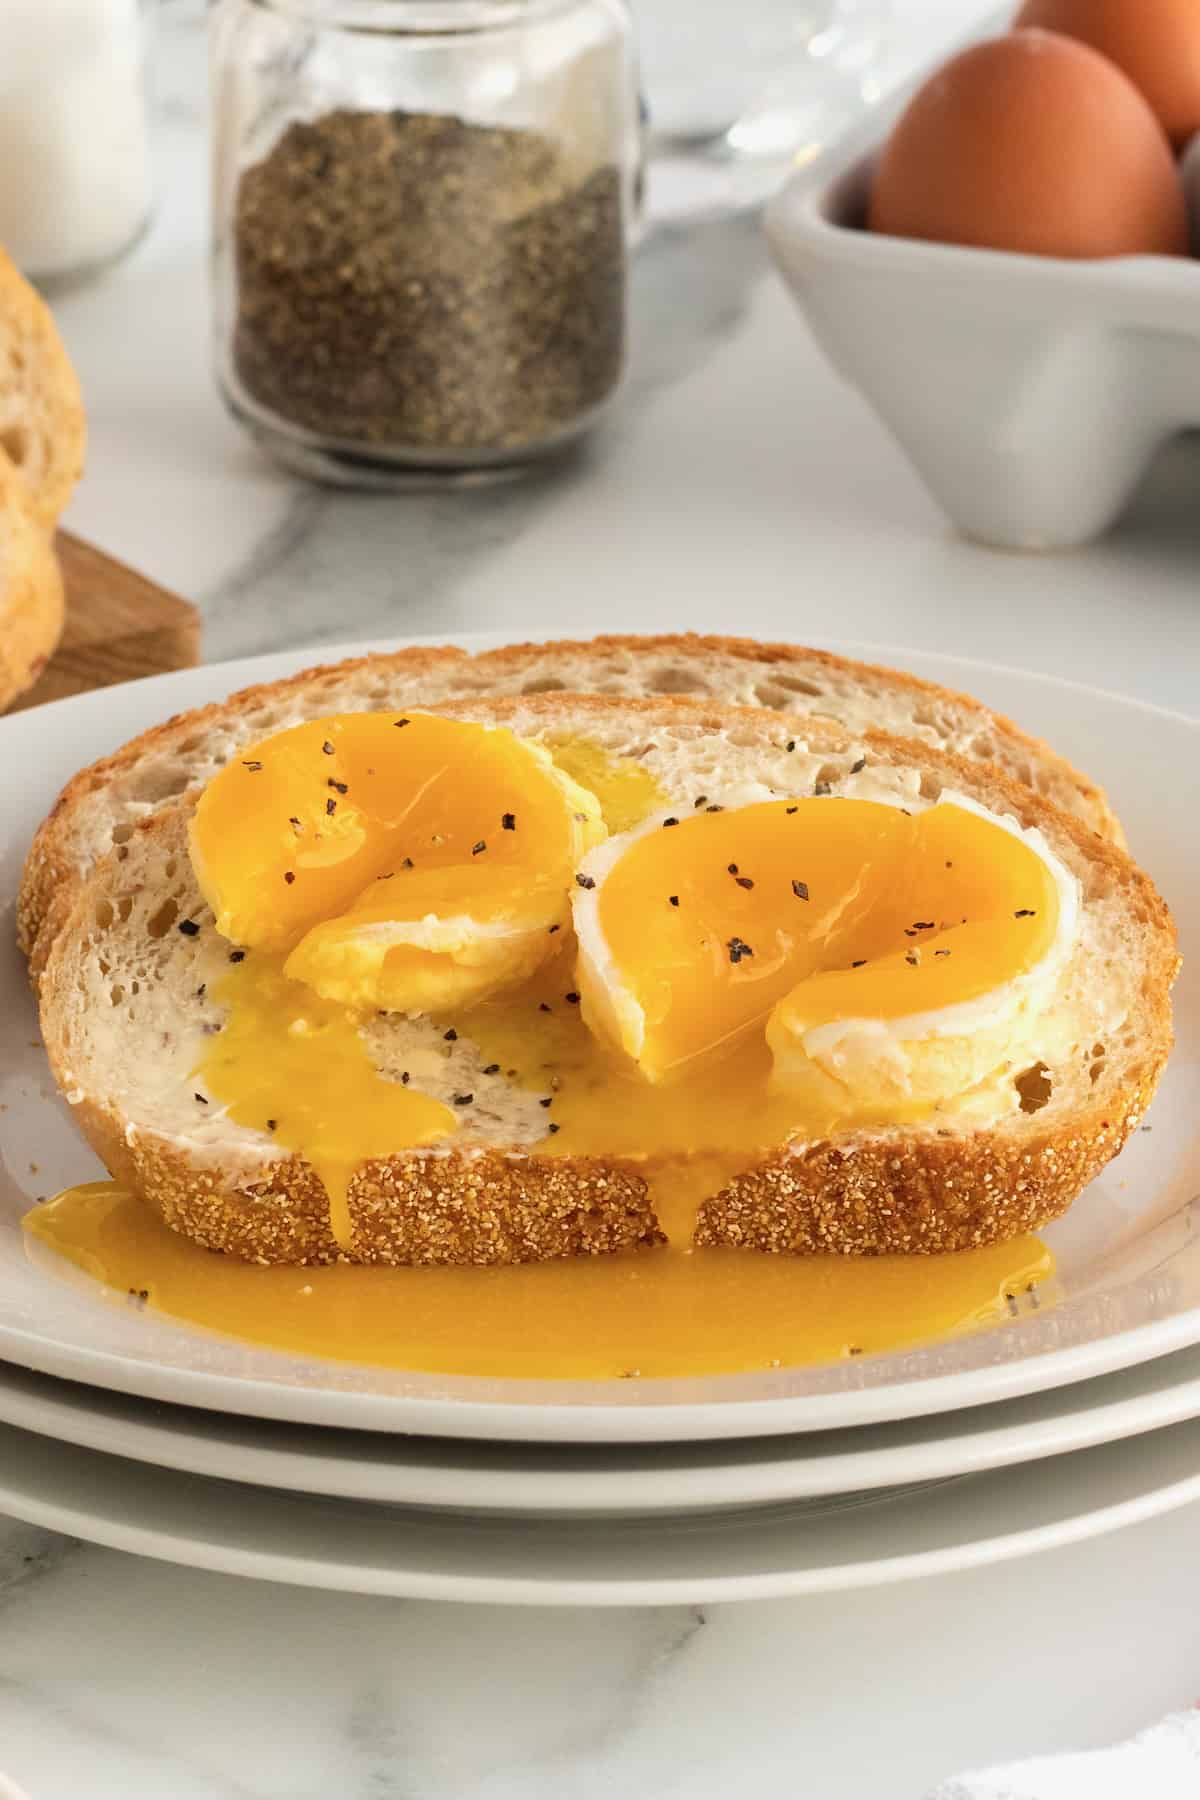
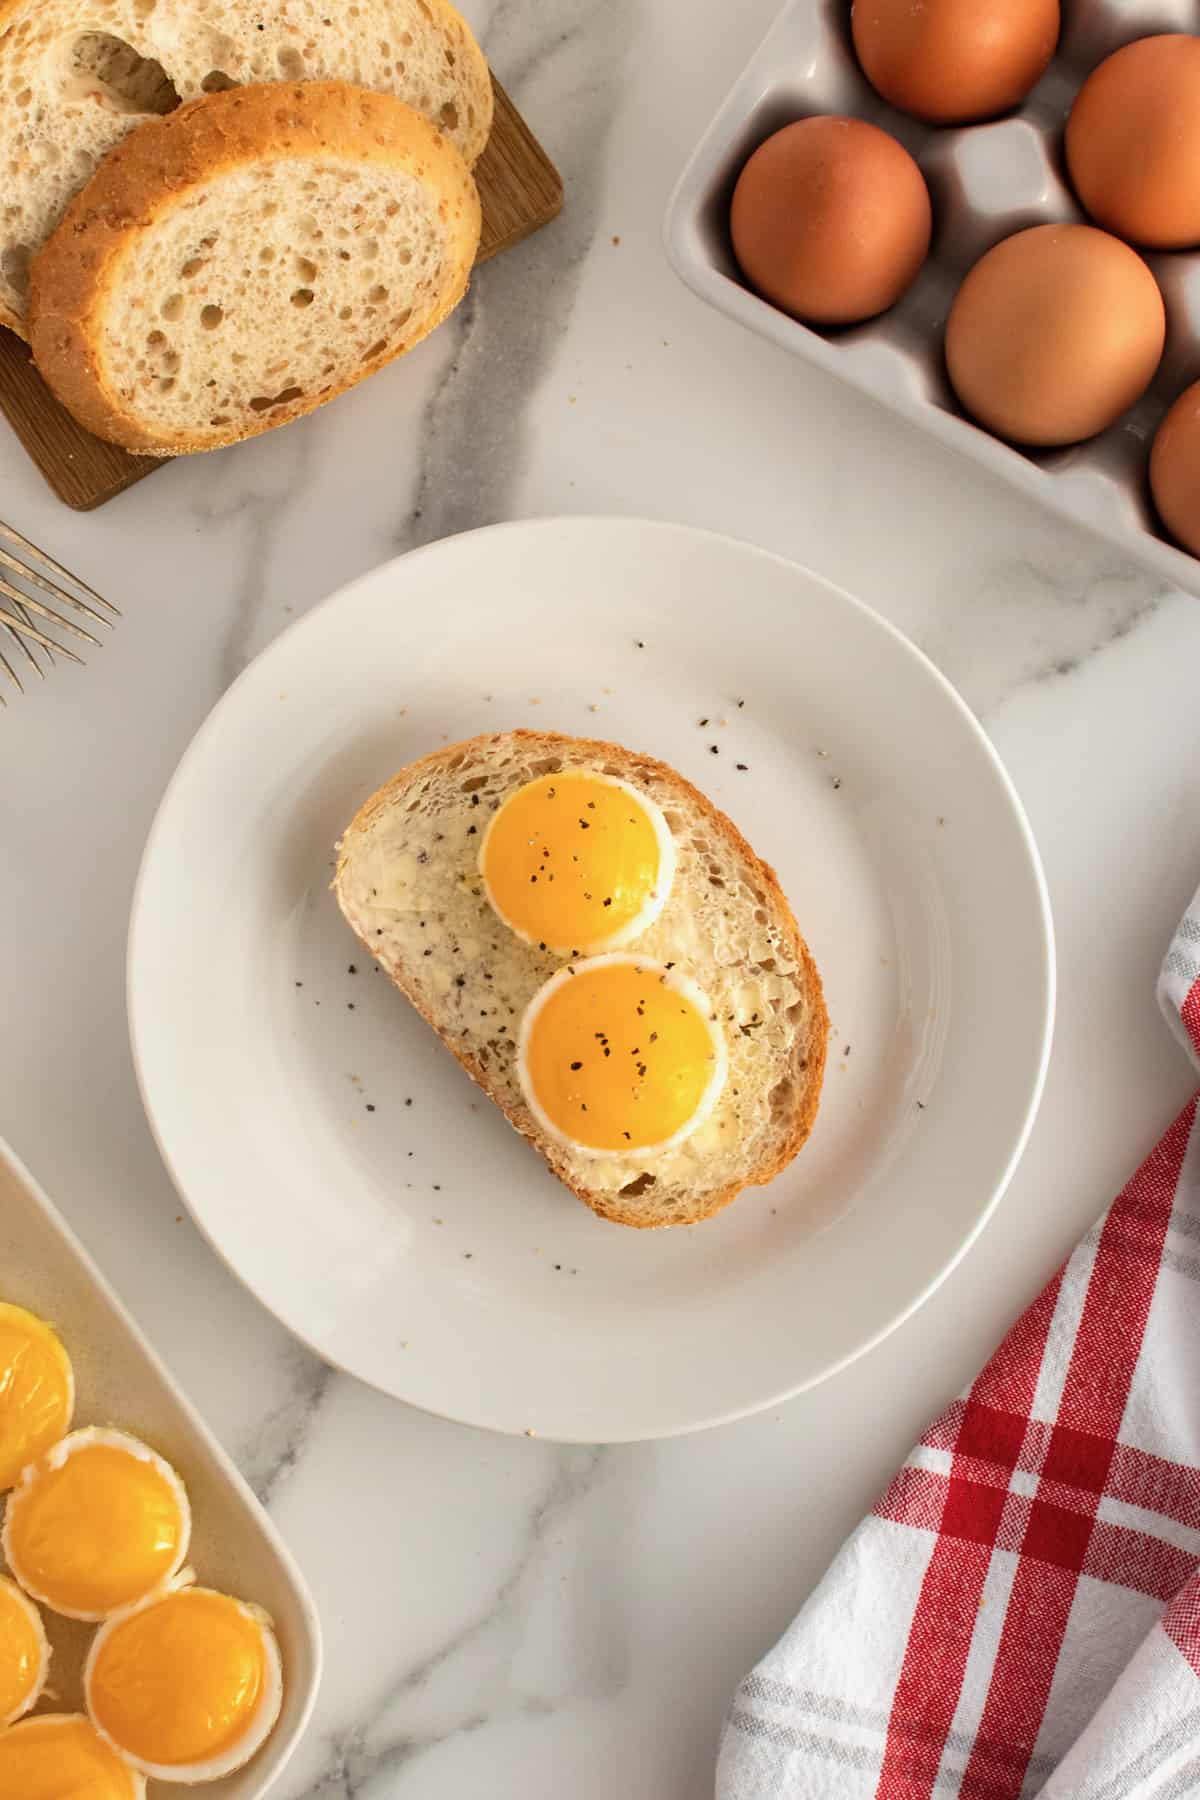
I absolutely love this method for cooking eggs! It’s fast and easy. And when you’re done, you have these perfectly formed runny egg bites that go beautifully on toast or a biscuit or served up next to some bacon and breakfast potatoes.
Ingredients and Supplies
(see recipe card at the bottom of this post for measurements and details)
Ingredients:
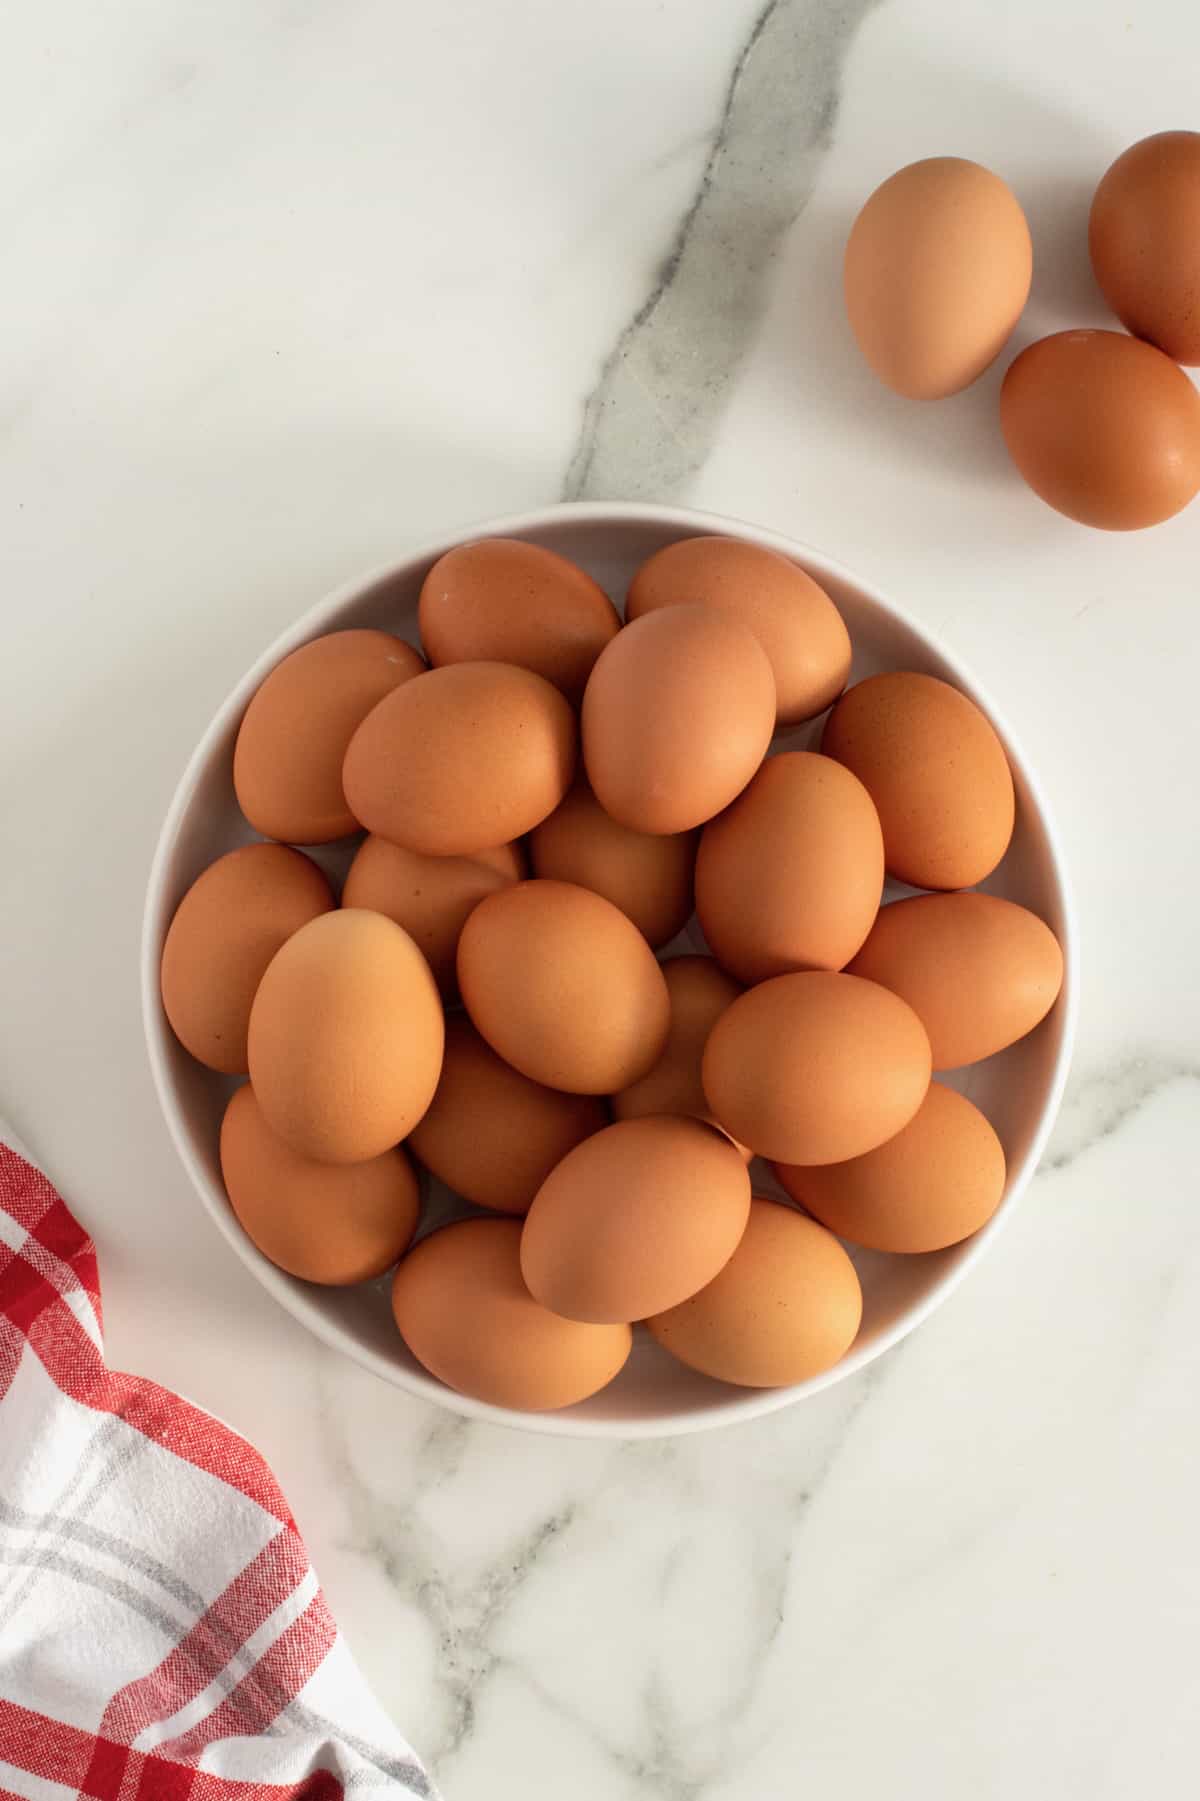
- Egg Yolks
Supplies:
- Mini muffin pan
- Non-stick cooking spray
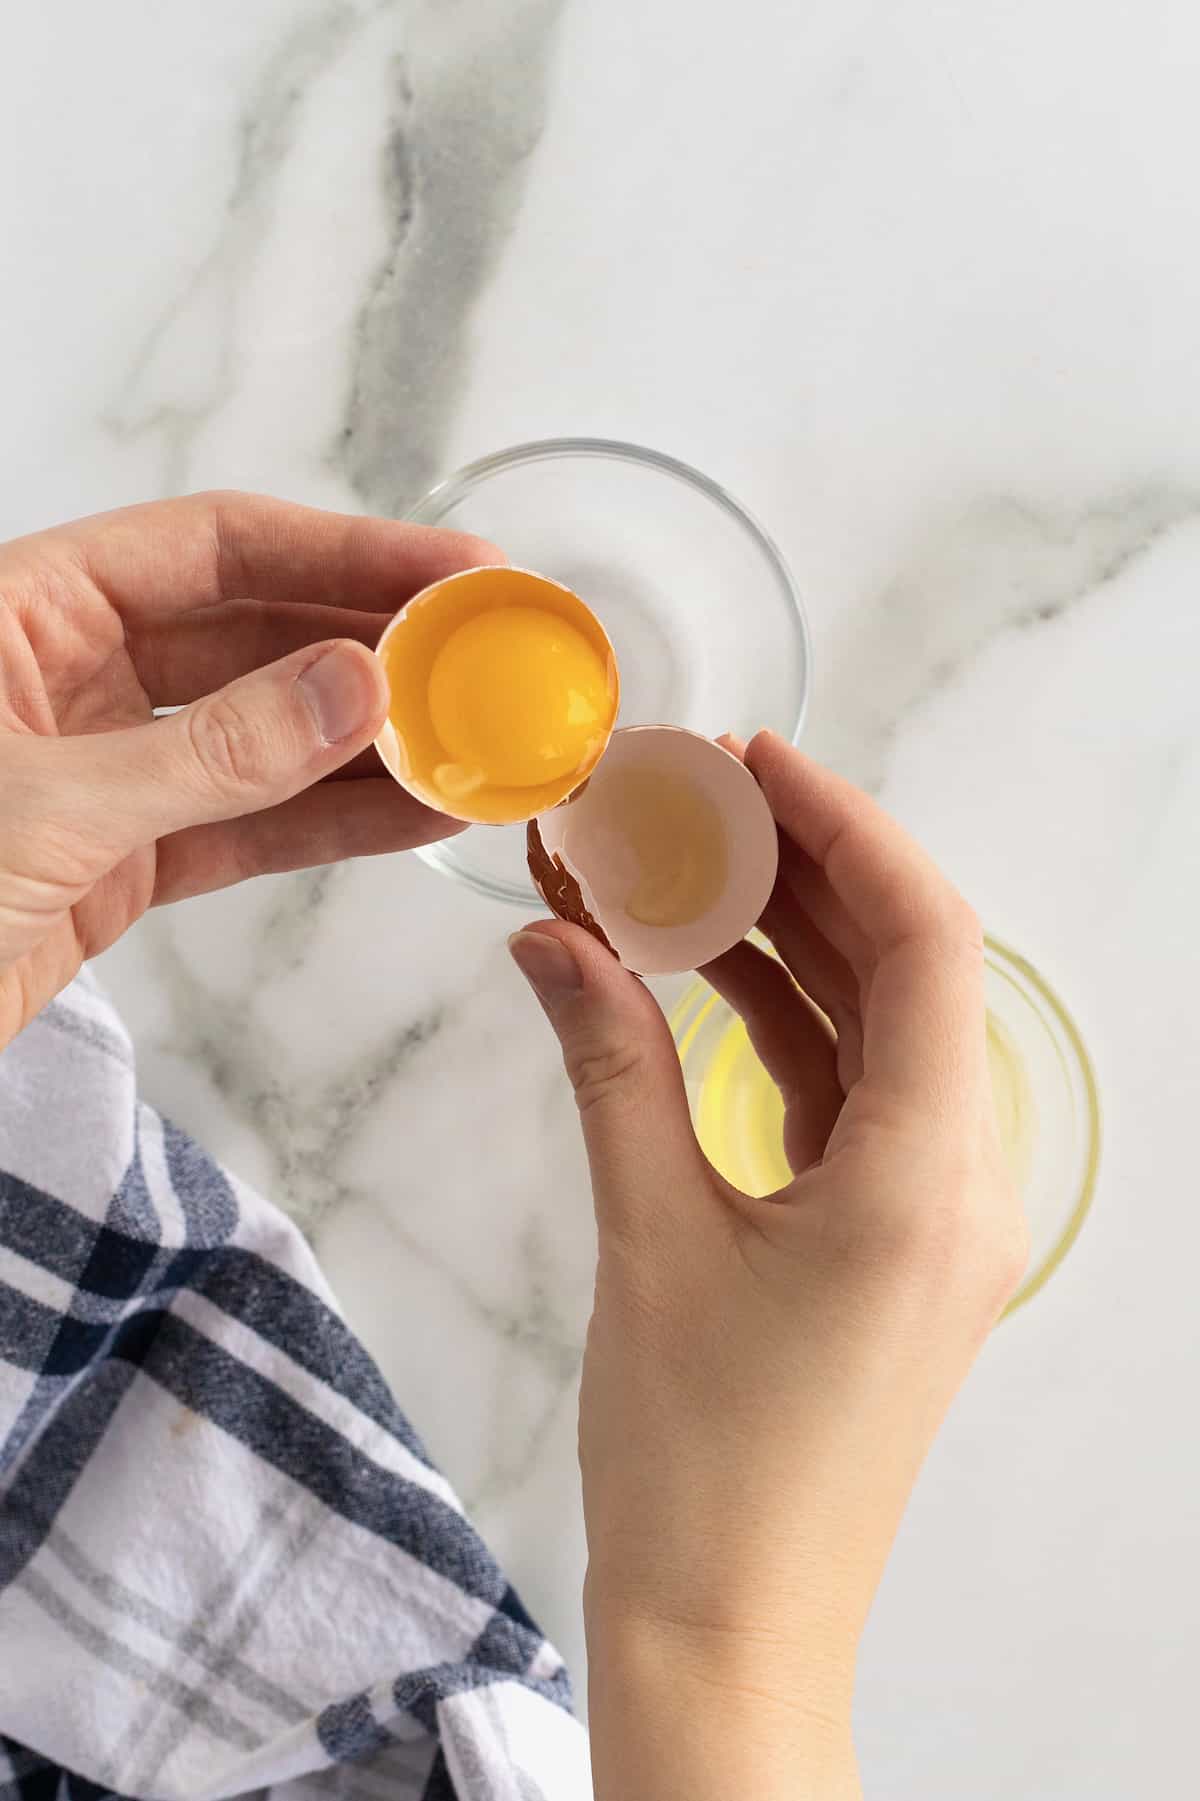
Tips & Tricks: How to Separate an Egg
- Hold the egg gently yet firmly in your dominant hand. Crack the egg against a flat surface in one swift confident tap.
- Holding the egg over a bowl, use your thumbs to crack the egg open and upward while keeping the yolk intact in one half of the egg shell.
- Carefully pour the yolk back and forth between the shell halves, allowing the egg white to fall into the bowl underneath the egg.
- Do this a few times until the yolk remains by itself in the shell.
- You could also use a handy clip-on egg separator which is one of my favorite kitchen gadgets.
How to Cook Runny Eggs in a Muffin Pan
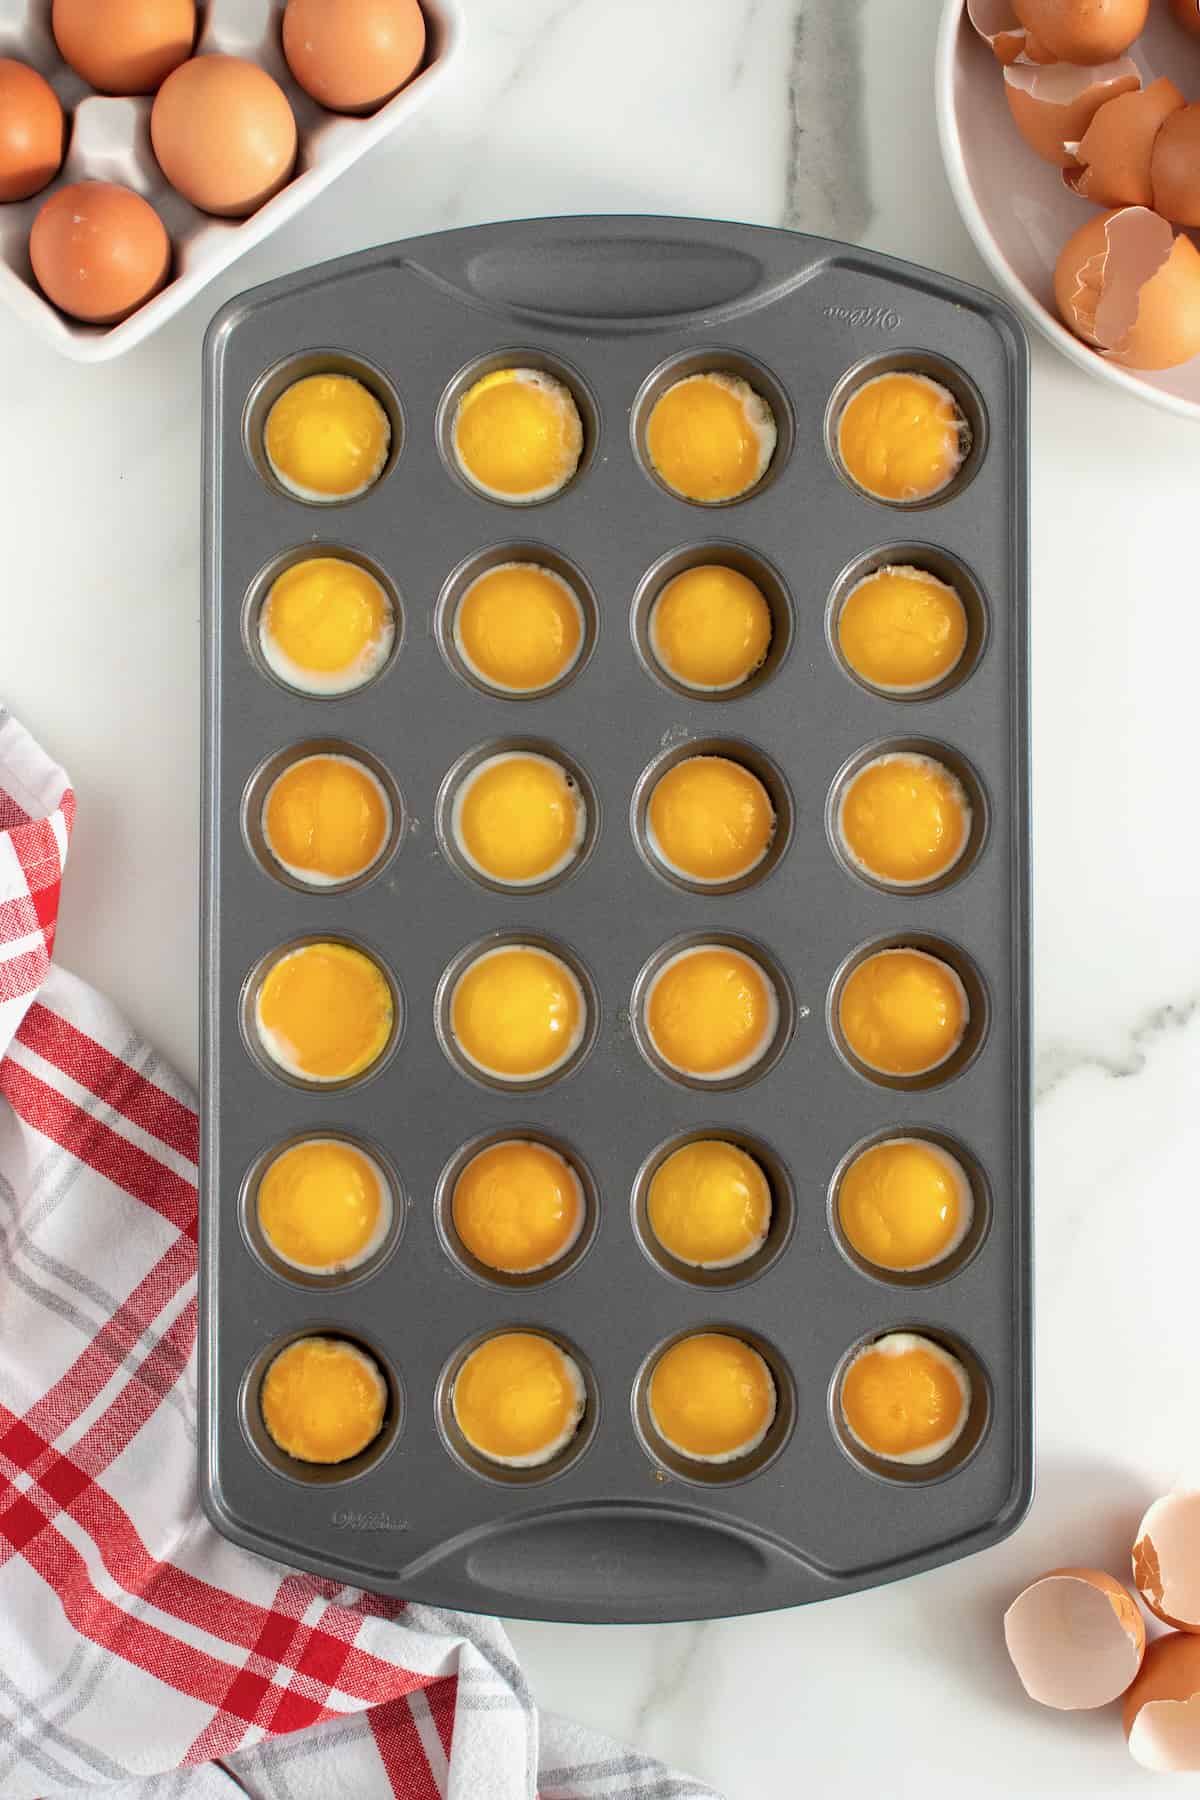
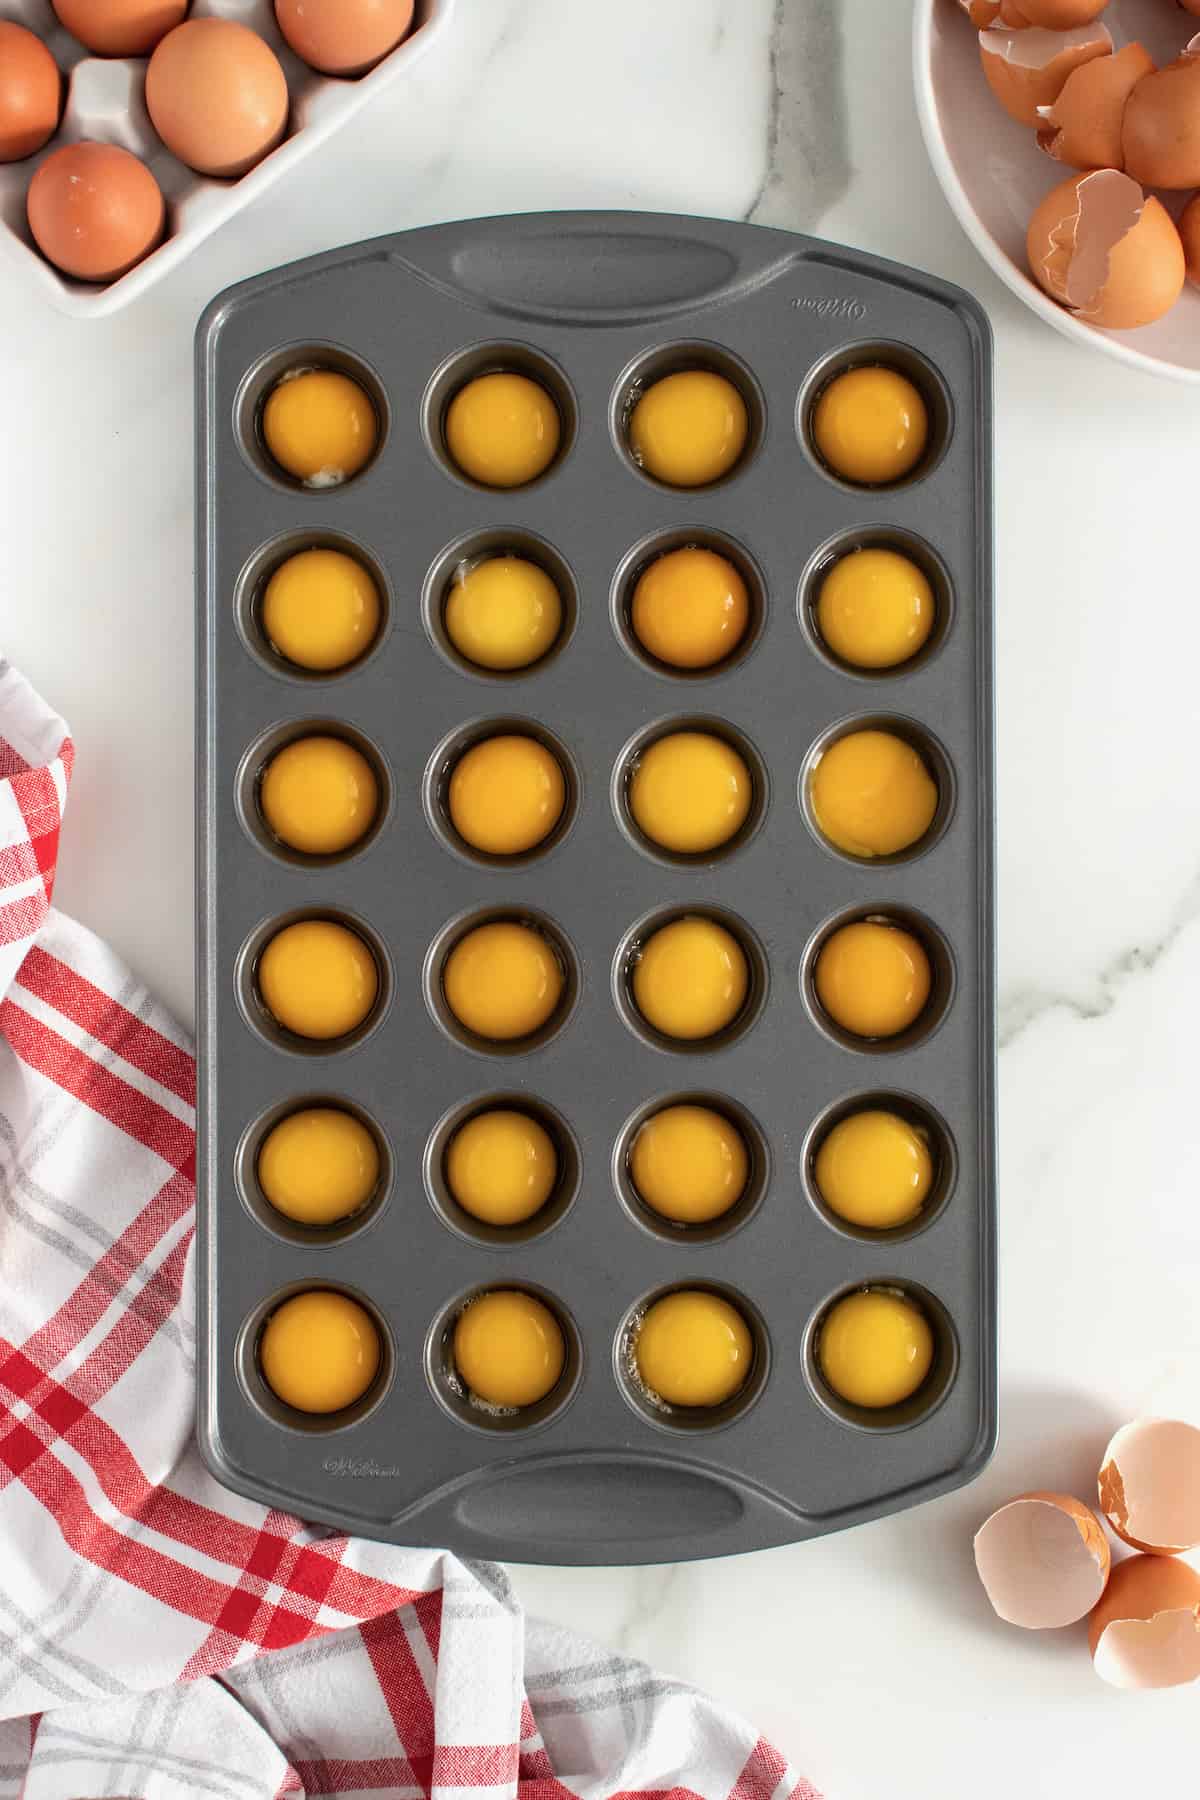
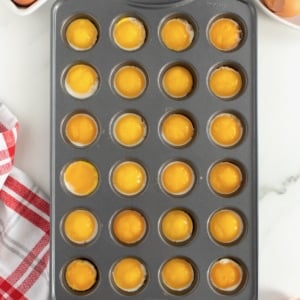
- Preheat the oven to 350°F. Spray a 24-cup mini muffin pan with non-stick cooking spray.

- Cracking one egg at a time, separate the egg white from the egg yolk and then place an egg yolk in each of the mini muffin cups.
- Repeat with remaining eggs. You can use the egg whites for another recipe or enjoy them cooked in another method, if desired.
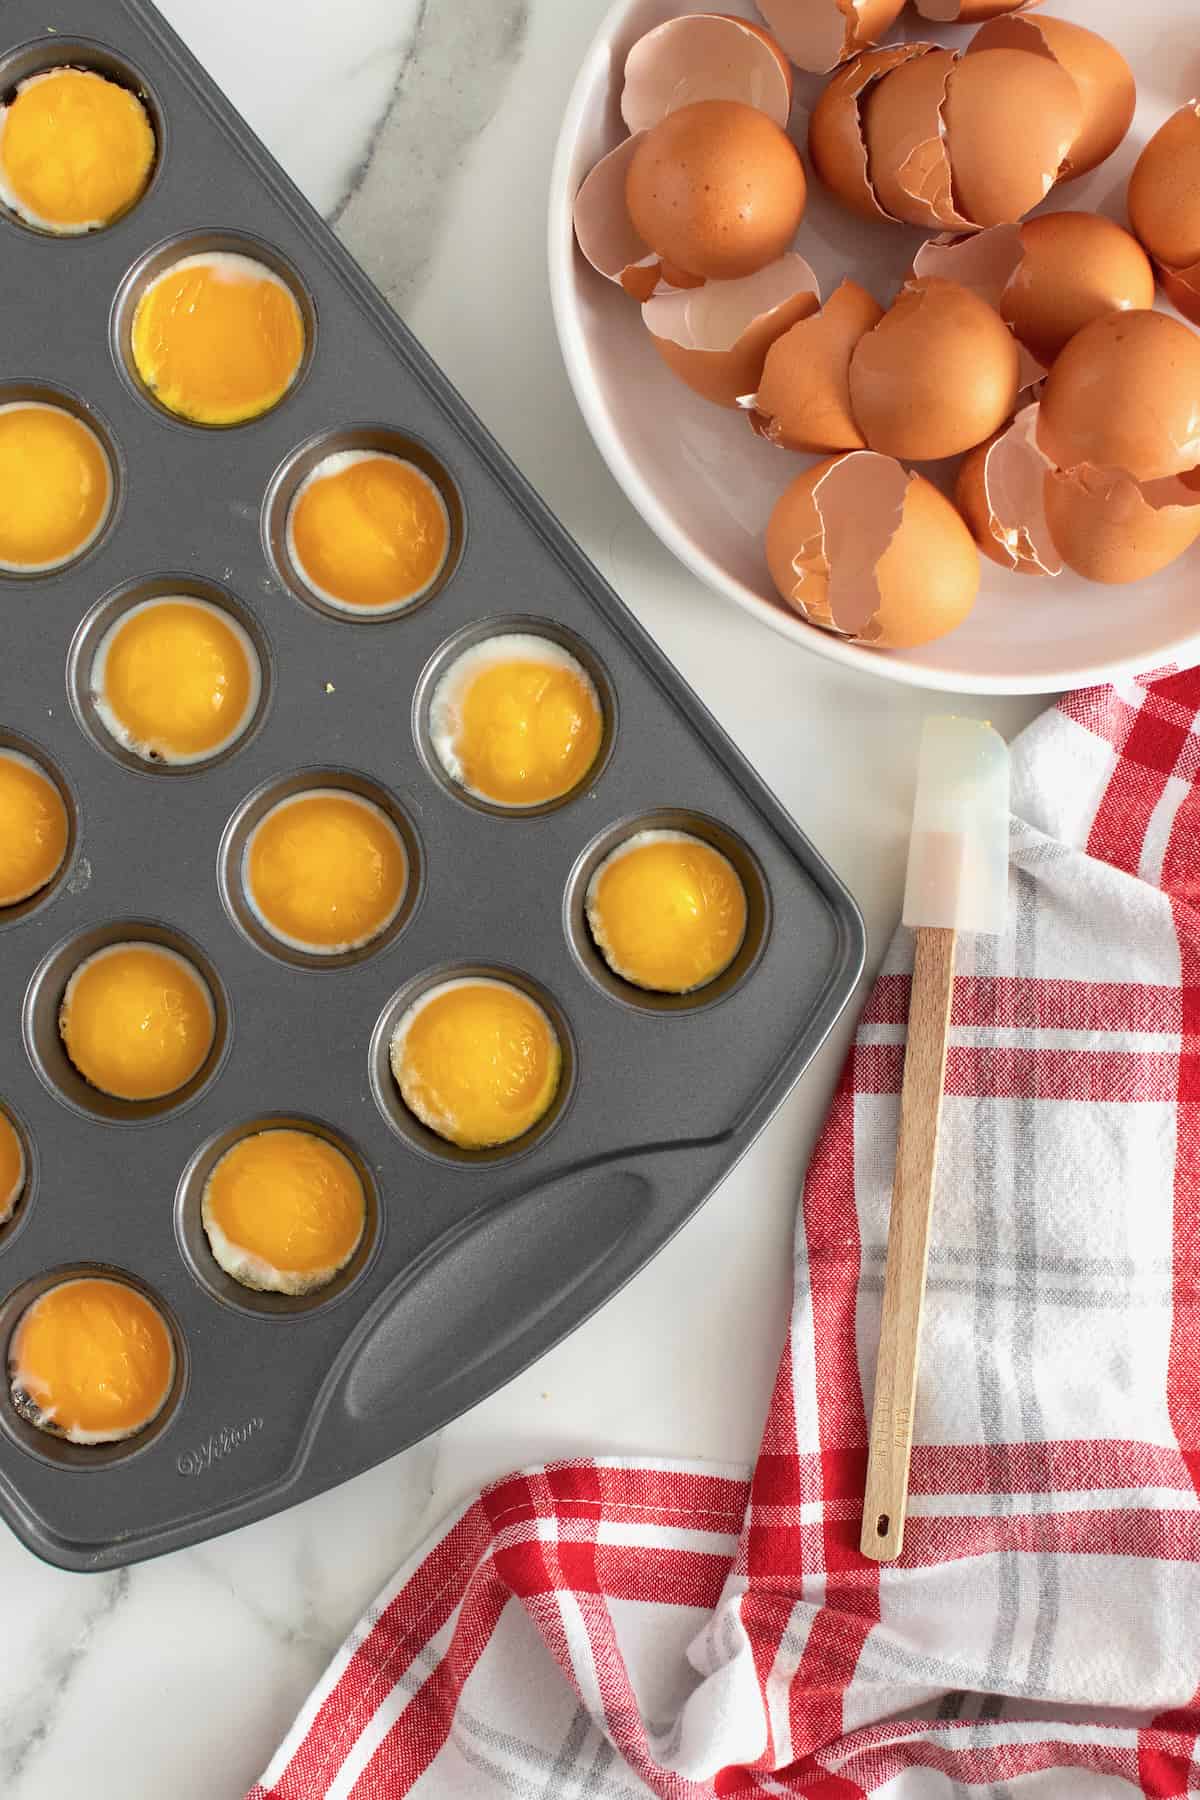
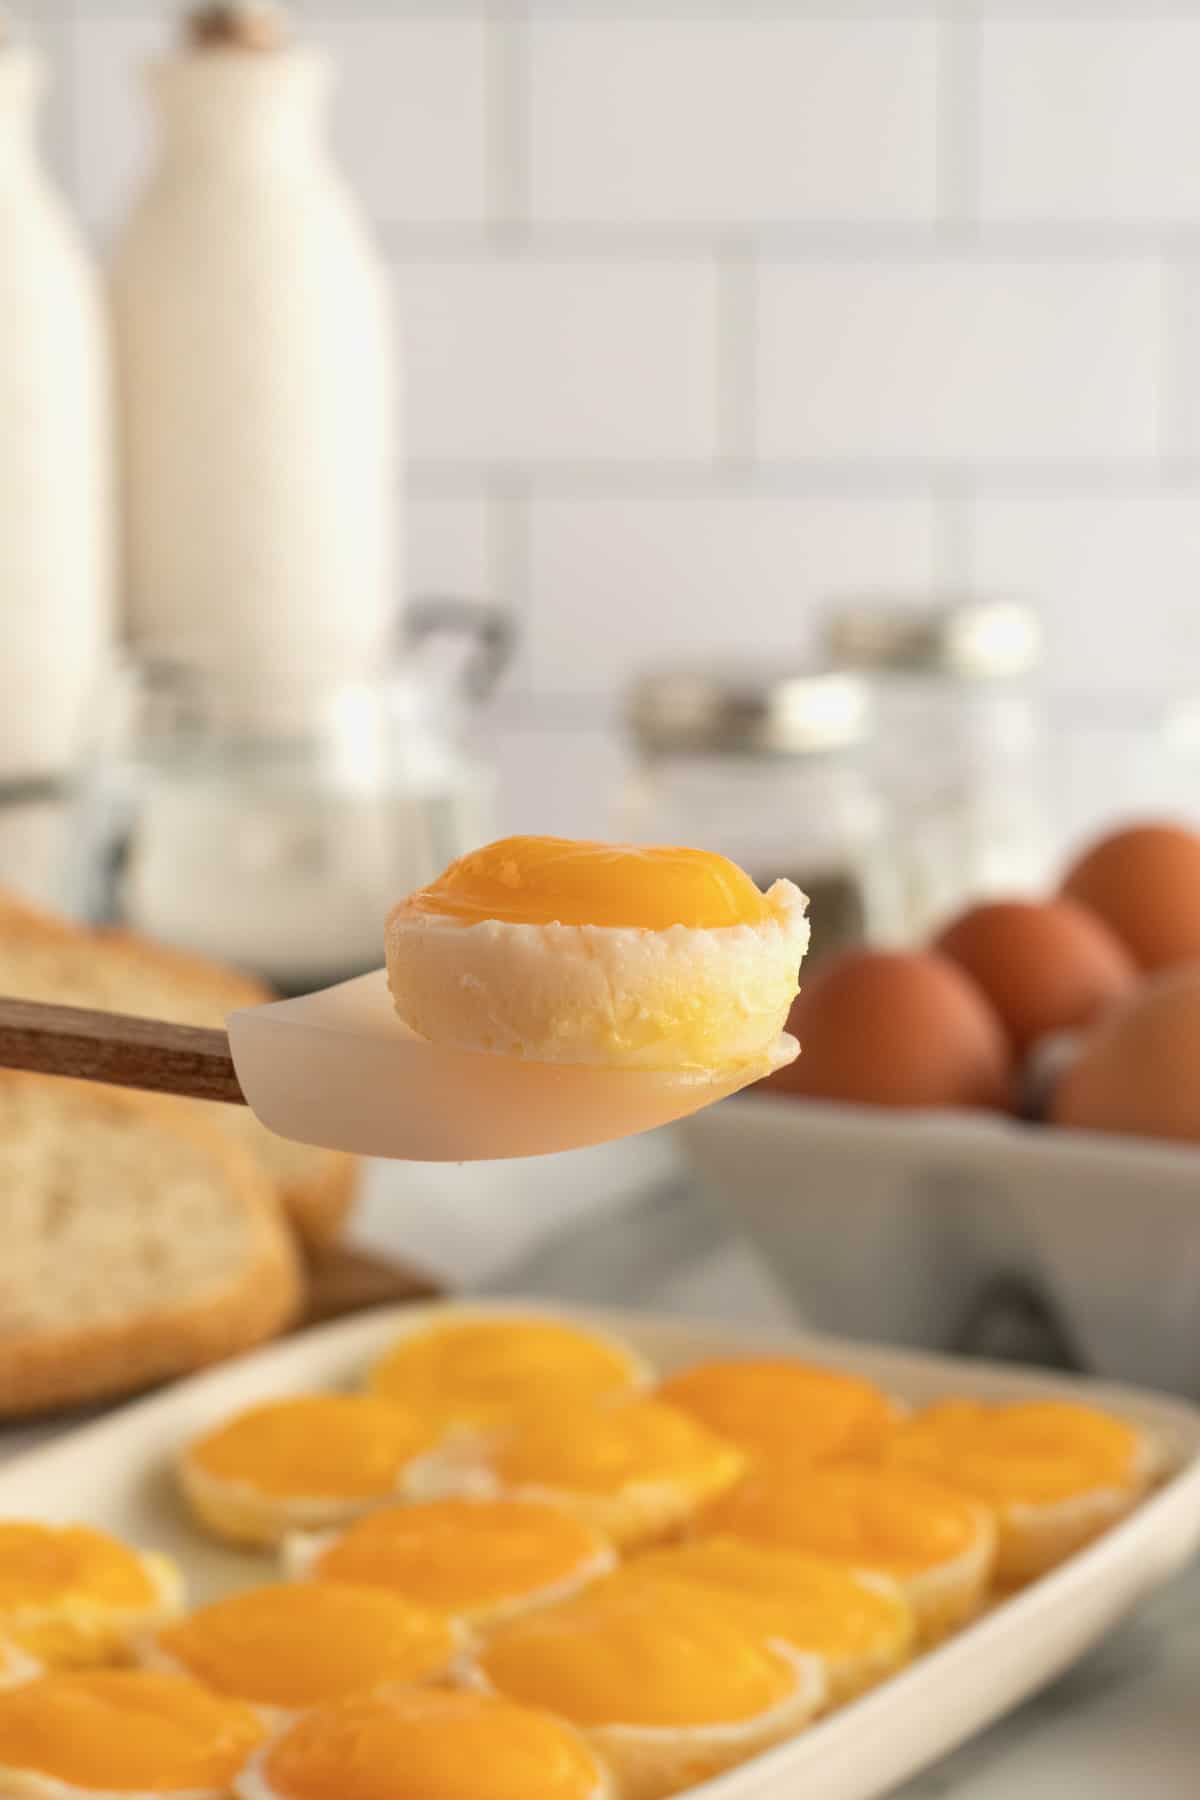
- Bake for 5-7 minutes until the white rim around the yolks are set but the yolks are still runny.
- Let set in the pan for at least 5 minutes before running a spatula around the edges and carefully removing from the pan or leave in the pan until ready to serve.
What to Serve with Runny Eggs
Eggs go with just about anything. Your favorite breakfast carbs, some salty meats and sweet fruits, for a start. Here are some of my family’s favorite foods to serve with eggs:
- With Baked Bacon: Oven baked so it makes perfectly crisp, beautiful bacon every time! Or for a bit of sweetness, try Baked Maple Brown Sugar Bacon. It’s heavenly.
- Classic French Toast: With its crispy, golden exterior and creamy, fluffy insides, Classic French Toast reigns supreme among breakfast carbs. Topped with powdered sugar, a drizzle of maple syrup, and fresh fruit, it’s breakfast at its very best!
- Homestyle Buttermilk Biscuits: Flaky, buttery, comforting goodness made from simple ingredients. They’re wholesome, delicious and sure to be a crowd favorite!
- A Top Your Own Toast Board: One of our favorite ways to enjoy a weekend breakfast or a weekday brinner. Everyone gets to top their toast just the way they like it with a delicious selection of savory and sweet toppings.
How to Store and Reheat Runny Eggs
To Store: Let the eggs cool completely and then they can be stored in an airtight container in the refrigerator for up to 5 days.
To reheat in the microwave, wrap one or a few in a paper towel and microwave for 15-20 seconds. To reheat on the stove, put a little oil or butter in a pan over medium heat and heat the eggs, covered, in the pan for 1-2 minutes until warmed through.
The longer you warm the eggs, the less runny they will be when they’re reheated. They should warm nicely and still be a little runny if reheated one of these ways.
More Ways to Cook Eggs
Packed with protein and easy to fix, eggs are a great way to start your day. Here are some of my favorite ways to cook them, with easy-to-follow instructions to get it right every time:
- Sunny-Side-Up: A bright, shiny yellow yolk in a field of cooked white make the perfect sunny-side-up egg.
- Soft Scrambled: Light, fluffy scrambled eggs make a delicious addition to any breakfast.
- Hard Boiled: They’re picture perfect for salads, snacks, and delicious deviled eggs.
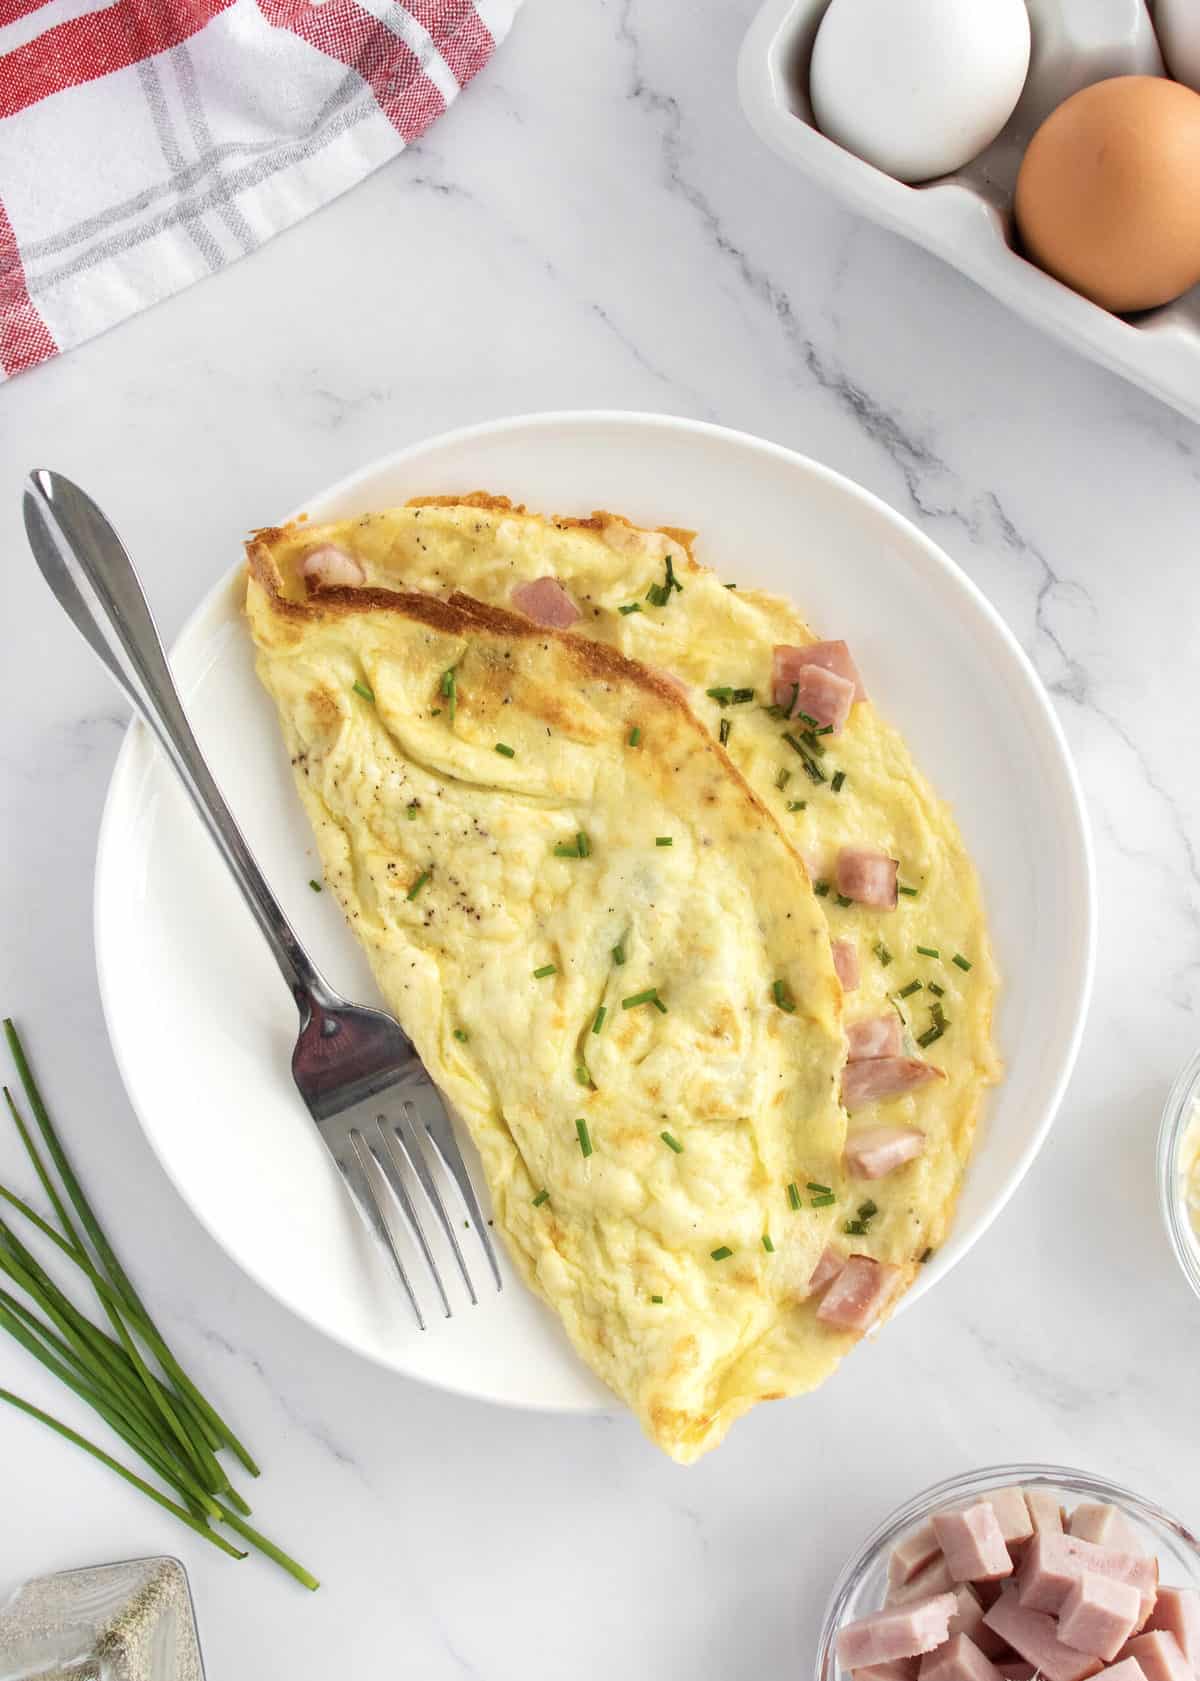
- In an omelet: With easy to follow instructions and tips on all the yummiest fillers, you can make the perfect omelet every time.
I hope you find these simple basics helpful! When you make something with the help of my BakerMama’s Basics series, be sure to snap a picture and tag me on Instagram @thebakermama or join and share to our Friends of The BakerMama group so I can see and others can be inspired! Enjoy!
xoxo,

How to Cook Runny Eggs in a Muffin Pan
Description
Once you learn how to Cook Runny Eggs in a Muffin Pan, breakfast will never be the same! This easy egg method makes quick work of feeding a crowd for a holiday breakfast or a weekend brunch!
Ingredients
- 24 egg yolks
Instructions
- Preheat the oven to 350°F. Spray a 24-cup mini muffin pan with non-stick cooking spray.
- Cracking one egg at a time, separate the egg white from the egg yolk and then place an egg yolk in each of the mini muffin cups. Repeat with remaining eggs.
- Bake for 5-7 minutes until the white rim around the yolks are set but the yolks are still runny. Let set in the pan for at least 5 minutes before running a spatula around the edges and carefully removing from the pan or leave in the pan until ready to serve.
woow yummy,and i like the recipe is very quick and clean
What do you do with the egg white ? Does it go on top of the yolk or is it already in the pan?
Hi Leeana! You actually don’t use the egg whites to make these runny eggs. A little of the white that remains around the yolk after its been separated from the whites will bake with the yolk, but you don’t use the bulk of the whites for this recipe. You can save and use them for something else, if you wish. Hope this helps. Enjoy!