
In Basics by The BakerMama, I teach you how to make a graham cracker crust that’s sweet and buttery and the perfect mixture of chewy and crunchy. It’s the easiest, yummiest crust you’ll ever make!
Basics by The BakerMama
Welcome to Basics by The BakerMama! I created this how-to series to help beginner cooks hone their skills, make the most of their time in the kitchen, and create great family memories. I hope you enjoy!
The Perfect Three Ingredient Crust
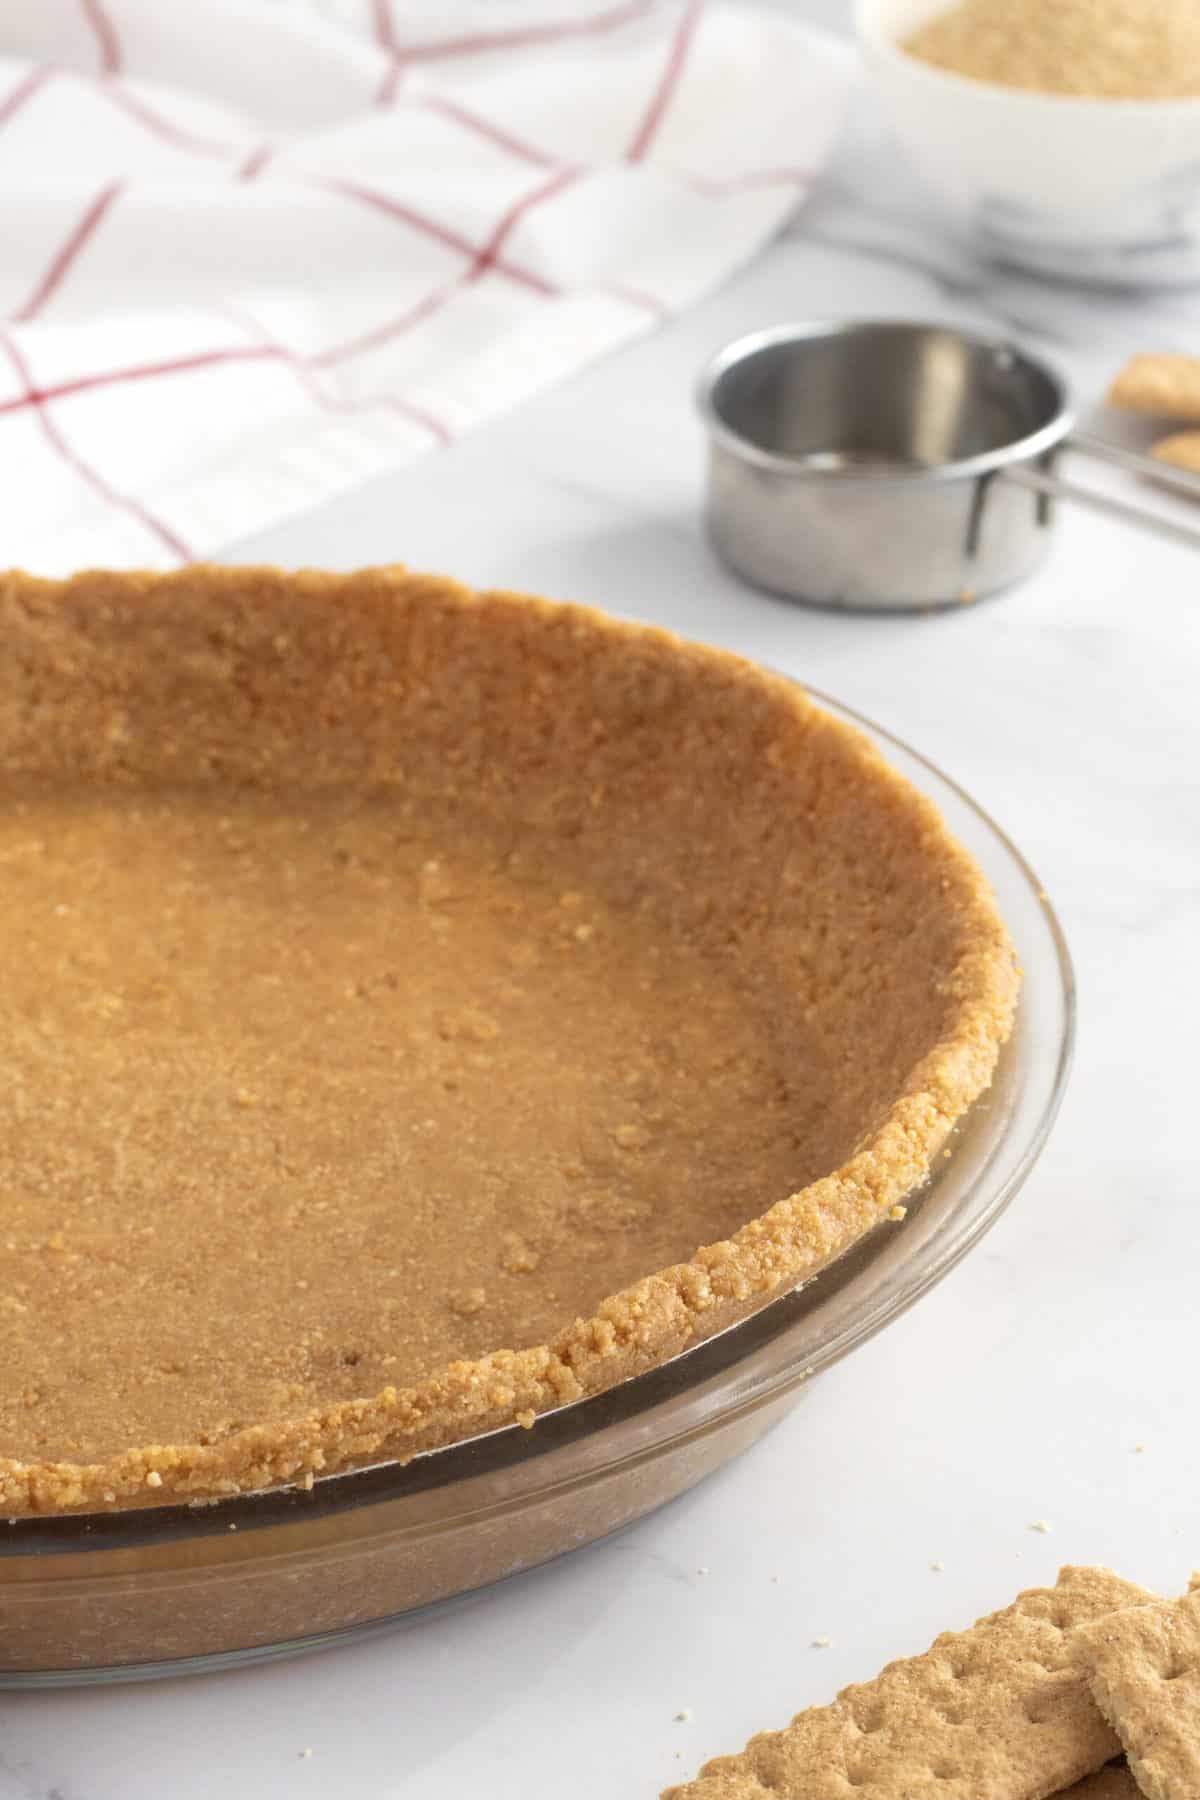
I love the texture of a graham cracker crust. A bit chewy, a bit crunchy. Perfectly delicious! And it adds so much flavor to whatever you fill it with! Buttery and sweet, it makes the perfect base for treats like No-Bake Peanut Butter Pie and my S’mores Fudge Bars. This Peanut Butter Banana Cream Pie adds creamy peanut butter to the graham cracker crust for an extra-decadent twist to a traditional cream pie. What I’m saying is, learning how to make a graham cracker crust will make your dessert life even richer.
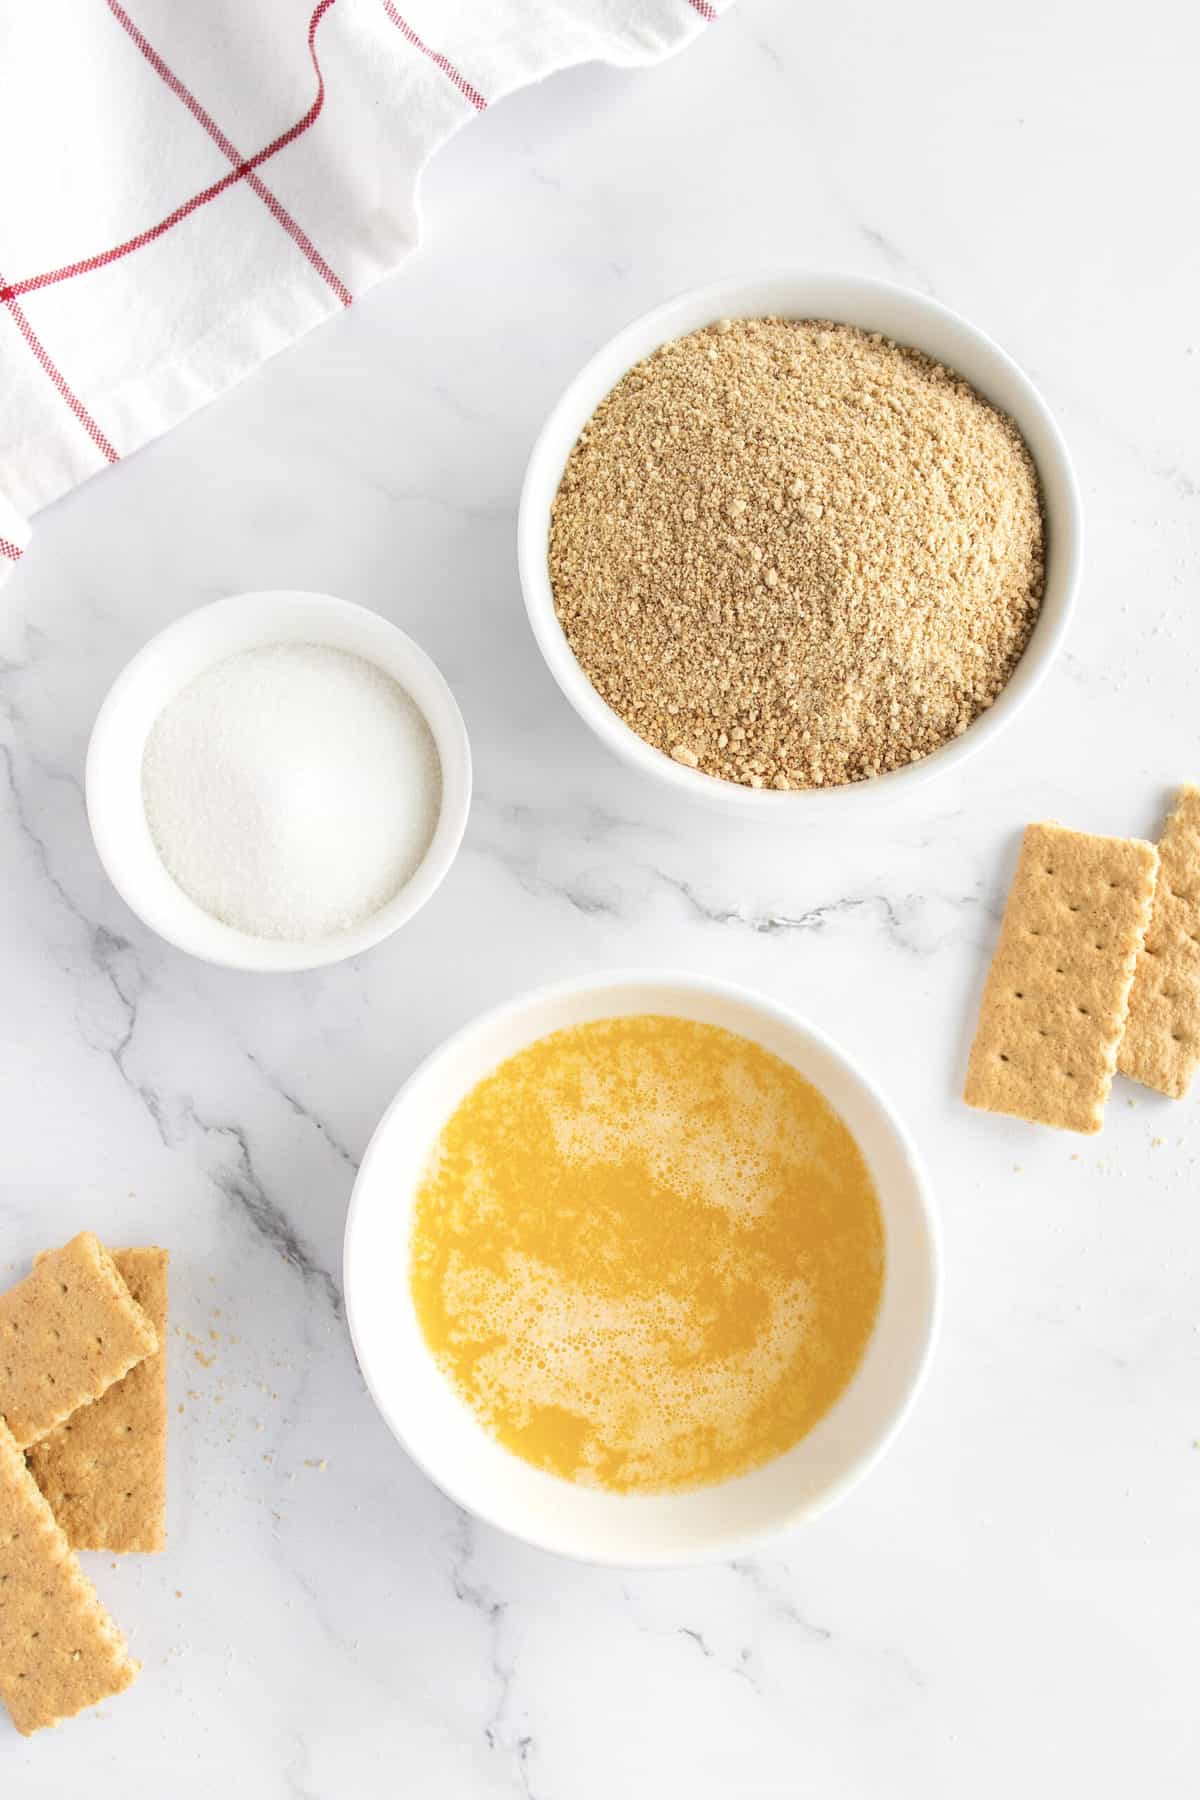
Crushed graham crackers, sugar and butter–a graham cracker crust could not be simpler. Using a food processor or this easy to use hand-powered food chopper will ensure your graham cracker crumbs come out fine and consistent. You can also use a blender. In a pinch, I’ve placed graham crackers into a sealed ziplock bag and used a rolling pin to crush them. That absolutely works, too, though it’s more labor-intensive and it’s harder to get a consistent texture. But don’t stress. A graham cracker crust doesn’t need to be perfect to taste amazing.
How to Make a Graham Cracker Crust
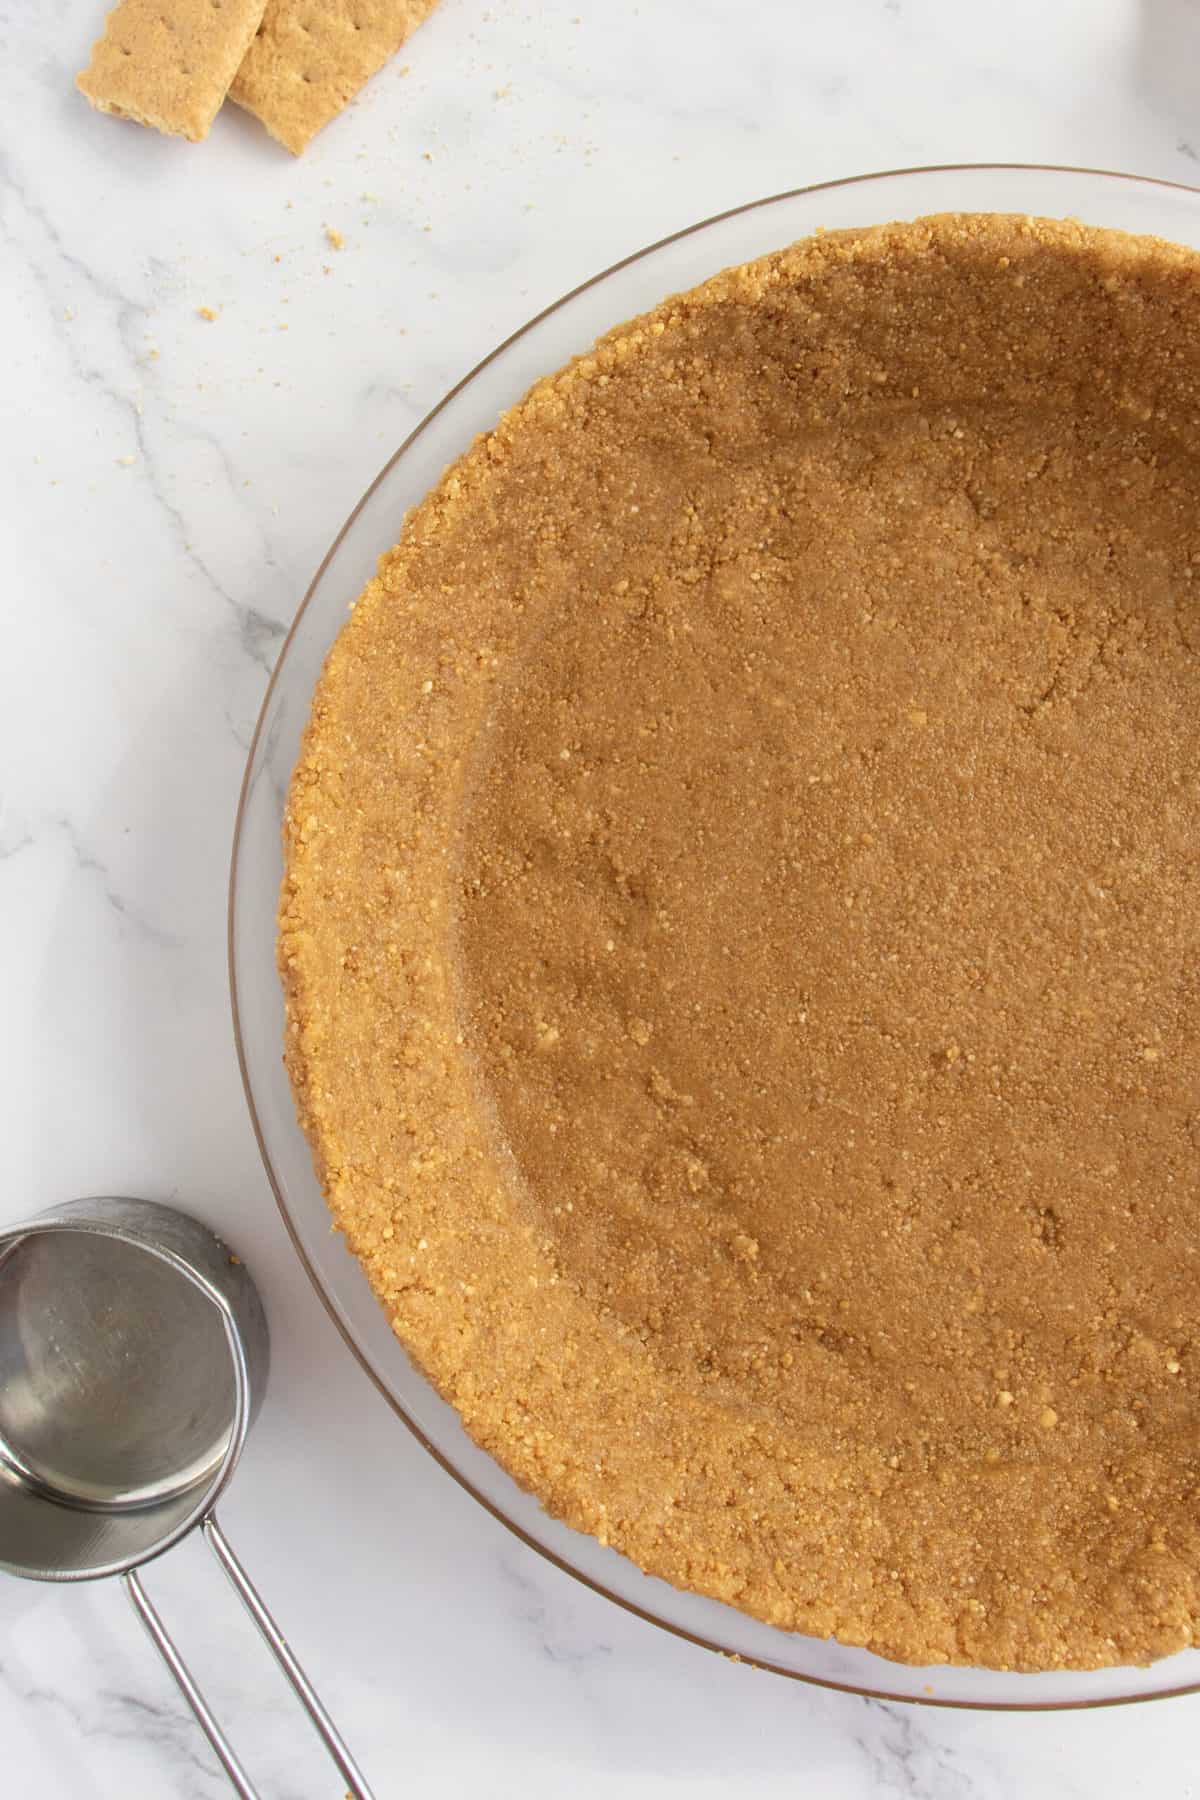
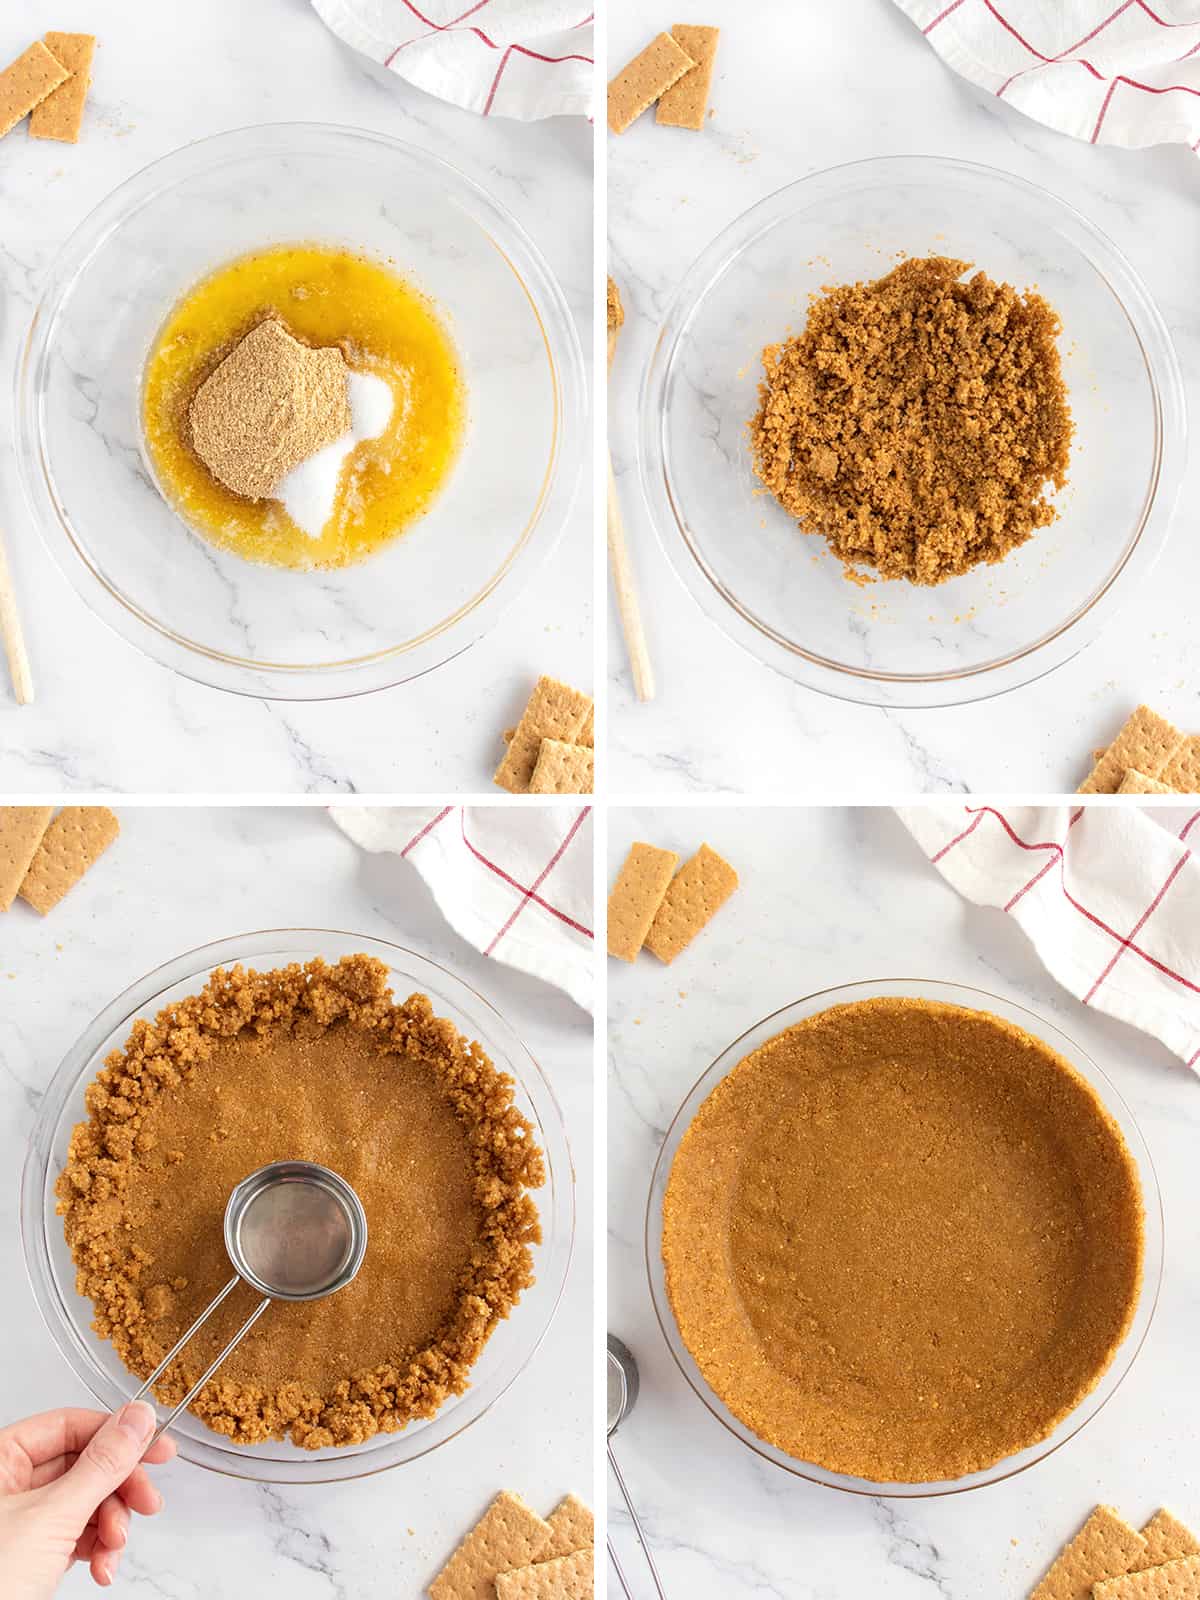
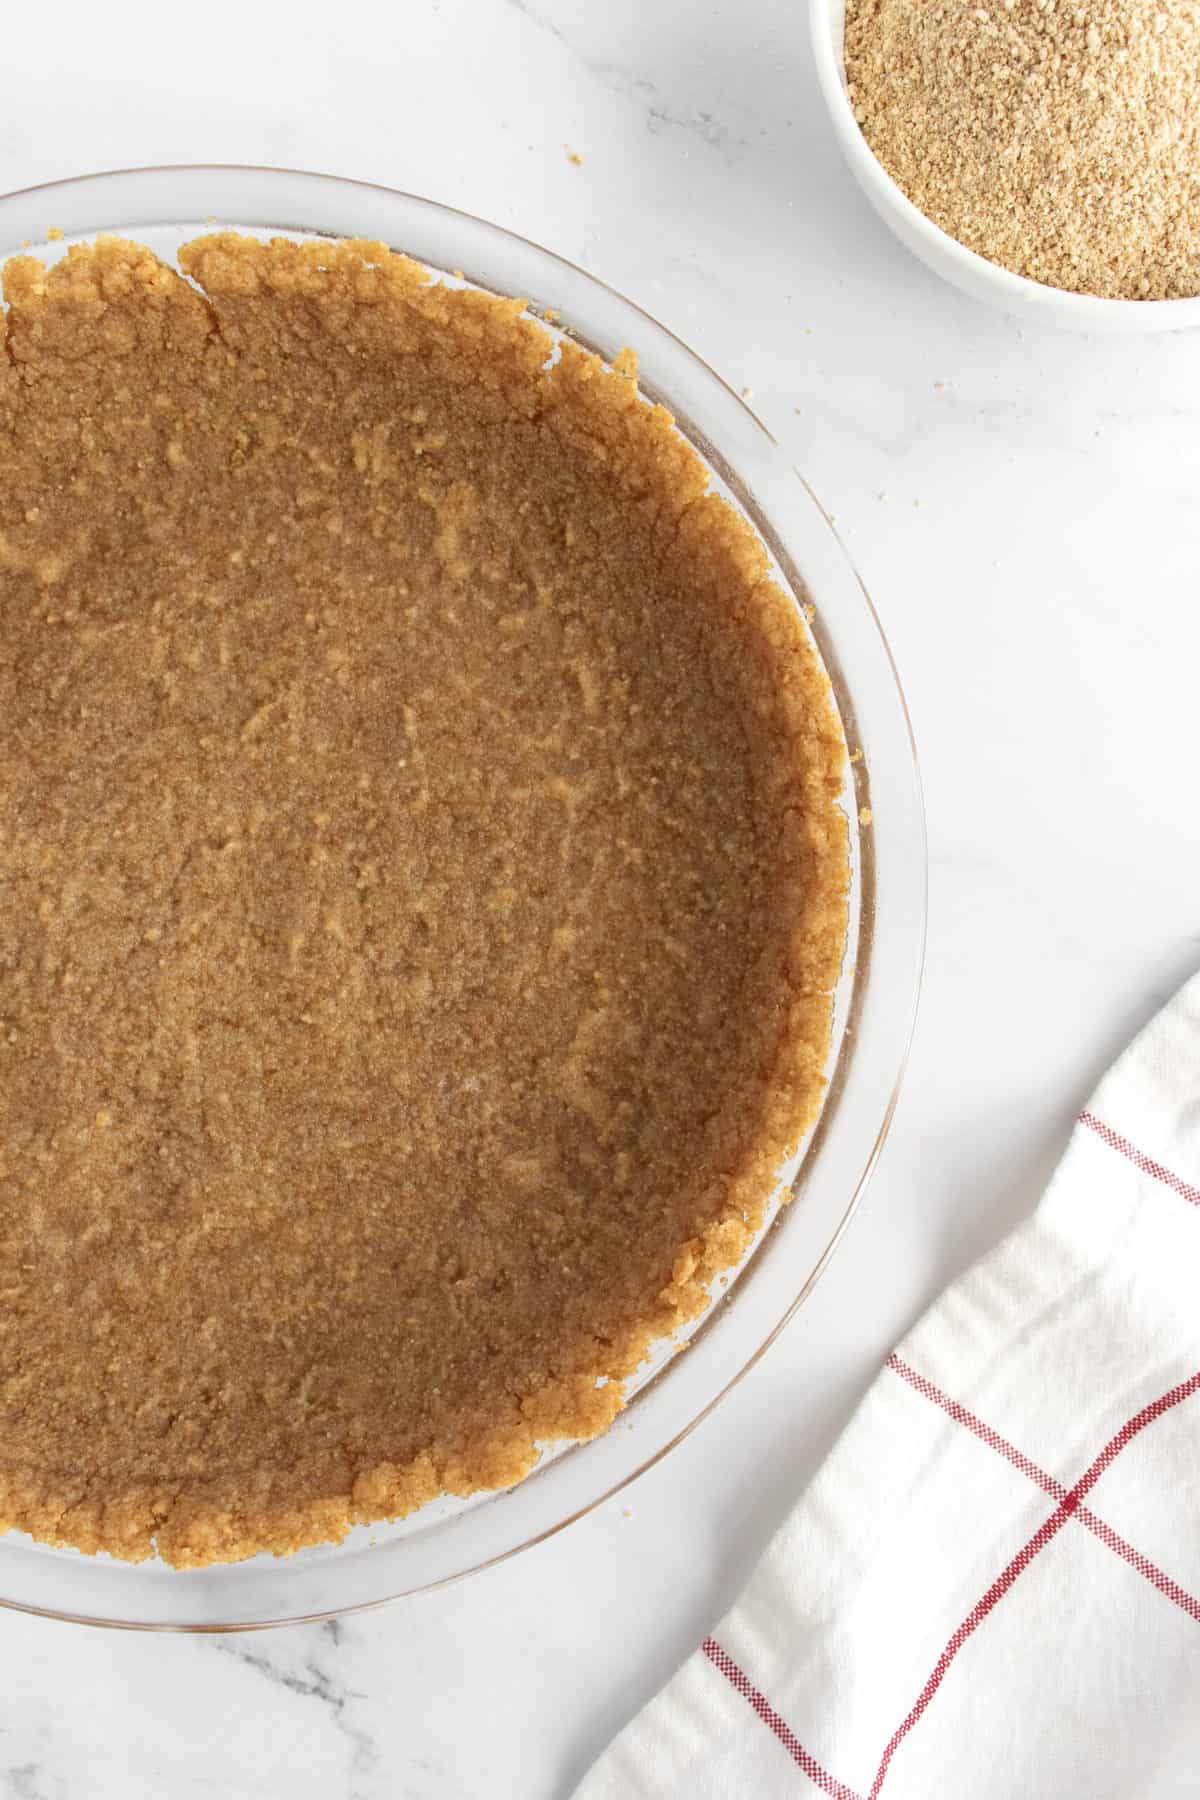
In a large mixing bowl, mix together the graham cracker crumbs, melted butter and sugar until well combined. Then pat the mixture into and up the sides of a 9‐inch pie plate or into the bottom of a 9-inch springform pan or into the bottom of the required dish for the recipe you’re using it for.
Quick Tip: use the bottom of a measuring cup to pat down the mixture and be sure to pack it tightly.
If using for a no-bake recipe, place the prepared pie crust in the refrigerator for at least 30 minutes or the freezer for at least 15 minutes before filling.
If the crust needs to be pre-baked, refrigerate the crust for at least 30 minutes before baking. Bake at 375°F for 6-8 minutes (or until lightly golden) and then let cool completely before filling.
If using the crust as part of a specific recipe, prepare and bake according to the recipe’s instructions.
Ready to Learn More?
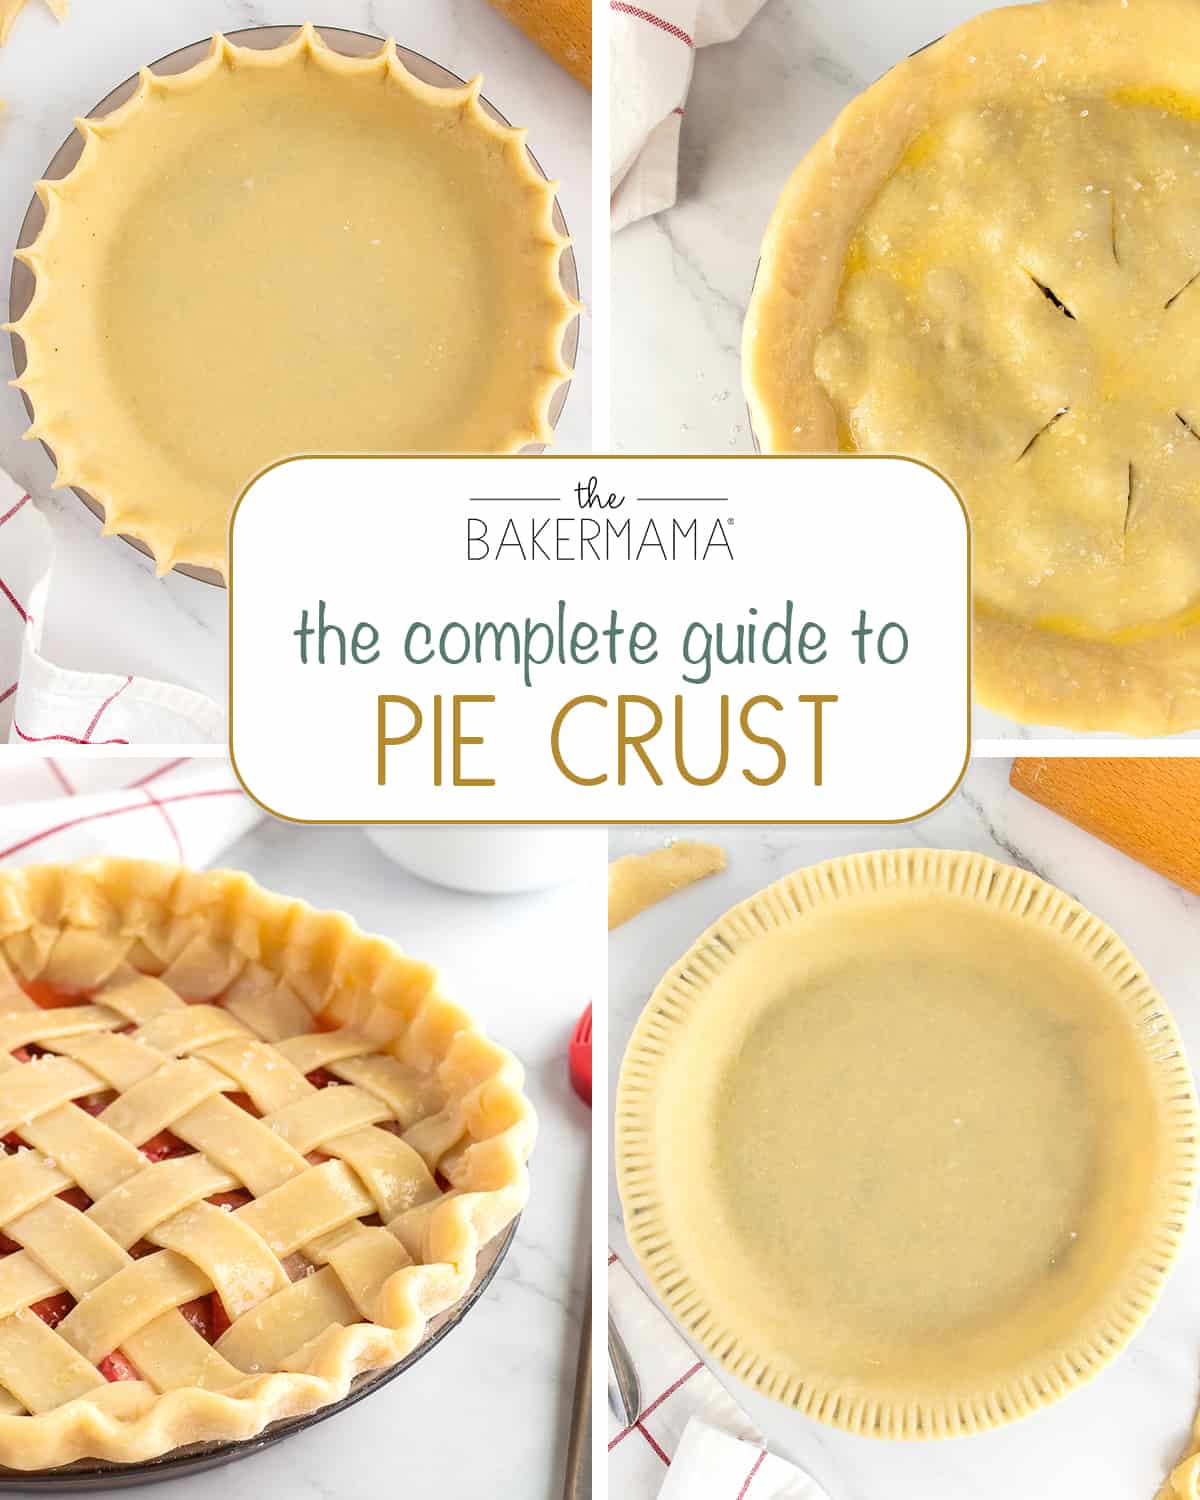
If you’re making a traditional pie crust, you’ll want to check out my Complete Guide to Pie Crust. It takes the mystery out of making pies once and for all! I’ll take you step-by-step from making the dough to baking picture-perfect pies.
I hope you find these simple basics helpful! When you make something with the help of my BakerMama’s Basics series, be sure to snap a picture and tag me on Instagram @thebakermama so I can see and others can be inspired!
xoxo,

Basics By The BakerMama: How to Make a Graham Cracker Crust
- Prep Time: 10 minutes
- Cook Time: 8 minutes
- Total Time: 18 minutes
- Yield: 1 (9-inch) pie crust
Description
This easy graham cracker crust is sweet and buttery with a texture that’s the perfect mixture of chewy and crunchy.
Ingredients
- 1 and ¼ packed cups graham cracker crumbs (about 10 whole graham crackers)
- 1/2 cup (1 stick) butter, melted
- 1/4 cup granulated sugar
Instructions
- In a large mixing bowl, mix together the graham cracker crumbs, melted butter and sugar until well combined. Pat mixture into and up the sides of a 9‐inch pie plate or into the bottom of a 9-inch springform pan or into the bottom of the required dish for the recipe you’re using it for. Tip: use the bottom of a measuring cup to pat down the mixture and be sure to pack it tightly.
- If using for a no-bake recipe, place the prepared pie crust in the refrigerator for at least 30 minutes or the freezer for at least 15 minutes before filling.
- If the crust needs to be pre-baked, refrigerate the crust for at least 30 minutes before baking. Bake at 375°F for 6-8 minutes (or until lightly golden) and then let cool completely before filling.
- If using the crust as part of a specific recipe, prepare and bake according to the recipe’s instructions.
Made this graham cracker crust to go with the no-bake peanut butter pie recipe and it was great. Super easy to make as a baking beginner, very yummy, absolutely would use this recipe again.
Hi Dani! Yay, I’m so happy you made and loved it! I hope you get to enjoy it again and again. The no-bake peanut butter pie is too tasty to be true, isn’t it?!
if you use nutter butter cookies for crust use 6 cookies should I decrease butter and sugar
Hi Christine! I haven’t made a Nutter Butter cookie crust just yet, but I make an Oreo cookie crust for my No-Bake Chocolate Peanut Butter Pie and for my Chocolate Peanut Butter Ice Cream Pie. For these crusts, I use 24 cookies and 1/4 cup melted butter and it turns out great! So that is what I would recommend for you to use when making a Nutter Butter cookie crust. I hope this helps and that you enjoy!
The Graham cracker crust was swimming in butter. I checked and rechecked the measurements and quantity I used. 1/2 cup or 113 gr of butter……..way too much butter….what a waste of ingredients.😪😮💨
Hi Linda! Are you sure you measured the graham cracker crumbs and sugar correctly? The 1/2 cup butter is accurate and key to holding the crust together. It also provides the necessary moisture, especially if the crust is baked, needed to not dry out or crumble when sliced into. I hope this helps and that you’re able to try it again with better success.
Hi Linda, I had a similar experience. I double checked my measurements, and after I baked it, the crust had slogged down to the middle nstead of keeping its shape.
Hi Jessica! Thanks so much for letting me know! I realized my instructions weren’t as clear as they should have been. The crust should be refrigerated for 30 minutes before baking as well, and I’ve updated the recipe to clarify that, along with specifying packed graham cracker crumbs. Those two steps help the crust hold its shape beautifully when pre-baked. I hope this helps and that you get to try it again soon with better success.
What is the measurement of the ingredients? please
Hi Debbie! If you scroll to the bottom of the blog post, there is a recipe card with the measurements and instructions. I hope this helps. Enjoy!
Don’t I need to pre-bake crust for a no- bake recipe as well?
Hi Joe! Nope! If using for a no-bake recipe, place the prepared pie crust in the refrigerator for at least 30 minutes or the freezer for at least 15 minutes before filling.
I’ve looked at your recipe for a no bake peanut butter pie. Looks so good 😊