
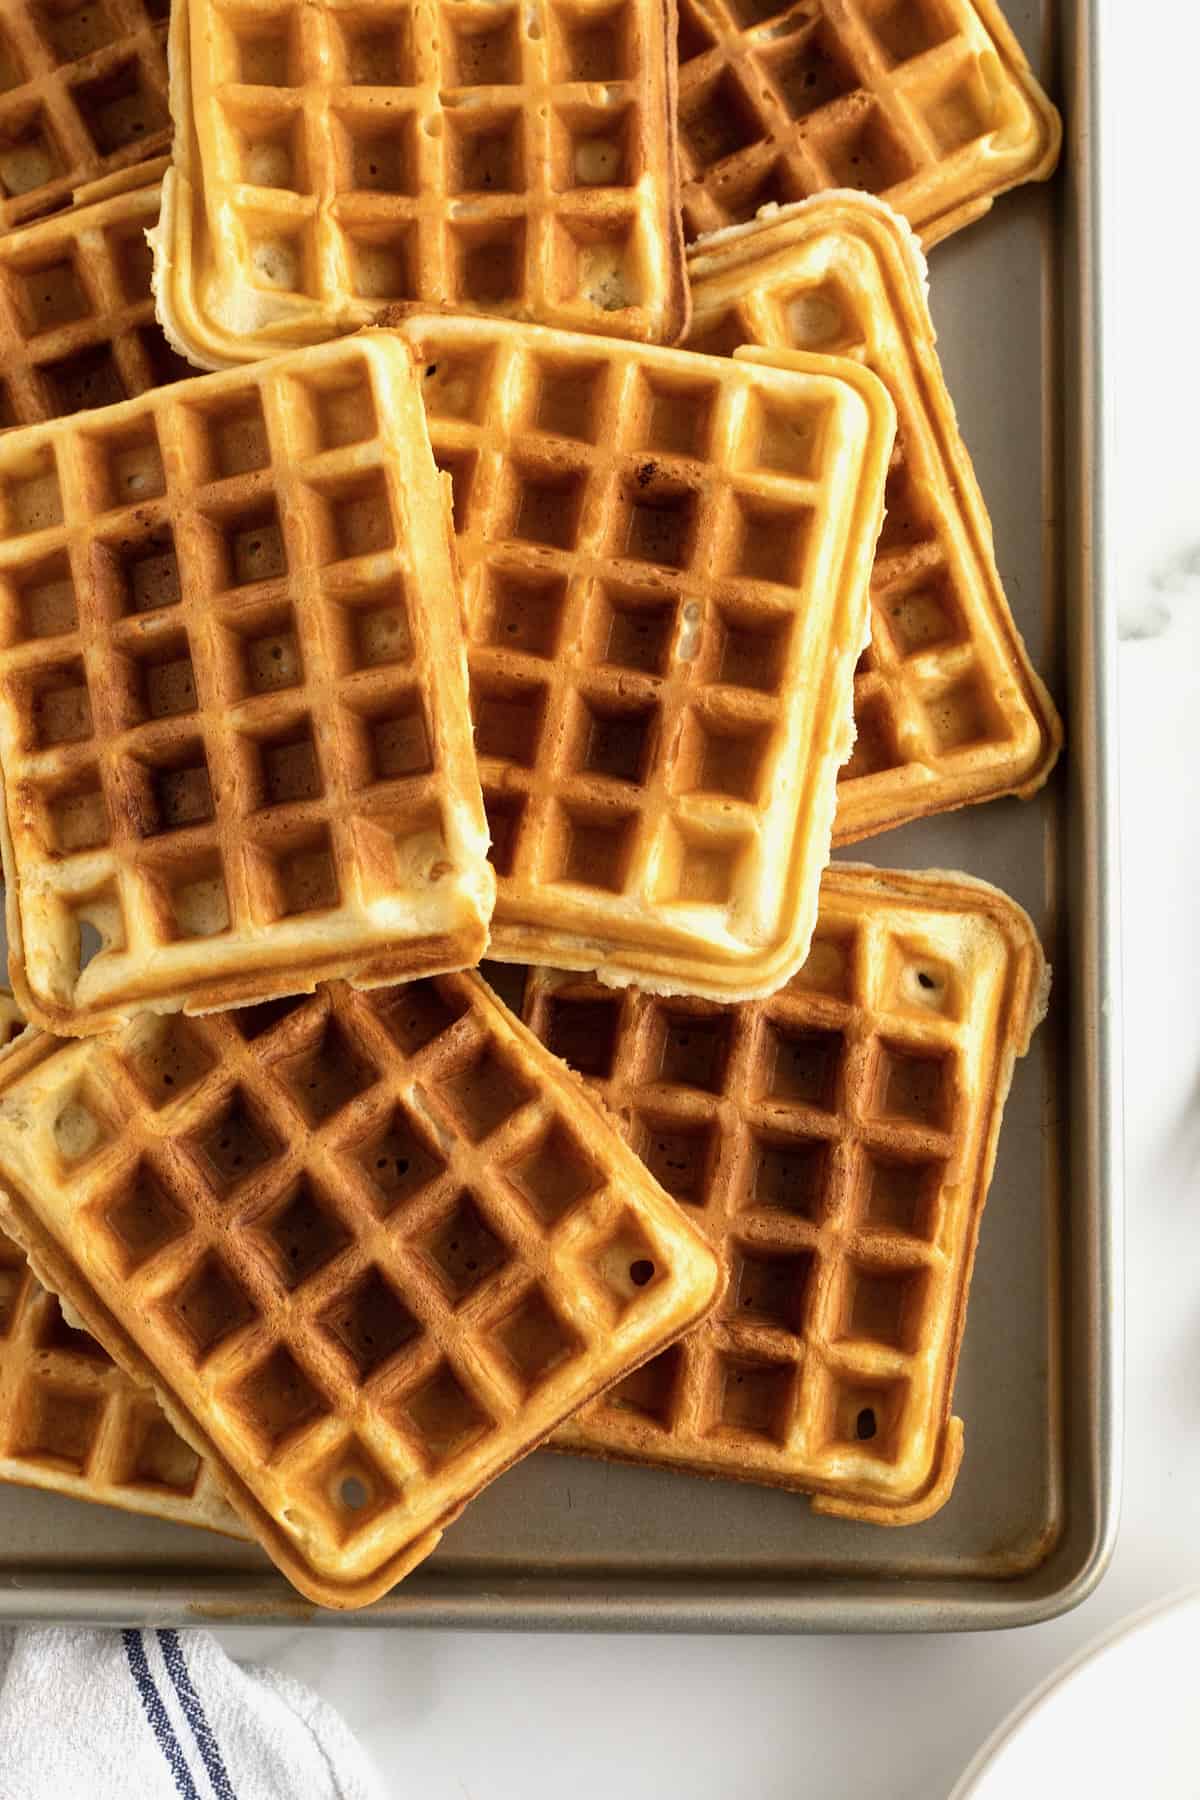
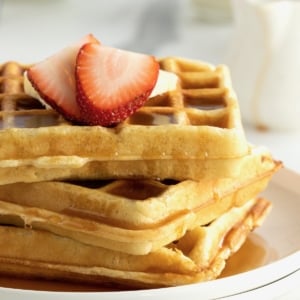
Looking for the best waffle recipe? My Classic Crispy Waffles turn out perfectly crisp on the outside and light and fluffy on the inside every time!
Classic Waffle Recipe, Classic for a Reason
We’re a waffle-loving family and we all get so excited when the waffle maker gets brought out. Whether it’s a lazy Sunday morning or a busy weeknight (Waffle Wednesday is our fave!), this easy waffle recipe makes everyone happy! Making a crispy waffle recipe from scratch is so much better than the store-bought frozen waffles you pop in the toaster. Sooo much better.
Watch Me Make Classic Waffles
Step into my kitchen and learn how to make perfectly crispy waffles!
What Makes a Great Waffle?
When it comes to great waffles, they must have a crispy exteriors and be light and fluffy on the inside. That’s what makes a waffle a waffle, right? Otherwise, we may as well just make some really great pancakes.
No Floppy Waffles Here!
I get such a kick (and a lot of pride!) out of how particular our boys are about their waffles since we make these perfect waffles here at home all the time. We’ll be out to breakfast and my 7 year old will place his order saying “I’d like an order of the CRISPY waffles, please!” following immediately with “You make ’em crispy, right?!”
I get the biggest grin on my face and feel so happy knowing that he knows what a great waffle should taste like. And feel like! And these are the crispiest waffles! No floppy waffles for us. Haha!
Secrets to the Perfect Waffle
If you’re going to go to the effort of making waffles, make them great! It makes all the difference. A perfectly crisp waffle holds the butter and syrup so nicely as you cut in. It doesn’t soak up too much of the moisture allowing each bite to still be crisp yet buttery sweet. Drooling yet?! Here are some key steps to getting perfectly crisp and fluffy waffles every time you make them:
- Sugar: just 2 tablespoons of sugar is the secret ingredient in the batter gives the waffles that boost they need to create an extra crispy and caramelized exterior as they cook. The key is stirring the sugar into the batter at the very end so it doesn’t get lost in the batter as it would if you add it in the beginning with the dry ingredients.
- Fat: a good amount of butter and whole milk in the batter does two things for the waffles. It helps keep them from sticking to the waffle maker and it adds to the crispness because when the fat hits the high heat, it has a fry-like affect creating that crisp exterior and protecting the inside so it stays light and fluffy. Don’t use buttermilk, though. I’ve found that buttermilk is too thick and creates a very dense waffle.
- Well-Beaten Eggs: beating the eggs until light and frothy before folding them into the batter adds air to the batter without risking over beating the batter. The air pockets in the batter help contribute to the fluffiness of the waffles as they bake.
- Let the Batter Rest: letting the batter rest in the fridge for about 10 minutes, while the waffle maker preheats, allows the gluten to relax and expand a bit which results in a more tender texture as the waffles cook. And the cooler batter, helps keep the insides from overcooking while the exteriors get nice and crisp.
- Hot Waffle Iron: preheat your waffle iron for at least 10 minutes. Cooking waffles in a preheated waffle iron is similar to frying, the hotter the heat, the crispier the outcome. And the quicker they cook, the lighter the insides.
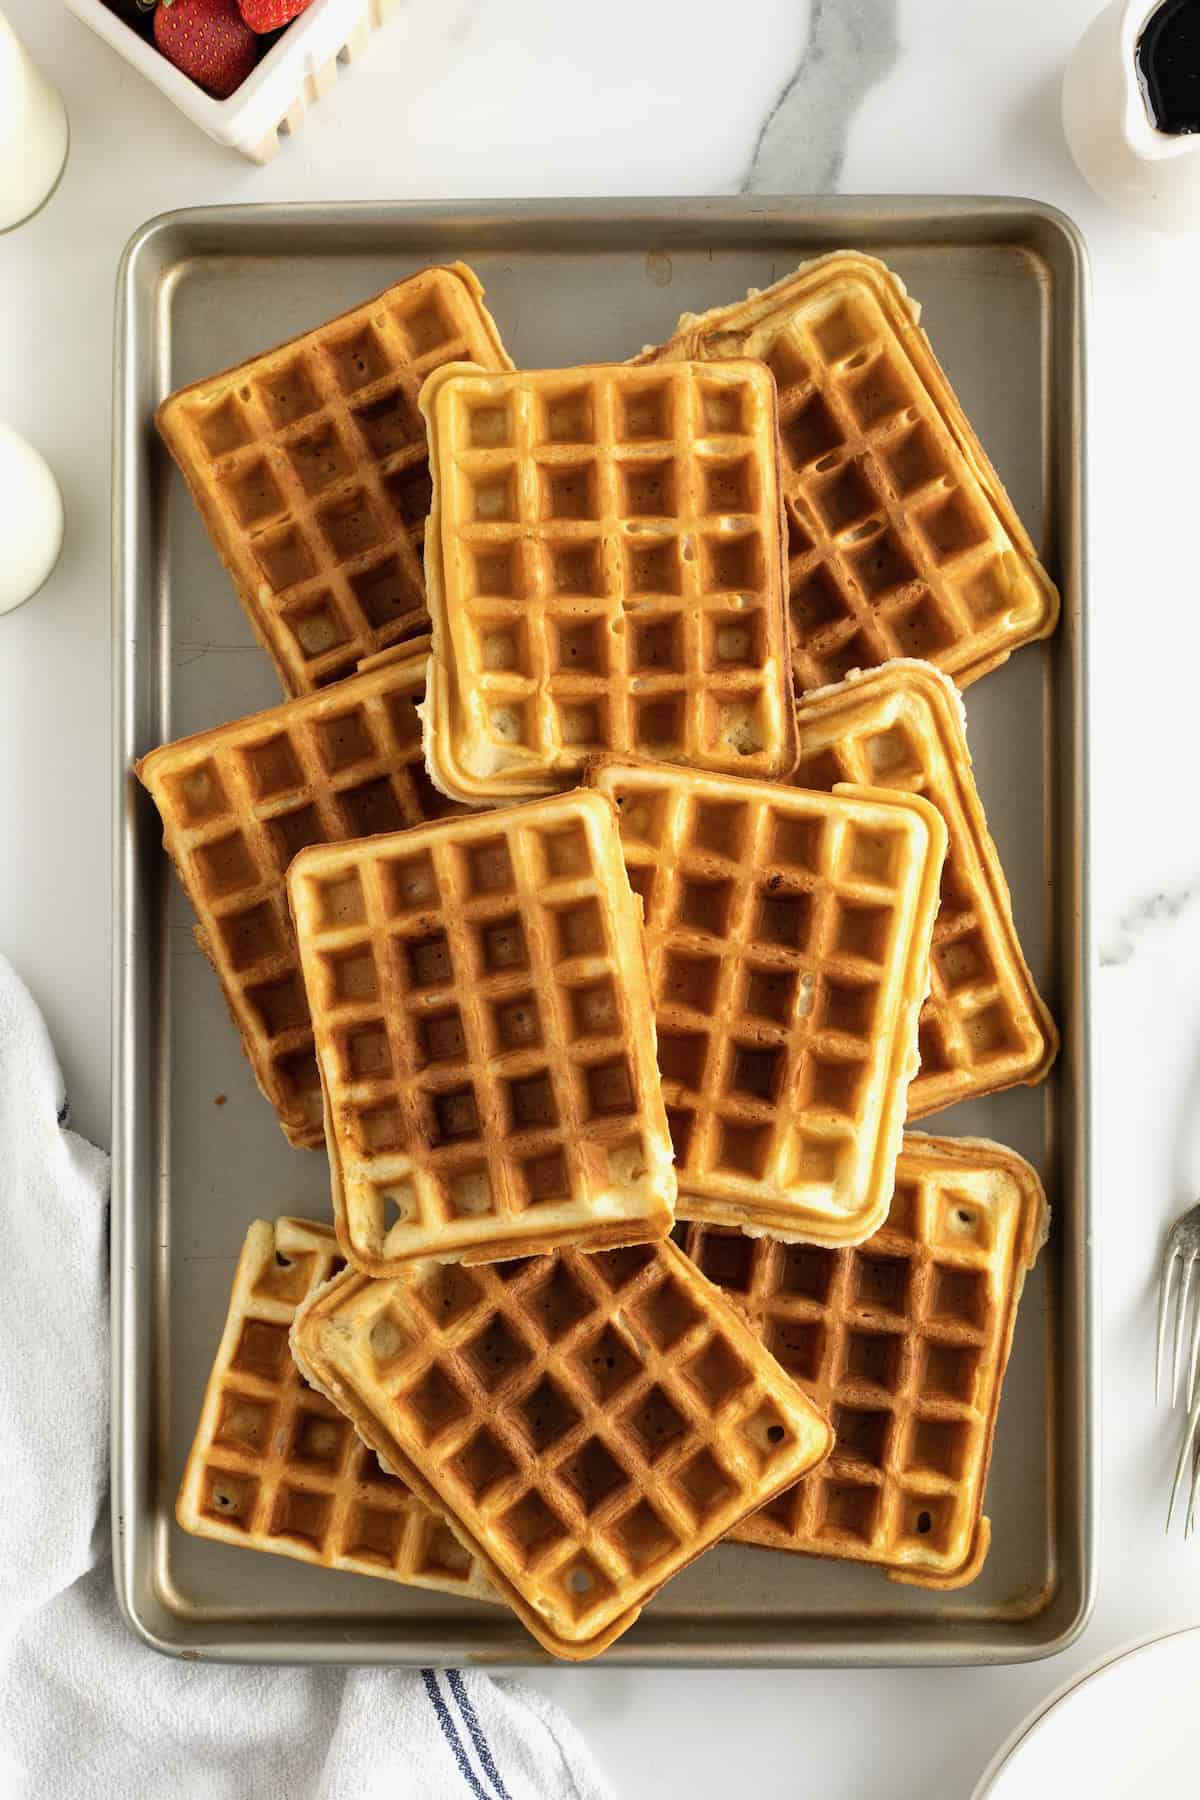
- Keep them Warm: you want to keep the already cooked waffles warm while you make the remaining waffles so everyone’s waffles are warm and still crisp when you sit down to eat them together. Heat your oven to 200°F and store the cooked waffles in a single layer on a baking sheet or directly on the oven racks. The oven actually reinforces the crispiness and prevents sogginess.
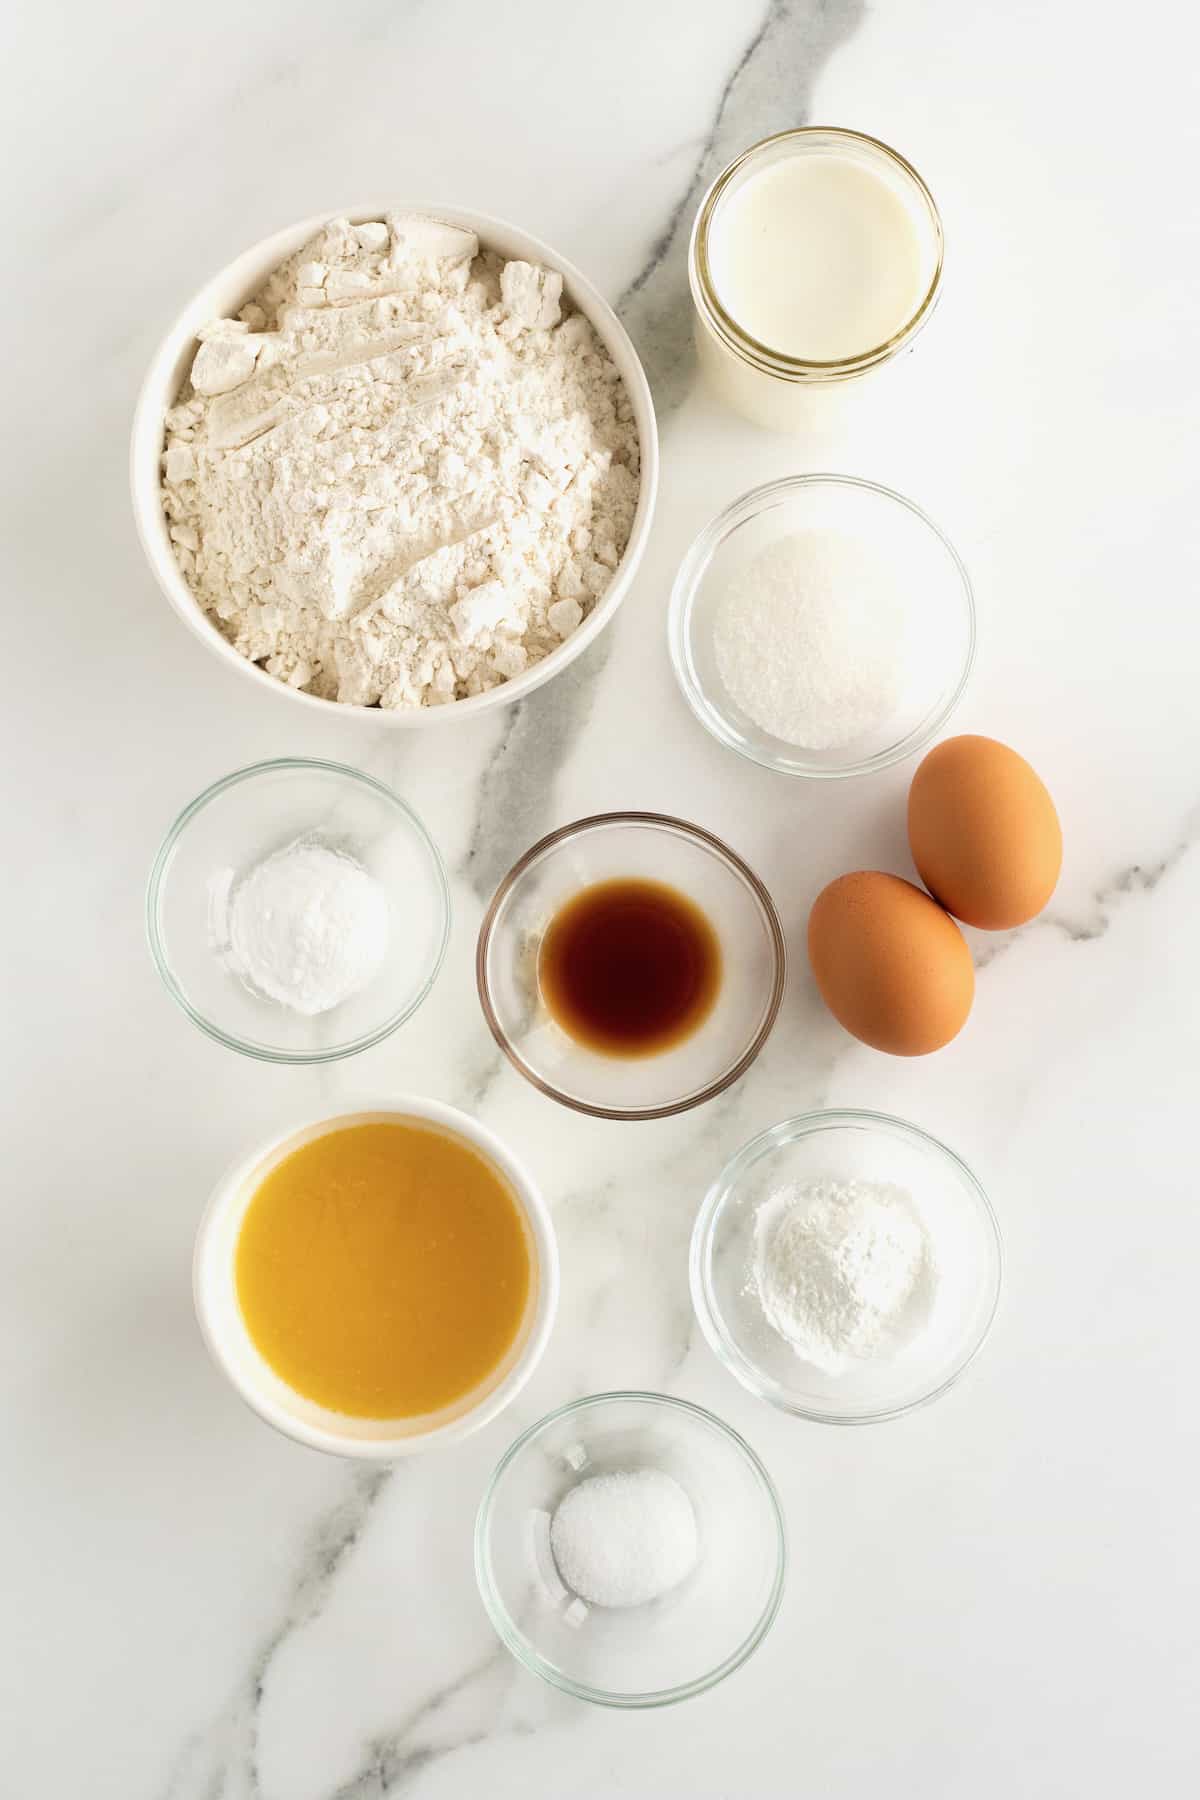
What Do I Need to Make Crispy Waffles?
- All-purpose flour
- Baking powder
- Baking soda
- Kosher salt
- Whole milk
- Butter, melted and slightly cooled
- Vanilla
- Eggs
- Sugar
- Waffle iron
How to Make Classic Crispy Waffles
- In a large bowl, whisk together the flour, baking powder, baking soda & salt.
- Make a well in the center of the dry ingredients and add the milk, whisking until just combined.
- Whisk in the melted unsalted butter and vanilla extract until well combined.
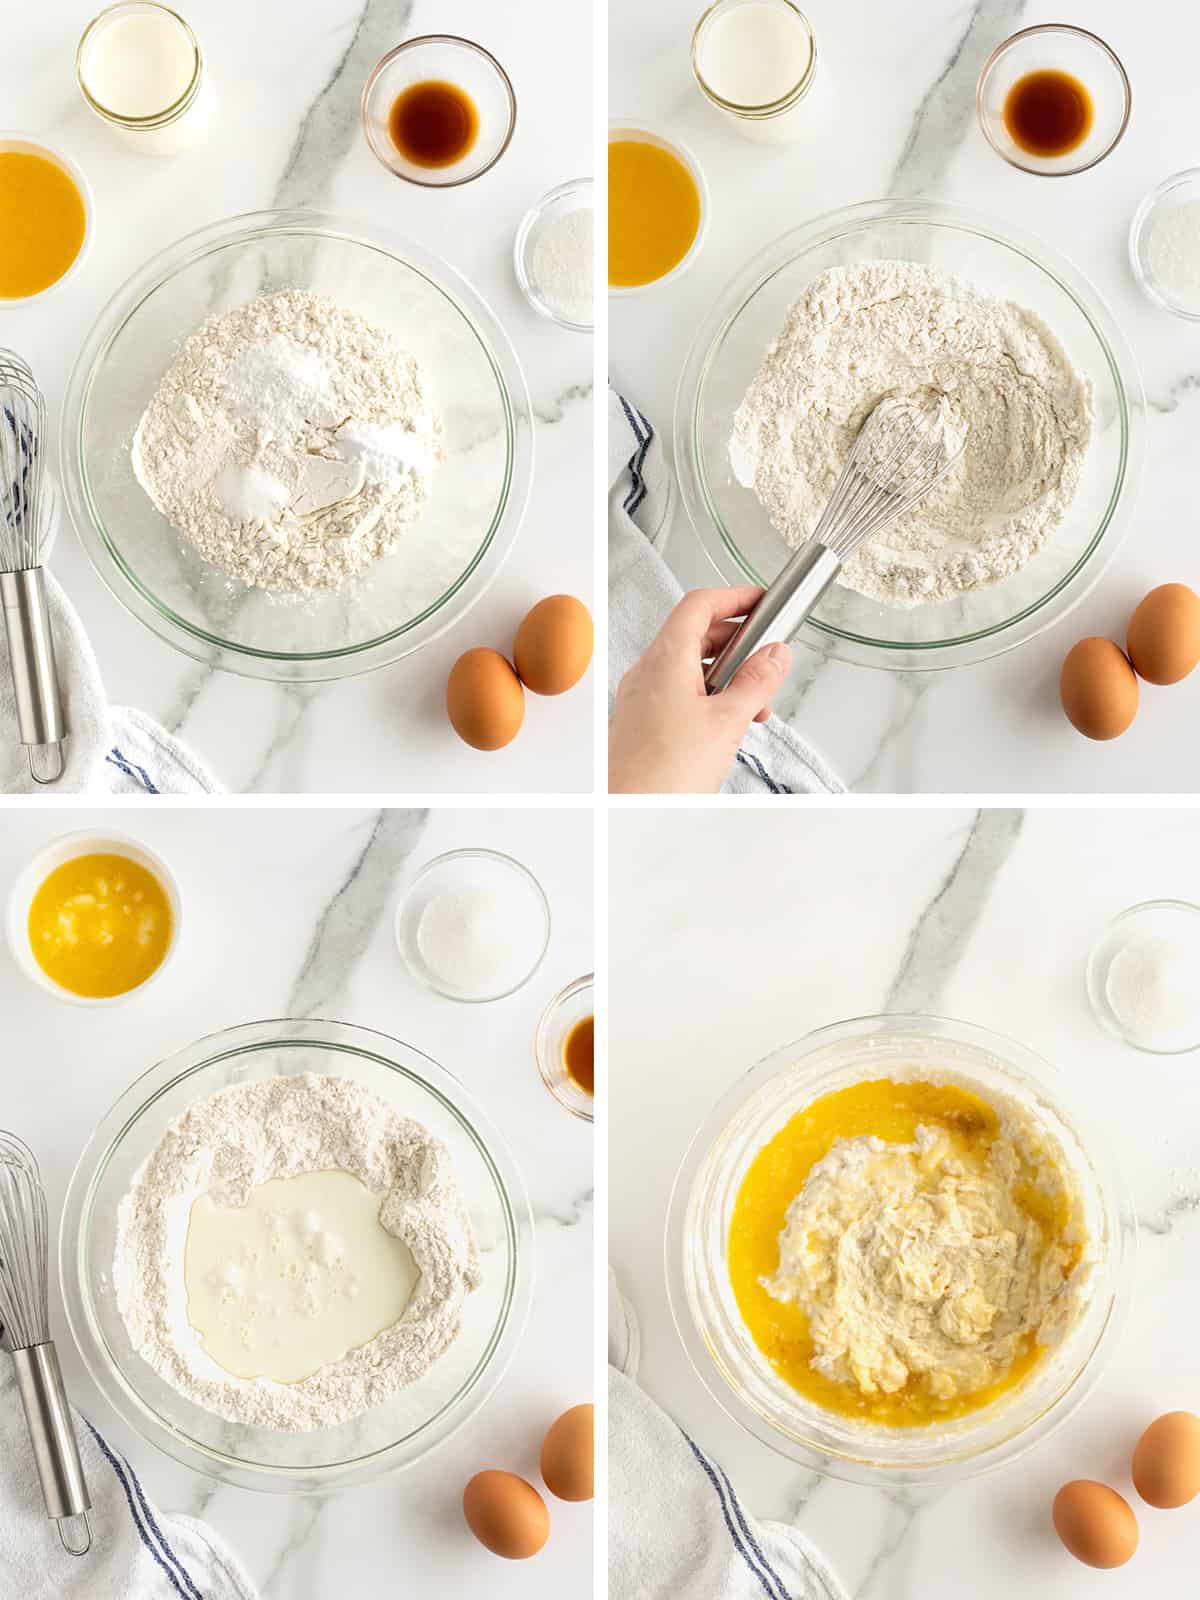
- In a separate bowl, beat eggs until light and frothy and then fold the eggs into the batter a few times. The batter should be streaked with the beaten egg.
- Sprinkle the batter with 2 tbsp sugar and gently fold it in until very few streaks of egg are showing. The batter should still be slightly lumpy. Do not over stir!

- Let the batter set in the refrigerator for at least 10 minutes while you preheat the waffle maker to medium-high heat. Generously spray top and bottom of the waffle maker with non-stick cooking spray and cook waffles according to your waffle maker’s instructions.
- For my waffle maker, I fill it about three-quarters of the way full, spreading it to fill in any gaps. Closing the lid gently, cook until the waffles are golden brown and crisp, about 5 minutes. I try not to peek for at least 4 minutes.
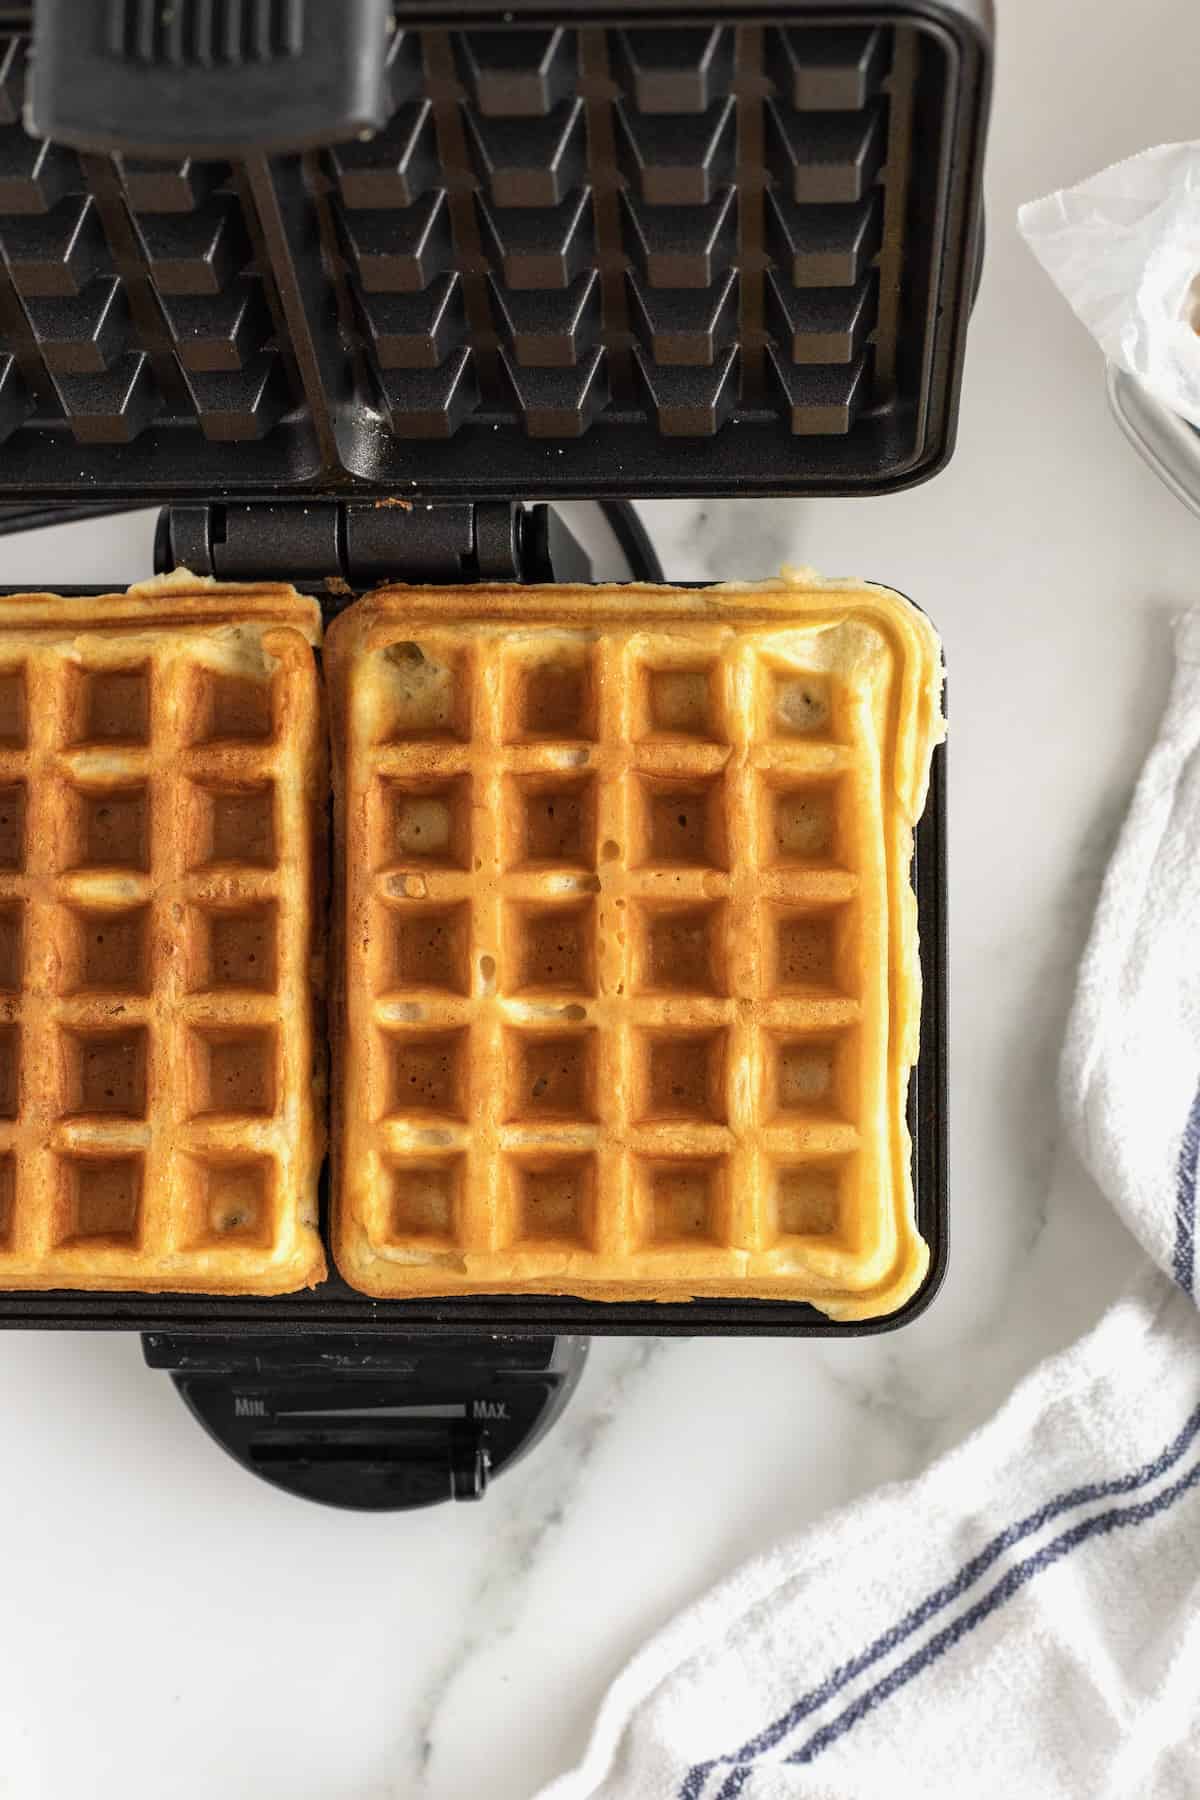
- Keep the cooked waffles in a 200°F warm oven while you make the remaining waffles.
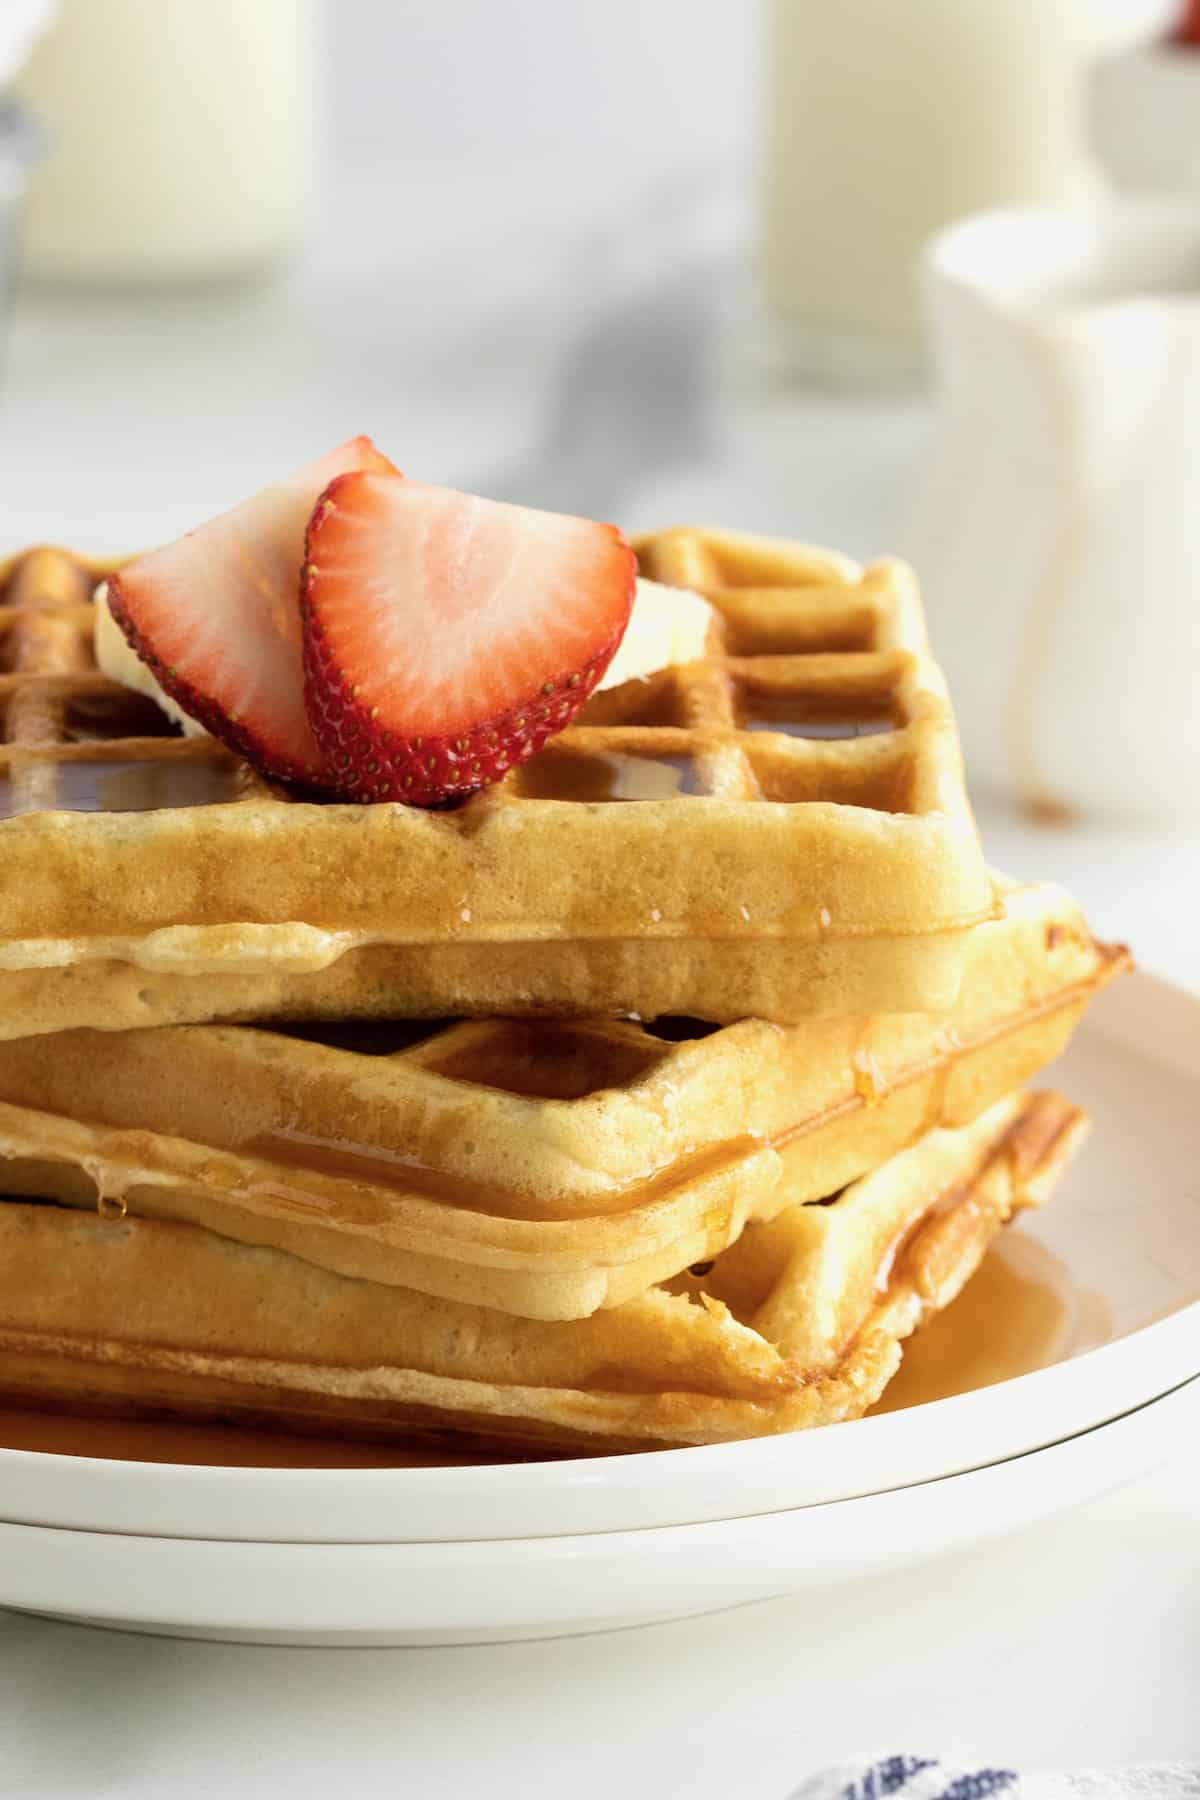
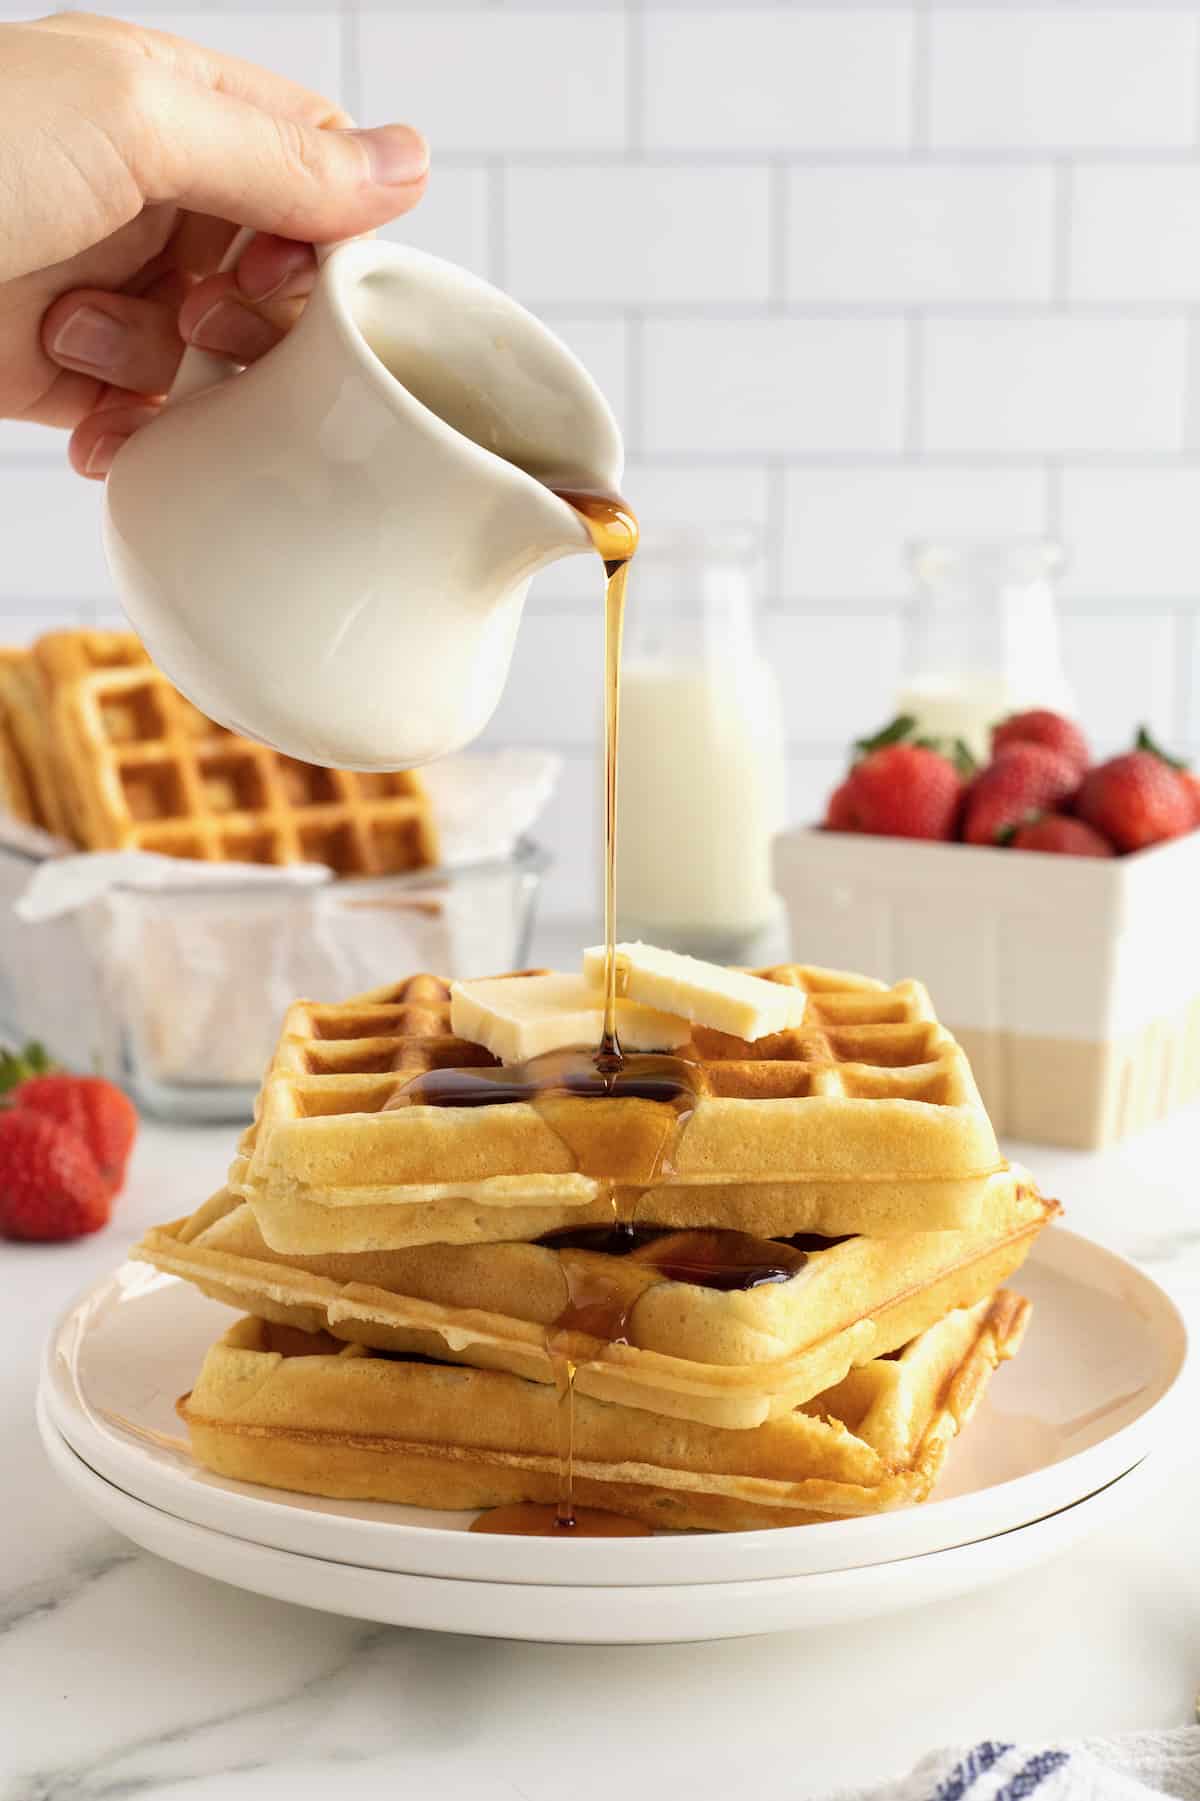
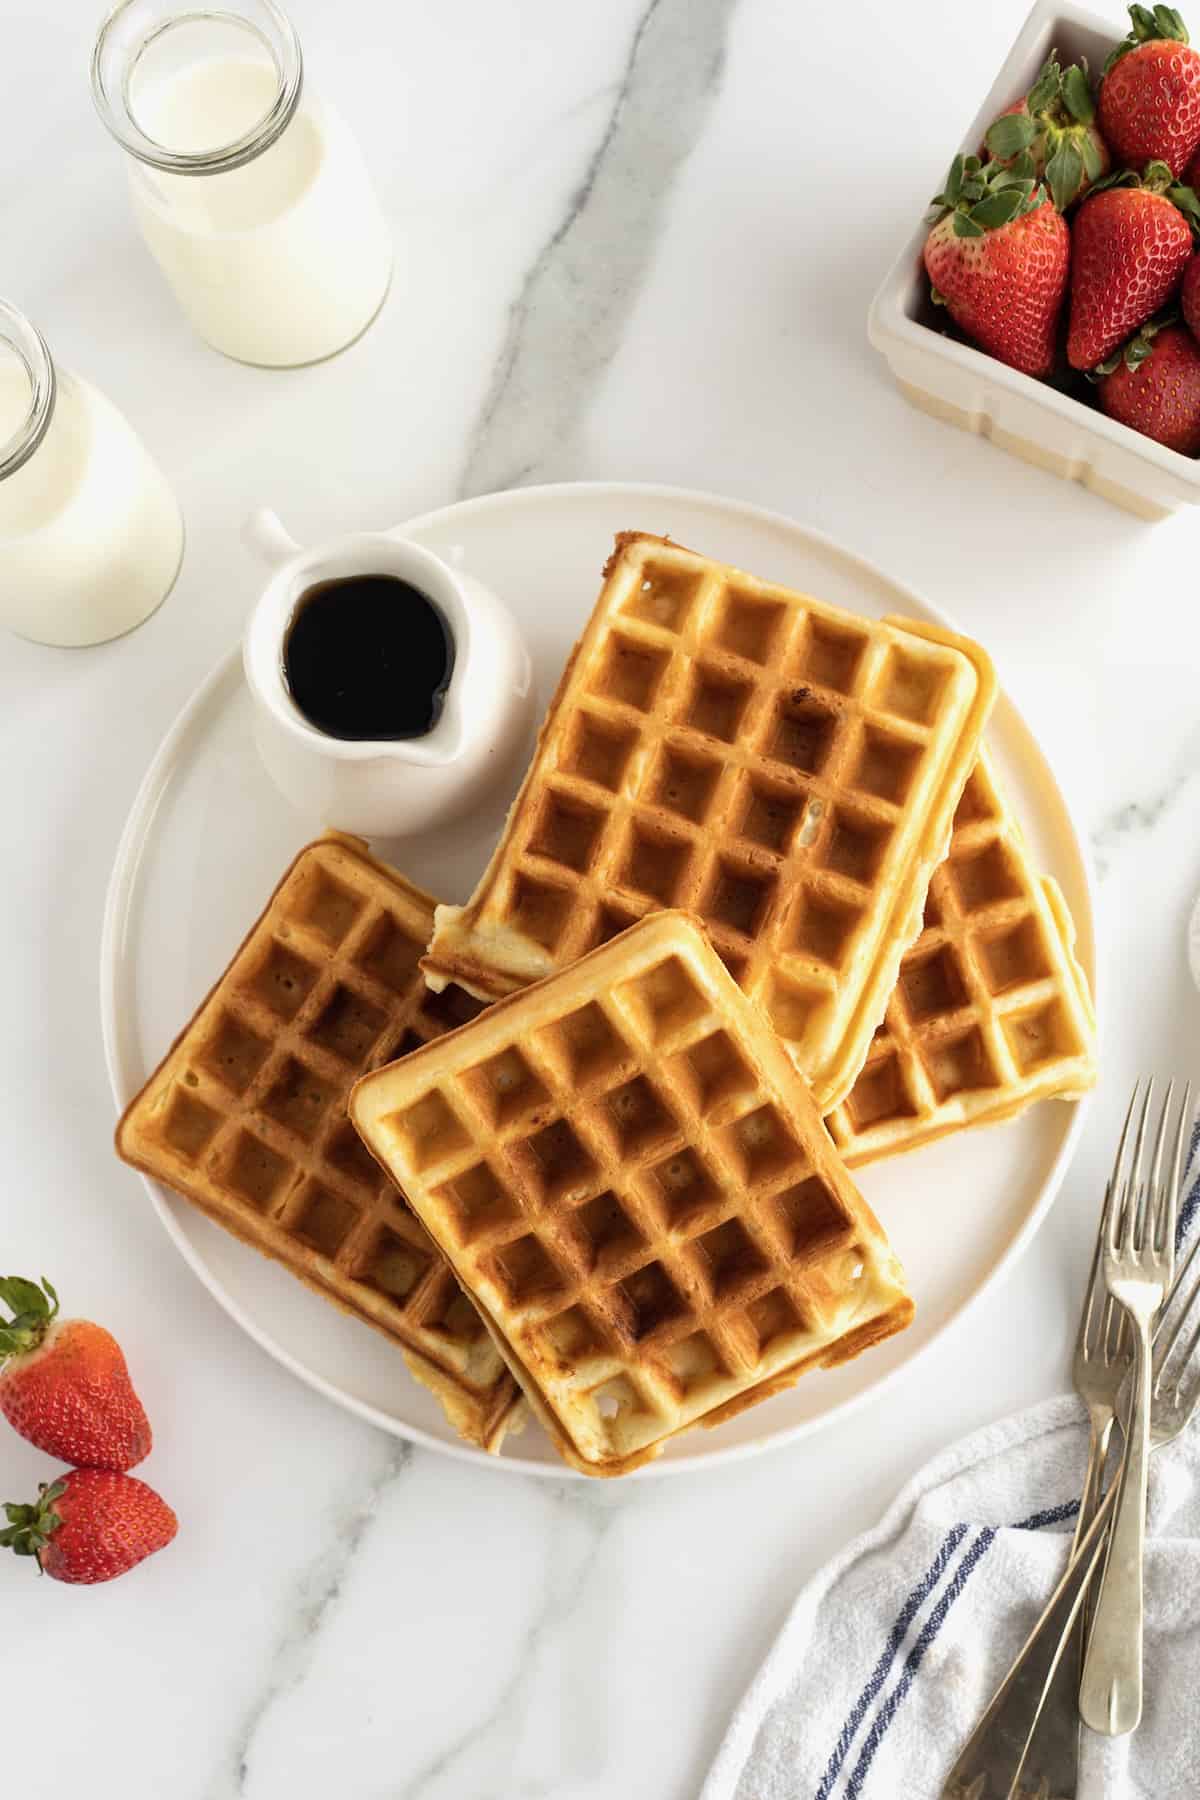
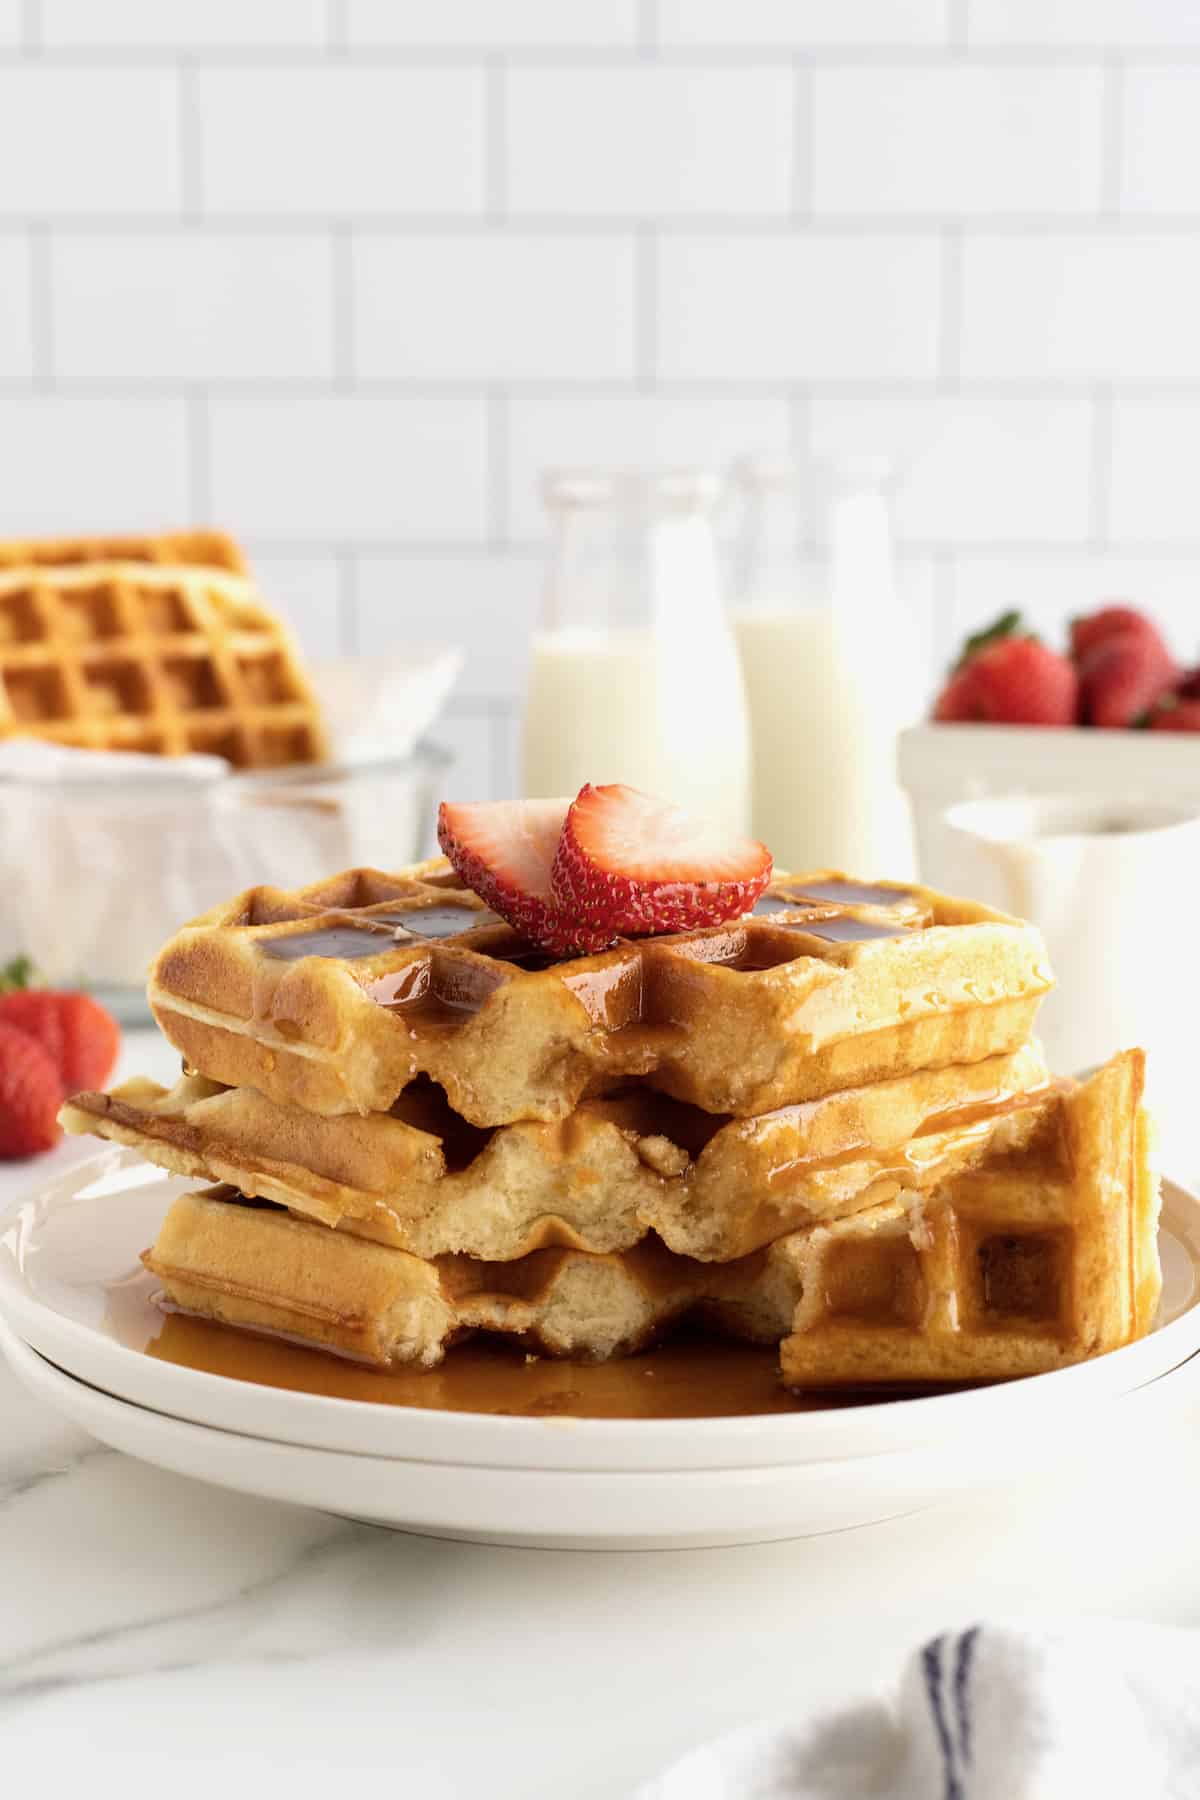
How to Serve Waffles
We keep it pretty classic when we eat waffles by serving them with creamy butter, good quality pure maple syrup and some fresh fruit. You can whip cream for the top, or top them with fruit preserves (I like strawberry). I’ll occasionally put out some peanut butter and Nutella to mix it up a bit because, seriously, we eat these classic crispy waffles at least once a week!
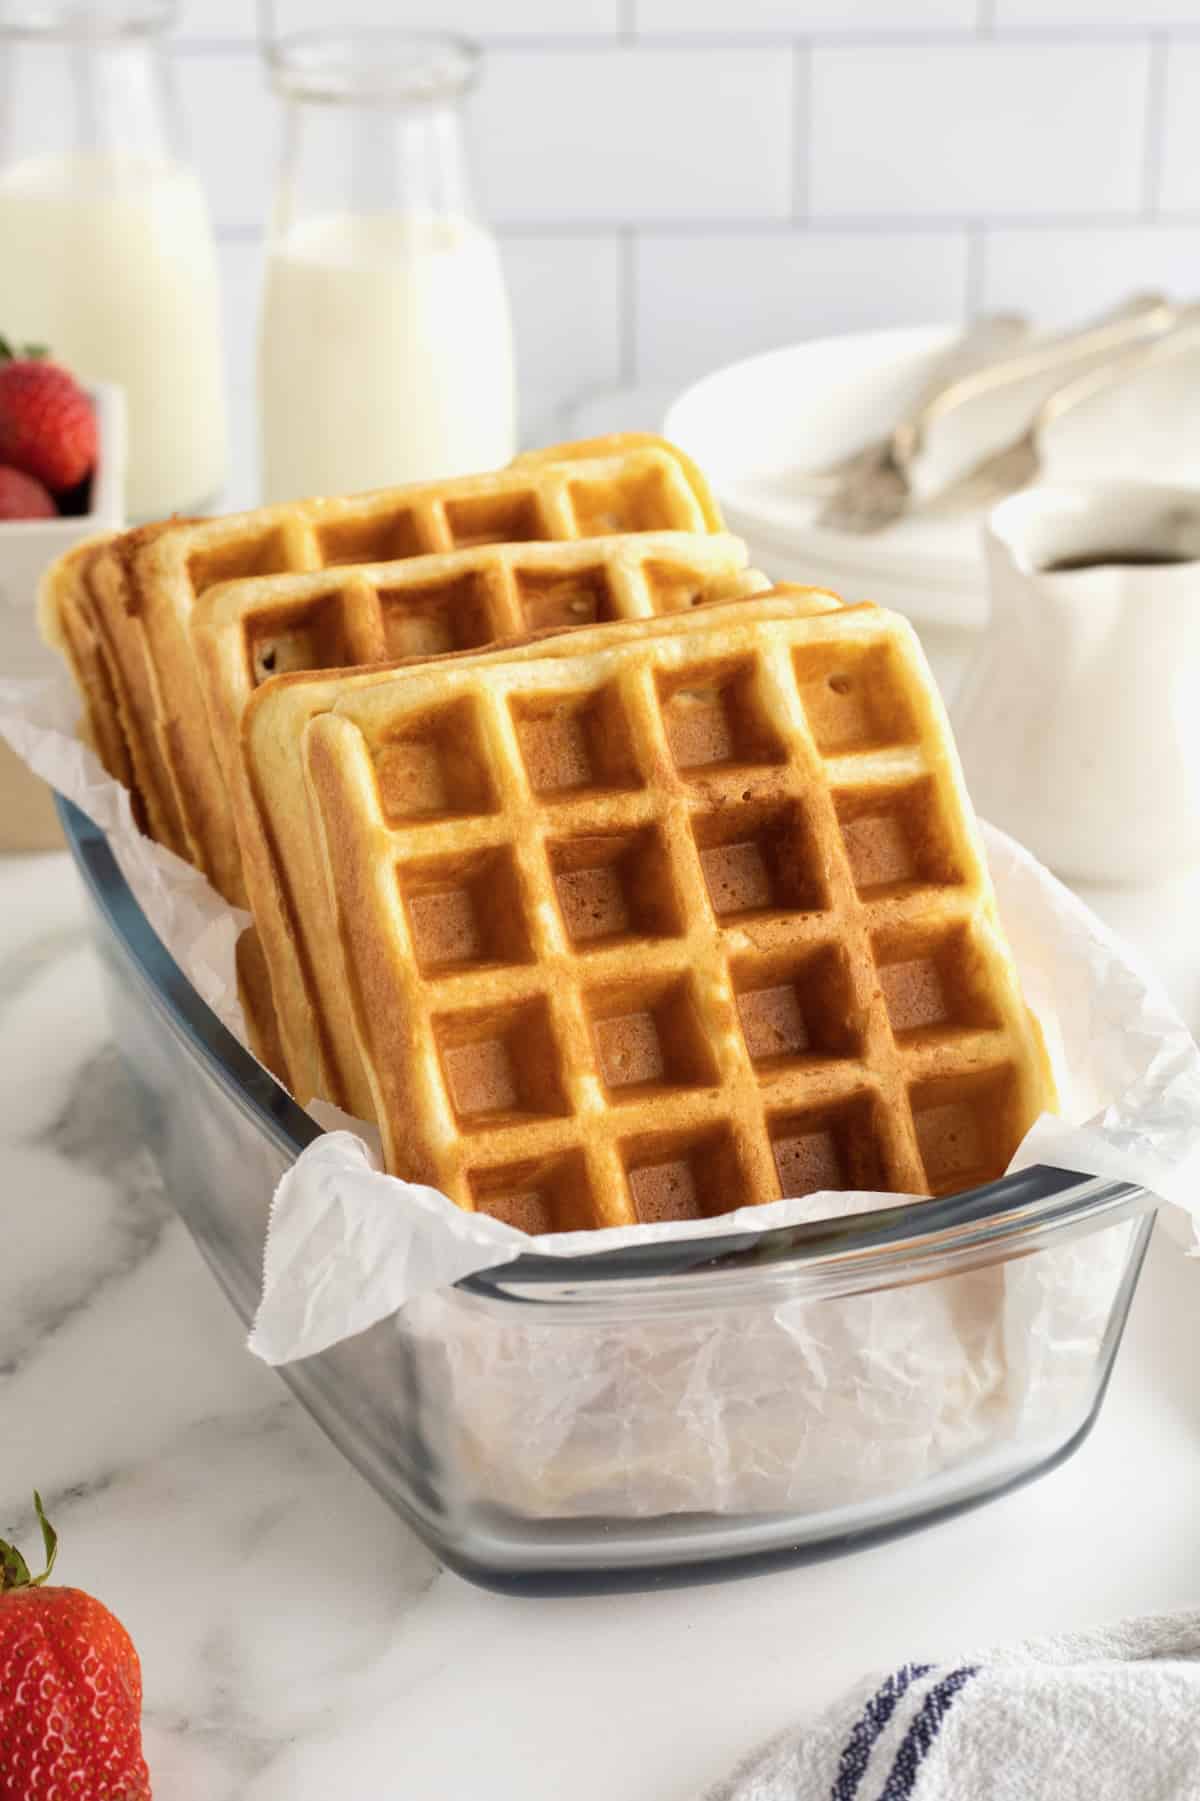
How to Store Leftover Waffles
If you happen to have leftovers, you can store leftover waffles in an airtight container in the fridge or freezer.
To freeze, make sure they’re completely cool (I let mine sit on a cooling rack) before freezing in a freezer safe bag or container. When you’re ready to reheat them, I highly recommend you toast them in a toaster just like you would toast. It crisps them right back up.
To reheat: If you’re reheating several leftover waffles at a time, you can lay them in a single layer on a baking rack or directly on the oven racks in a 300°F heated oven for about 5-10 minutes depending on if they were frozen or just refrigerated.
Just whatever you do, don’t microwave leftover waffles! They’ll be so soggy and that’s just sad. 😉
I hope you and your loved ones enjoy this recipe as much as we do! If you make these Classic Crispy Waffles, be sure to snap a picture and share it with me or tag me on Instagram @thebakermama so I can see.  I love seeing how inspired and creative y’all get with the recipes I share. Enjoy!
xoxo,

Classic Crispy Waffles
- Prep Time: 15 mins
- Cook Time: 5 mins
- Total Time: 20 mins
- Yield: 10-12 large waffles
- Category: Breakfast
Description
How to make Classic Crispy Waffles that turn out perfectly crisp on the outside and light and fluffy on the inside every time!
Ingredients
- 2 cups all-purpose flour
- 2 teaspoons baking powder
- 1 teaspoon baking soda
- 1/2 teaspoon kosher salt
- 2 cups whole milk
- 1/2 cup butter, melted & slightly cooled
- 1 teaspoon vanilla
- 2 large eggs
- 2 tablespoons sugar
Instructions
- In a large mixing bowl, whisk together the flour, baking powder, baking soda & salt. Make a well in the center of the dry ingredients and add the milk, whisking until just combined. Whisk in the melted butter and vanilla until well combined.
- In a separate bowl, beat eggs until light and frothy and then fold the eggs into the batter a few times. The batter should be streaked with the beaten egg. Sprinkle the batter with 2 tablespoons sugar and gently fold it in until very few streaks of egg are showing. The batter should still be slightly lumpy.
- Let the batter set in the refrigerator for at least 10 minutes while you preheat the waffle maker to medium-high heat. Generously spray top and bottom of the waffle maker with non-stick cooking spray and cook waffles according to your waffle maker’s instructions.
- For my waffle maker, I fill it about three-quarters of the way full, spreading it to fill in any gaps. Close the lid gently and cook until the waffles are golden brown and crisp, about 5 minutes. I try not to peek for at least 4 minutes. Keep the cooked waffles in a 200°F warm oven while you make the remaining waffles.
Great crispy waffles! I’ve never gotten homemade waffles to be crispy and these were perfect.
Hi, Rachel! I’m so happy to hear you enjoyed them! ❤️
I was really hopeful for this recipe but they’re not at all crispy despite looking like they should be and the flavour is lacking, they mostly taste like egg
Hi! What kind of waffle iron are you using and do you have it heated high enough? That is very important. Also, are you sure you measured all of the ingredients correctly and followed all of the instructions exactly?
These were so thin, hence the 4 stars. So, I added about 1/2 c more flour with 1/2 tsp baking powder after the first waffle. Very tasty, rich egg taste and crispy but light waffles. Will be making these again!
Hi Claudia! Are you saying that your batter was too thin or your waffles baked up too thin? Did you use a thin or thick waffle maker? Did you let the batter rest in the refrigerator for at least 10 minutes? That is key to the texture of the batter and the way the waffles cook up. The batter should be thin enough to pour into the waffle maker so it spreads out in the waffle maker and cooks up light and crisp. I’m glad you were able to make it work though!
Delicious in taste however they were way too fried. They looked and tasted like donuts but without all the sugar. I carefully followed all the instructions and tried the recipe twice.
Hi, Amelia! I wonder if maybe this is for a different recipe? These are basic classic waffles – there’s no frying? If they were over crisp, maybe adjust your waffle maker settings?
This recipe is so versatile. My son likes waffles, my daughter likes pancakes…this recipe works for both without any tweaks.
Hi baker mama, glad to hear so many good reviews! Before I try the recipe, just wondering if u have whipped meringue instead of frothy eggs as some comments are to use meringue to boost the fluffiness.
Hi Dino! I haven’t tried the recipe with whipped meringue as we love the recipe just as it’s written. It’s certainly worth a try though. Enjoy!
Great recipe x
Great recipe, thanks! Any chance you could add a quantity control to your recipes that lets you adjust the number of servings you want and the ingredient quantities change to reflect this?
Hi Chris! I have had this feature on the blog before, but it messes people up sometimes to where they adjust the quantity without realizing it and then they make too much or mess the recipe up. I decided to remove the feature so it would be consistent. I will certainly look into other features that allow quantity adjustments in a simpler way. Thanks for your feedback. Enjoy!
These were crispy on the outside and creamy on the inside. I made a half batch because it’s just my husband and myself, and i used a mini waffle iron. For those who say they aren’t crispy you might be overfilling your waffle iron. I crisped up the leftovers in the air fryer for a few minutes. We often use the leftover mini waffles for breakfast sandwiches.
When I crave delicious waffles (just the way I like them), I always end up searching up different recipes. I have not came across this one yet, but this morning I did. If you are like me and read the comments to see what others have to say (since there are countless recipes for the same dish online), I want to share that this one did NOT disappoint. I was debating whether or not to go with one with yeast (and wait the extra time) but this recipe does not need it. The waffles came out crispy and fluffy on the inside. I paired it with some homemade whipped cream and the kids and I loved it! Thanks for sharing this wonderful recipe. I will be saving it for future use:)
This is not a good recipe. They were dense and had a really bad after taste. I’d definitely not use this again.
Oh no, Jason! It sounds like something went wrong. Did you follow the ingredients and instructions exactly. Did you beat the eggs until light and frothy? Did you let the batter set in the refrigerator? We make them weekly and they are so light, crispy and delicious. Sorry to hear that didn’t turn out for you the first time and hope that you are able to try them again with success.
I’ve made these twice but they are not crispy! What am I doing wrong?
Hi Bonnie! It might have something to do with your waffle maker not getting hot enough. I would suggest letting your waffle maker heat up longer before cooking the waffles or turning up the heat on your waffle maker overall. I would also suggest letting your waffle maker reheat a bit between waffle batches. Hope this helps and that you’re able to try them again with crispier success. Enjoy!
Made this receipt this morning. Turned out very nice. Didn’t separate the eggs and did not refrigerate for 10 mins….in a bit of a rush…..next time. But they did turn out great. Thank you. This one is a keeper. 🙂
I made it as described. Still wasn’t crisp.
Hi Lori! It might have something to do with your waffle maker not getting hot enough. I would suggest letting your waffle maker heat up longer before cooking the waffles or turning up the heat on your waffle maker overall. I would also suggest letting your waffle maker reheat a bit between waffle batches. Hope this helps and that you’re able to try them again with crispier success. Enjoy!
Looking forward to making these over the weekend. I have a silicone waffle tray. Any suggestion for how long I should bake them?
Hi Sophia! How neat! Honestly, I had never heard of a silicone waffle baking tray so I wouldn’t be able to say for sure. I would suggest looking up the product online and see what they suggest for baking times. Enjoy!
Hi Megan,
I enjoyed reading your recipe and everyone’s comment thoroughly before I got started.
I followed your recipe from head to toe and it was very exciting every step of the way. Cooking is like a chemical reaction almost like a chemistry experiment, if you put in the time and love to understand what each ingredient does to your waffles it makes a very special magical delicious plate of food. So Thankyou for your handy key tips. The most wonderful light, crispy, fluffy delicious waffles I have ever tasted in my whole life and it sure won the 5stars with our kids and my hubby. A very heartfelt thankyou from us all 🙂 We are so blessed and grateful to you for sharing this yummy recipe, the waffles sure didn’t last long so definitely no left overs 😉
Hi Lisa! I’m so happy you and your family enjoyed making and, of course, eating the waffles. I love setting you up for success when making my recipes so thank you for sharing your experience. Continue to enjoy and take care! xoxo
This is the perfect base recipe for anyone making waffles. Overall, this recipe was amazing. Waffles were nice and crispy. Cooking time of 4 min was spot on for my countertop flip style Bella brand waffle maker. The base recipe was perfect for adding semi-sweet chocolate chips which we did to half. When I make again, I will add another Tbsp of sugar, but that is just preference.
I have to agree that this is finally the right recipe for me. I was getting these sad pale white waffles. Now I have crispy, yummy waffles. This will be my go to recipe from now on!
Loved these waffles. I also tried chopping pecans and putting them in some of the batter. Absolutely wonderful!
Can i use self raising flour and skip the baking powder? Also does the baking soda make a big difference? Those are 2 ingredients I don’t have 🙁
Hi Alexa! I haven’t tested the recipe with self-rising flour so I can’t say for sure if the waffles will cook as crisp on the outside and fluffy on the inside as they should. If I only had self-rising flour, I would leave out both the baking powder and baking soda and just replace the 2 cups flour with 2 cups self-rising flour. Fingers crossed they turn out just as great! Enjoy!
This is exactly the waffle recipe I was looking for! Easy, tasty, crispy. Thank you!
Hi! If i made too much batter how long can i store it in the fridge for?
Hi Chloe! I usually recommend pancake and waffle batter be stored in the fridge for no longer than 3 days. Hope this helps!
Finally a waffle with the crispiness I want.🤗🤗🤗 thank you
Absolutely fabulous!! We made no changes, and this recipe turned out perfect. THANK YOU!
Any way to make these delicious waffles vegan?
Hi Elham! I’d have to test the substitutions to say for sure, but I think you could try almond milk in place of the whole milk, olive oil in place of the butter and applesauce in place of the eggs. Hope this helps. I know there are a lot of vegan waffle recipes out there that might be a better place to start. Enjoy!
The oil should definitely be more neutrally-flavored, such as canola, vegetable or sunflower oil, but the almond milk and applesauce suggestions sound like they could make some pretty good eats!
These are the absolute BEST waffles I’ve ever made, and I’ve made plenty, trying all kinds of different recipes over the years. They are light. Crispy. Tasty. They freeze well. The only thing I changed about this recipe is I used water instead of milk, and that may have been what made the big difference here. I’ve always used milk or buttermilk in my waffle recipes, so I was very skeptical about making them with water. But I will use this recipe as my go to from now on, just swapping the milk for water. Thanks for this recipe!!!
I love hearing that, Dawn! I’ll have to try them with water next time just to compare. Continue to enjoy! 🙂
These are the best waffles! I have made them over and over again! Thanks Maegan!!
Can you make the batter a day ahead? Thinking of making these for Easter brunch!
Hi Julie! Absolutely, just cover the bowl with plastic wrap and store in the refrigerator. Then allow it to come to room temperature for about 30 minutes before cooking the waffles. Enjoy!