
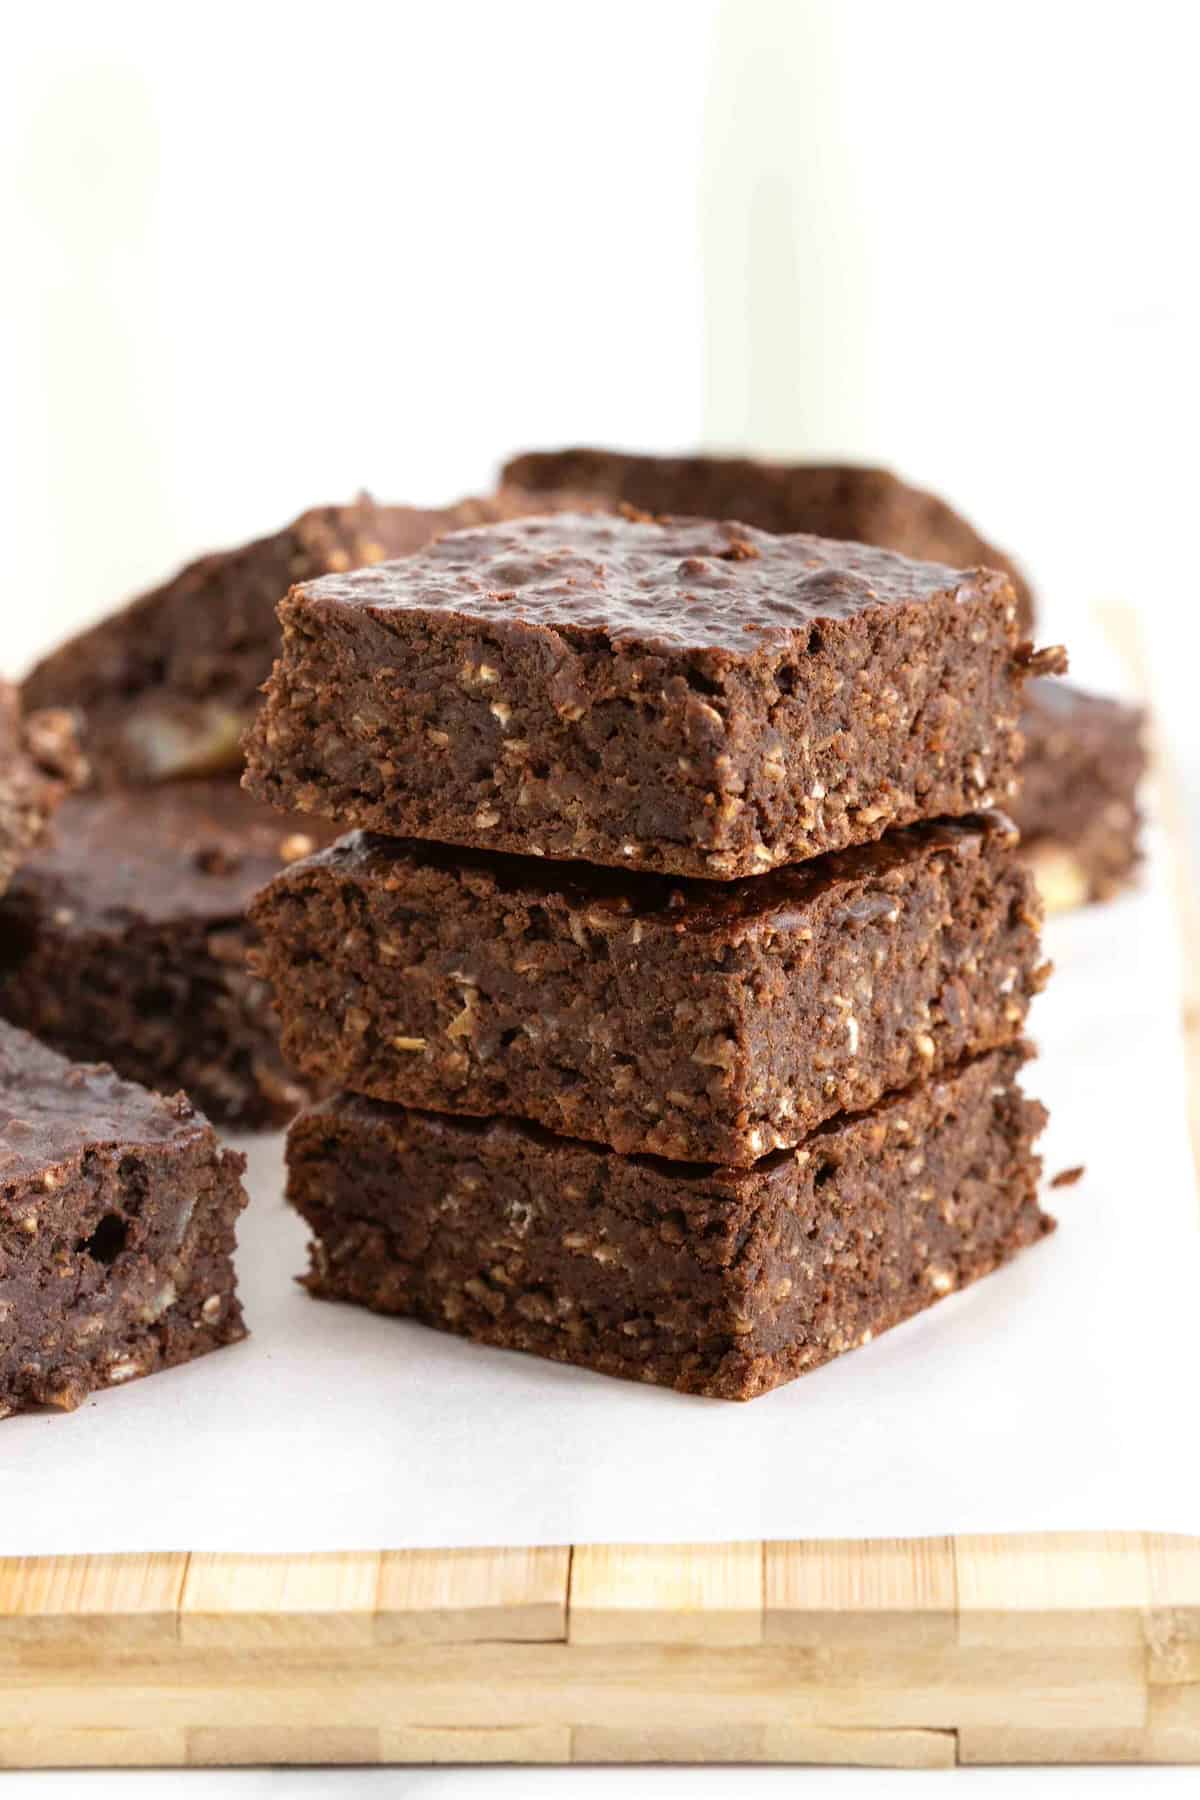
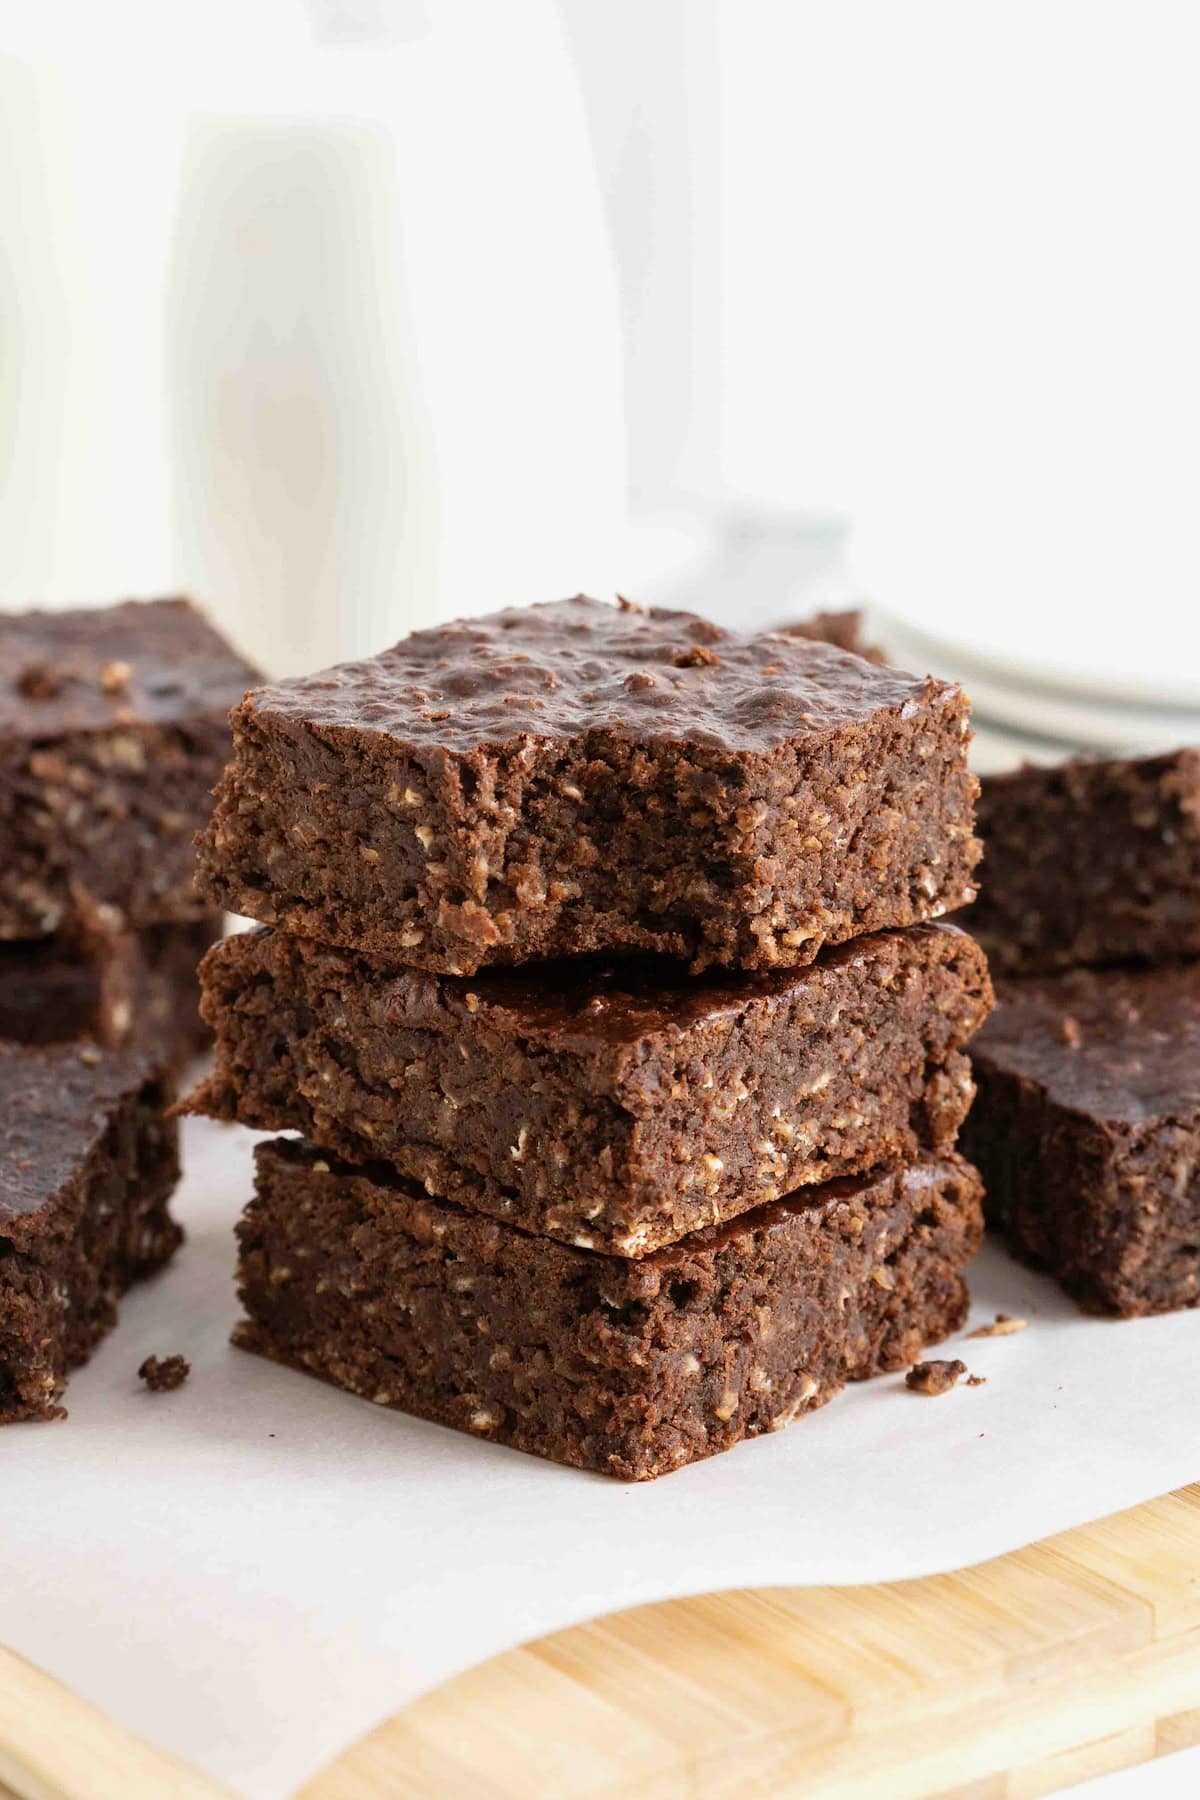
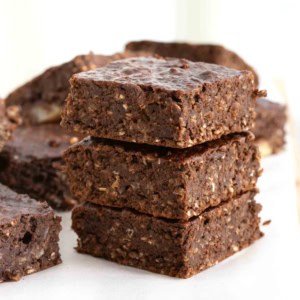
Start the day off right with hearty, delicious Breakfast Brownies! Made with bananas, oats, and peanut butter, these breakfast treats are as healthy as they are tasty!
Say Good Morning to Breakfast Brownies!
I love a healthy breakfast food that feels a little indulgent (helloooo, chocolate). Made without any oil or refined sugar, these scrumptious Breakfast Brownies provide a healthy, hearty alternative to a quick bowl of cereal. And they’re almost as convenient. Just blend and bake!
I love to make them the night before and warm them up before sending my family out into the day. Breakfast Brownies are the platonic ideal of breakfast treats!
Seeing your kids’ faces when you suggest brownies for breakfast — that’s a treat in and of itself! Alllll the cool mom points. Your kids will love to gobble them up, and you’ll love filling them up with a healthy, delicious breakfast.
More Hearty Breakfast Options
- Breakfast Cookies: With whole wheat, peanut butter and oatmeal, this healthy Breakfast Cookie recipe is packed with shredded apples and mashed bananas. A breakfast treat you can be proud to serve your little ones!
- Birthday Breakfast Muffins: A cake mix, bananas, applesauce and sprinkles are all it takes to make these fun and yummy Birthday Breakfast Muffins for a special birthday breakfast! It’s nacho average breakfast, y’all!
- Breakfast Nachos: Take ordinary tortilla chips and pile them with savory breakfast sausage, scrambled eggs, bacon, and fresh avocado for a deliciously unique breakfast!
Ingredients and Supplies
(see recipe card at the bottom of this post for measurements and details. To learn more about specific baking ingredients and how they function in baking recipes, reference my Complete Guide to Baking Ingredients)
Ingredients:
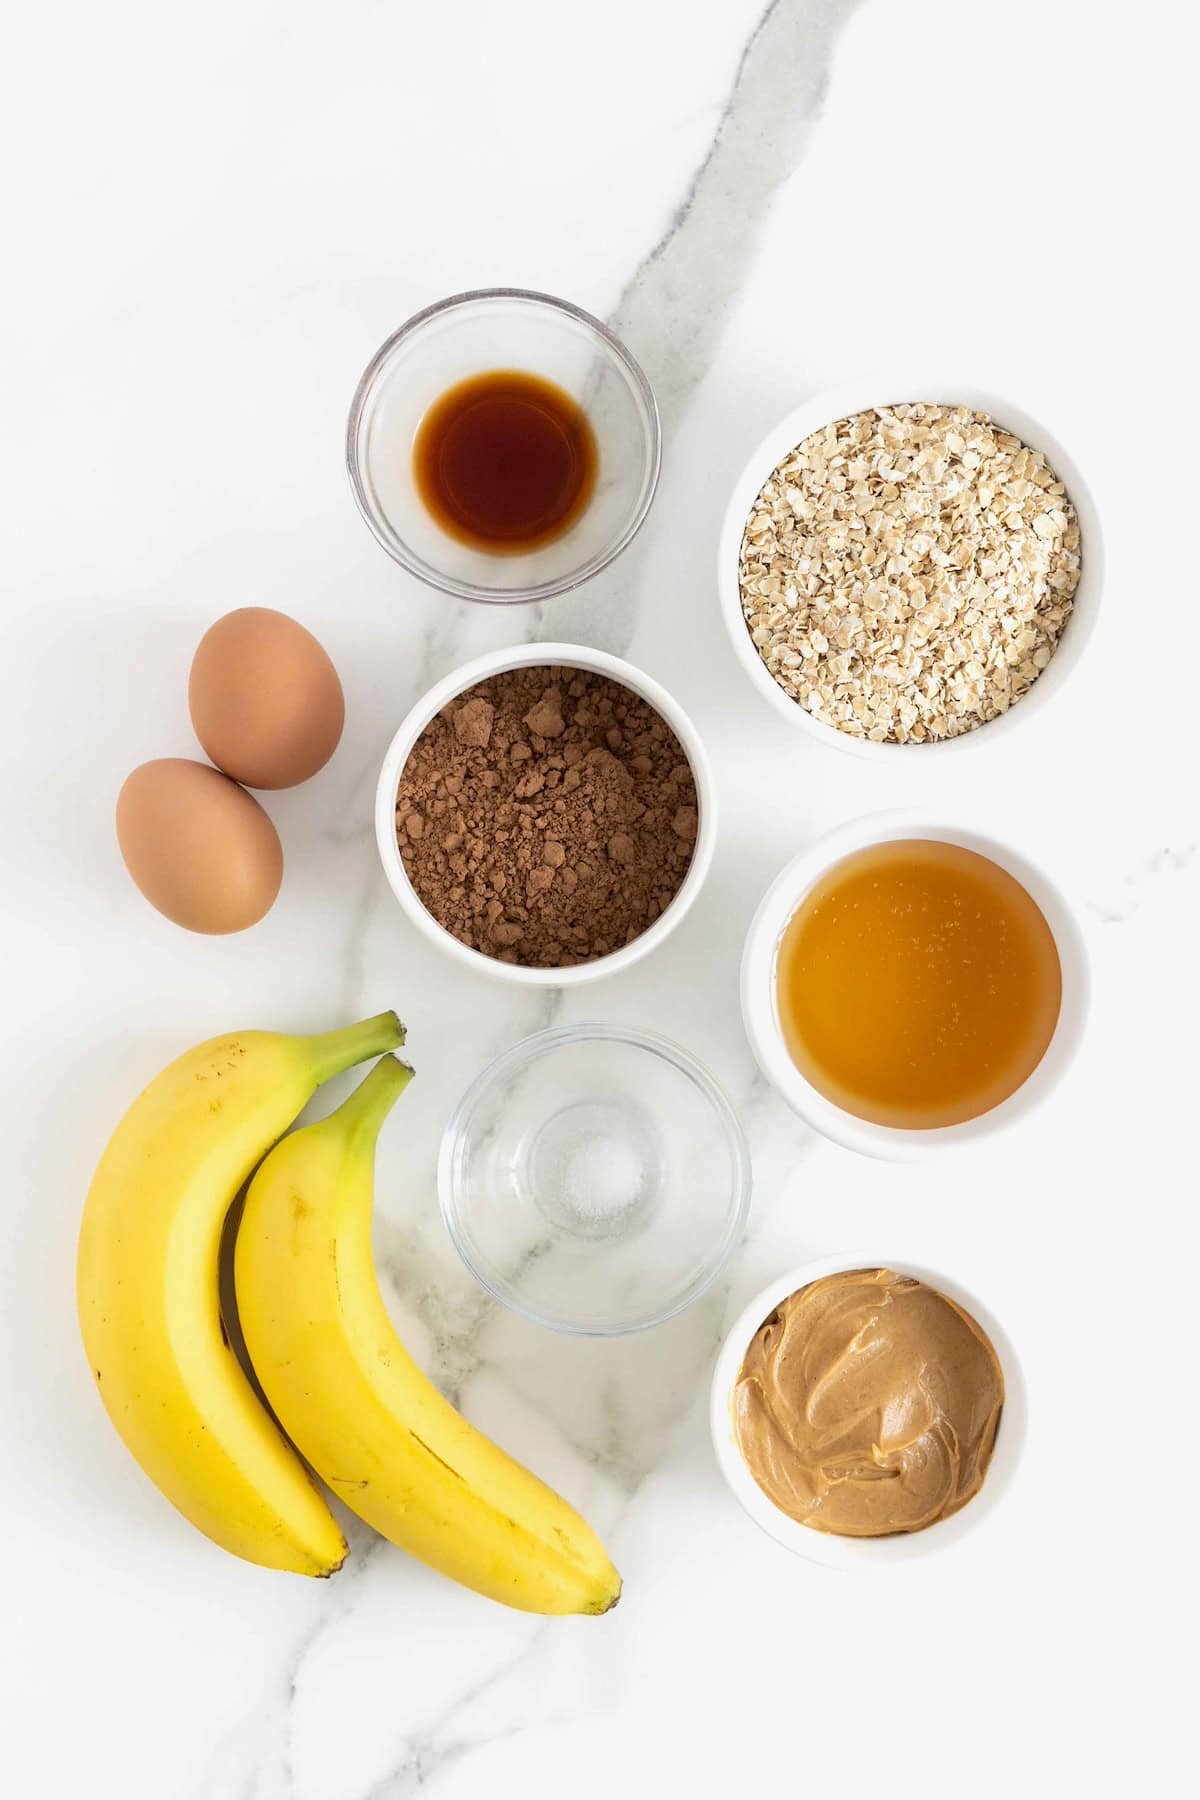
- Rolled oats (old fashioned or quick cooking): act as the flour, giving the brownies structure and a hearty texture.
- Unsweetened cocoa powder: provides rich chocolate flavor and some bitterness to balance the sugar. Dutch-processed cocoa works, too.
- Honey: naturally sweetens the brownies while adding moisture and helping bind everything together. You can substitute the honey with maple syrup, agave or date syrup, if desired.
- Creamy peanut butter: adds healthy fats, protein, richness, and structure. Feel free to substitute with almond butter or a seed butter, if desired.
- Medium bananas: bring natural sweetness, moisture, and extra binding power. The riper the bananas, the sweeter the brownies will be! You can substitute the banana with applesauce or pure pumpkin purée, but keep in mind the flavor will be less sweet and the texture slightly softer and less fudgy depending on which you use.
- Large eggs: provide structure and help the brownies hold their shape as they bake.
- Vanilla extract: enhances and deepens the overall flavor.
- Kosher salt: enhances the chocolate flavor and balances the sweetness of the banana and honey. Use slightly less if using table salt (which is finer).
- Water or milk: thins the batter slightly to help it blend smoothly.
Supplies:
How to Make Breakfast Brownies
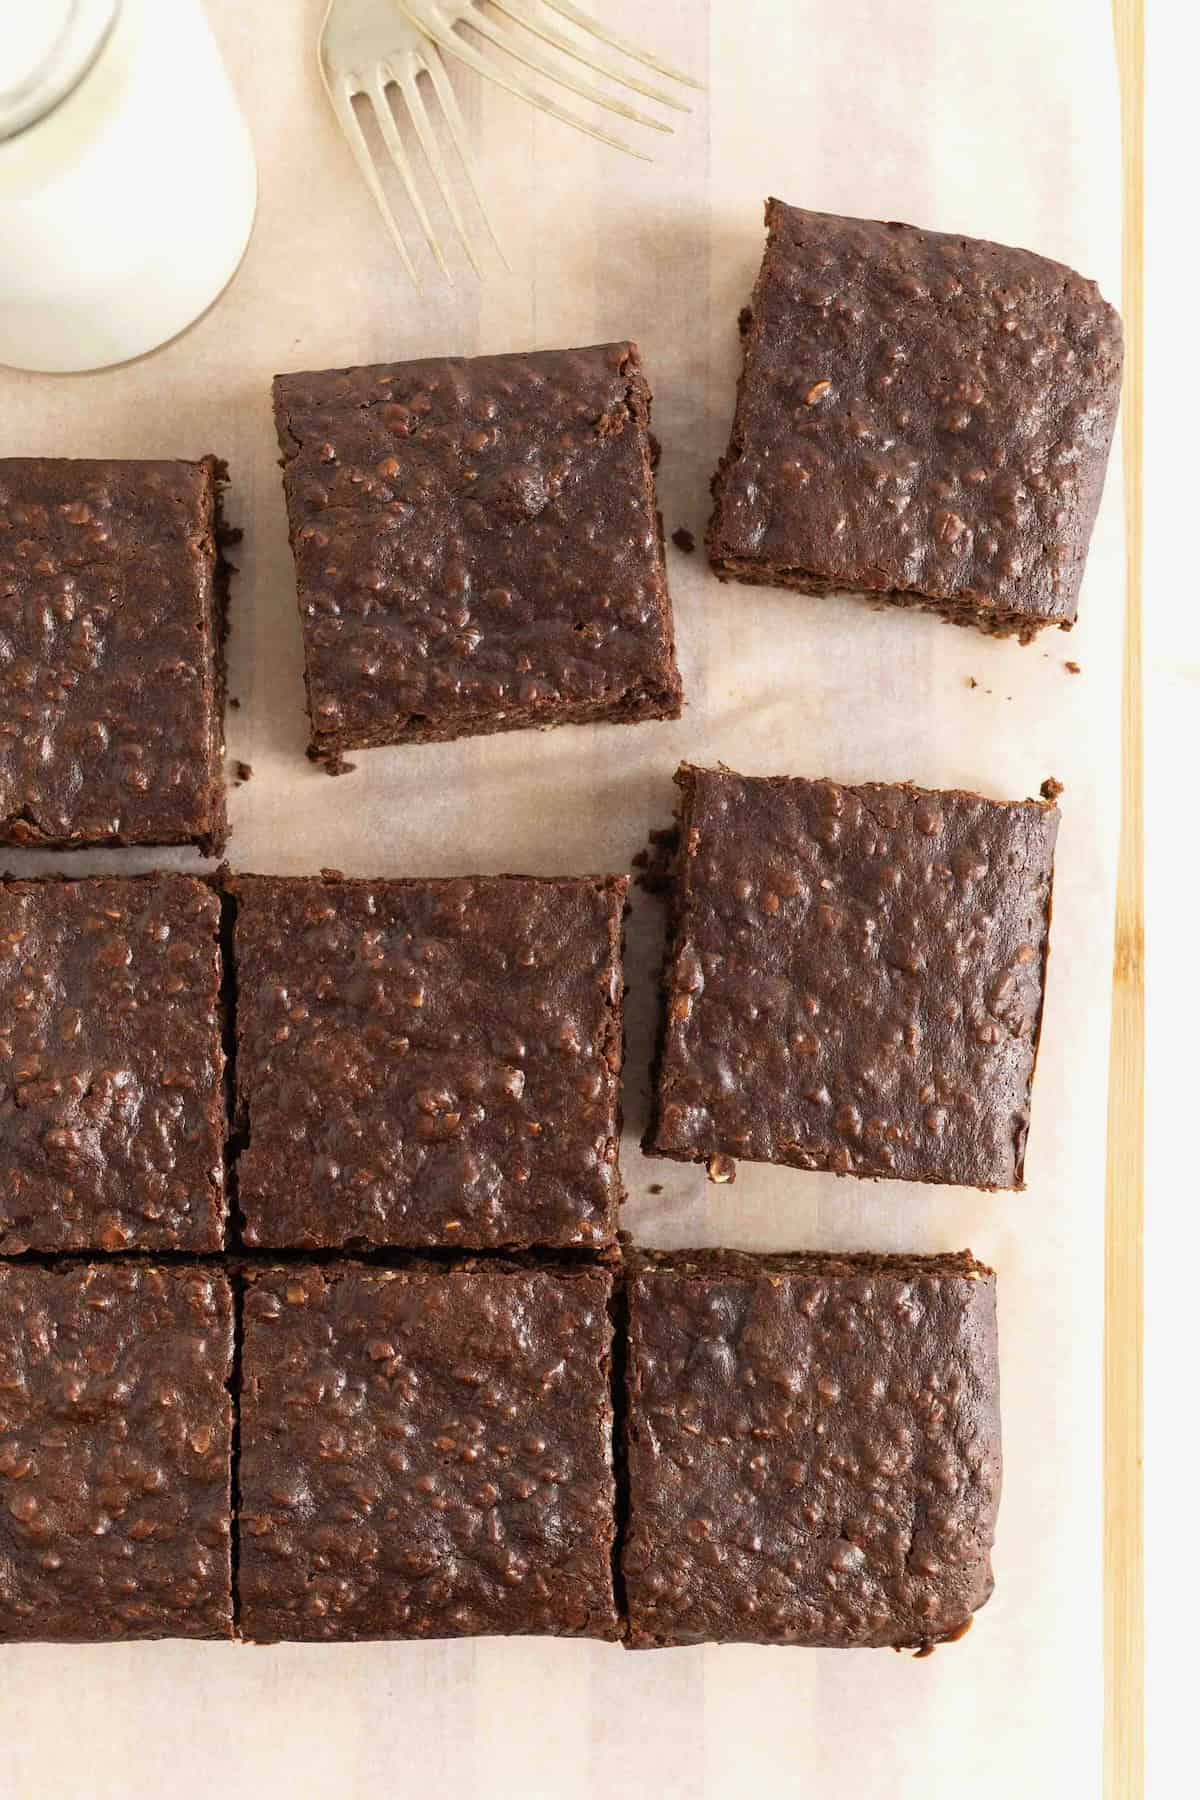
- First, preheat your oven to 350°F and prep an 8×8-inch baking pan with non-stick cooking spray and parchment paper.
- Then, add all the ingredients to a food processor or blender and blend until smooth. NOTE: If the batter gets too thick for your blender or food processor, add a few tablespoons of milk or water.
- Once well blended, pour the batter in to your prepared pan.
- Bake for about 20 minutes, or until a toothpick inserted in the center comes out clean.
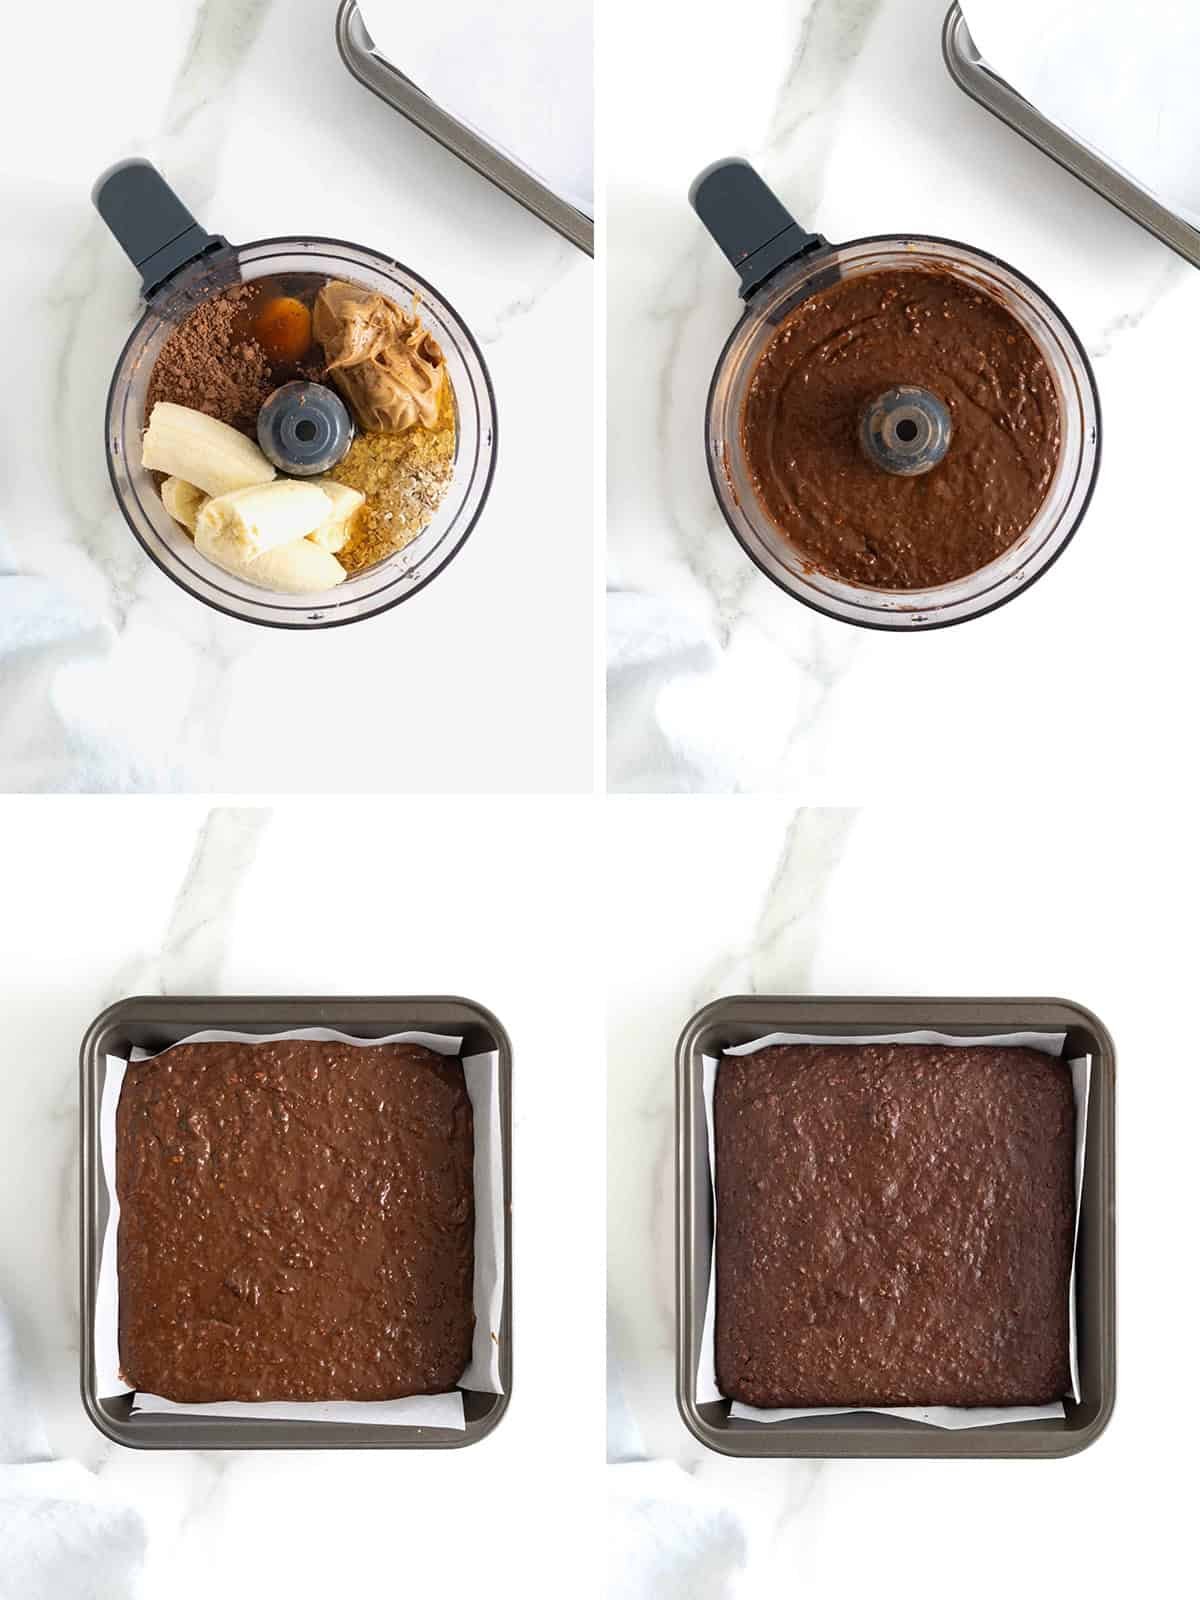
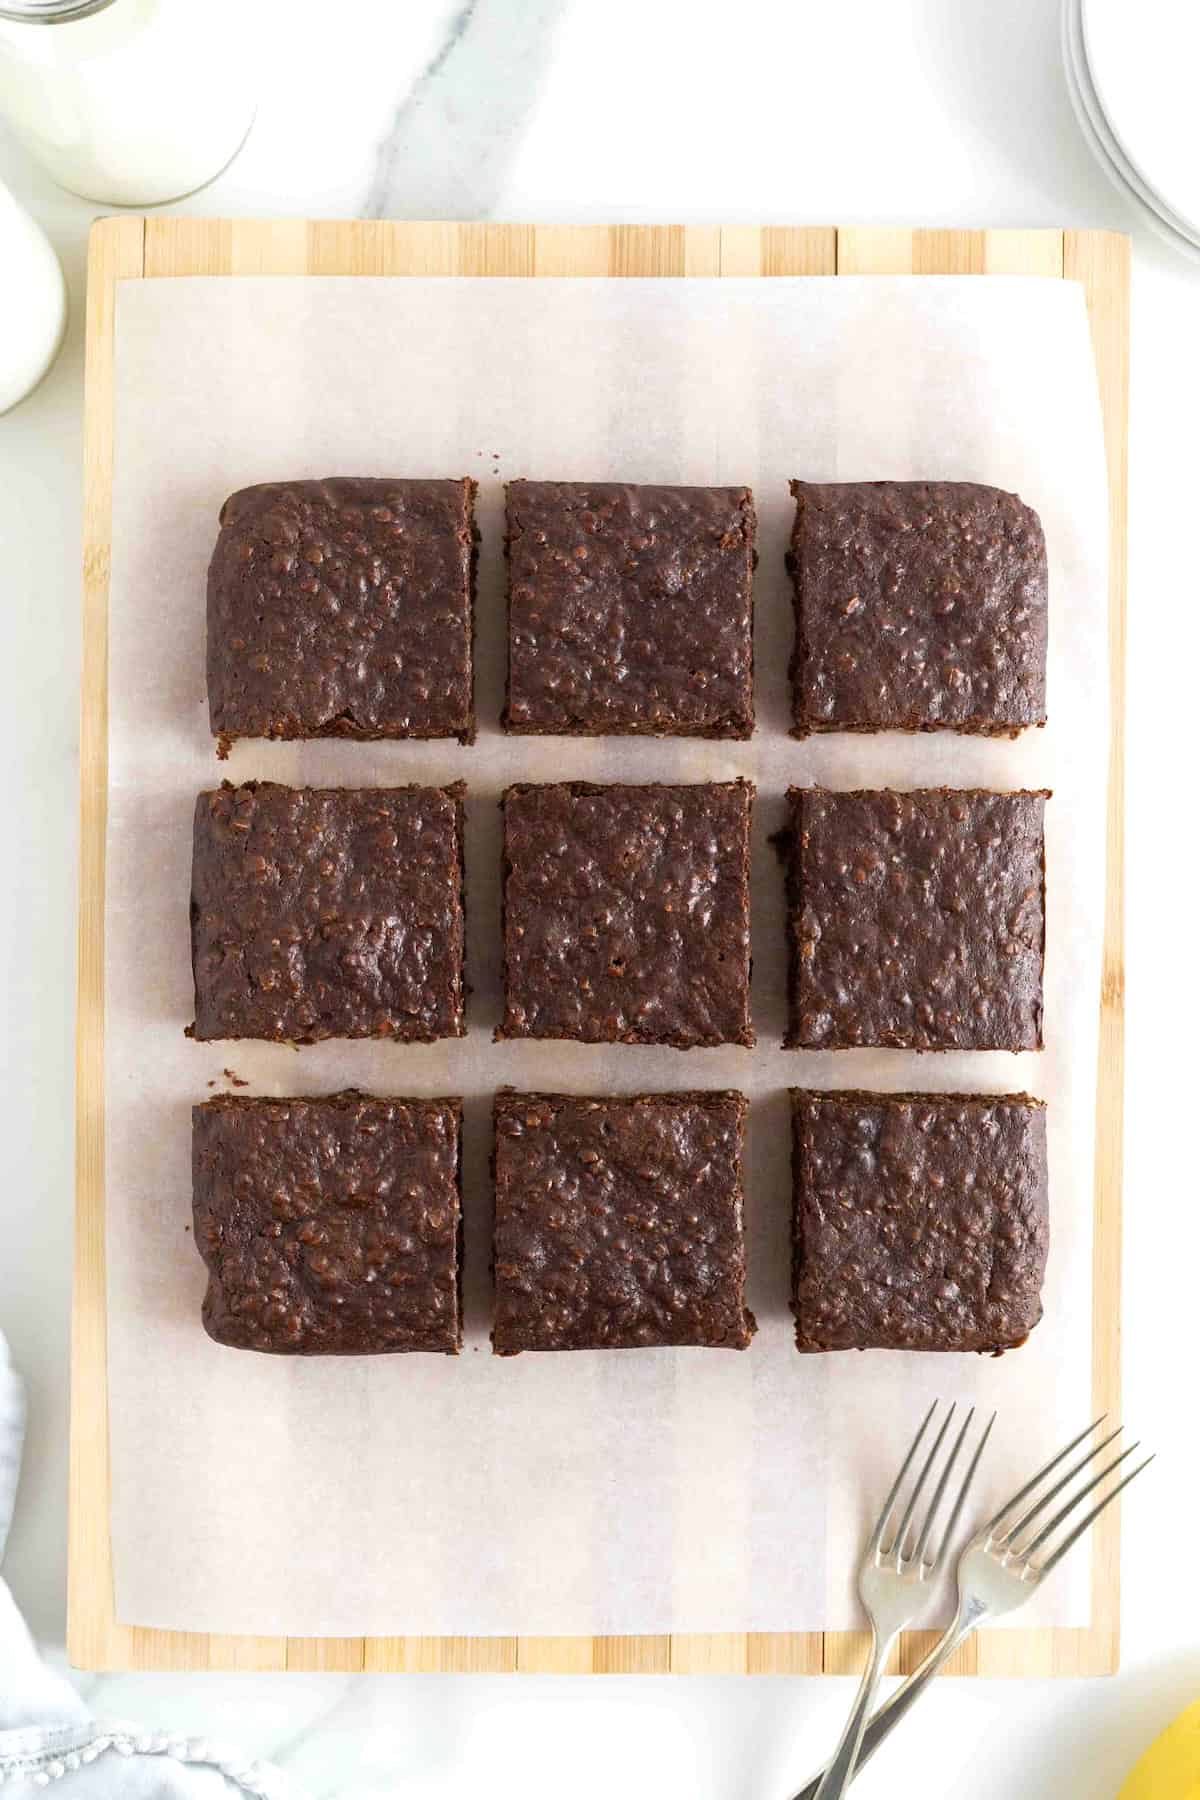
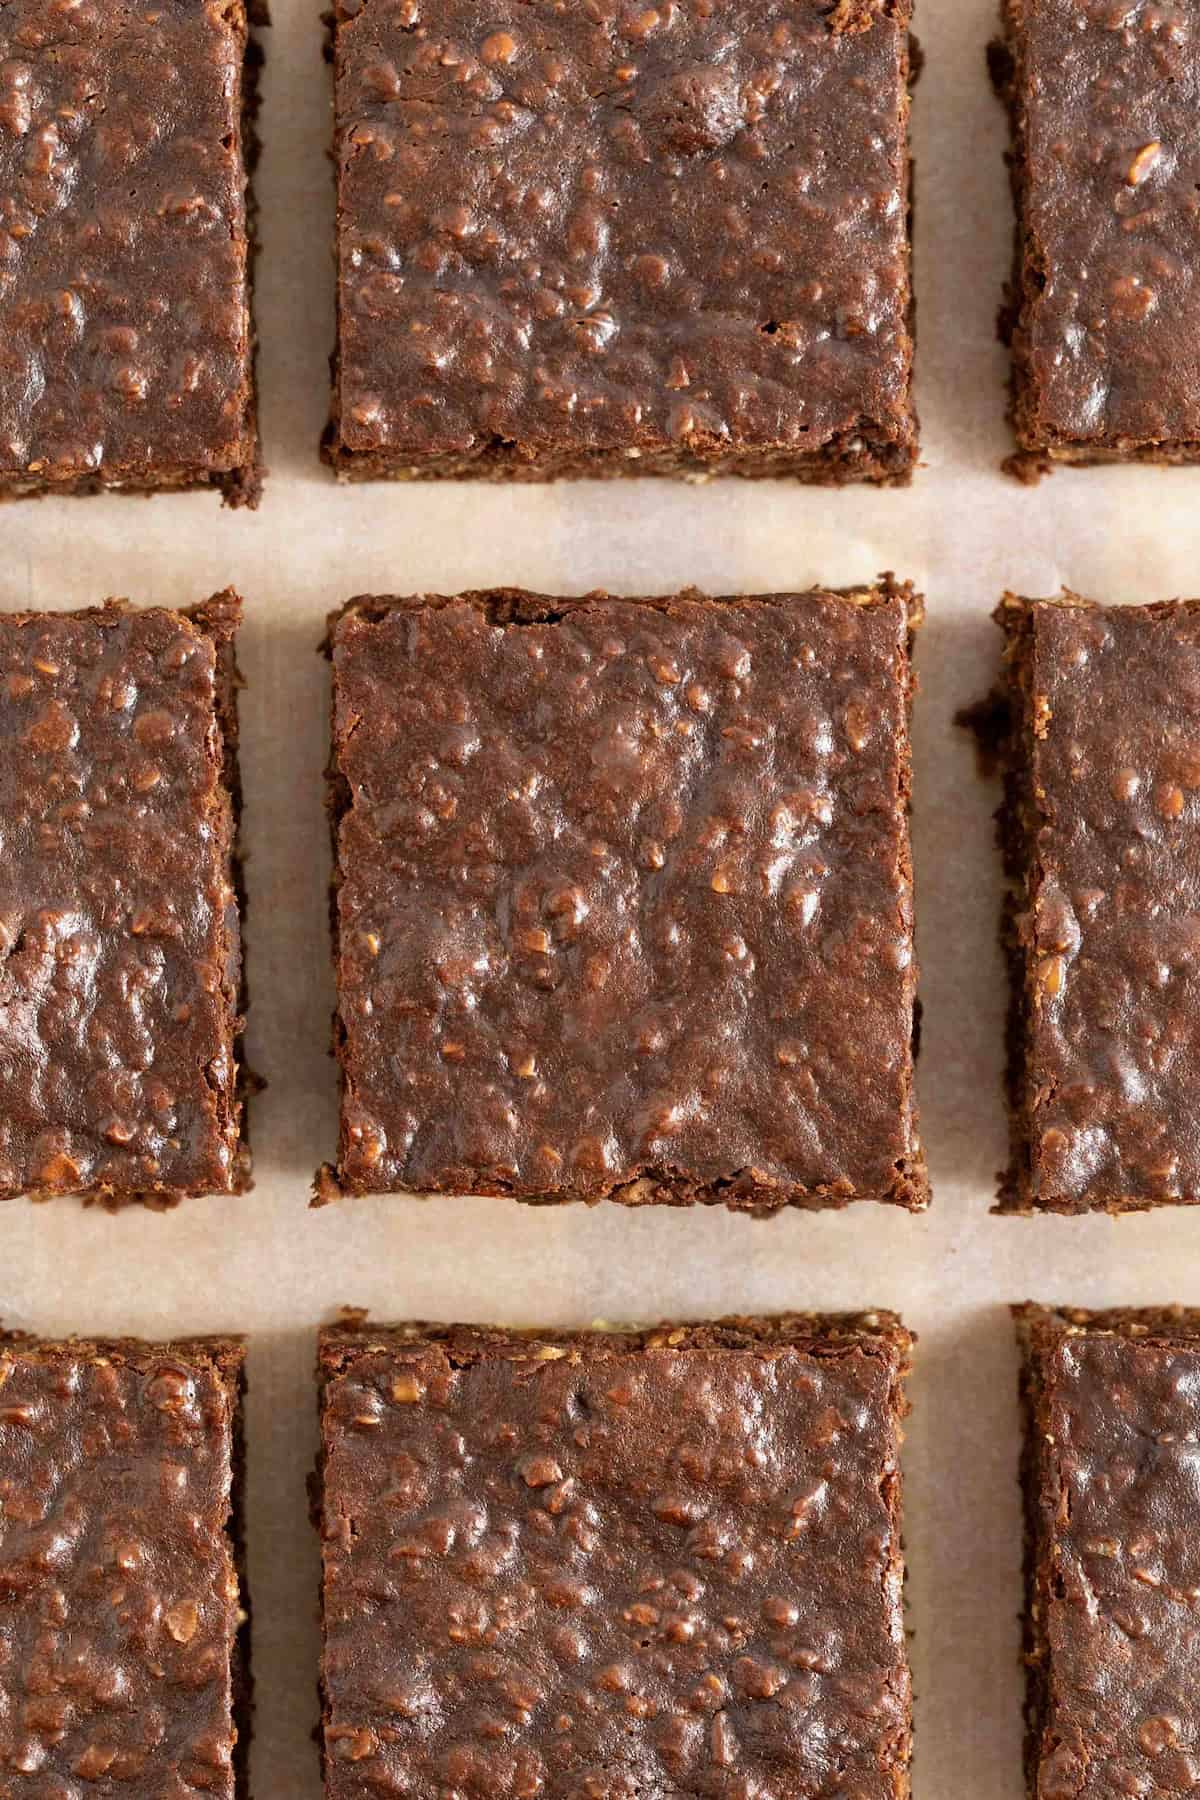
- Let them cool completely before eating and enjoy!
Storage
Once the brownies have cooled completely, store them in an airtight container. They can sit at room temperature for 1–2 days if your kitchen isn’t too warm, but because they’re made with bananas and eggs, I prefer keeping them in the refrigerator. In the fridge, they’ll stay fresh and fudgy for up to 5 days. Just place parchment paper between layers so they don’t stick.
For longer storage, slice them and freeze in a single layer or wrap individually before placing in a freezer-safe bag. They’ll keep well for up to 3 months, and you can thaw them overnight in the fridge or warm one in the microwave for about 20–30 seconds for an easy grab-and-go breakfast.
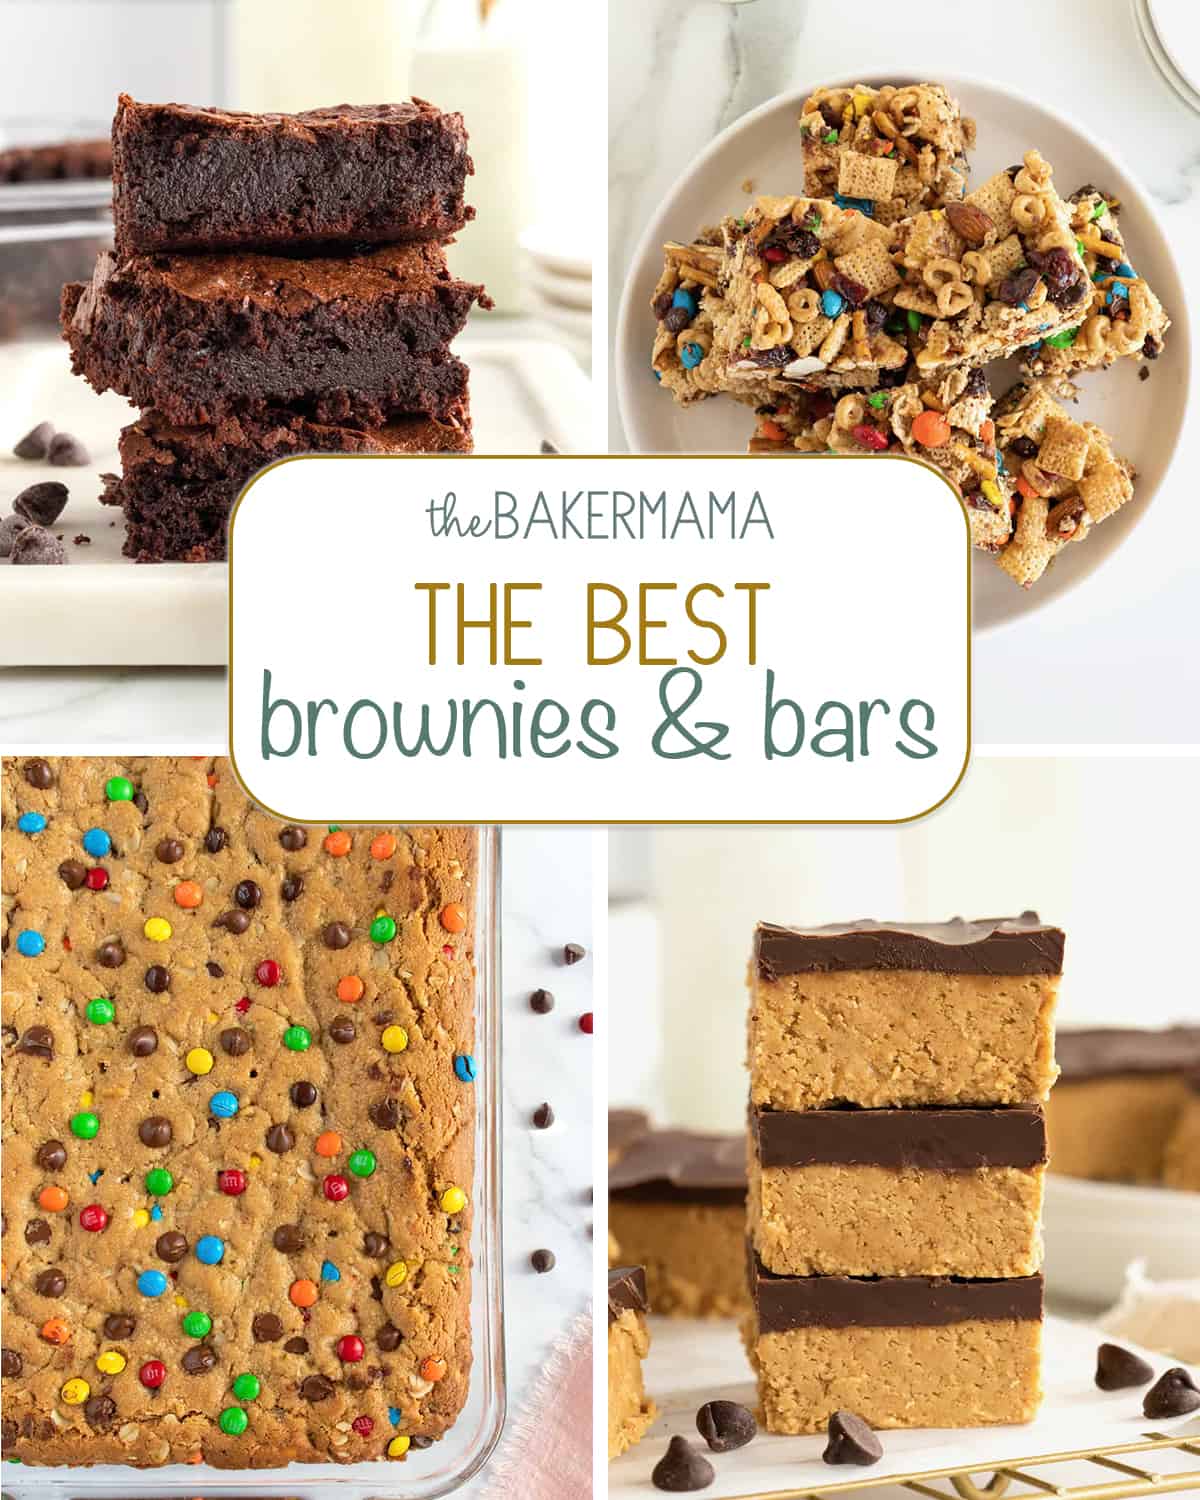
More of The Best Brownies and Bars
From chewy and fudgy to nutty, chunky, chocolatey, no-bake and flourless. My collection of the Best Brownies and Bars has something everyone will love!
I hope you’re inspired to make my Breakfast Brownies. Such a great way to start your day! Be sure to tag me on Instagram @thebakermama when you make them so I can see. If you’re on Facebook, be sure to join my Friends of The BakerMama group to connect and share all the fun and yummy recipes of mine that you make! 😍 I just love seeing how inspired and creative y’all get with the ideas I share. Enjoy!
xoxo,

Breakfast Brownies
- Prep Time: 5 minutes
- Cook Time: 20 minutes
- Total Time: 25 minutes
- Yield: 12
Description
Start the day off right with hearty, delicious Breakfast Brownies! Made with bananas, oats, and peanut butter, these breakfast treats are as healthy as they are tasty!
Ingredients
- 1 cup rolled oats (old fashioned or quick cooking)
- 1/2 cup unsweetened cocoa powder
- 1/2 cup honey
- 1/2 cup peanut butter
- 2 medium bananas
- 2 large eggs
- 1 teaspoon pure vanilla
- 1/8 teaspoon kosher salt
- water or milk, if needed to blend easier
Instructions
- Preheat the oven to 350°F. Lightly grease an 8×8-inch square baking pan with non-stick cooking spray and line with parchment paper. Set aside.
- Add all the ingredients to a blender or food processor. Blend until smooth and well combined. If the batter is too thick for your blender, add a few tablespoons of water or milk at a time to thin it out so it will blend easier.
- Pour batter into prepared baking pan. Bake for 20 minutes or until a toothpick inserted in the center comes out clean.
- Let brownies cool completely in pan. Store in an airtight container.
Another winner! Ended up taking much longer to bake than stated but they are delicious! My 11 year old loved them.
Hi, Cristan! Yay! I’m so happy to hear how much y’all enjoyed them. And yes, every oven is different and sometimes the altitude you live at can mean longer baking times.
I don’t have a blender or food processing, how else could I blend together?
Hi Maylene! The brownies would not bake up to the same texture without using a blender or food processor because the blending helps incorporate all of the ingredients into the batter so it bakes with a dense brownie-like texture. You could just stir all of the ingredients together well with an electric mixer or wooden spoon, but I would recommend using quick cooking oats and making sure you mash the bananas well. The batter will still bake up deliciously, it just won’t be as smooth and dense. Hope this helps. Enjoy!
Hi. Do these taste like peanut/nut butter? (if so I’ll replace the yoghurt!) have a child who doesn’t like the taste but if I can mask the taste he doesn’t know the difference! 🙂 Thank you!
Hi! They do have a slight peanut butter flavor, but the cocoa, honey and banana comes through so much that it’s hardly noticeable. I would recommend making the recipe as is and seeing if your child even notices. I have a son who claims he doesn’t like peanut butter or banana yet he’ll gobble these up. Enjoy!
My family loved them!!! I love the healthy ingredients 🤩🤩
Can these be frozen?
Hi Pat! Yes, I would recommend letting them cool completely and then wrapping each brownie tightly in plastic wrap and then placing them in a freezer-safe bag or container to store in the freezer for up to 3 months. Enjoy!