
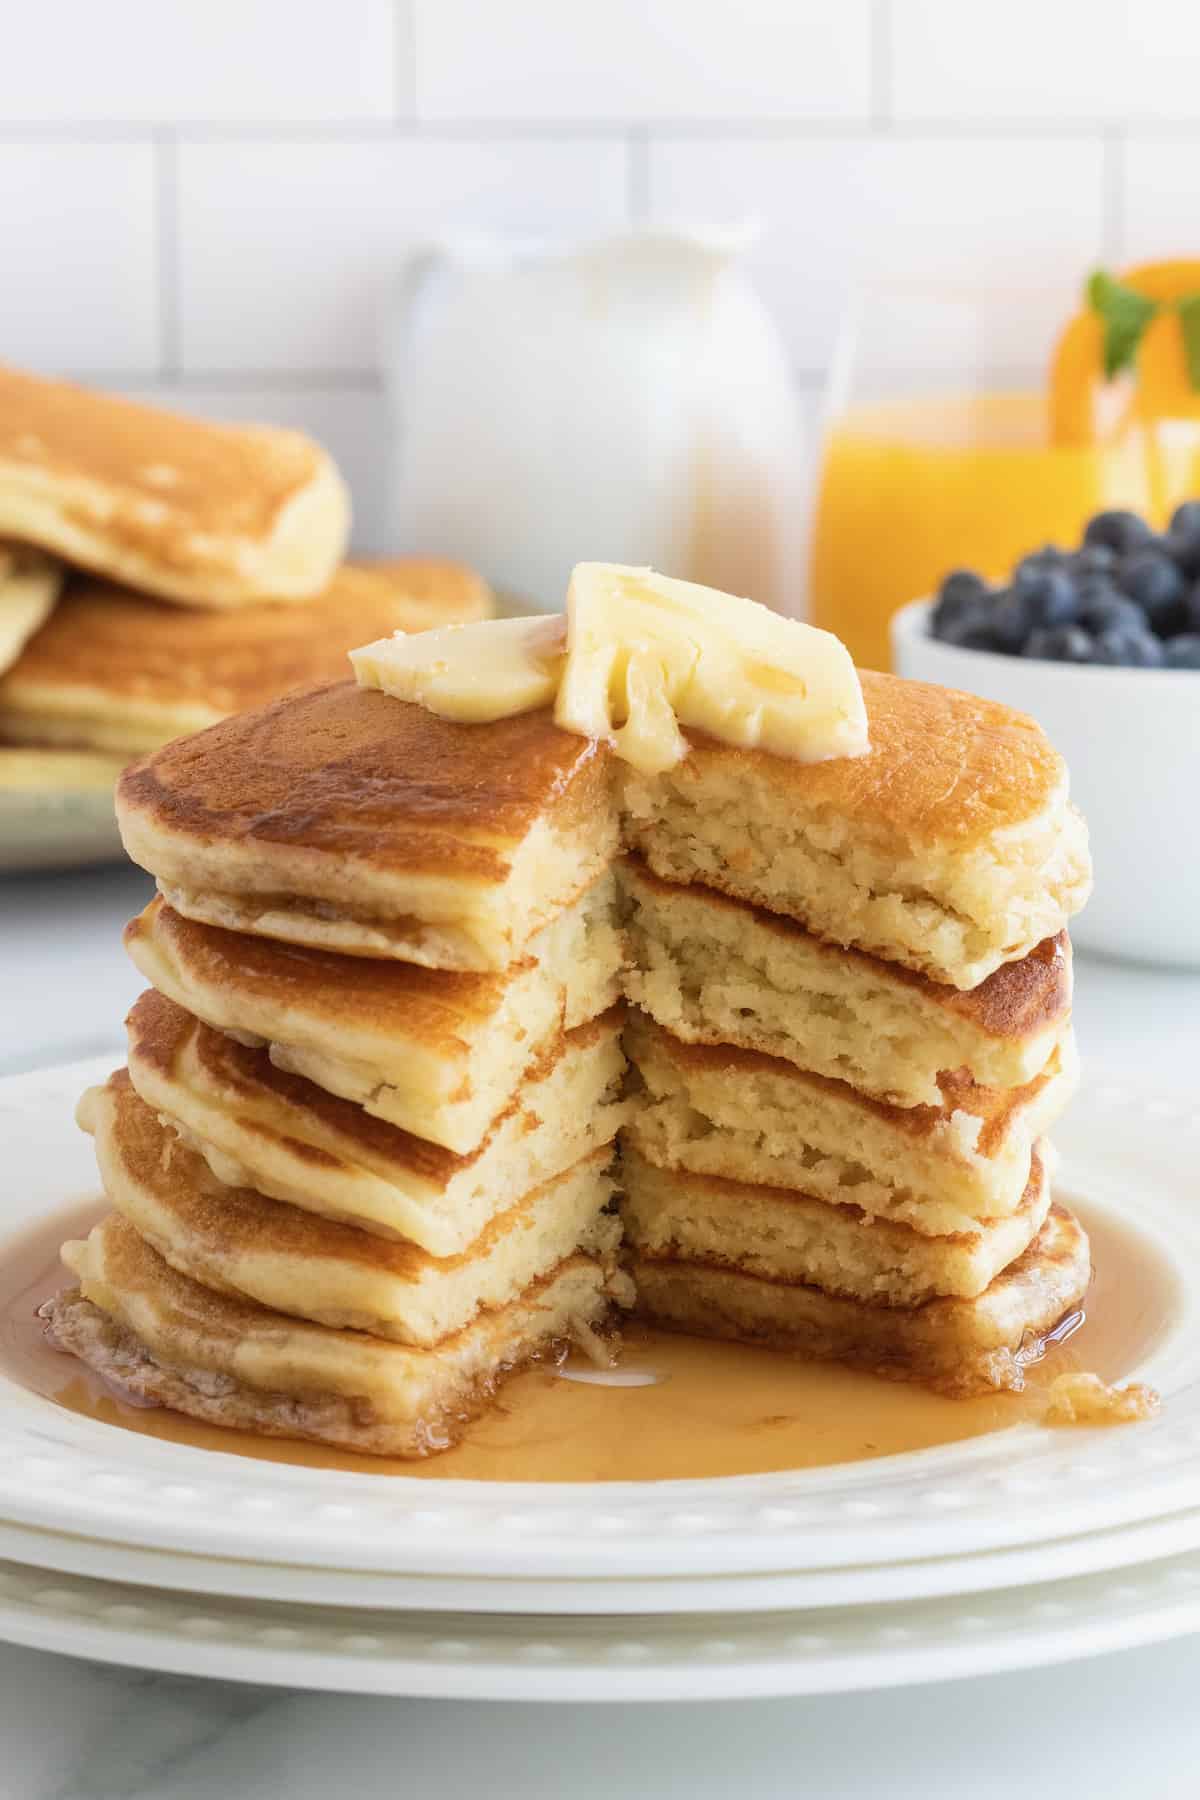
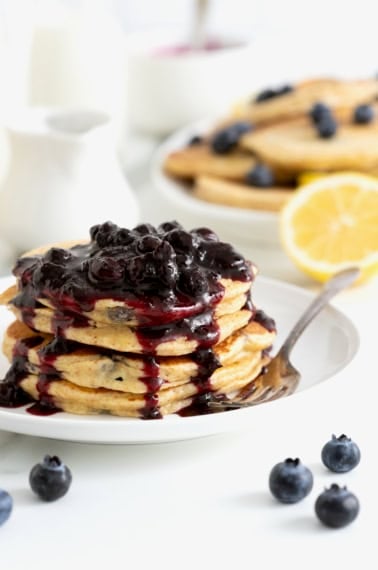
Classic Buttermilk Pancakes that turn out light and fluffy with crisp, golden brown edges every time.
Don’t Mess With a Classic
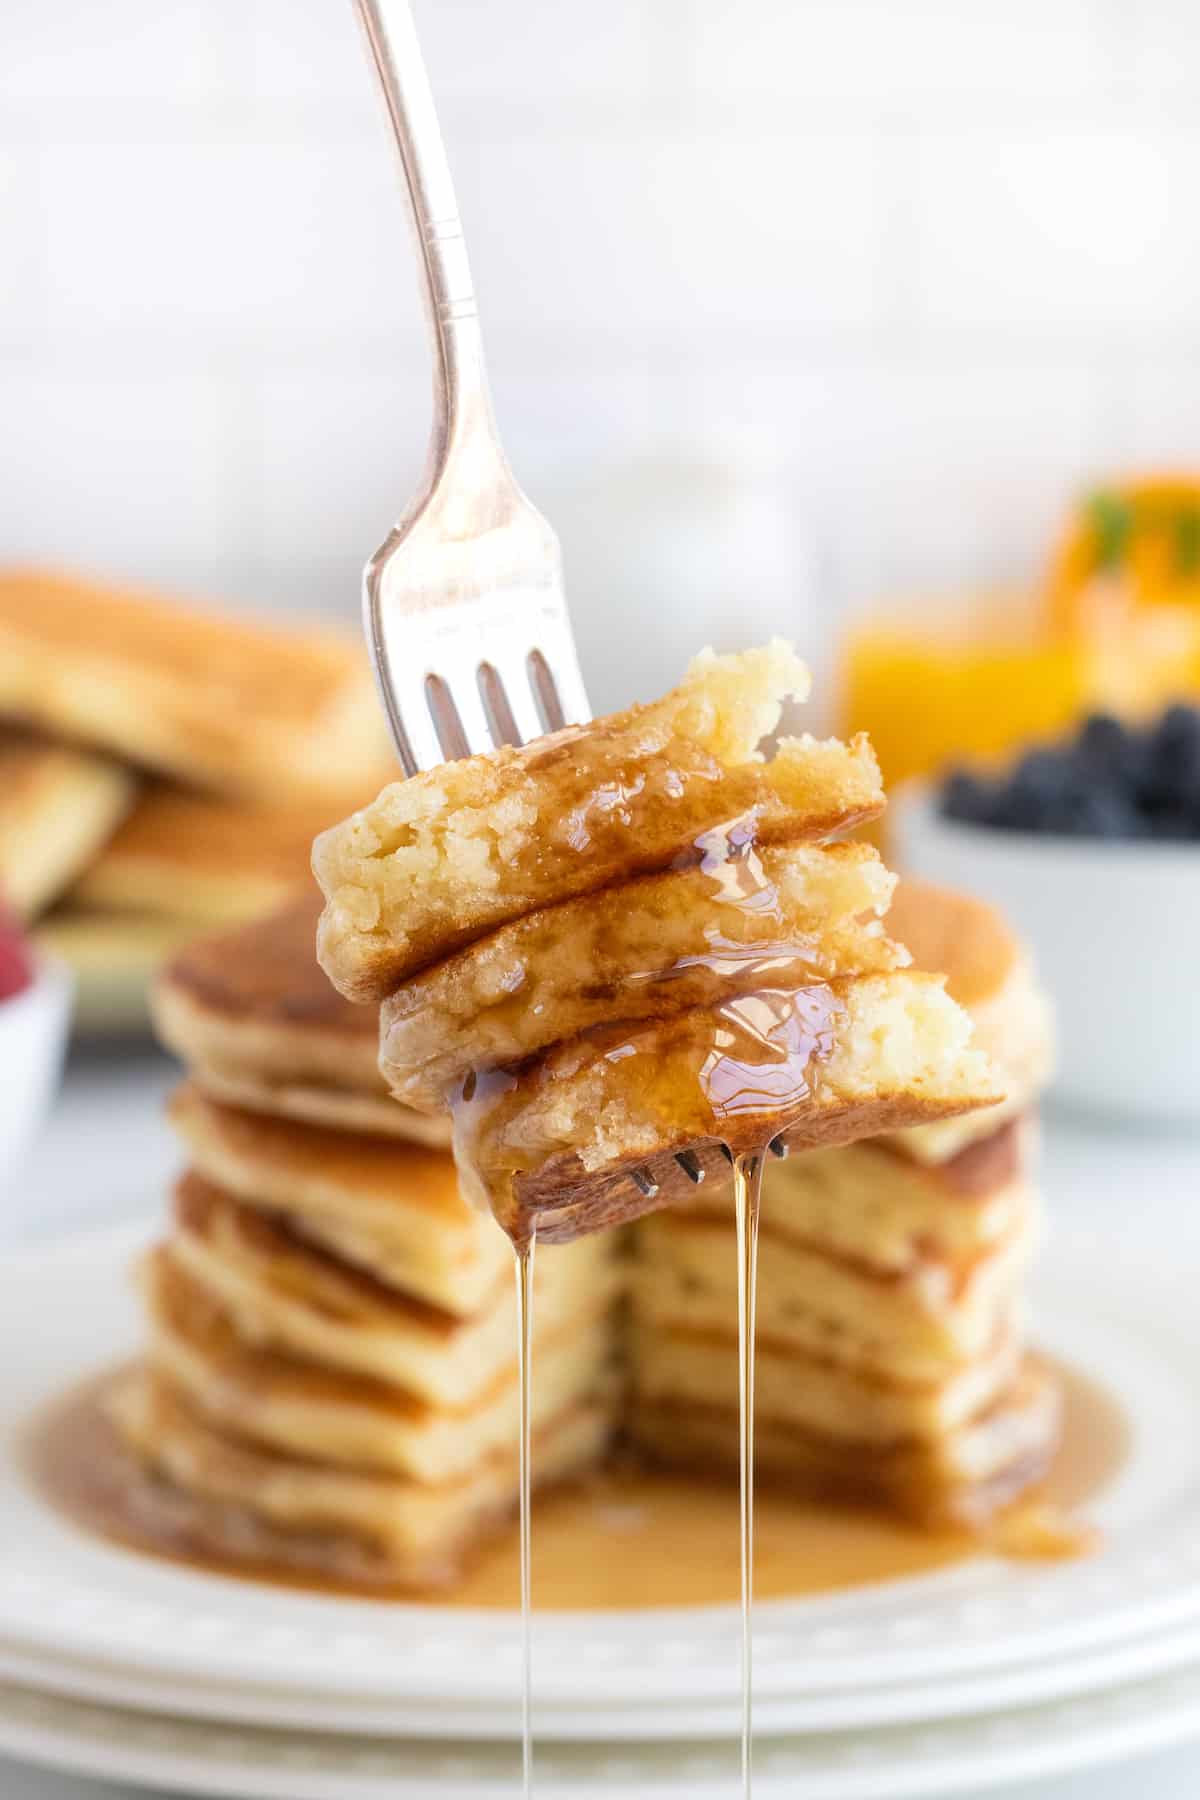
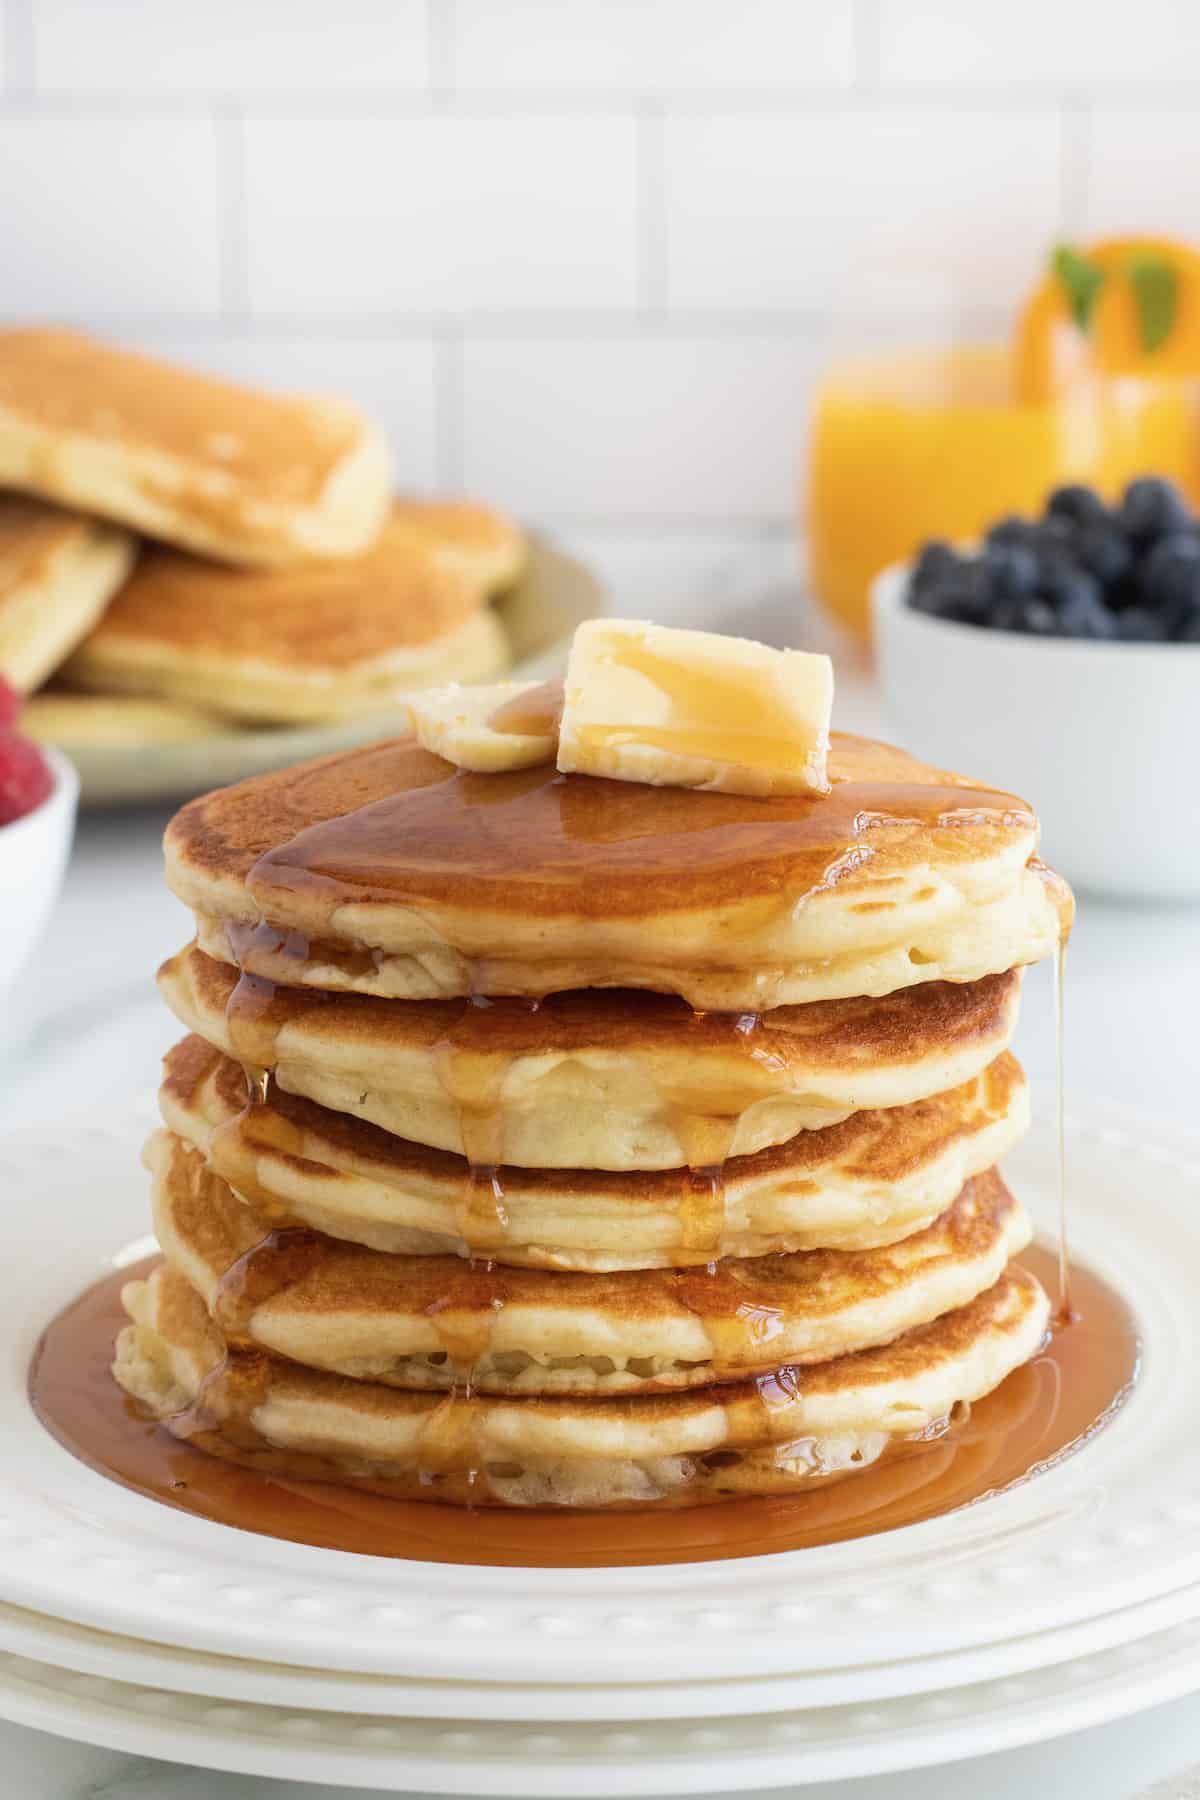
Everyone loves pancakes and having a great classic pancake recipe is a must! Classic Buttermilk Pancakes served warm with butter and real maple syrup are sure hard to beat (a close second would be crispy waffles). Thick and fluffy with a light, tender texture and so full of flavor. They’ll leave you so satisfied yet always wanting more.
So I’m here to not only share my go-to classic buttermilk pancake recipe with you, but also my best tips for getting those perfectly round, golden brown on the outside, light & fluffy on the inside, deliciously flavored pancakes every single time!
Watch Me Make Buttermilk Pancakes!
Join me in the kitchen to make up a batch of these amazing Classic Buttermilk Pancakes!
Pancakes for Every Meal
We’re a pancake loving family and whether we make them for breakfast on a Sunday morning or brinner on a Wednesday night, we can’t get enough of them. Pancakes are probably the most requested meal in our house.
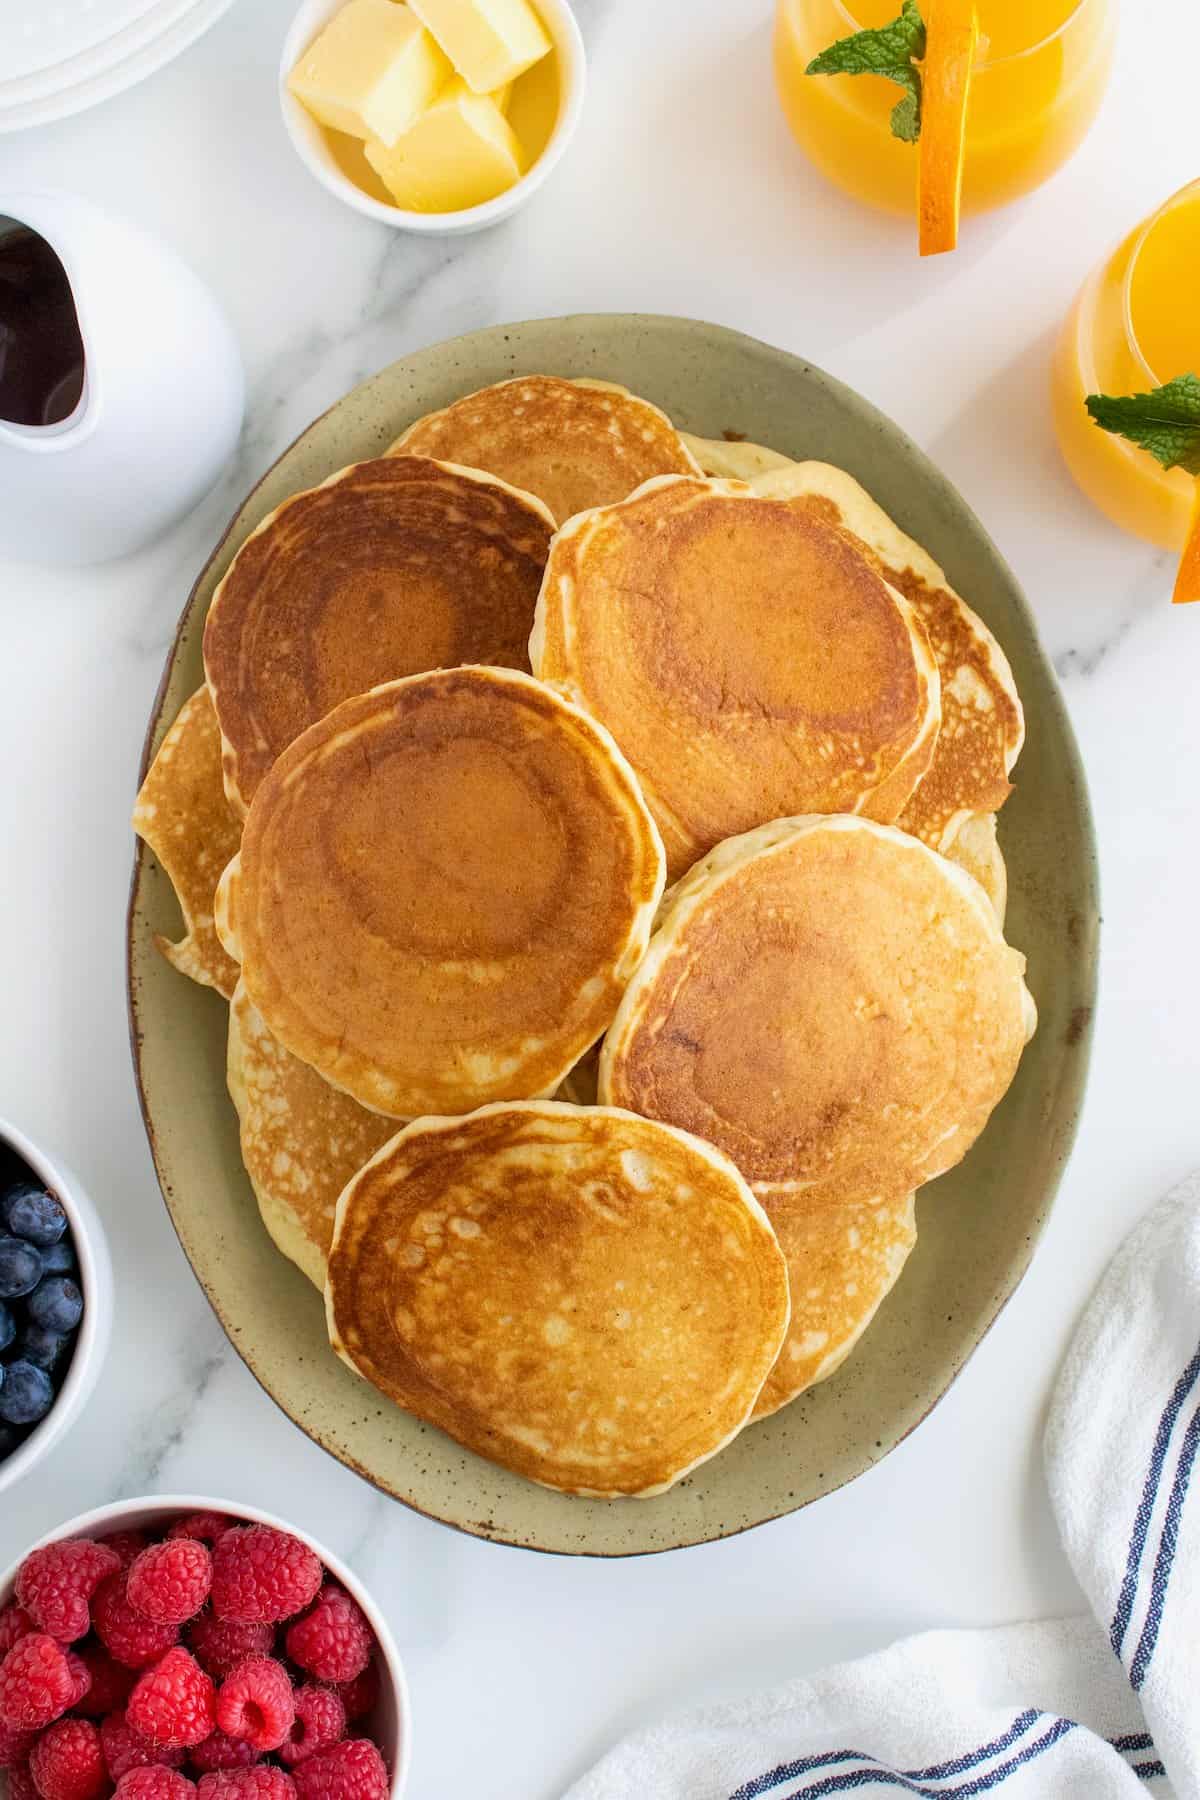
Be it breakfast, brunch or dinner, these pancakes are always a winner! We love serving them alongside baked bacon and a variety of fresh fruit. If we’re really making it a feast, I’ll scramble some eggs to go with them. And to make them extra special, sometimes I’ll put out chocolate chips and whipped cream to top them with. Pancake party!
I try to keep a stash of them in the refrigerator and/or freezer at all times because if all else fails, pancakes never will. To reheat them, I simply toast them in a toaster or toaster oven for a few minutes and they taste great! I also pack them in the kids’ lunches which is always a fave! They’ll just eat them as is without any added butter or syrup.
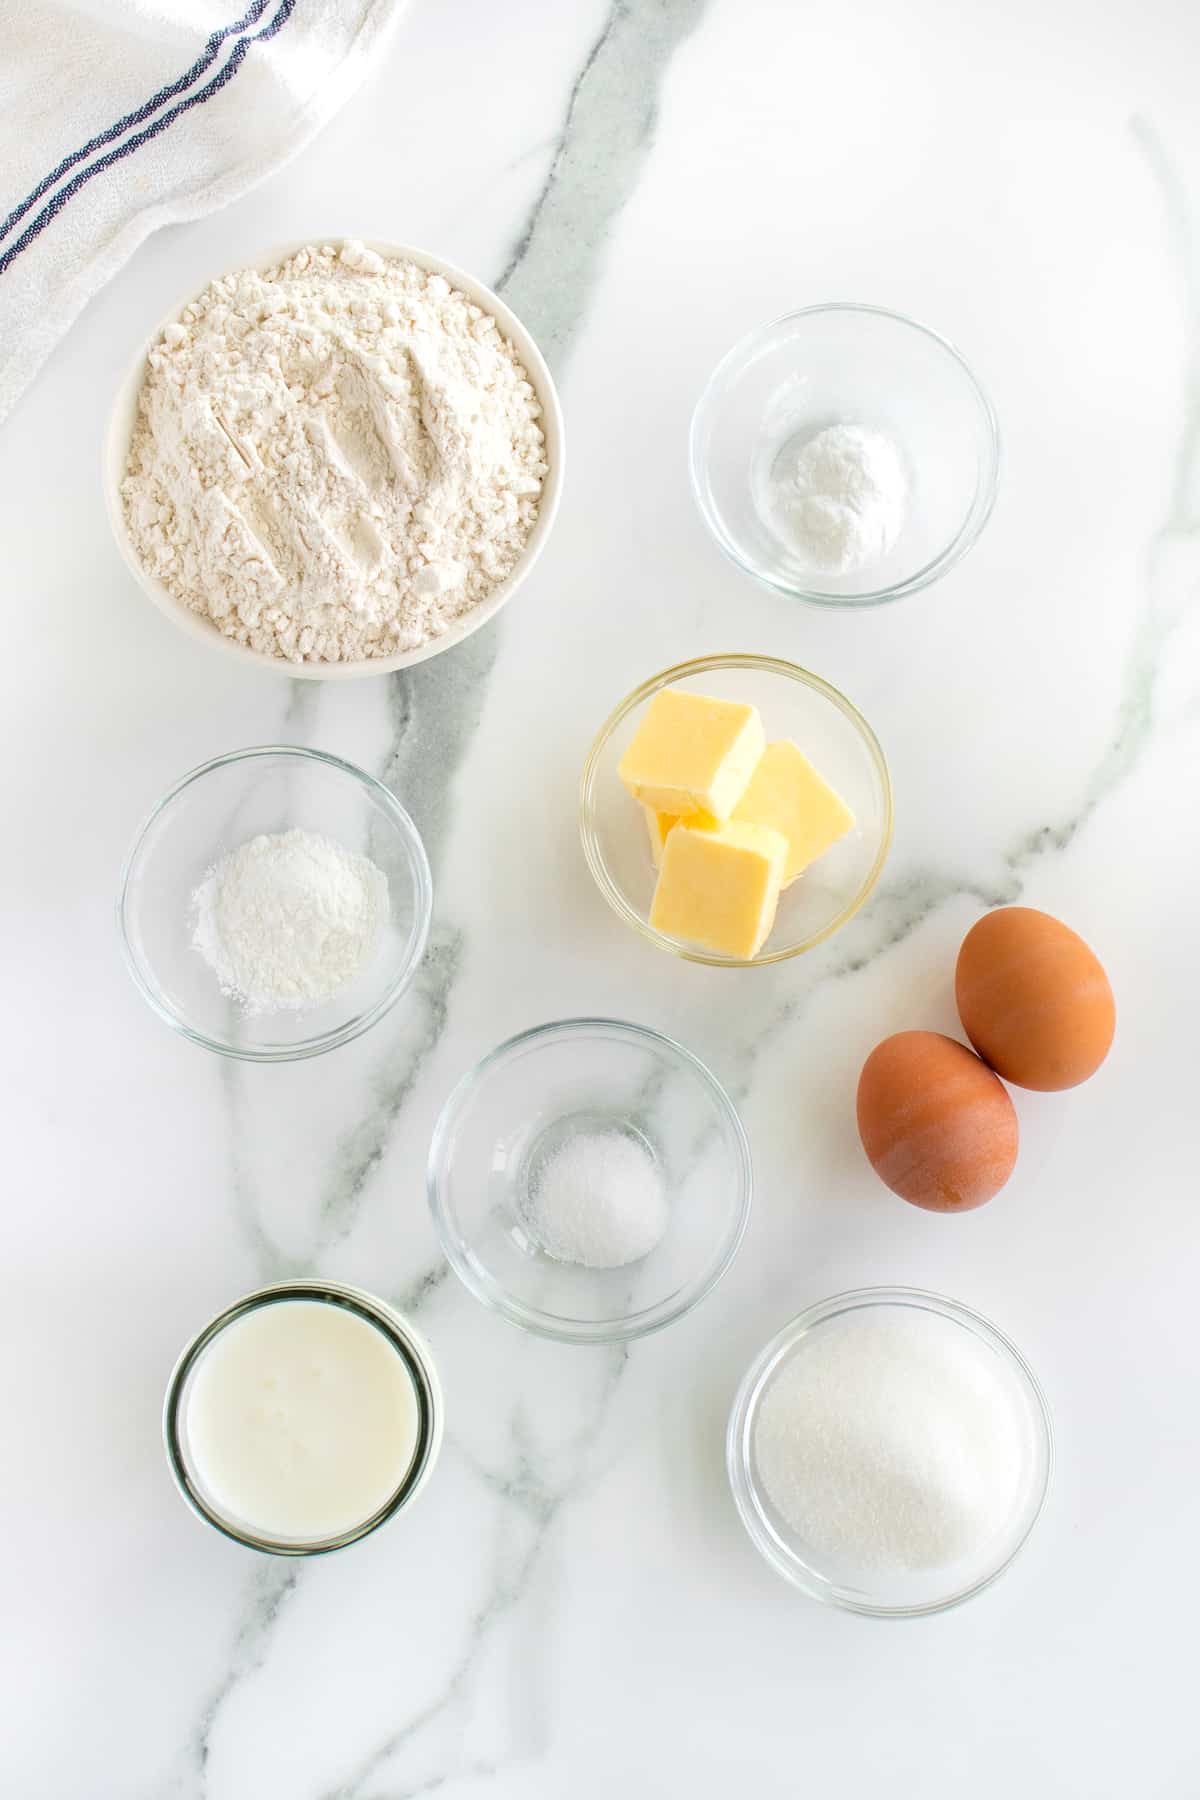
Buttermilk Pancakes Ingredients and Supplies
This Classic Buttermilk Pancake recipe is so quick and easy to make with minimal ingredients.
- All-purpose flour
- Baking powder
- Baking soda
- Kosher sal
- Granulated sugar
- Eggs
- Buttermilk. Learn how to make buttermilk in a pinch.
- Butter, melted
Supplies:
Tips and Tricks for the Best Pancakes
There’s more to the recipe than just the ingredients that make them so amazing! Here are my best tips and tricks for getting perfect pancakes every time:
- BUTTERMILK: Buttermilk is essential because the acid in it reacts with the leaveners to give the pancakes extra height and tenderness. It also adds such a great richness, tang and buttery flavor. These pancakes won’t be the same without the buttermilk, but if you don’t have buttermilk, you could substitute with 1/2 cup sour cream and 1/2 cup milk OR 2/3 cup yogurt and 1/3 cup milk for each 1 cup of buttermilk.
- LEAVENERS: Both baking powder and baking soda create the ideal lift and light, fluffy texture without overpowering the pancakes with taste. You can’t have one without the other in this recipe.
- SUGAR: Sugar is key to the golden brown texture on the outside as well as the slightly sweet taste throughout. We like our pancakes to be sweet enough to eat on their own while still being able to handle a generous drizzle of maple syrup, but the real reason I use 1/4 cup sugar is to give the pancakes those crisp, golden brown edges we all desire.
- GRIDDLE: A large griddle or cast iron skillet is best for cooking the pancakes because it distributes the heat evenly, but you could certainly use a nonstick skillet if you need to.
- WHISK: Use a whisk to mix the batter and don’t overmix it. The ingredients should be well combined yet still have lumps throughout. Overmixing will cause the gluten to harden resulting in tough pancakes.
- REST: Let the batter rest for 5 minutes while you heat the griddle as this will give the ingredients a chance to develop. You will see the consistency of the batter change in this 5 minutes from a thicker, lumpy texture to slightly puffed and more smooth.
- HEAT: The temperature of the griddle should be medium-low. This varies for each cooking range so play around with a little batter first to test the heat before starting to cook all of the pancakes. If the skillet is too hot, you’ll burn the outsides and the batter will still be raw in the center. If the temperature is too low, you won’t get that crisp exterior or edges that’s key to a perfect pancake. And you might need to adjust the heat a little up or down between batches as the griddle stays on to cook all of the batter.
- SPRAY: Do not use butter on the griddle as it will burn at the temperature you need to properly cook the pancakes which would give the pancakes a not so tasty burnt flavor. Instead, use a neutral canola oil spray or rub a little canola or vegetable oil evenly onto the griddle between each batch.
- SCOOP: I recommend using a large cookie dough or ice cream scoop (4 tablespoons) to scoop the batter onto the griddle. Fill the scoop with the batter and then drop it onto the griddle in one spot and let it spread on its own into a circle, using the back of the scoop to spread it slightly into the circle shape, if neccessary.
- SPACE: Don’t overcrowd the pancakes on the griddle as they need space to puff as they cook and you’ll need plenty of space to flip them properly.
- SPATULA: Use a large rubber spatula to flip the pancakes. A flexible spatula seems to control the pancakes better and makes them easier to flip.
- FLIP: When it comes to flipping the pancakes, just do it! Don’t think about it too much. Use the first few to practice and then just be confident with it. You want to flip each pancake when the top starts to form several bubbles and appears just set around the edges yet still raw in the center. Take a peak at the bottom of the pancake before flipping it by lifting up the edge with your spatula to make sure it’s golden brown. Gently place your spatula all the way under the pancake and give it a quick flip. If some of the batter splashes outside of the circle shape of the pancake, no worries, quickly push it back toward the pancake to reform the circle or just leave it be and cut it off once the pancake is finished cooking. The pancakes should take 2-3 minutes per side.
- KEEP WARM: To keep the cooked pancakes warm while you’re cooking the rest of the batter, heat the oven to 200° and place the cooked pancakes on a baking sheet in the warm oven until ready to serve.
- FREEZE: To freeze leftover pancakes, let them cool completely, stack them between sheets of parchment paper and place in a resealable plastic bag in the freezer. When ready to eat, just let them defrost and heat at the same time in a toaster or toaster oven for a few minutes each.
How to Make Classic Buttermilk Pancakes
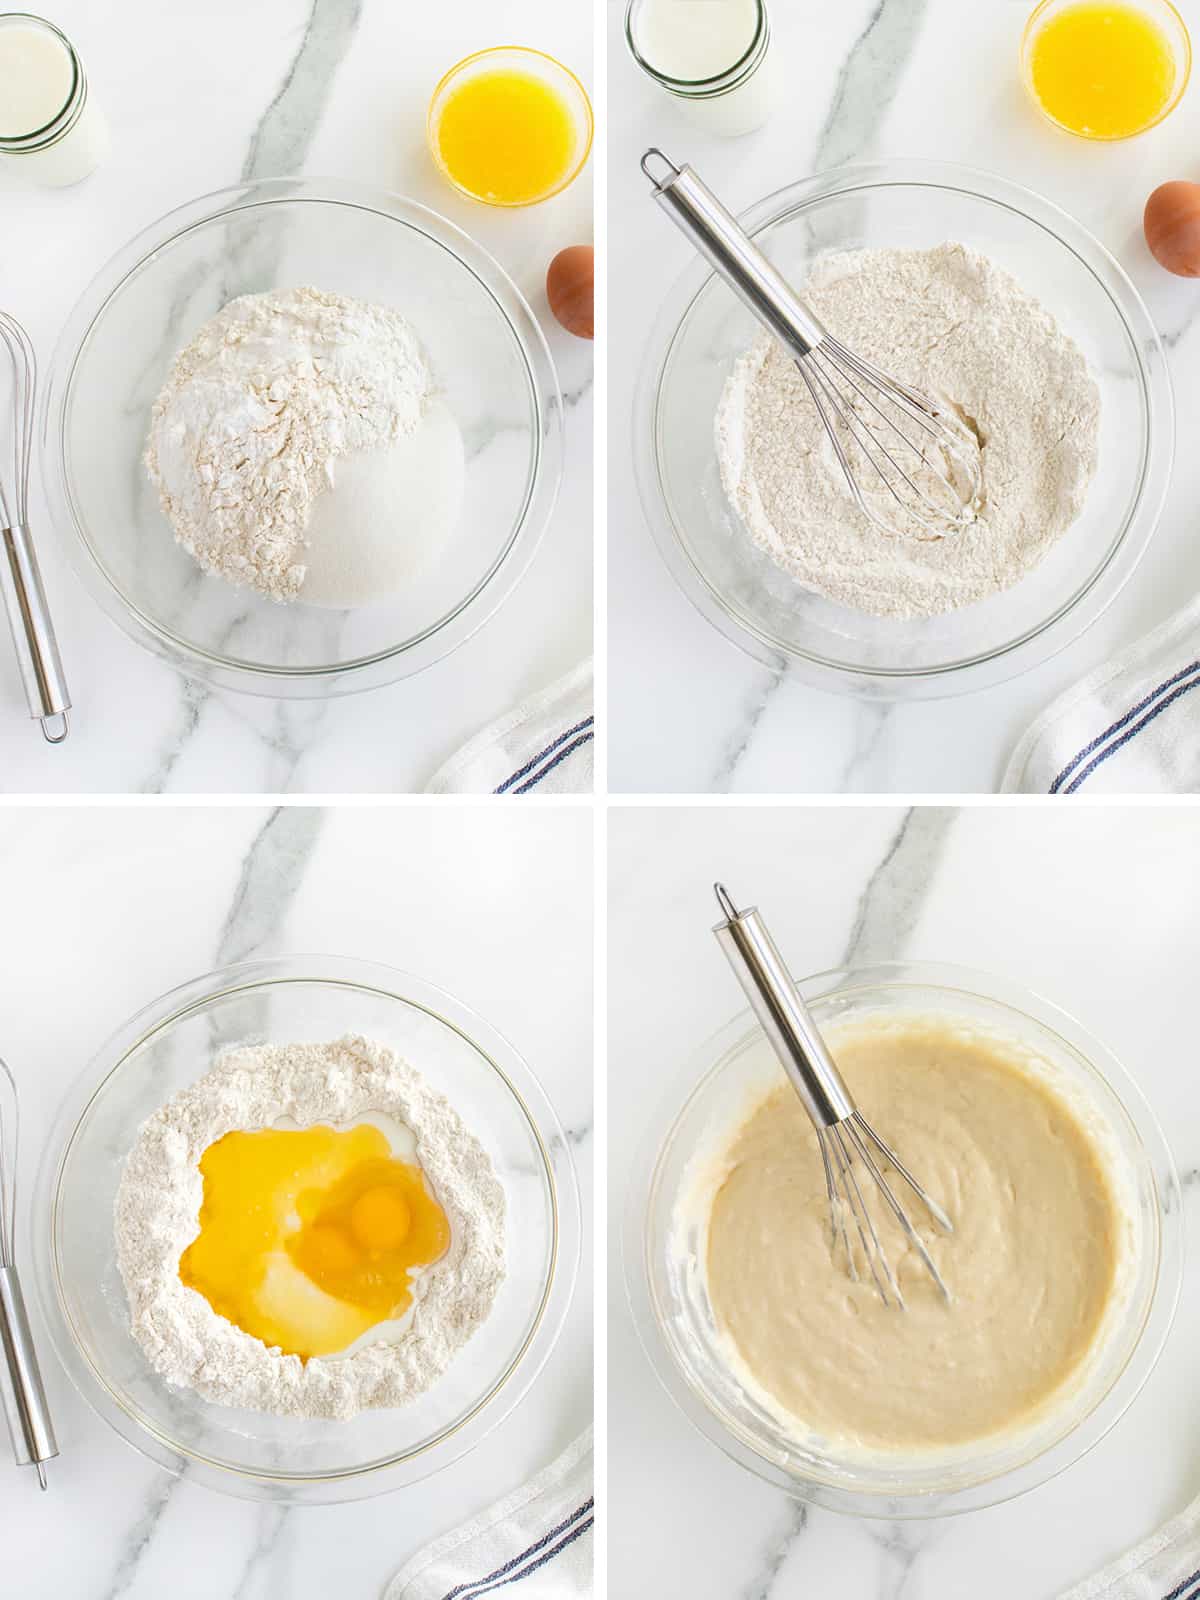
- In a large bowl, whisk together the flour, baking powder, baking soda, salt and sugar.
- Make a well in the center and add the eggs, buttermilk and melted butter.
- Whisk until just combined. The batter will be lumpy. Let the batter rest while you heat the griddle.
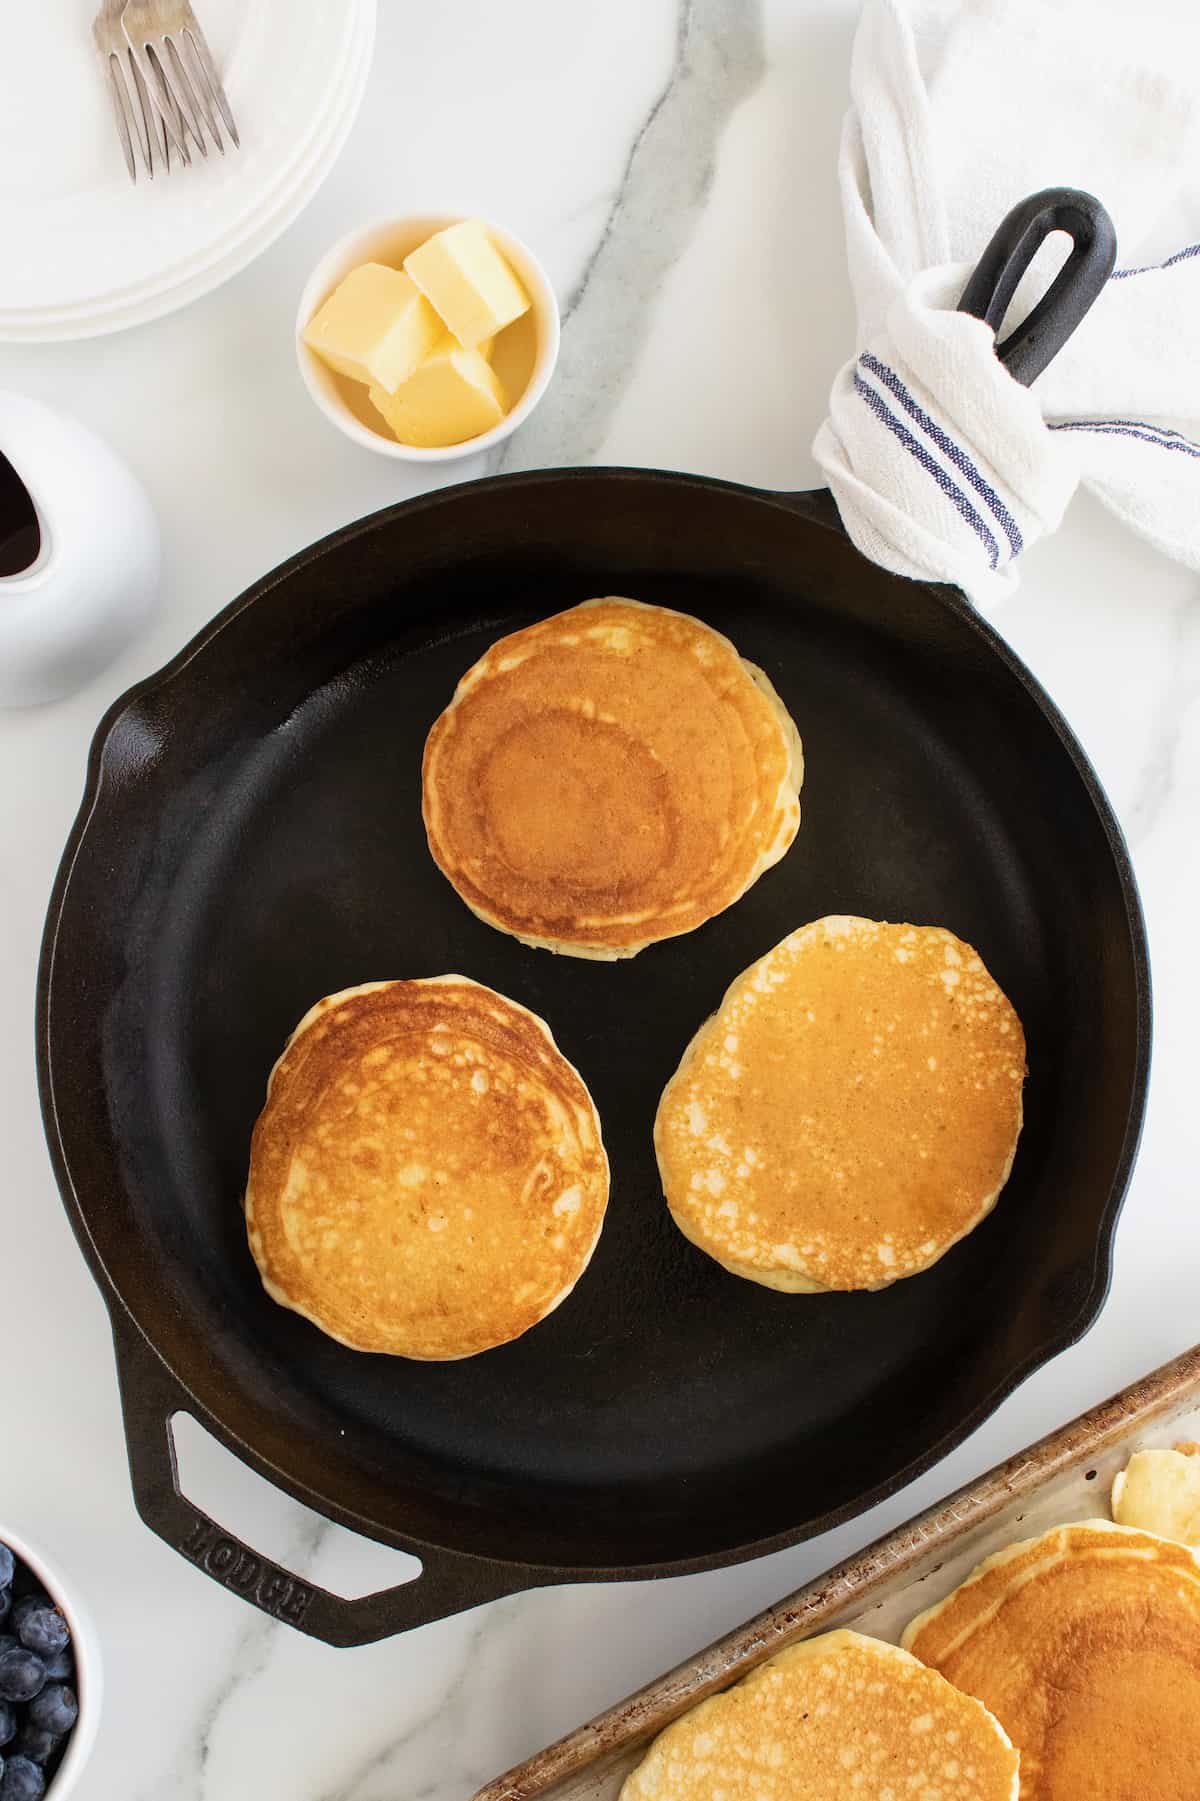
- Heat a large griddle or cast iron skillet over medium-low heat. Spray or grease lightly with canola oil.
- Using a cookie dough or ice cream scoop, scoop 4 tablespoons of batter onto the griddle, spacing each pancake a few inches apart to give them room to puff and you room to flip them.
- Cook on one side until bubbles begin to form, about 2-3 minutes; then quickly flip the pancakes and cook the other side until golden brown on both sides, about 2 minutes. Flip only once.
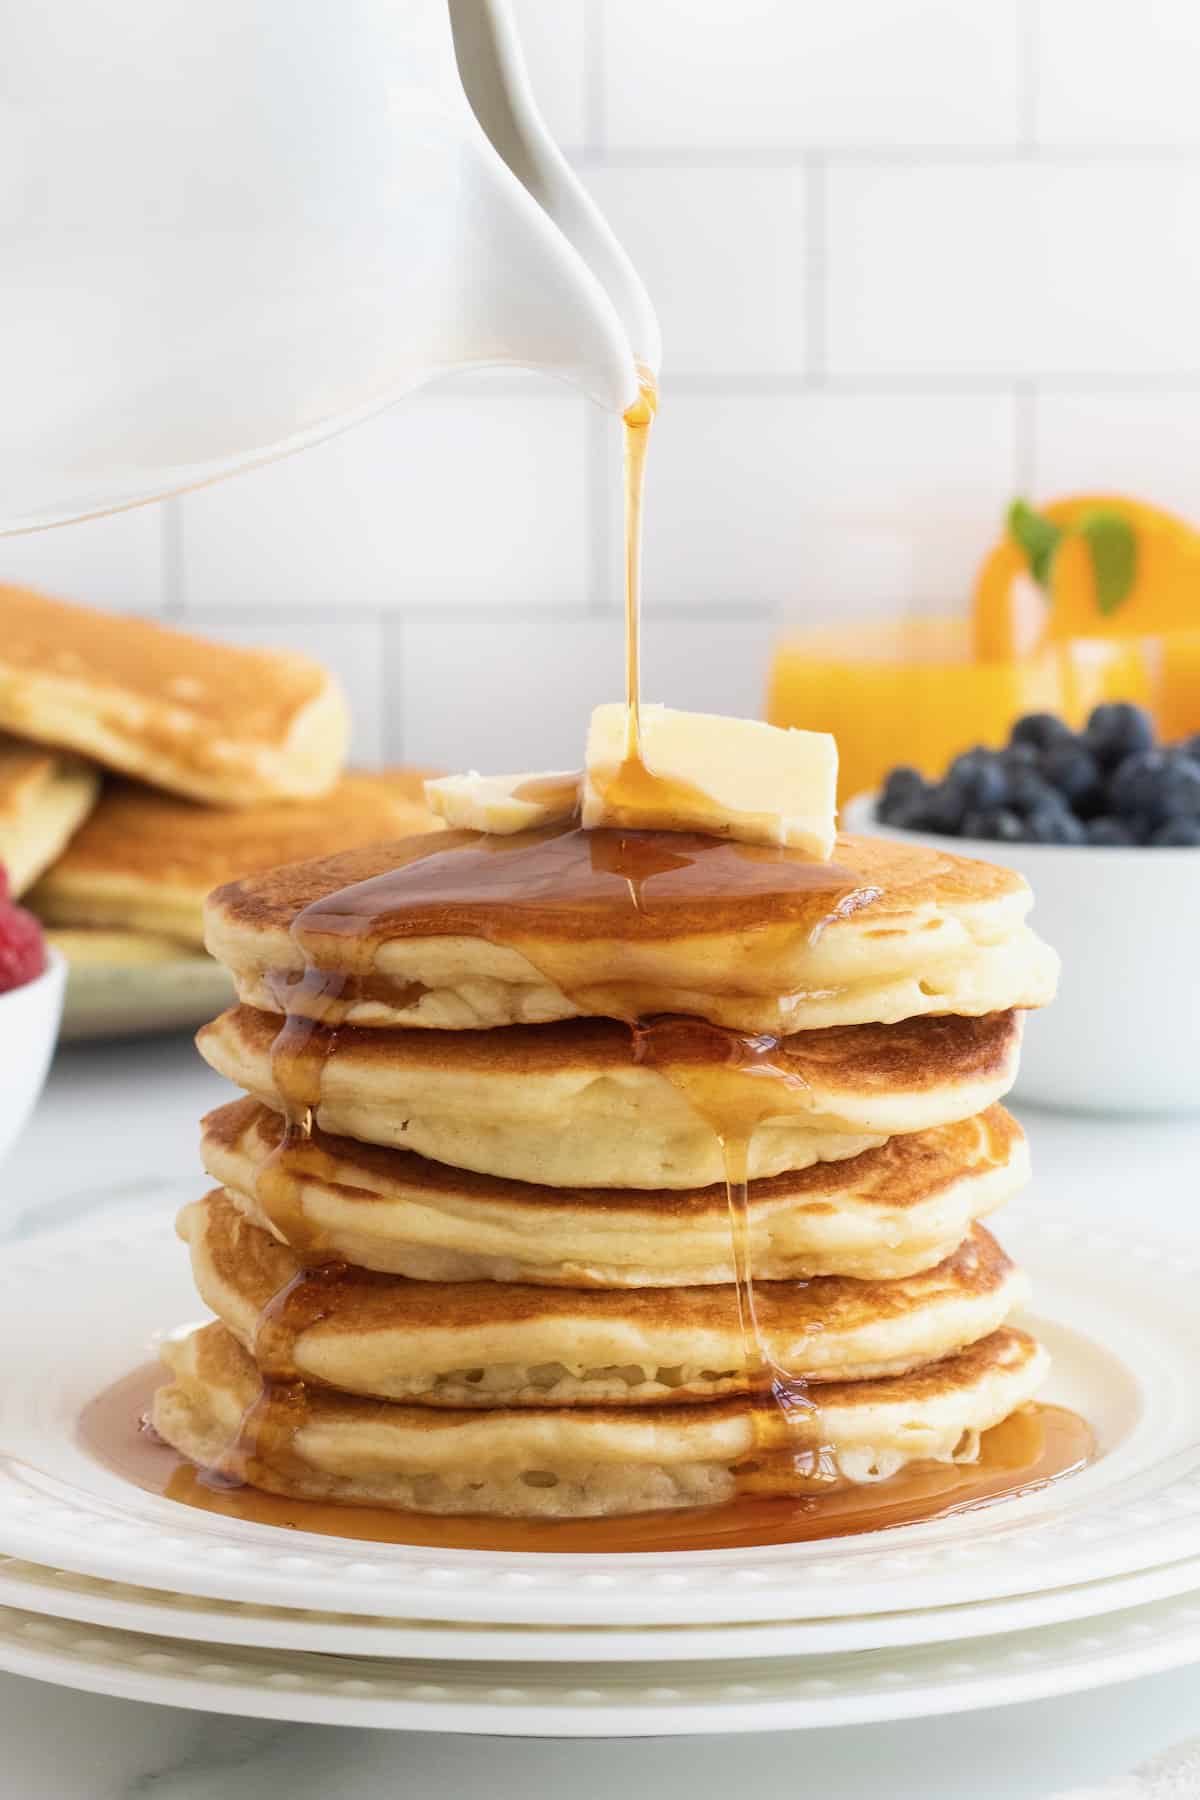
- Serve immediately or place in a 200° oven to keep warm until ready to serve.
More Pancakes Recipes Your Family Will Love
- Moist and fluffy Whole Wheat Banana Pancakes make for a healthy breakfast and a great way to start the day!
- Fluffy Blueberry Lemon Ricotta Pancakes bursting with fresh blueberries and made healthier with whole wheat flour. Covered in a fresh blueberry maple syrup, these pancakes are breakfast perfection!
- These Pumpkin Chocolate Chip Pancakes are fluffy pancakes, lightly spiced, loaded with pumpkin, and made extra special with chocolate chips!
If you make these Classic Buttermilk Pancakes, be sure to snap a picture and share it with me on Instagram @thebakermama so I can see. If you’re on Facebook, be sure to join my Friends of The BakerMama group to connect and share all the fun and yummy recipes of mine that you make!  I just love seeing how inspired and creative y’all get with the ideas I share. Enjoy!
xoxo,


Classic Buttermilk Pancakes
- Prep Time: 10 mins
- Cook Time: 4 mins
- Total Time: 14 mins
- Yield: 18 pancakes
- Category: Breakfast
Description
Classic Buttermilk Pancakes that turn out light and fluffy with crisp, golden brown edges every time.
Ingredients
- 2 cups all-purpose flour
- 2 teaspoons baking powder
- 1 teaspoon baking soda
- 1/2 teaspoon kosher salt
- 1/4 cup granulated sugar
- 2 large eggs
- 2 cups buttermilk
- 4 tablespoons butter, melted
Instructions
- In a large bowl, whisk together the flour, baking powder, baking soda, salt and sugar. Make a well in the center and add the eggs, buttermilk and melted butter. Whisk until just combined. The batter will be lumpy. Let the batter rest while you heat the griddle.
- Heat a large griddle or cast iron skillet over medium-low heat. Spray or grease lightly with canola oil.
- Using a cookie dough or ice cream scoop, scoop 4 tablespoons of batter onto the griddle, spacing each pancake a few inches apart to give them room to puff and you room to flip them. Cook on one side until bubbles begin to form, about 2-3 minutes; then quickly flip the pancakes and cook the other side until golden brown on both sides, about 2 minutes. Flip only once.
- Serve immediately or place in a 200° oven to keep warm until ready to serve.
My go to recipe, pancakes are so fluffy and good!! Thank you
Hi, Rajaa! I am so happy you enjoy them!
always looking for a new breakfast recipe