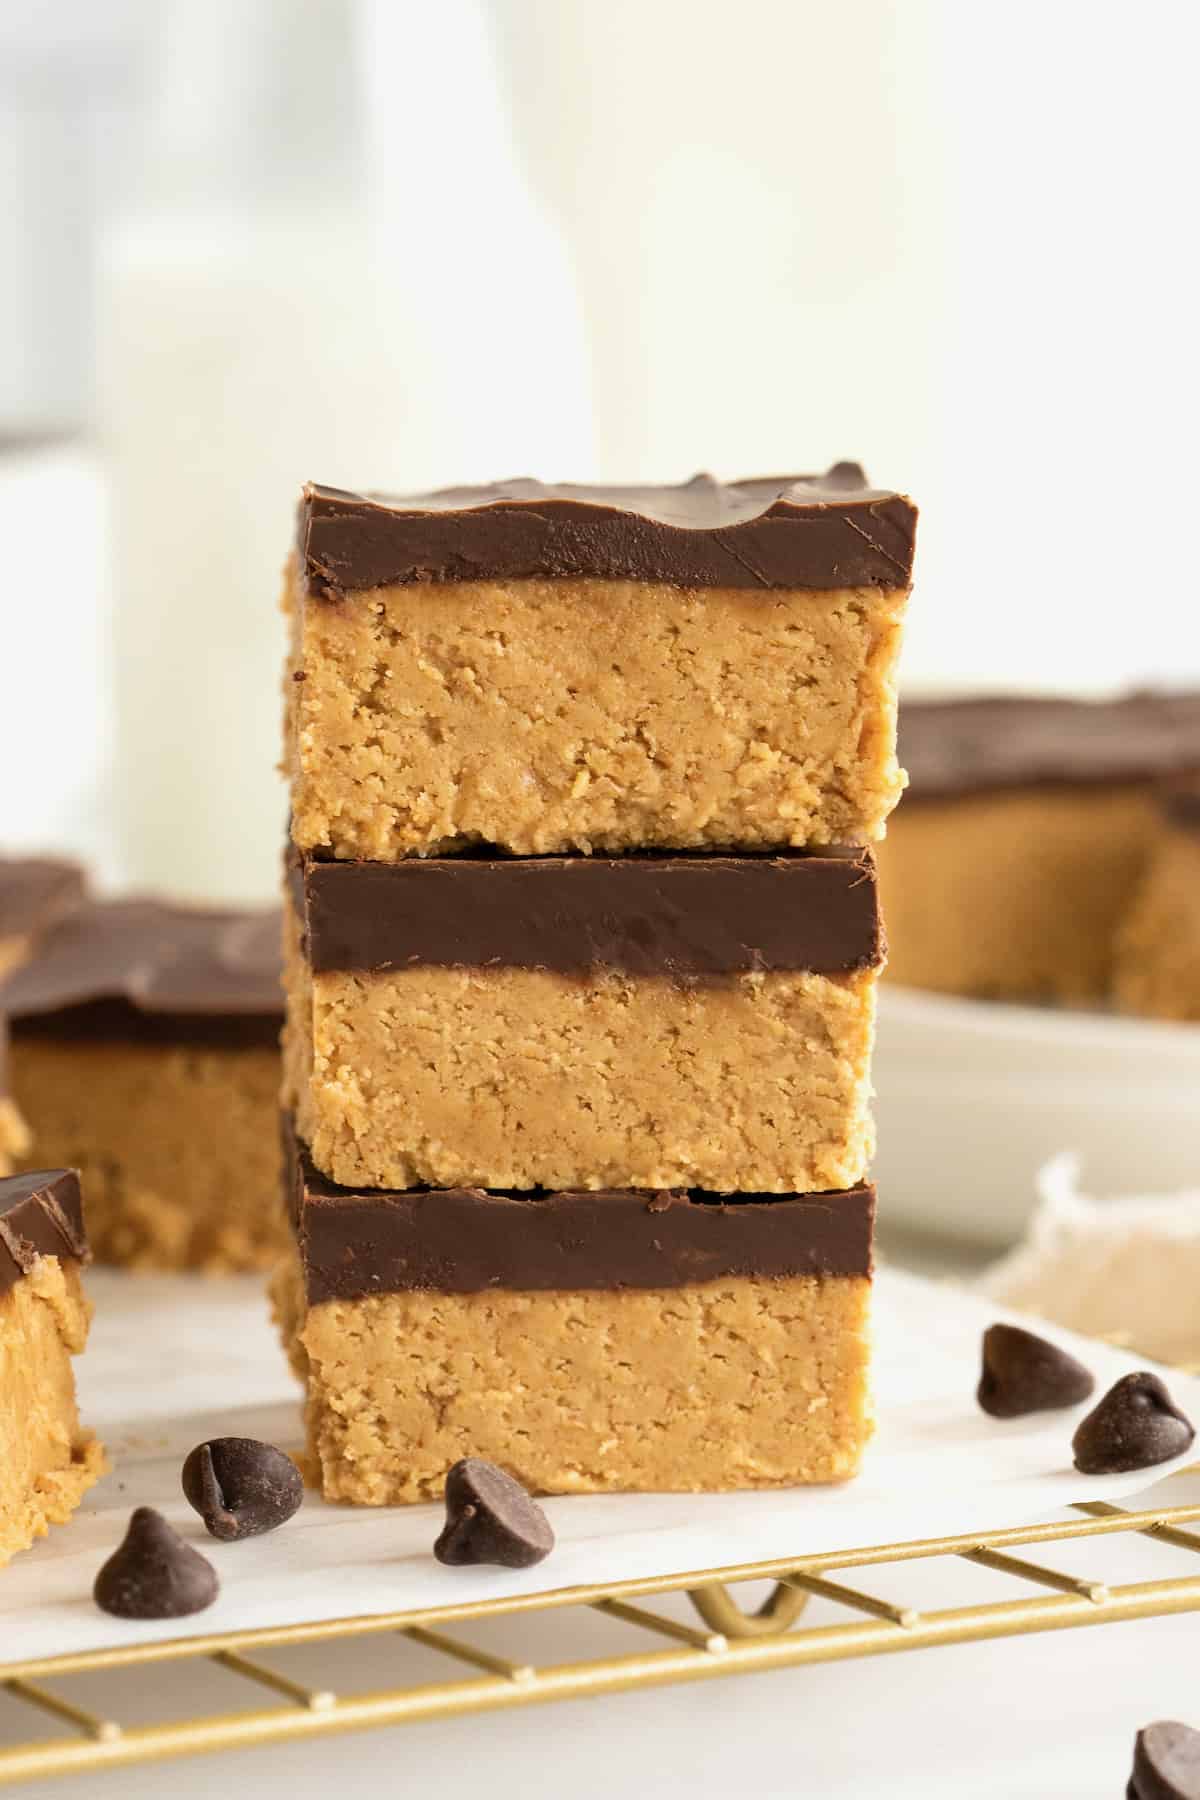
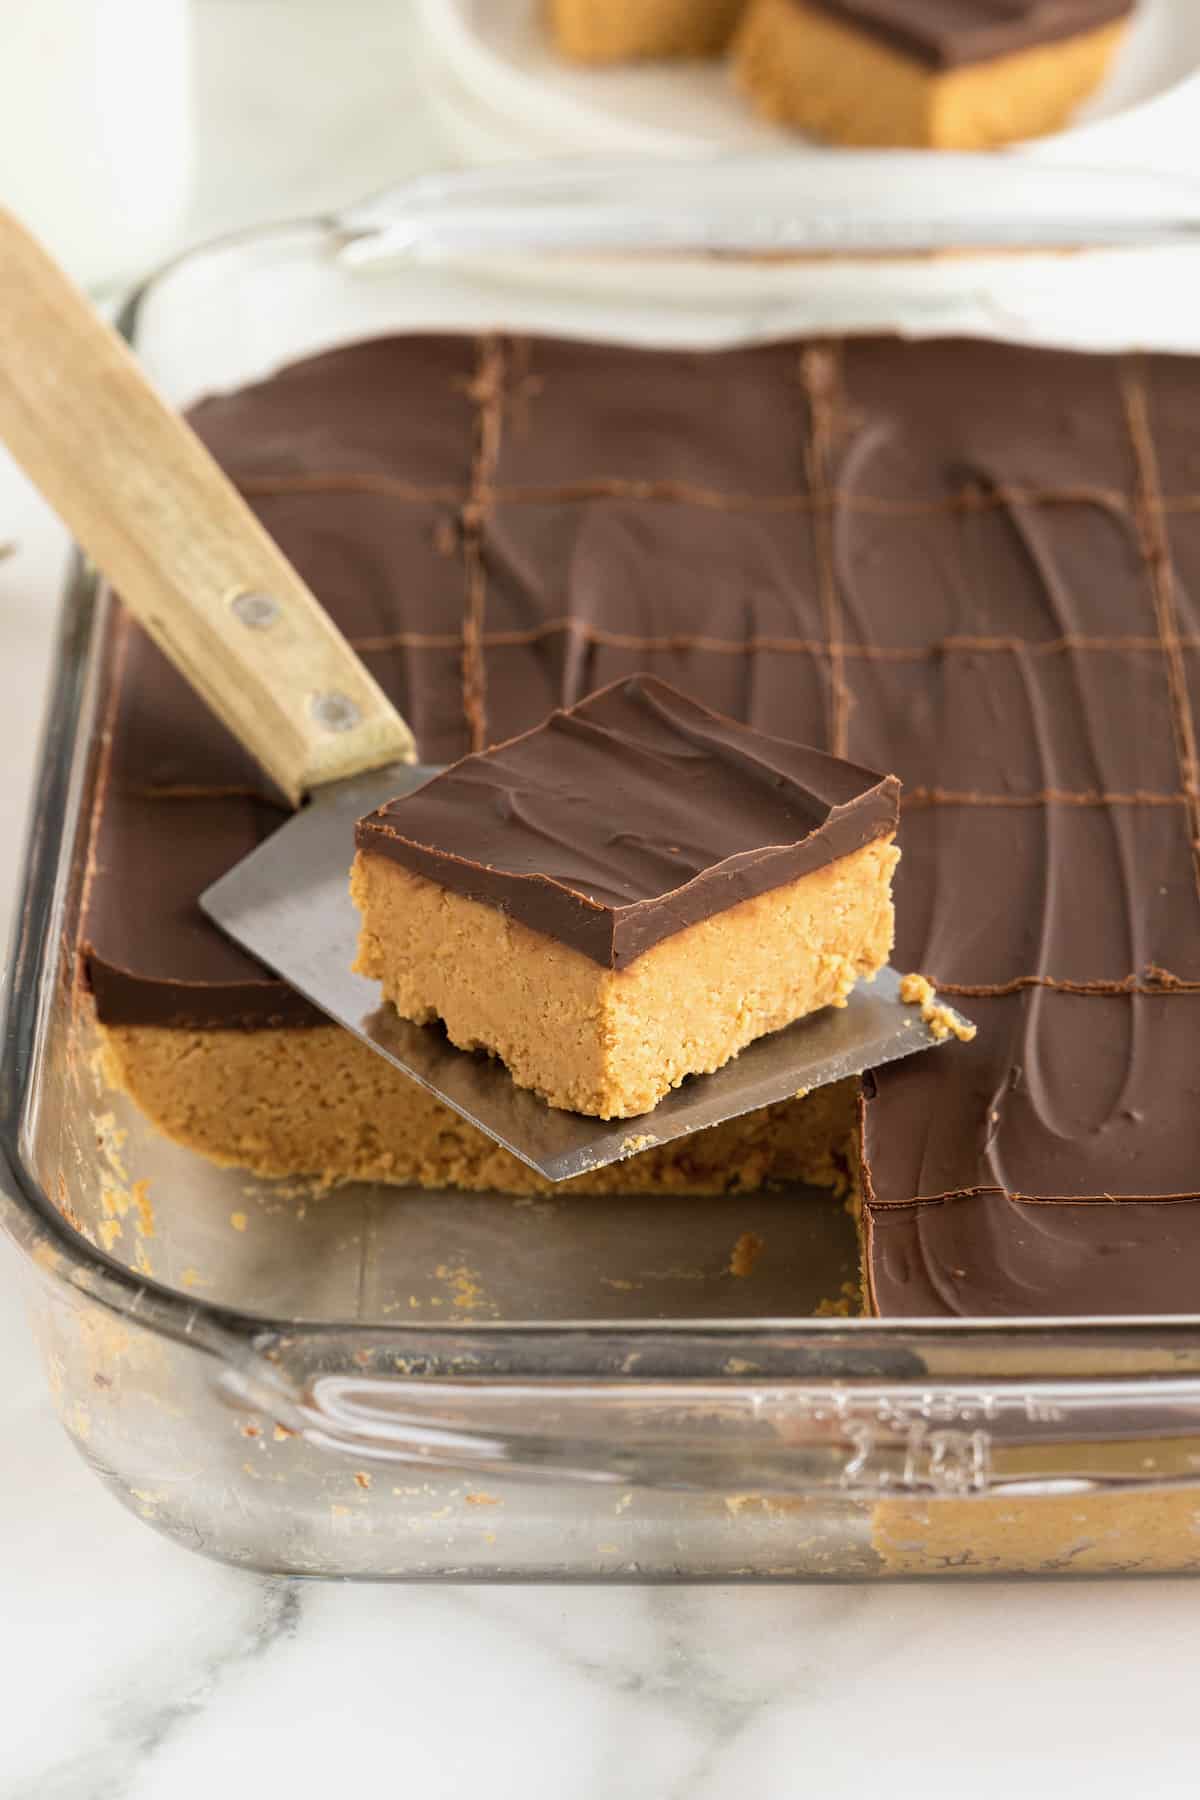
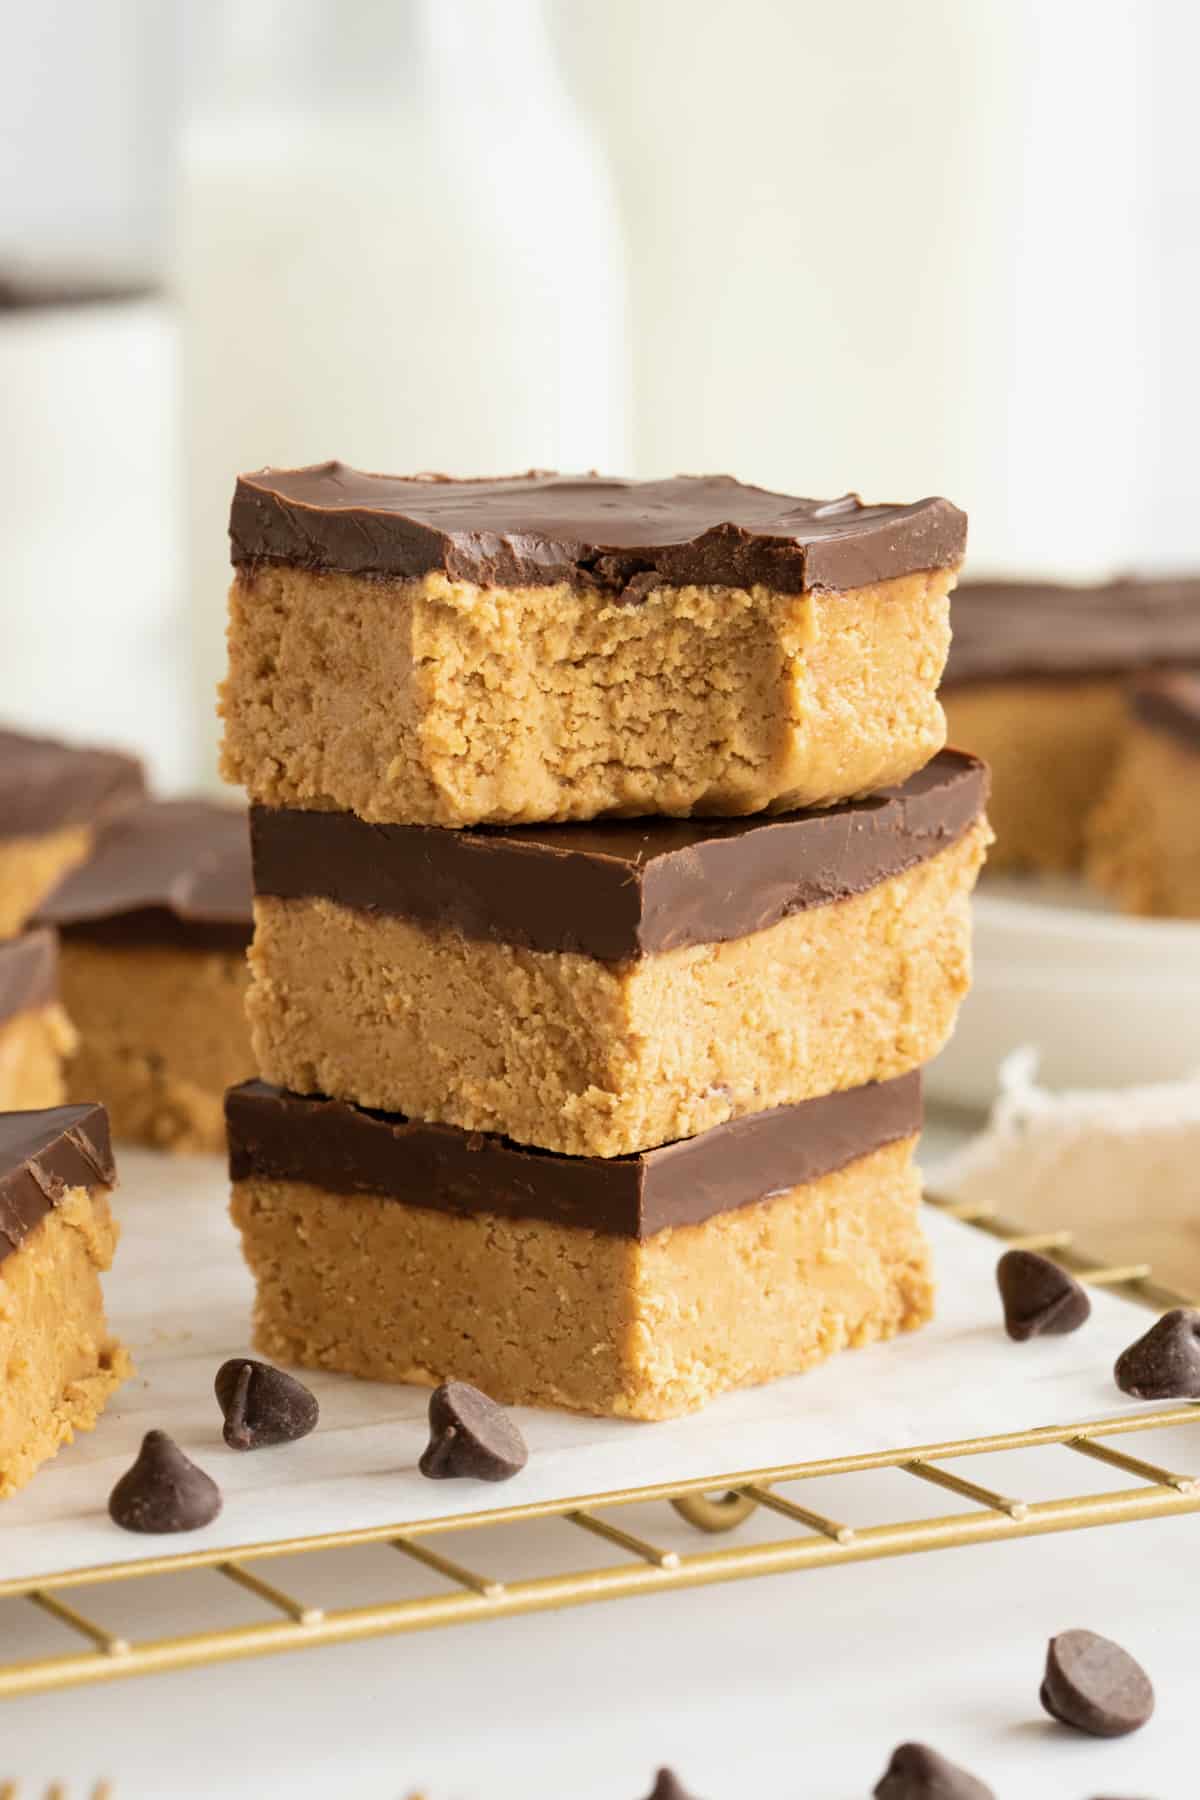
Dense, chewy peanut buttery bars topped with a smooth chocolate peanut butter layer make these No-Bake Chocolate Peanut Butter Bars an easy and delicious holiday treat.
A Holiday Favorite
Easy, delicious no-bake holiday treats they can’t wait to get their hands on? These No-Bake Chocolate Peanut Butter Bars are just the ticket! Dense, chewy and slightly crunchy peanut butter bars with a smooth chocolate peanut butter layer on top — they’re simple to make, scrumptious to eat, and always a holiday crowd pleaser!
No-Bake Holiday Treats for the Win!
I love no-bake treats any time of year, but especially at the holidays where they’re a huge time saver. And sanity saver! Mixing store bought and homemade goodies (baked or not) makes putting on an impressive holiday spread all that much easier.
A few of my other favorites that don’t require an oven:
- No-Bake Gingerbread Men Decorating Board: Let everyone decorate their own no-bake gingerbread men treats with this adorable decorating board. It makes for such a memorable and fun holiday tradition for all!
- Muddy Buddy Bites: With the same great taste as the original, these Muddy Buddy Bites deliver all the crunchy, peanut-buttery goodness without all the mess. You’ll have a ball with these delicious treats!
- No-Bake Monster Cookie Balls: No-Bake Monster Cookie Balls are a sweet bite-sized treat that’s easy to make and tastes just like everyone’s favorite monster cookie!
- Chocolate Peanut Butter Balls: Crunchy peanut butter and crispy cereal inside a chocolate shell make these Chocolate Peanut Butter Balls one scrumptious holiday favorite we crave year ’round!
Can I Use Natural Peanut Butter?
You can swap out the processed peanut butter for natural, but there are a few things to keep in mind:
- Texture. The texture of natural peanut butter is a bit on the runny side. Keep your natural peanut butter chilled as long as possible before adding it to your batter, and be sure to stir it really well before measuring. Or use a no-stir natural creamy peanut butter, like I do for most of my baking recipes!
- Salt. Secondly, if your natural peanut butter is unsalted, you might need to adjust the amount of salt in your baking.
- Sweetness. It’s certainly unsweetened, so the end product may not be as sweet as you expect, either. You may want to adjust the amount of sugar according to your tastes.
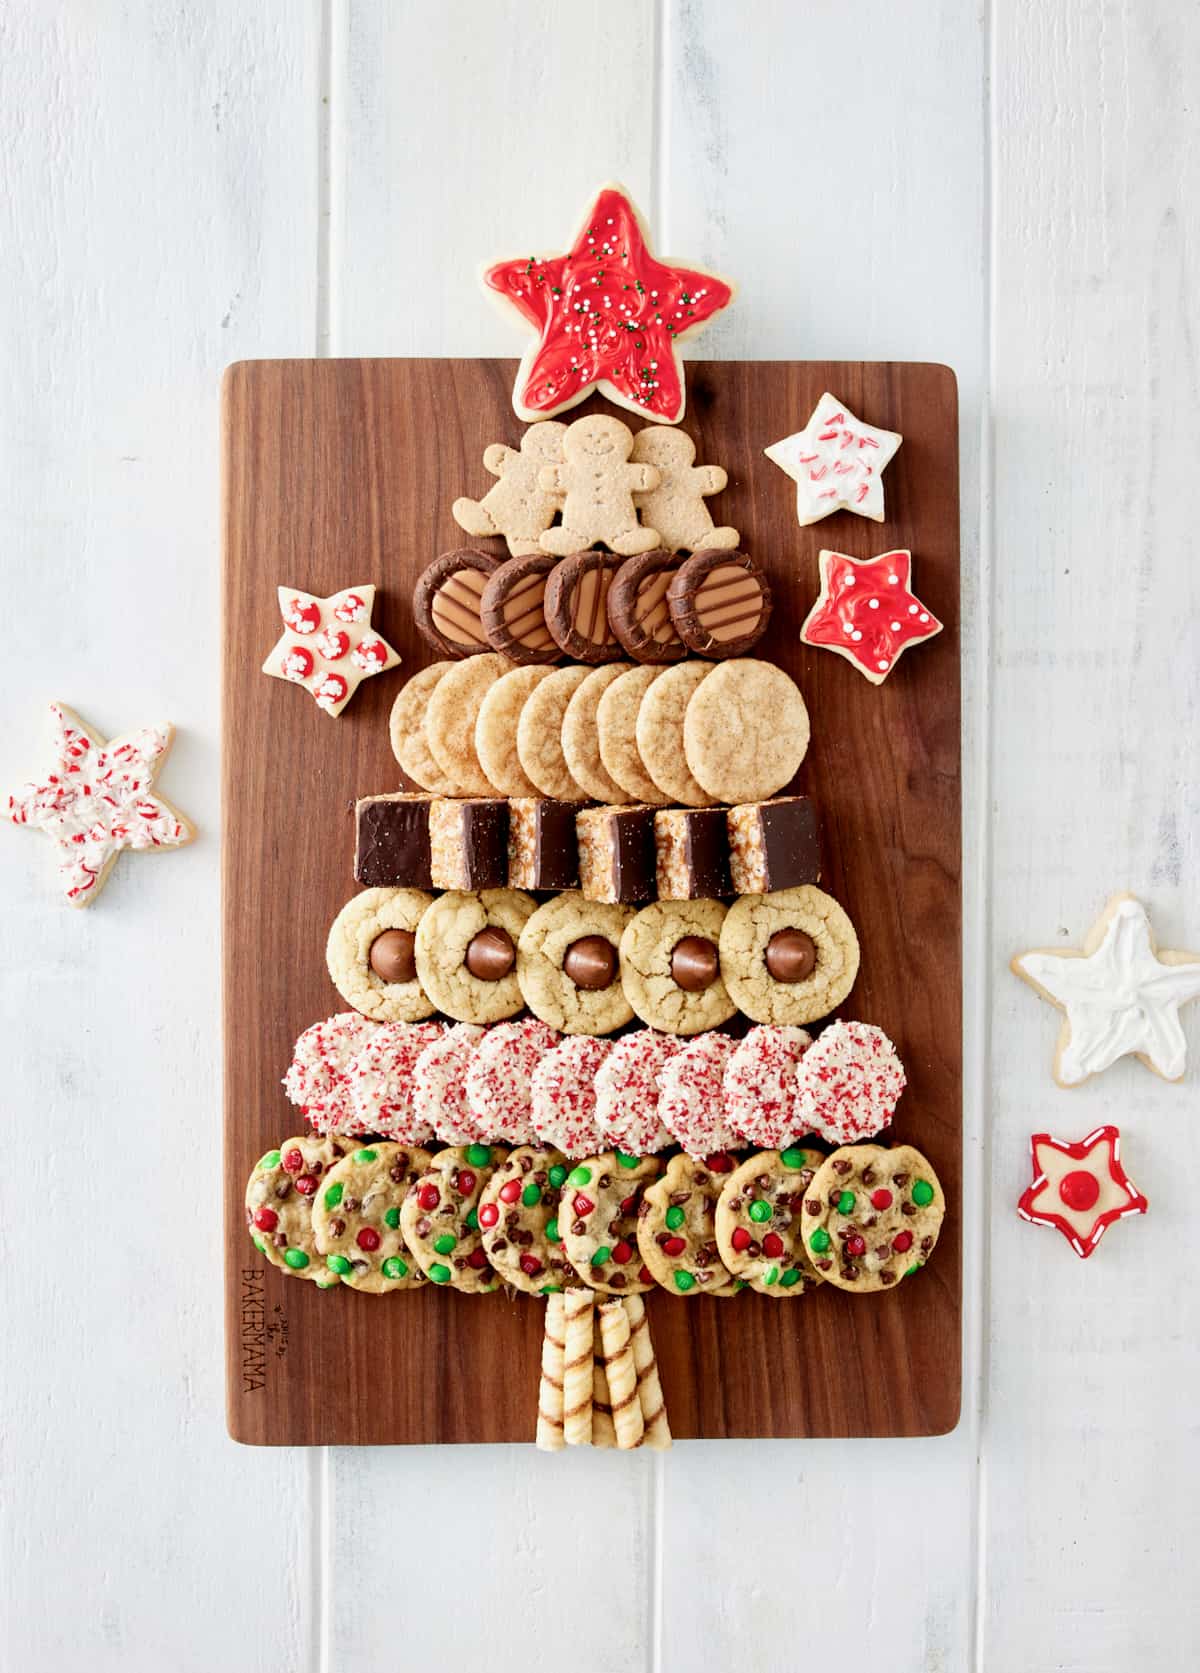
Christmas Tree Cookie Board
Deck the halls with a festive variety of holiday cookie favorites arranged in a tree-shape for all to enjoy! A mix of store-bought and homemade treats make this Christmas Tree Cookie Board so easy and delicious.
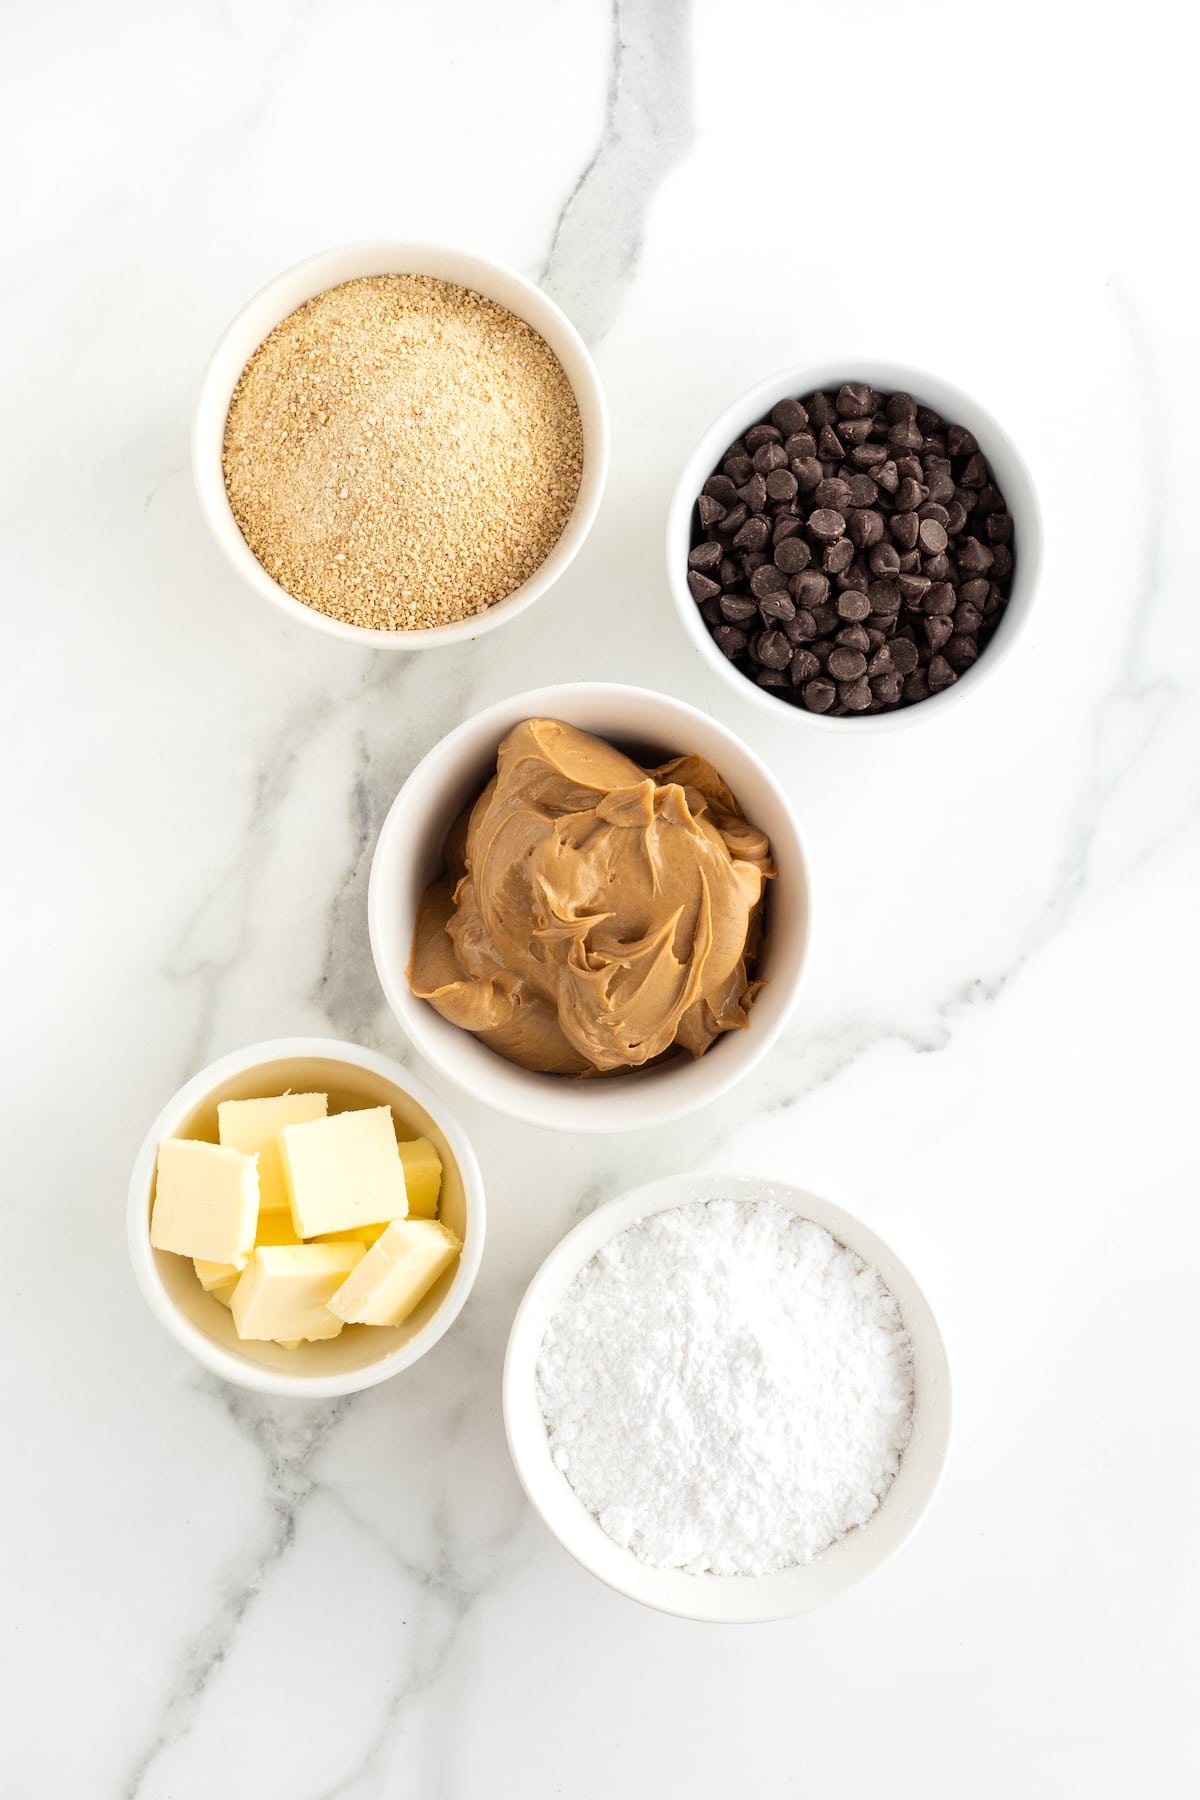
What Do I Need to Make No-Bake Chocolate Peanut Butter Bars?
- Butter
- Creamy peanut butter (no-stir)
- Powdered sugar
- Graham crackers
- Semi‐sweet chocolate chips
- 9×13-inch baking dish
- Parchment paper or non-stick cooking spray
How to Make No-Bake Chocolate Peanut Butter Bars
- Spray a 9×13-inch baking dish with non-stick cooking spray or line with parchment paper. Set aside.
- In the bowl of an electric mixer fitted with the paddle attachment, beat together the butter and 1 and 1/2 cups of the peanut butter until well combined.
- Add the powdered sugar and graham cracker crumbs and mix until well incorporated.
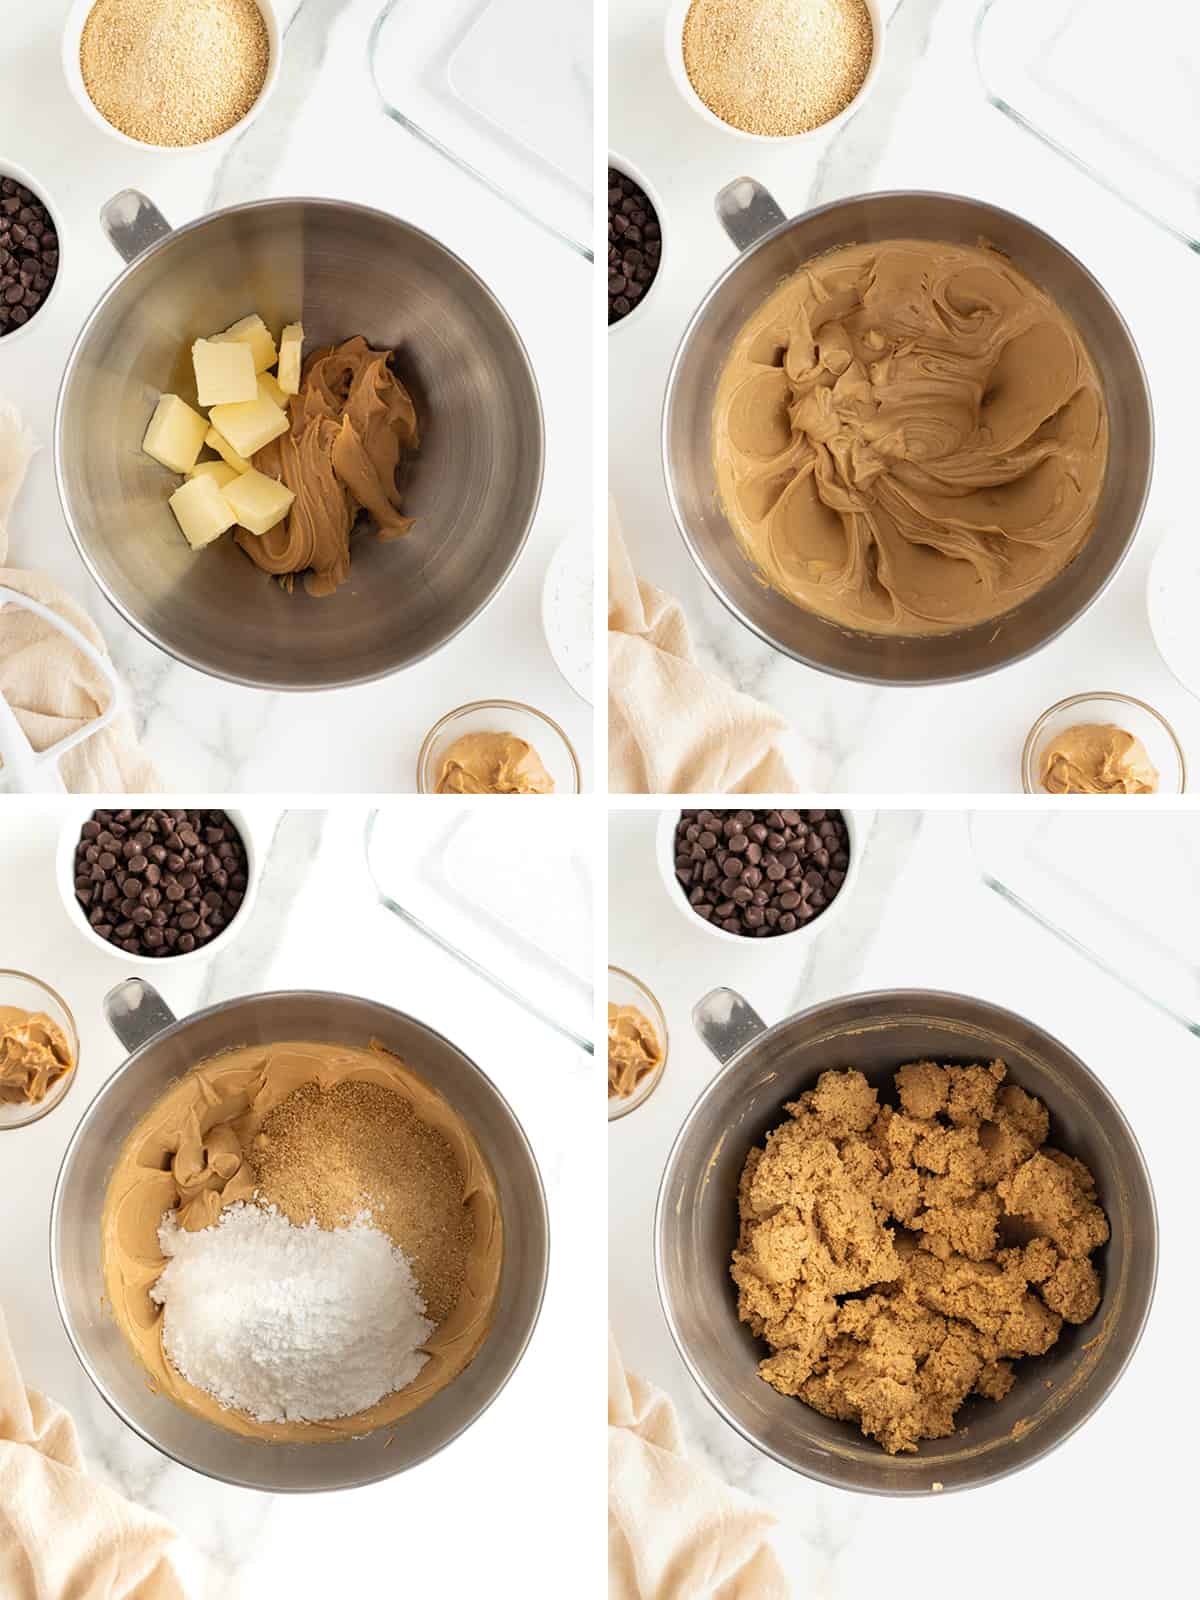
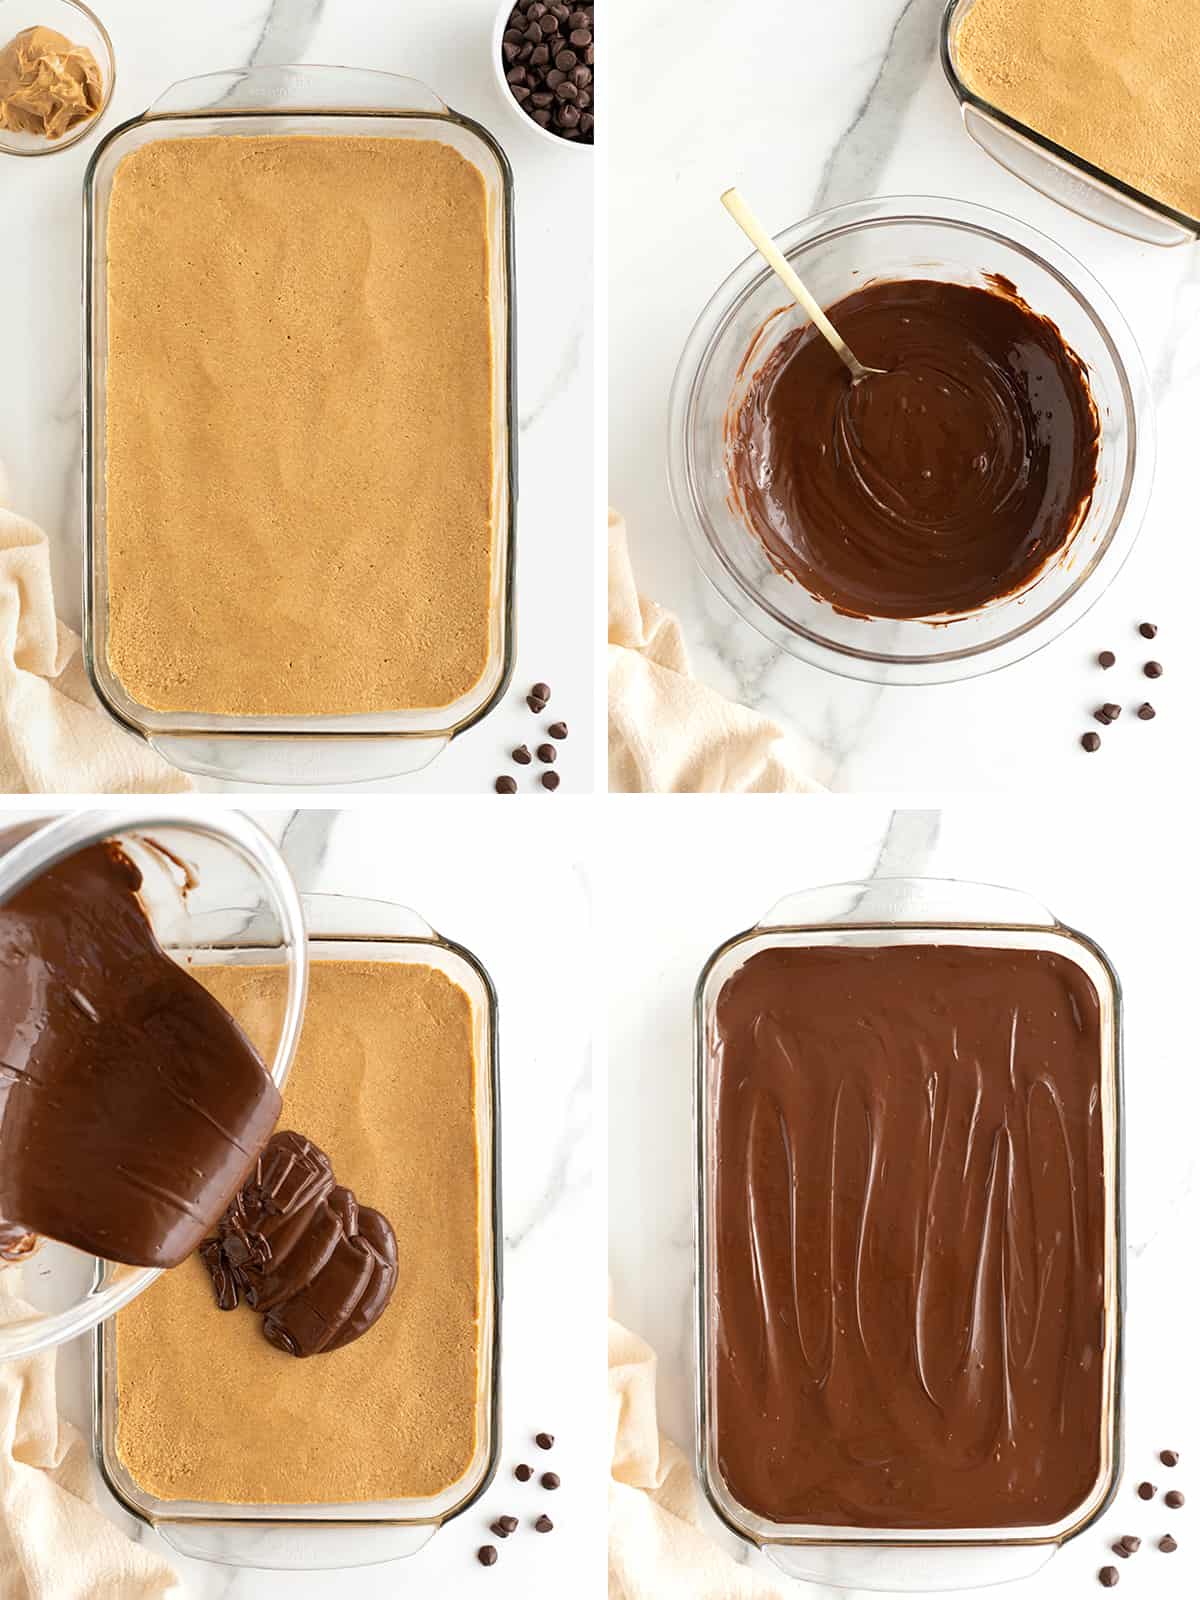
- Press the mixture into the prepared baking dish.
- Add the chocolate and the remaining 1/4 cup peanut butter to a microwave safe bowl. Microwave in 30 second intervals, stirring after each interval, until melted and smooth, about 90 seconds total.
- Pour the melted chocolate over the peanut butter mixture in the baking dish and spread evenly.
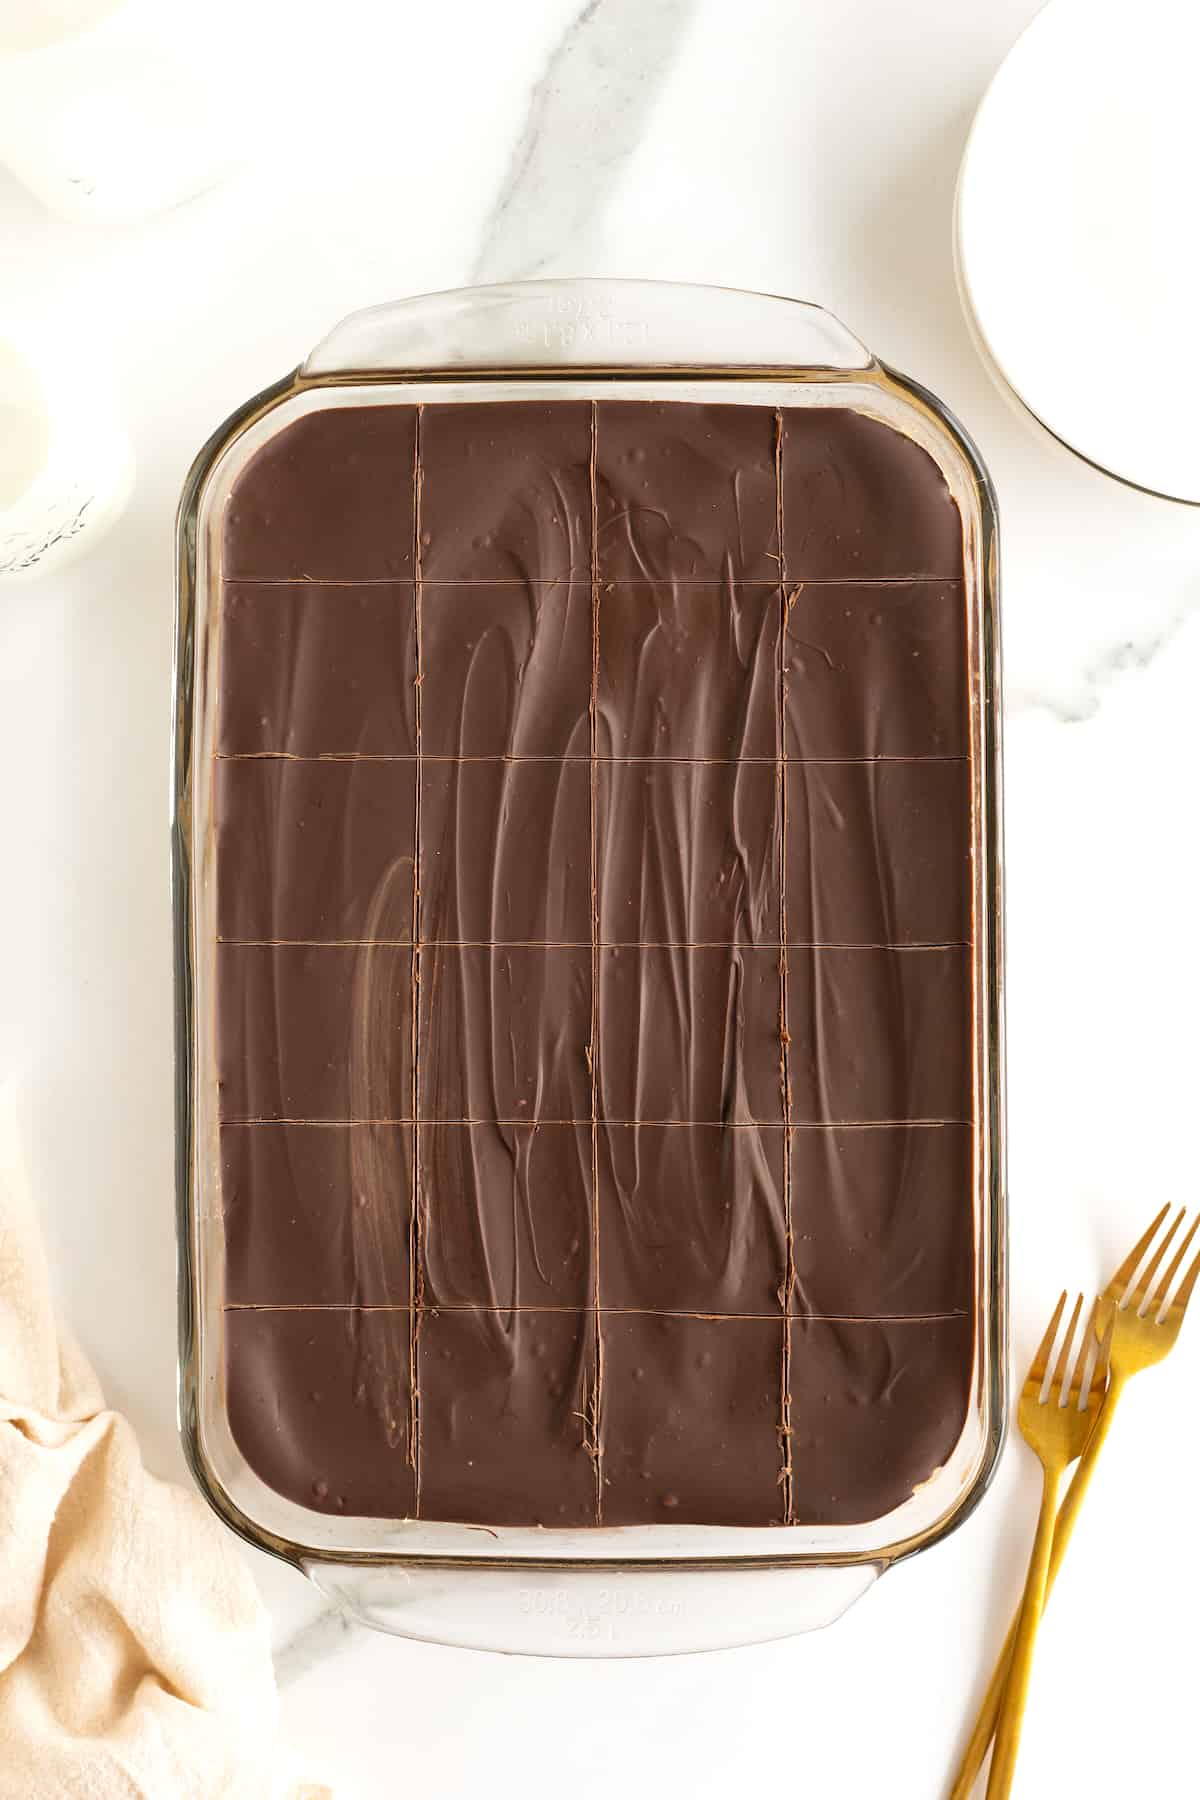
- Cover and chill in the refrigerator until firm, at least 3 hours or overnight.
- Let set at room temperature for about 10 minutes before slicing with a sharp knife into bars.
How to Store No-Bake Chocolate Peanut Butter Bars
Store bars in the refrigerator for up to 2 weeks. Let sit at room temperature for at least 10 minutes before serving.
To freeze chocolate covered peanut butter bars, wrap bars tightly in freezer wrap. Then store individually wrapped bars in a freezer safe baggie for up to 3 months.
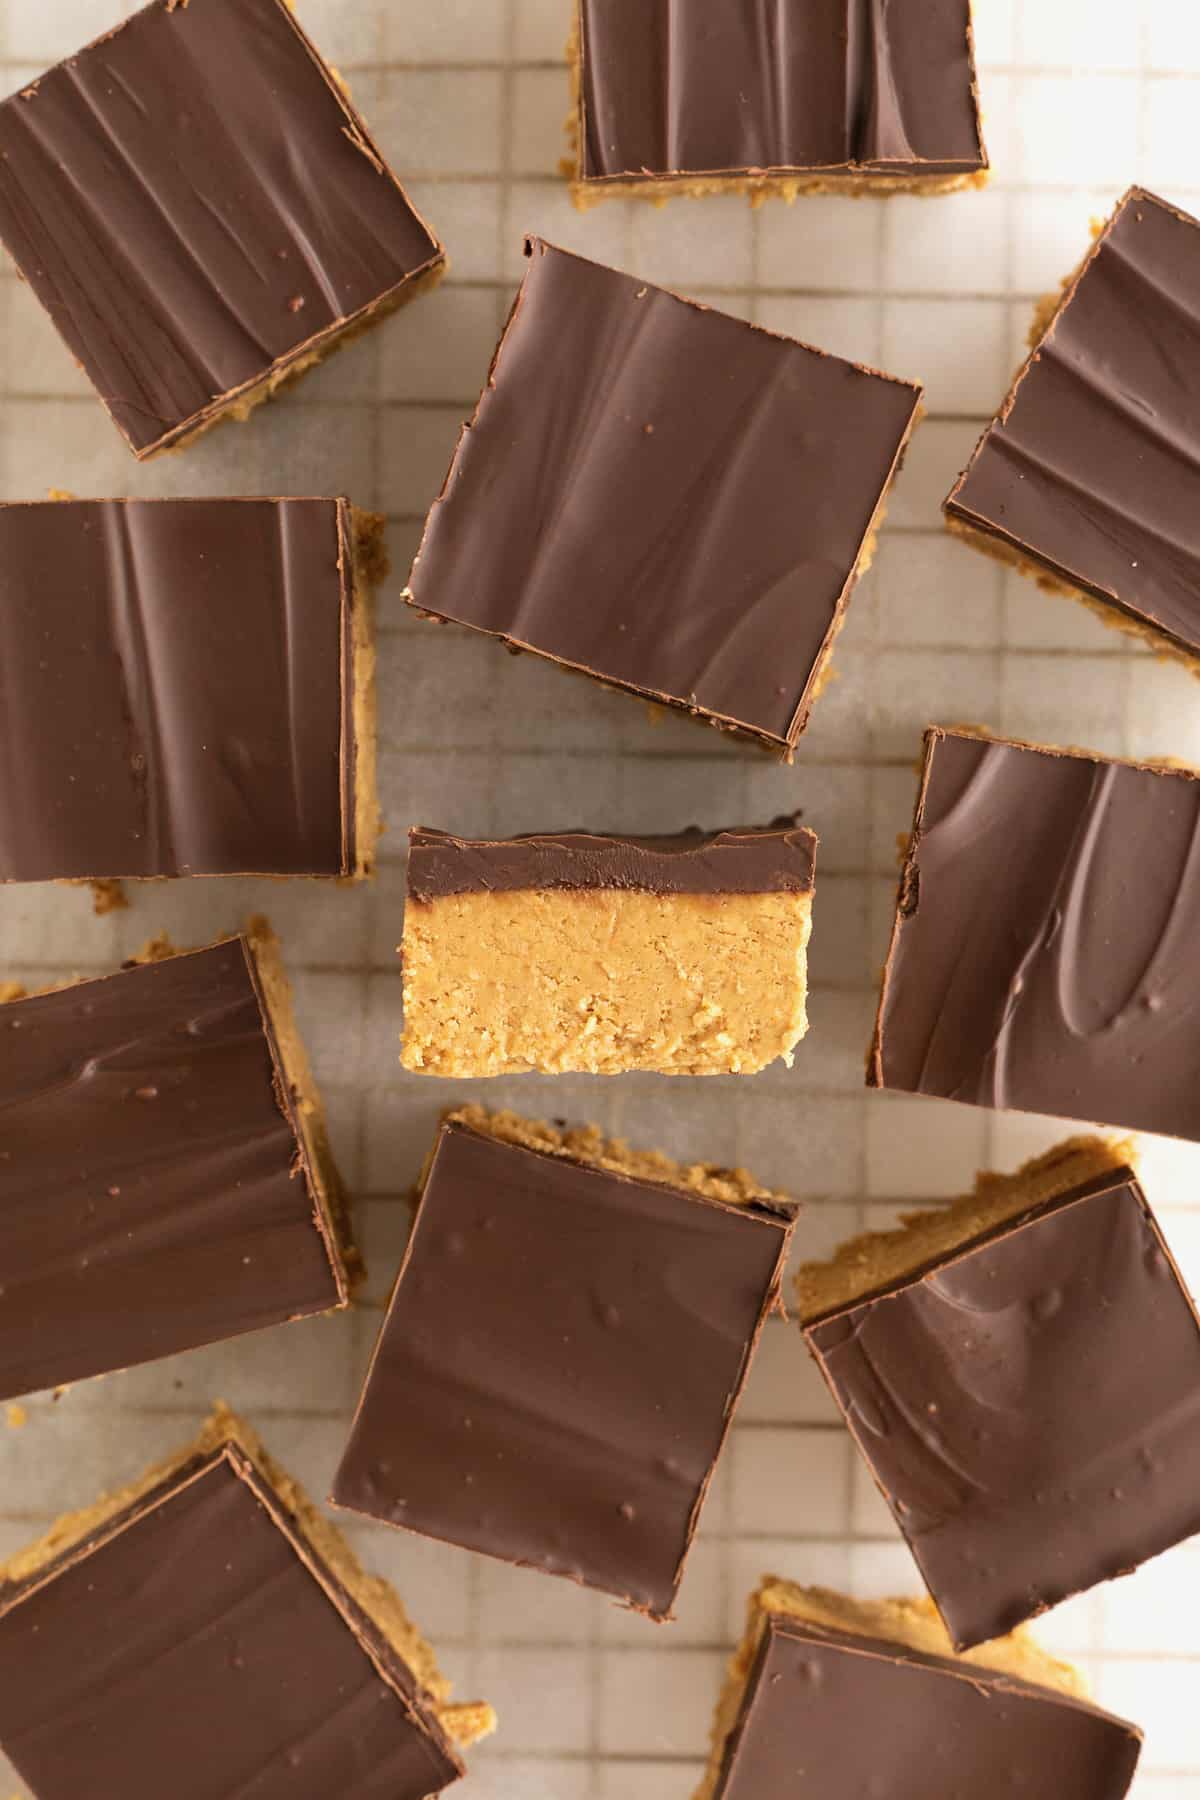
If you make these No-Bake Chocolate Peanut Butter Bars, be sure to snap a picture and tag me on Instagram @thebakermama so I can see! 😍 I just love seeing how inspired and creative y’all get with the recipes and ideas I share. Enjoy!
xoxo,

No-Bake Chocolate Peanut Butter Bars
- Prep Time: 15 minutes
- Chill Time: 3 hours
- Total Time: 3 hours 15 minutes
- Yield: 30 bars
Description
Dense, chewy peanut buttery bars topped with a smooth chocolate peanut butter layer make these No-Bake Chocolate Peanut Butter Bars an easy and delicious holiday treat.
Ingredients
Base:
- 1/2 cup (1 stick) butter, softened
- 1 and 1/2 cups creamy peanut butter
- 1 and 1/2 cups powdered sugar
- 3 cups finely crushed graham cracker crumbs
Topping:
- 2 cups semi‐sweet chocolate chips
- 1/4 cup creamy peanut butter
Instructions
- Spray a 9×13-inch baking dish with non-stick cooking spray or line with parchment paper. Set aside.
- In the bowl of an electric mixer fitted with the paddle attachment, beat together the butter and 1 and 1/2 cups of the peanut butter until well combined. Add the powdered sugar and graham cracker crumbs and mix until well incorporated.
- Press the mixture into the prepared baking dish.
- Add the chocolate and the remaining 1/4 cup peanut butter to a microwave safe bowl. Microwave in 30 second intervals, stirring after each interval, until melted and smooth, about 90 seconds total.
- Pour the melted chocolate over the peanut butter mixture in the baking dish and spread evenly.
- Cover and chill in the refrigerator until firm, at least 3 hours or overnight.
- Let set at room temperature for about 10 minutes before slicing with a sharp knife into bars. Store in the refrigerator for up to 2 weeks.



can I do this recipe without graham crackers
Hi Kailtlyn! You can definitely make these without graham crackers, but you’ll have to substitute something else to help with the texture and structure since the graham crumbs play a big role in holding the bars together. Some good alternatives include Rice Krispies cereal or another small cereal, crushed cookies like vanilla wafers, quick oats, or even crushed pretzels if you want a sweet and salty twist. Just aim for something dry and crumbly that can mix well into the base — and let us know what you end up trying!
Very easy to make! I wanted to make a dessert using what I had in the cabinet. I modified a few things. I softened the butter at room temp for 30-40 mins or so, then I kneaded the PB ingredients together by hand first with a wooden spoon, then my actual hands. (I’d recommend unless you have a KitchenAid) Instead of a tablespoon of butter for the Chocolate topping I used a table spoon of Nutella. Turned out great! 🙂
Hi Brittany! Thank you so much for sharing your process and modifications. The Nutella sounds delicious!!
Could I easily substitute crisco for the butter?
Hi Maddie! I haven’t tested the recipe with Crisco so I couldn’t say for sure. I’m thinking the shortening would make the mixture much greasier in taste and texture. I would recommend sticking with butter.
Can you use natural peanut butter for this ?
Hi Ashley! Yes, I actually use a no-stir natural peanut butter such as this Skippy brand. I hope this helps. Enjoy!
This was much easier than rolling and dipping all those buckeye balls. I refrigerated according to the directions. The chocolate was way too hard to cut through; by the time I could get through the chocolate layer, the peanut butter layer was too soft and mushy, it made a mess of the bars when cutting. I think a much thinner layer of chocolate would work better. Perhaps even flip before slicing ( after chocolate sets) and do a second thin layer on the other side.
Hi Jill! Did you make them in a 9×13 inch baking dish? If so, the chocolate layer shouldn’t be that thick. Are you sure you measured all of the ingredients correctly for the bar dough? It should be very thick and hold its shape at room temperature with all the powdered sugar and graham crackers that are mixed in. Next time, you could try lining the baking dish with parchment paper and then lifting them from the dish with the parchment paper before slicing on a cutting board with a large sharp knife which would make them easier to slice overall. I hope this helps and that you have greater success next time. Enjoy!
Could I make this on a cookie sheet to get thinner bars? Or would they not hold up?
Hi Amanda! Yes, you could definitely make these in a sheet pan for thinner bars. They will turn out just as tasty, just thinner. Enjoy!
Hi! I’m bringing these to a party and was wondering if I can leave them out or do they have to be put in the fridge when I get to the party?
Hi Emily! They can sit out for a few hours as long as it’s not too warm in the serving space. I would recommend putting them in the fridge until shortly before serving so they’re nice and chilled. Hope this helps and that y’all enjoy!
Hi,
is powdered sugar icing sugar?I use granulated fine sugar.
Can you please share the ingredients in grams?
thanks
xoxox
Hi, Sophie! Yes, powdered sugar is the same as icing sugar or confectioner’s sugar. Here’s a great guide to convert the measurements in a recipe to grams: https://www.allrecipes.com/article/cup-to-gram-conversions/ Hope this helps! ❤️
These are one of my all-time favorite desserts! I could eat the whole pan myself! So easy to make.
Yesss! Mine too! The best combo: chocolate and peanut butter! I hope you continue to enjoy!
Can you please tell me if you have to use a stand mixer or can I mix this by hand? Chocolate and peanut butter are my favorite, but I don’t have a stand mixer.
Thank you!
Hi Andee! If you have a hand mixer, that would be the best alternative to really blend the ingredients together. If not, you can definitely use your hands and a sturdy spoon, just make sure the butter is super soft so you can easily stir all of the ingredients together so they’re well incorporated. PB + Chocolate is my fave combo too! Enjoy!