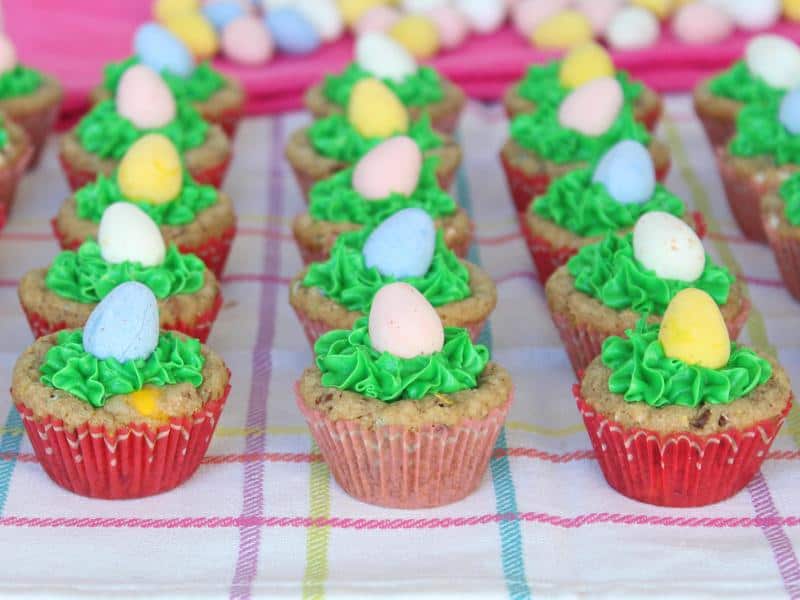
Egg Hunt Cookie Cups are an adorable Easter treat using everyone’s favorite egg-shaped chocolates!
Party Perfect Easter Treats
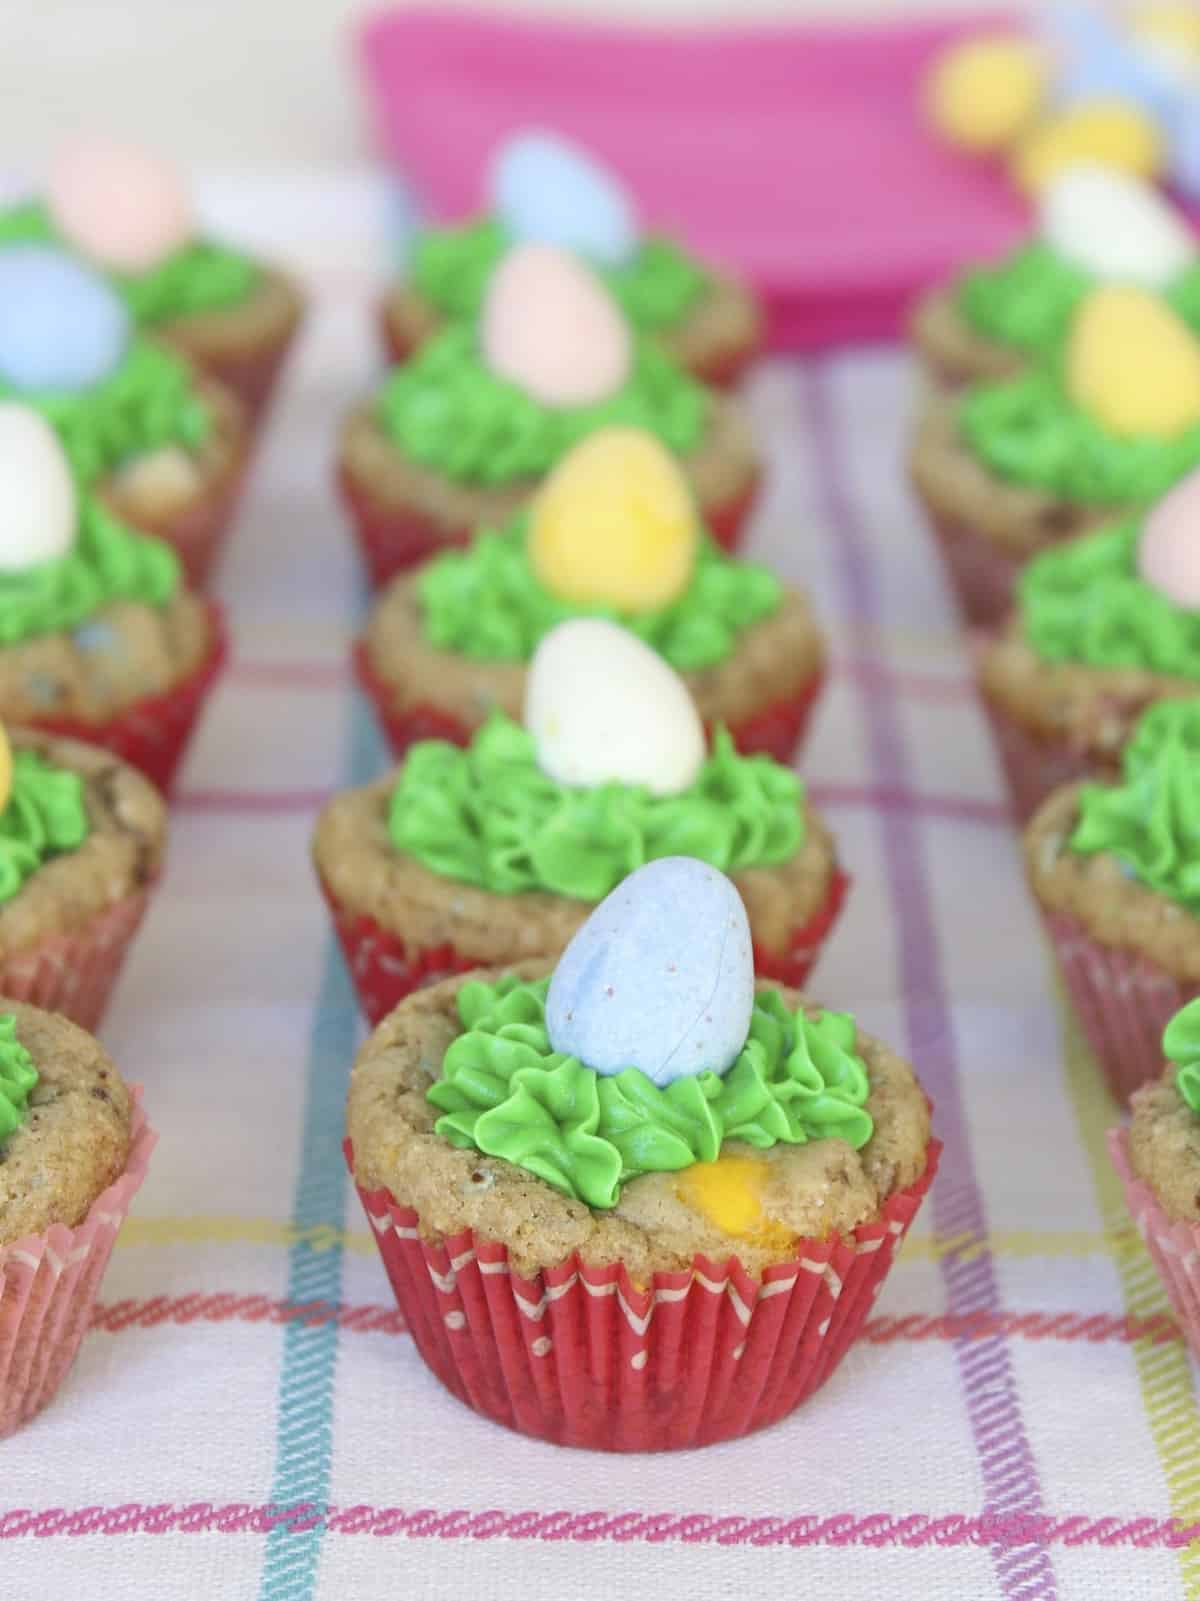
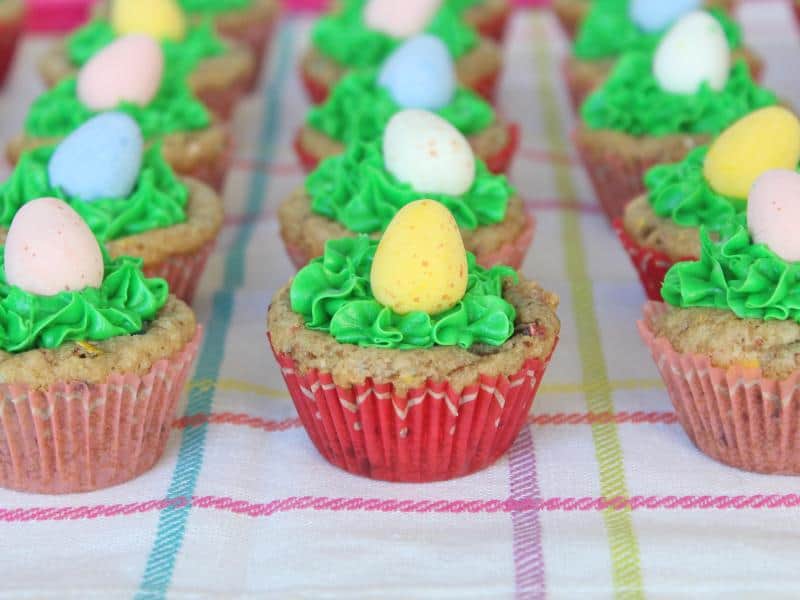
Easter’s just a hop, skip & jump away and I’ve got some super cute and yummy treats all the little bunnies will love! These adorable Egg Hunt Cookie Cups are loaded with everyone’s favorite Cadbury mini egg-shaped chocolates. They’re chewy, crunchy and super chocolatey! Topped with a little green icing and another mini egg makes them so cute and party perfect!
I used green cupcake icing for the grass effect to keep things cute & simple. In less than an hour, I had these cuties egg hunt ready! Such a fun and yummy treat that everyone will love! Hope you have a Happy Easter!!
What Do I Need to Make Egg Hunt Cookie Cups?
- Butter, softened
- Brown sugar
- Granulated sugar
- Vanilla
- Eggs
- All-purpose flour
- Baking soda
- Salt
- Cadbury mini chocolate candy eggs, divided
- Green cupcake icing, made with food coloring

How to Make Egg Hunt Cookie Cups
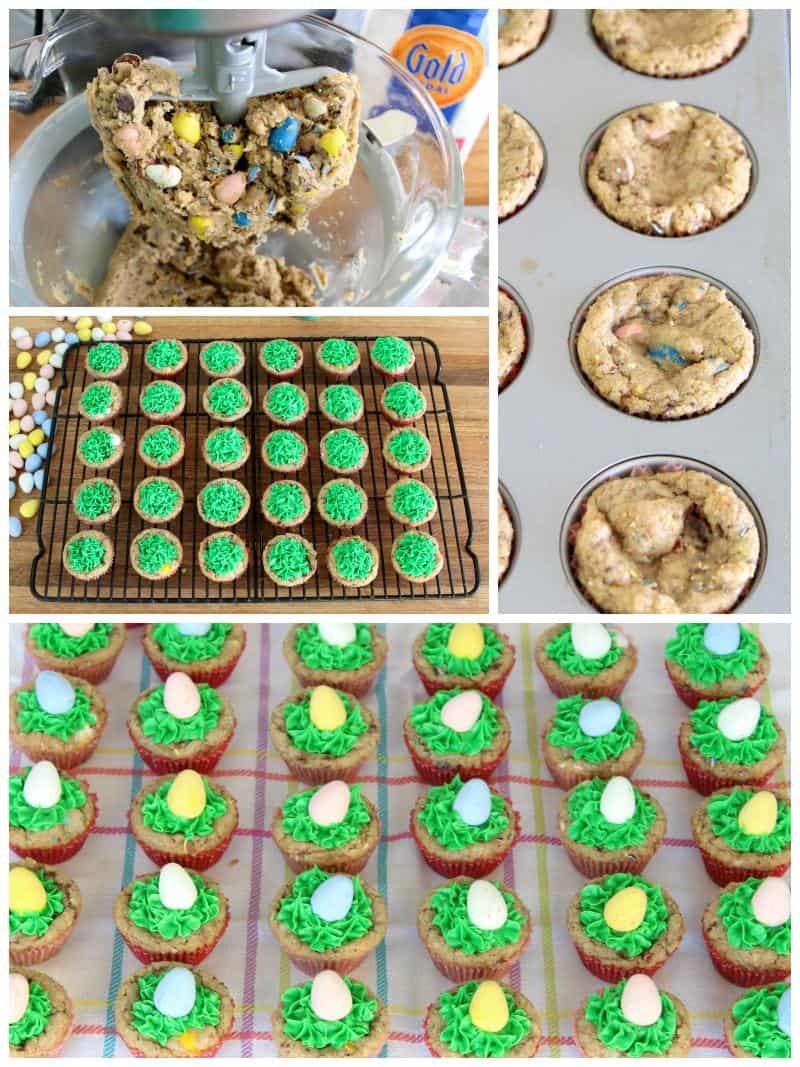
- Preheat oven to 350°F. Line 48 mini muffin tin cups with festive baking liners or spray with non-stick cooking spray. If you don’t have two mini muffin pans, you can bake the dough in two batches.
- In a small bowl, whisk together the flour, baking soda and salt. Set aside.
- Chop one bag of the candy eggs so that they are broken into a variety of different sized pieces.
- In the bowl of an electric mixer, beat the butter and sugars until smooth and creamy. Add the vanilla and eggs, beating until well combined. Slowly add the flour mixture, beating until just combined. Stir in the chopped chocolate candy eggs.
- Scoop a tablespoon of dough into each prepared mini muffin cup. Bake for 12-14 minutes or until the tops of the cookies start to turn golden brown. Let cool in pan 10 minutes before removing to a wire rack to cool completely.
- Once the cookie cups are cooled, use the star attachment to decorate the tops with the green icing then top with another mini egg.
Quick Tip
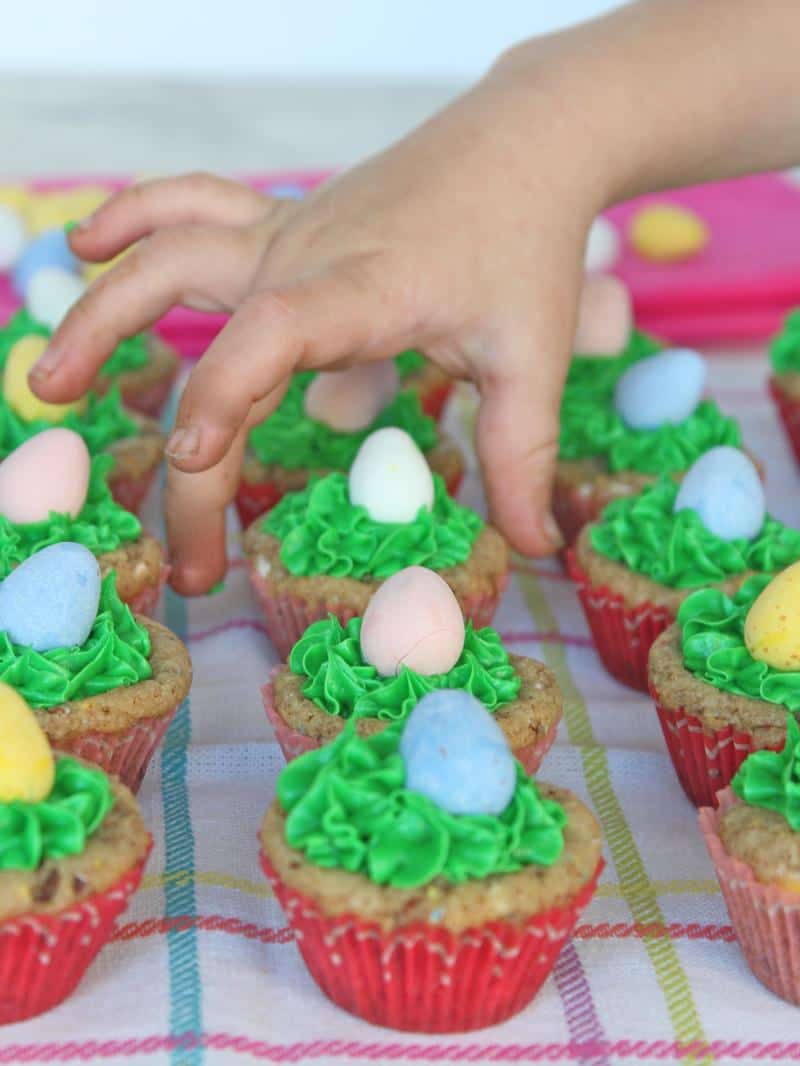
The recipe makes quite a few, so feel free to cut it in half for a small bunch or double it for a huge crowd! They disappeared fast at our egg hunt because I’m pretty sure everyone grabbed another one or two once they gobbled up their first!
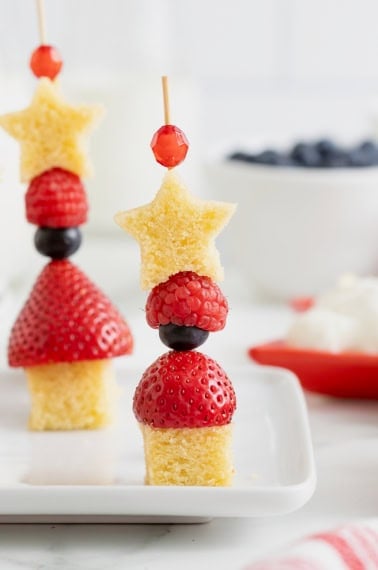
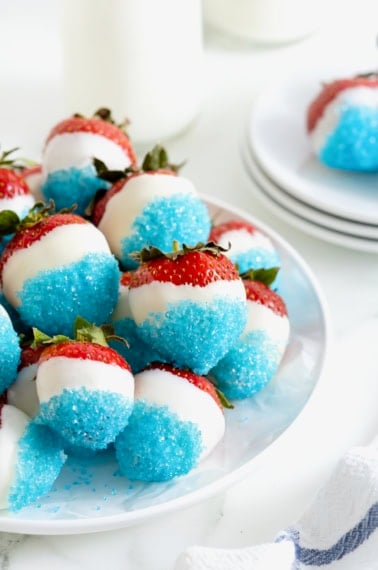
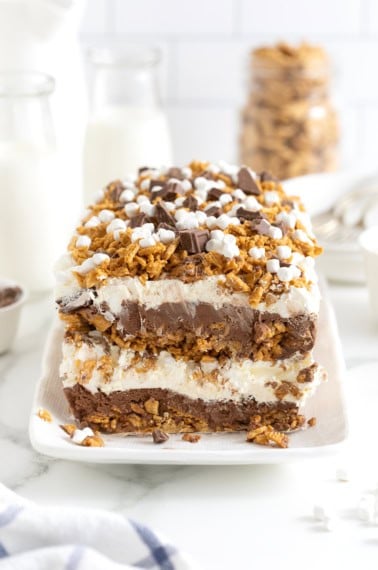
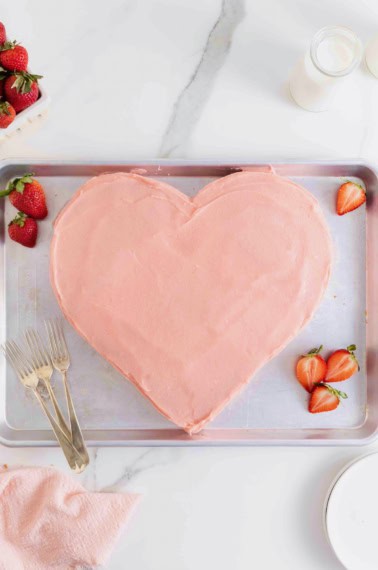
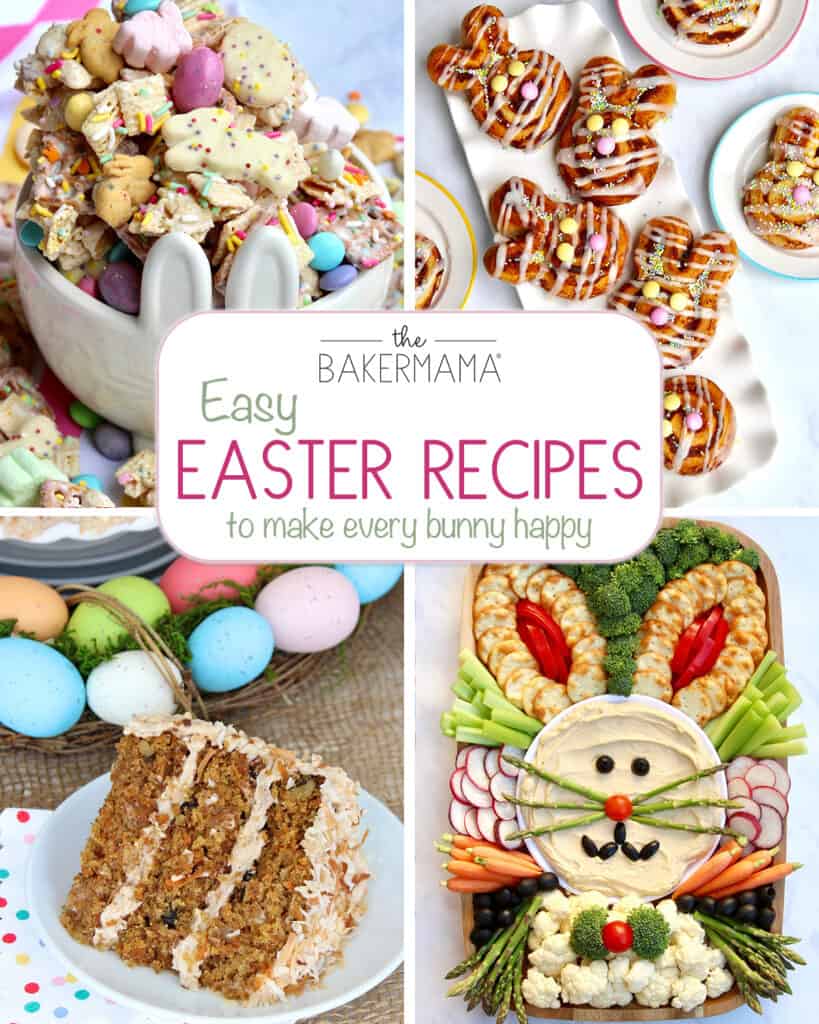
Easy Easter Recipes to Make Every Bunny Happy
Easter is just a hippity-hop away and I’m here with my favorite Easy Easter Recipes that are sure to make every bunny happy!
If you make these Egg Hunt Cookie Cups, be sure to snap a picture and tag me on Instagram @thebakermama so I can see! 😍 I just love seeing how inspired and creative y’all get with the recipes and ideas I share. Happy Easter and enjoy!
xoxo,


Egg Hunt Cookie Cups
- Prep Time: 20 mins
- Cook Time: 14 mins
- Total Time: 34 mins
- Yield: 48
- Category: Dessert
Description
Egg Hunt Cookie Cups are an adorable Easter treat using everyone’s favorite egg-shaped chocolates!
Ingredients
- 1 cup (2 sticks) butter, softened
- 3/4 cup brown sugar
- 3/4 cup granulated sugar
- 1 teaspoon vanilla
- 2 large eggs
- 2–1/4 cups all-purpose flour
- 1 teaspoon baking soda
- 1/2 teaspoon salt
- 2 (10 ounce) packages Canbury mini chocolate candy eggs, divided
- 1 (8.4 ounce) container green cupcake icing
Instructions
- Preheat oven to 350°F. Line 48 mini muffin tin cups with festive baking liners or spray with non-stick cooking spray. If you don’t have two mini muffin pans, you can bake the dough in two batches.
- In a small bowl, whisk together the flour, baking soda and salt. Set aside.
- Chop one bag of the candy eggs so that they are broken into a variety of different sized pieces.
- In the bowl of an electric mixer, beat the butter and sugars until smooth and creamy. Add the vanilla and eggs, beating until well combined. Slowly add the flour mixture, beating until just combined. Stir in the chopped chocolate candy eggs.
- Scoop a tablespoon of dough into each prepared mini muffin cup. Bake for 12-14 minutes or until the tops of the cookies start to turn golden brown. Let cool in pan 10 minutes before removing to a wire rack to cool completely.
- Once the cookie cups are cooled, use the star attachment to decorate the tops with the green icing then top with another mini egg.