

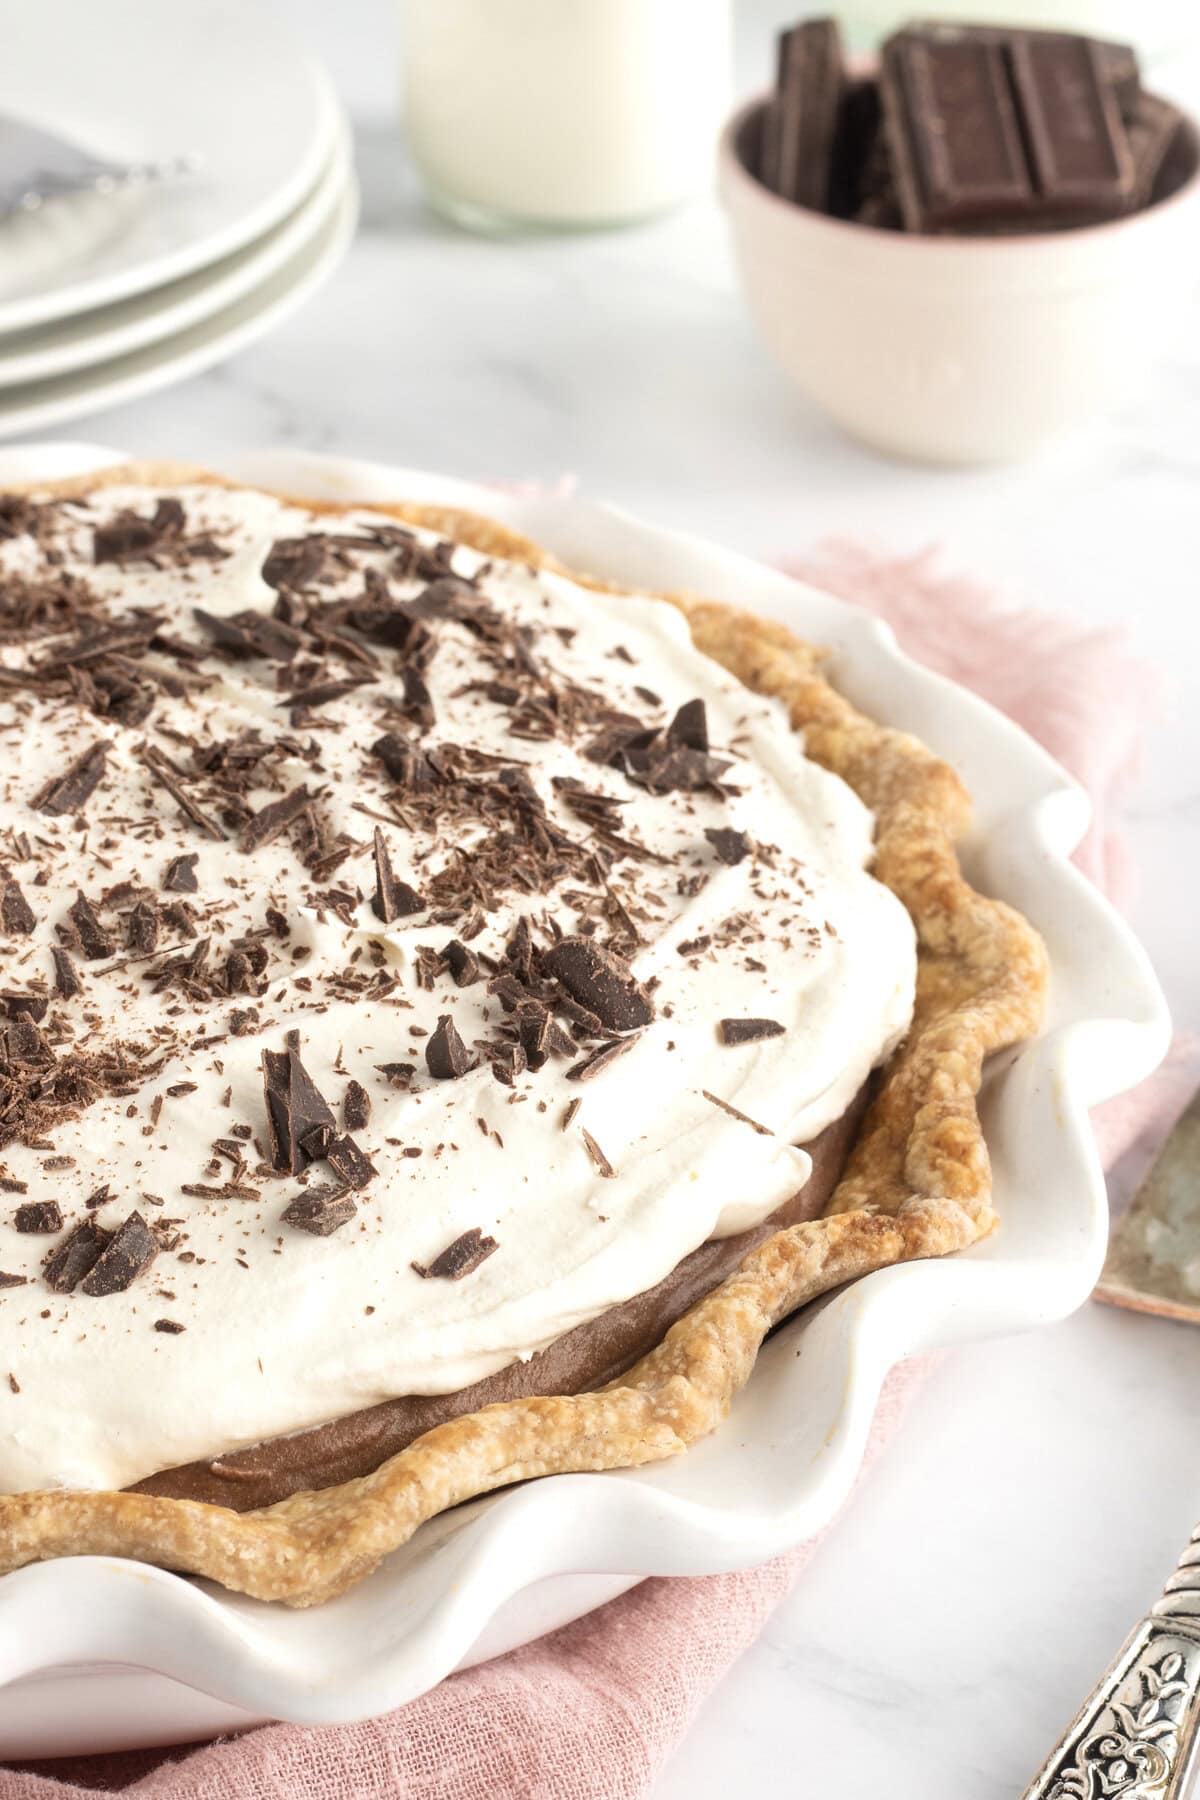
Cool, creamy and decadent, this Chocolate Cream Pie has a perfectly flaky crust and a silky, rich chocolate filling. It’s so delicious, you might as well call it a chocolate dream pie.

A Chocolate Pie State of Mind
I’ve been on a bit of a pie kick lately. But honestly, can you blame me? So many of my childhood summer memories involve pie, so when the weather starts to warm up, I start to get cravings. I’m not choosing favorites (that’d be like saying I have a favorite kid!) but this Chocolate Cream Pie is way up there on my list. It’s the perfect summer pie. It’s cool and creamy and everything you want a summer dessert to be.

Chocolate Dream Pie
Semi-sweet chocolate makes the filling of this luscious pie rich and sweet, but not too sweet. With frozen whipped topping in the filling and dolloped on top, and semi-sweet chocolate shavings all over, it really is a chocolate dream pie. My Mini Chocolate Fudge Cream Pies take the same goodness and package it in cute little bites.
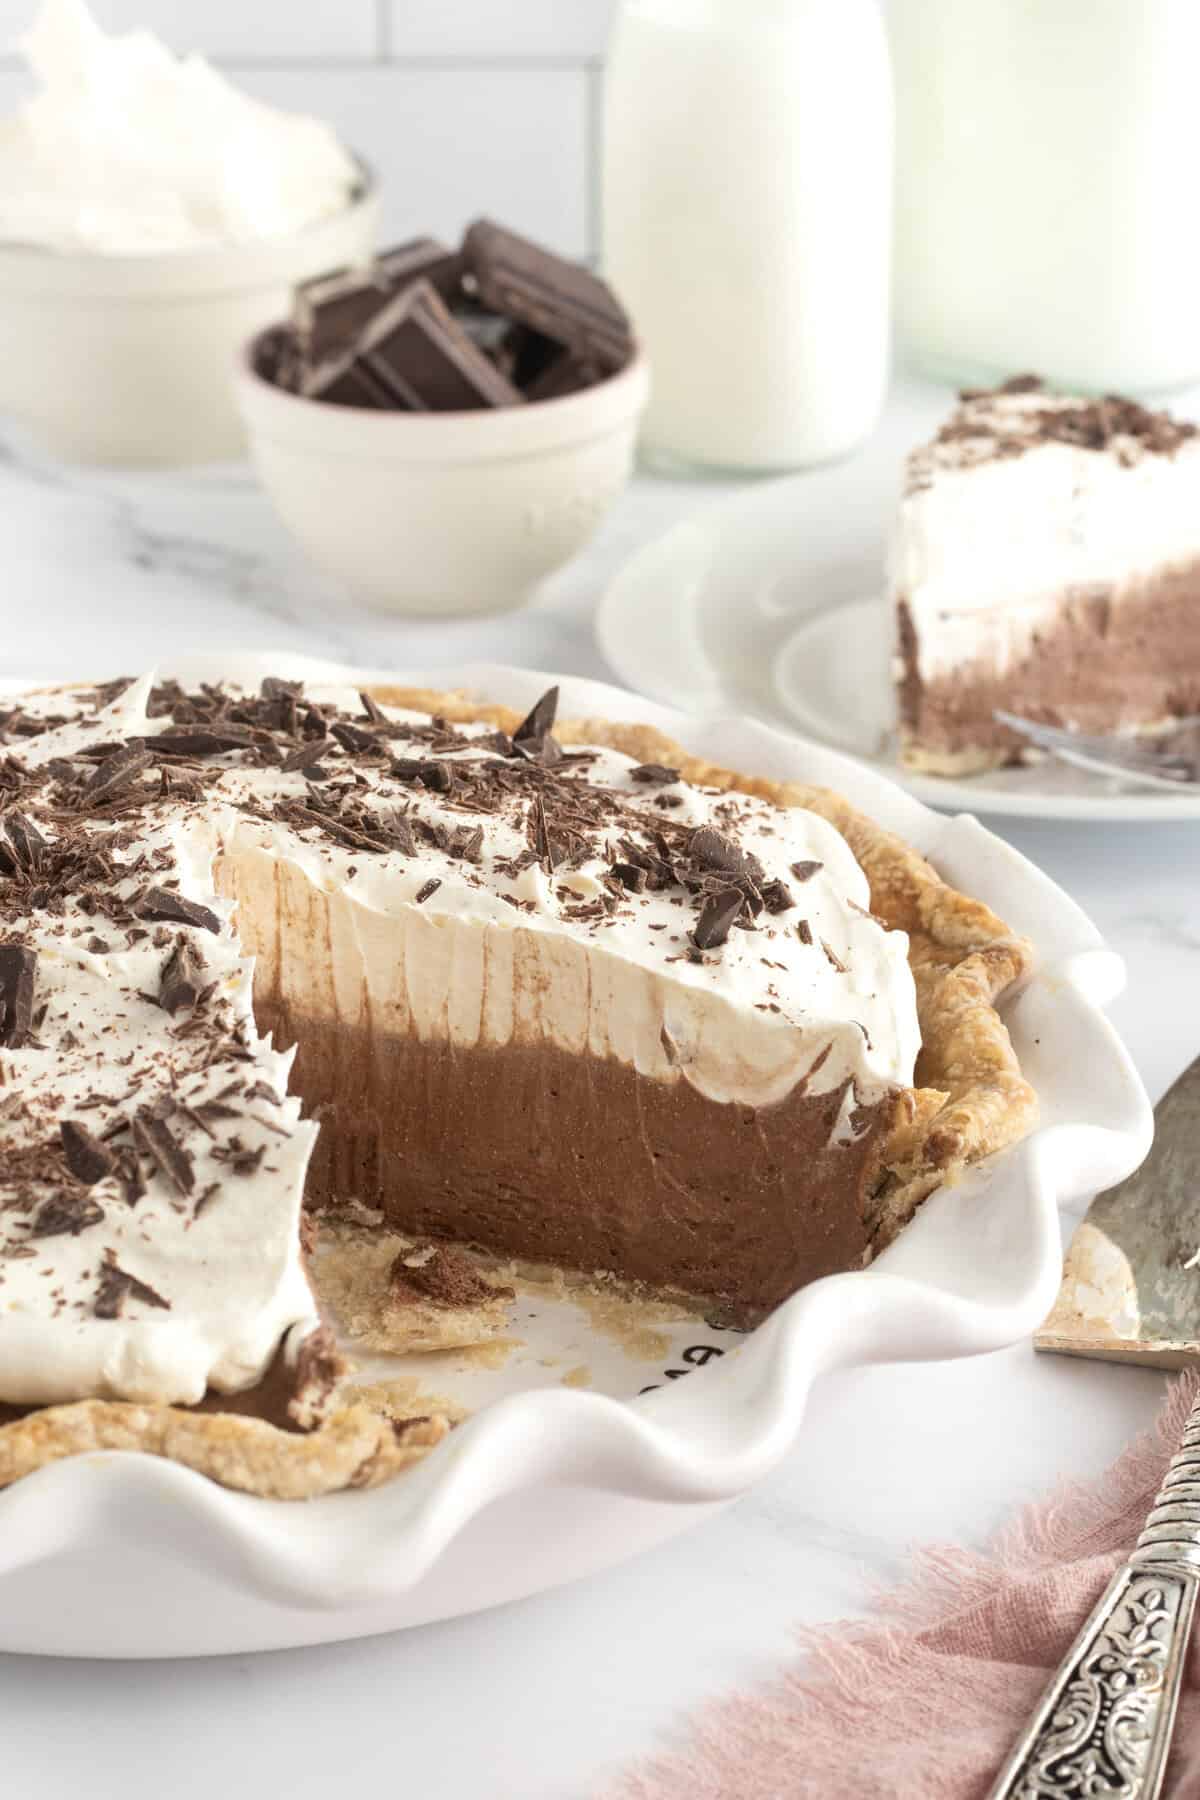
Ingredients and Supplies
(see recipe card at the bottom of this post for measurements and details. To learn more about specific baking ingredients and how they function in baking recipes, reference my Complete Guide to Baking Ingredients)
Ingredients:
- (9-inch) pre-baked and cooled pie crust
- Semi-sweet chocolate baking squares
- Milk
- Pure vanilla extract
- Frozen whipped topping: (I use Cool Whip)
- Shaved or curled chocolate, for garnishing
Supplies:
- Large microwave-safe mixing bowl

How to Make Chocolate Cream Pie
- Preheat oven to 375°F. Pre-bake the pie crust. See my Complete Guide to Pie Crust for the dough recipe and how to pre-bake the pie crust. Let cool completely before filling.
- In a large microwavable bowl, melt the chocolate and 1/3 cup milk on medium power in 30-second intervals, stirring at each interval, until completely melted. Let cool for about 10 minutes.
- Stir in the vanilla and remaining 1/3 cup milk. Fold in one (8 ounce) container of the thawed whipped topping until well incorporated and filling is smooth.
- Spread the chocolate filling evenly into the baked and cooled pie crust.

- Dollop and gently spread the remaining container of thawed whipped topping over the top of the fudge filling and then garnish it with shaved or curled chocolate.
- Cover loosely and refrigerate for at least 2 hours before serving.

Storage
Store covered with plastic wrap in the refrigerator.
More Picture Perfect Pies
As beautiful as they are delicious, these Picture Perfect Pie Recipes will make an impression at any dessert table!

If you make this Chocolate Cream Pie, be sure to snap a picture and share it with me or tag me on Instagram @thebakermama so I can see. If you’re on Facebook, be sure to join my Friends of The BakerMama group to connect and share all the fun and yummy recipes of mine that you make! 😍 I love seeing how inspired and creative y’all get with the recipes I share. Enjoy!
xoxo,


Chocolate Cream Pie
- Prep Time: 15 minutes
- Cook Time: 30 minutes
- Total Time: 45 minutes
- Yield: 1 (9-inch) pie
Description
Cool, creamy and decadent, this Chocolate Cream Pie has a perfectly flaky crust and a silky, rich chocolate filling. It’s so delicious, you might as well call it a chocolate dream pie.
Ingredients
Ingredients:
- 1 (9-inch) pre-baked and cooled pie crust
- 10 ounces semi-sweet chocolate baking squares
- 2/3 cup milk, divided
- 1 teaspoon pure vanilla extract
- 2 (8 ounce) containers frozen whipped topping, thawed & divided (I use Cool Whip)
Garnish:
- Shaved or curled chocolate
Instructions
- Preheat oven to 375°F. Pre-bake the pie crust. See my Complete Guide to Pie Crust for the dough recipe and how to pre-bake the pie crust. Let cool completely before filling.
- In a large microwavable bowl, melt the chocolate and 1/3 cup milk on medium power in 30-second intervals, stirring at each interval, until completely melted. Let cool for about 10 minutes.
- Stir in the vanilla and remaining 1/3 cup milk. Fold in one (8 ounce) container of the thawed whipped topping until well incorporated and filling is smooth.
- Spread the chocolate filling evenly into the baked and cooled pie crust.
- Dollop and gently spread the remaining container of thawed whipped topping over the top of the fudge filling and then garnish it with shaved or curled chocolate.
- Cover loosely and refrigerate for at least 2 hours before serving.
- Store covered with plastic wrap in the refrigerator.











You need to put the pie in the fridge for 2 hours before you spread the whipped topping on or it will make a mess and all mix together.
Hi Amber! Thanks so much for your comment! I actually recommend spreading the whipped topping on before chilling because the filling is thick enough to hold its shape, and chilling the whole pie together helps everything set nicely. If you prefer to chill the filling first and add the topping just before serving for more defined layers, that works too, but it’s definitely not necessary with this recipe. I hope y’all enjoy!