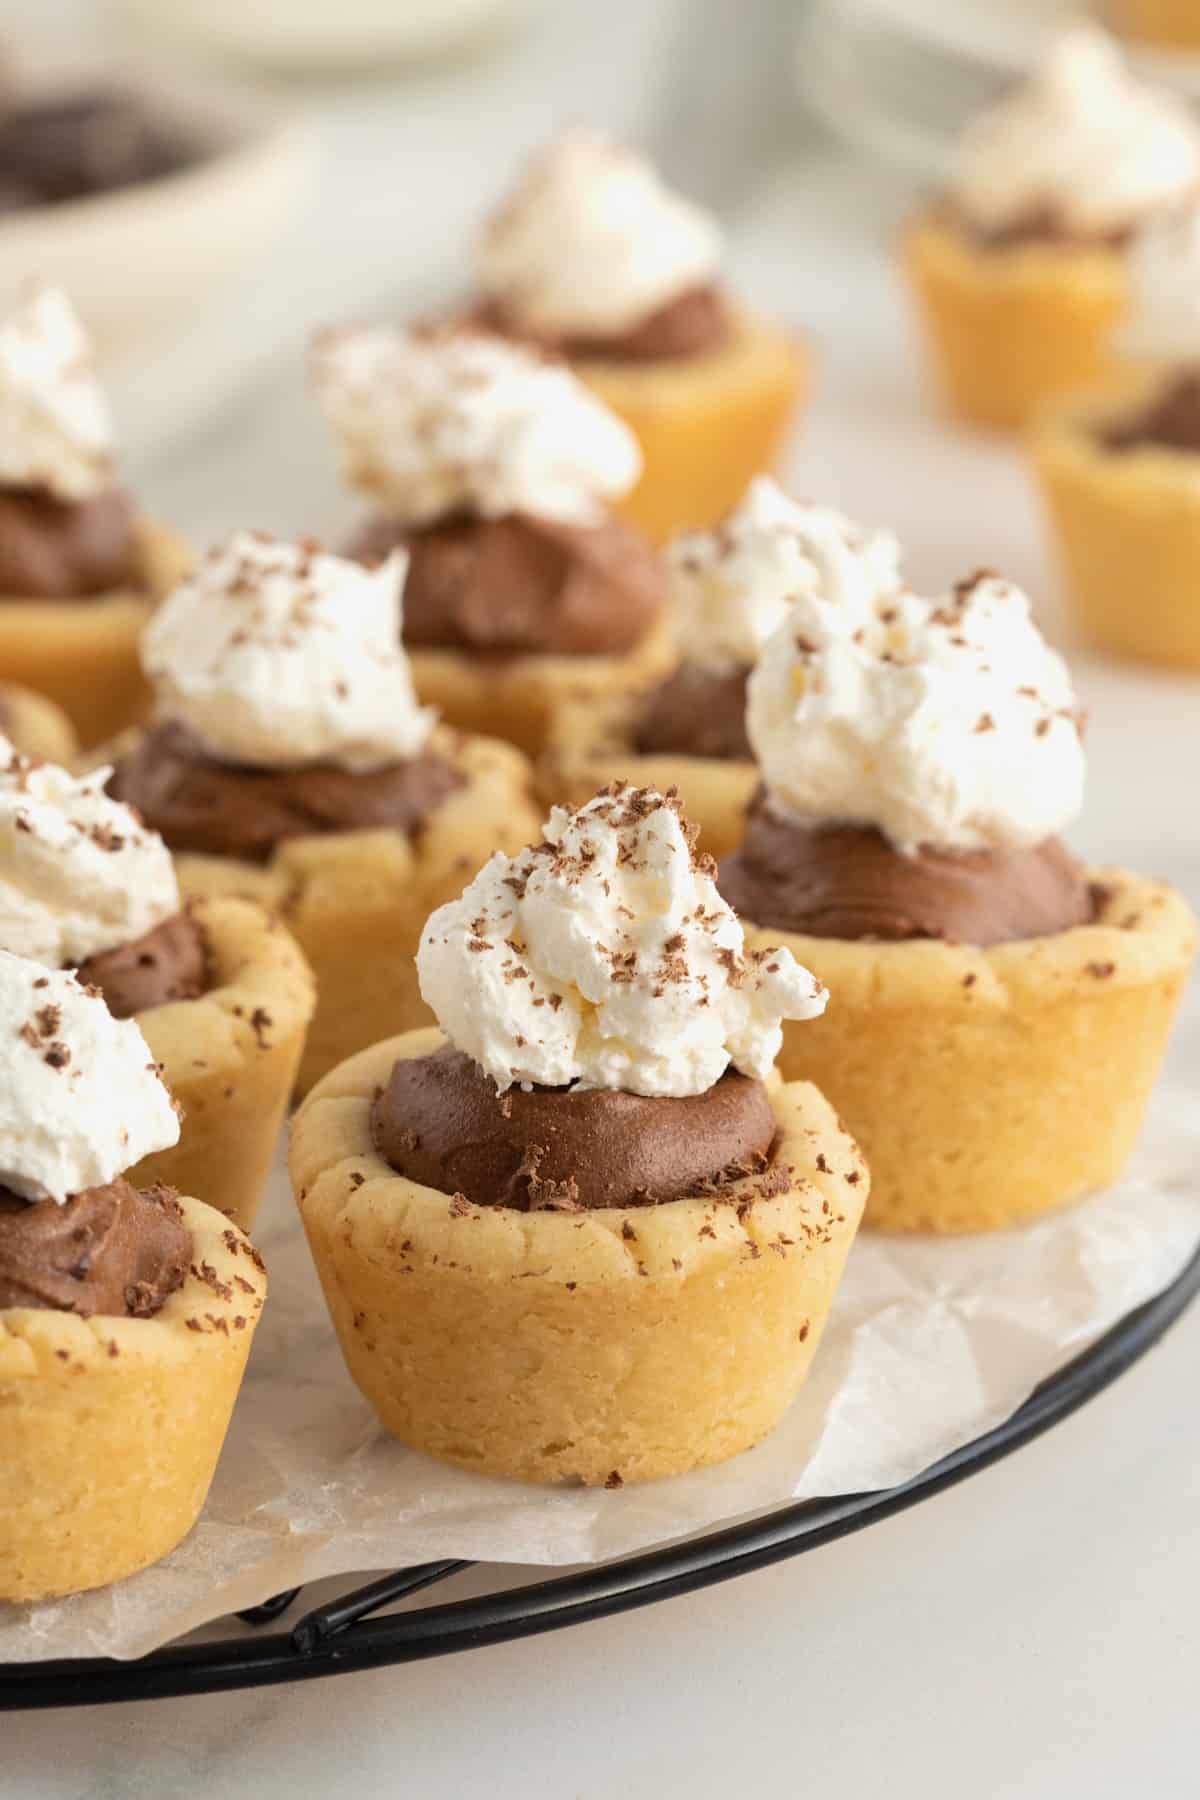
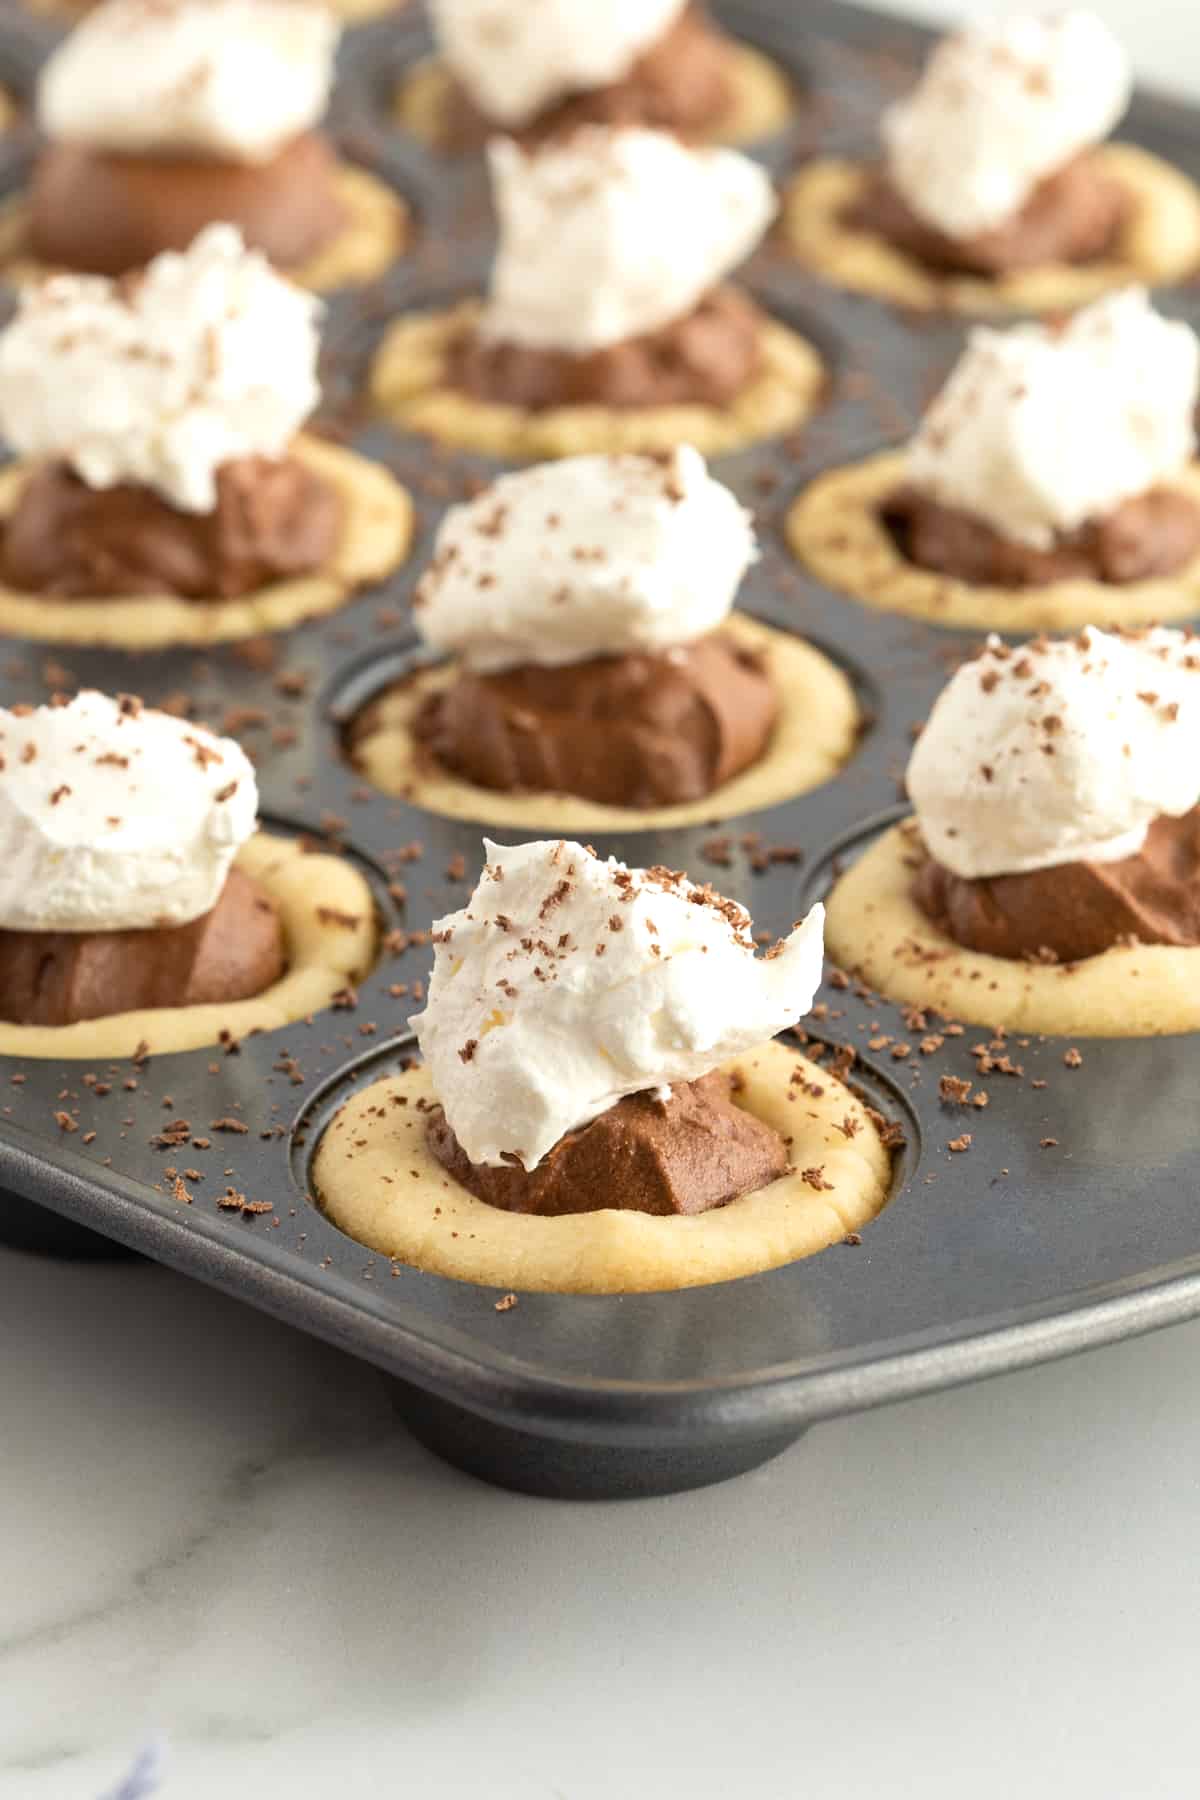
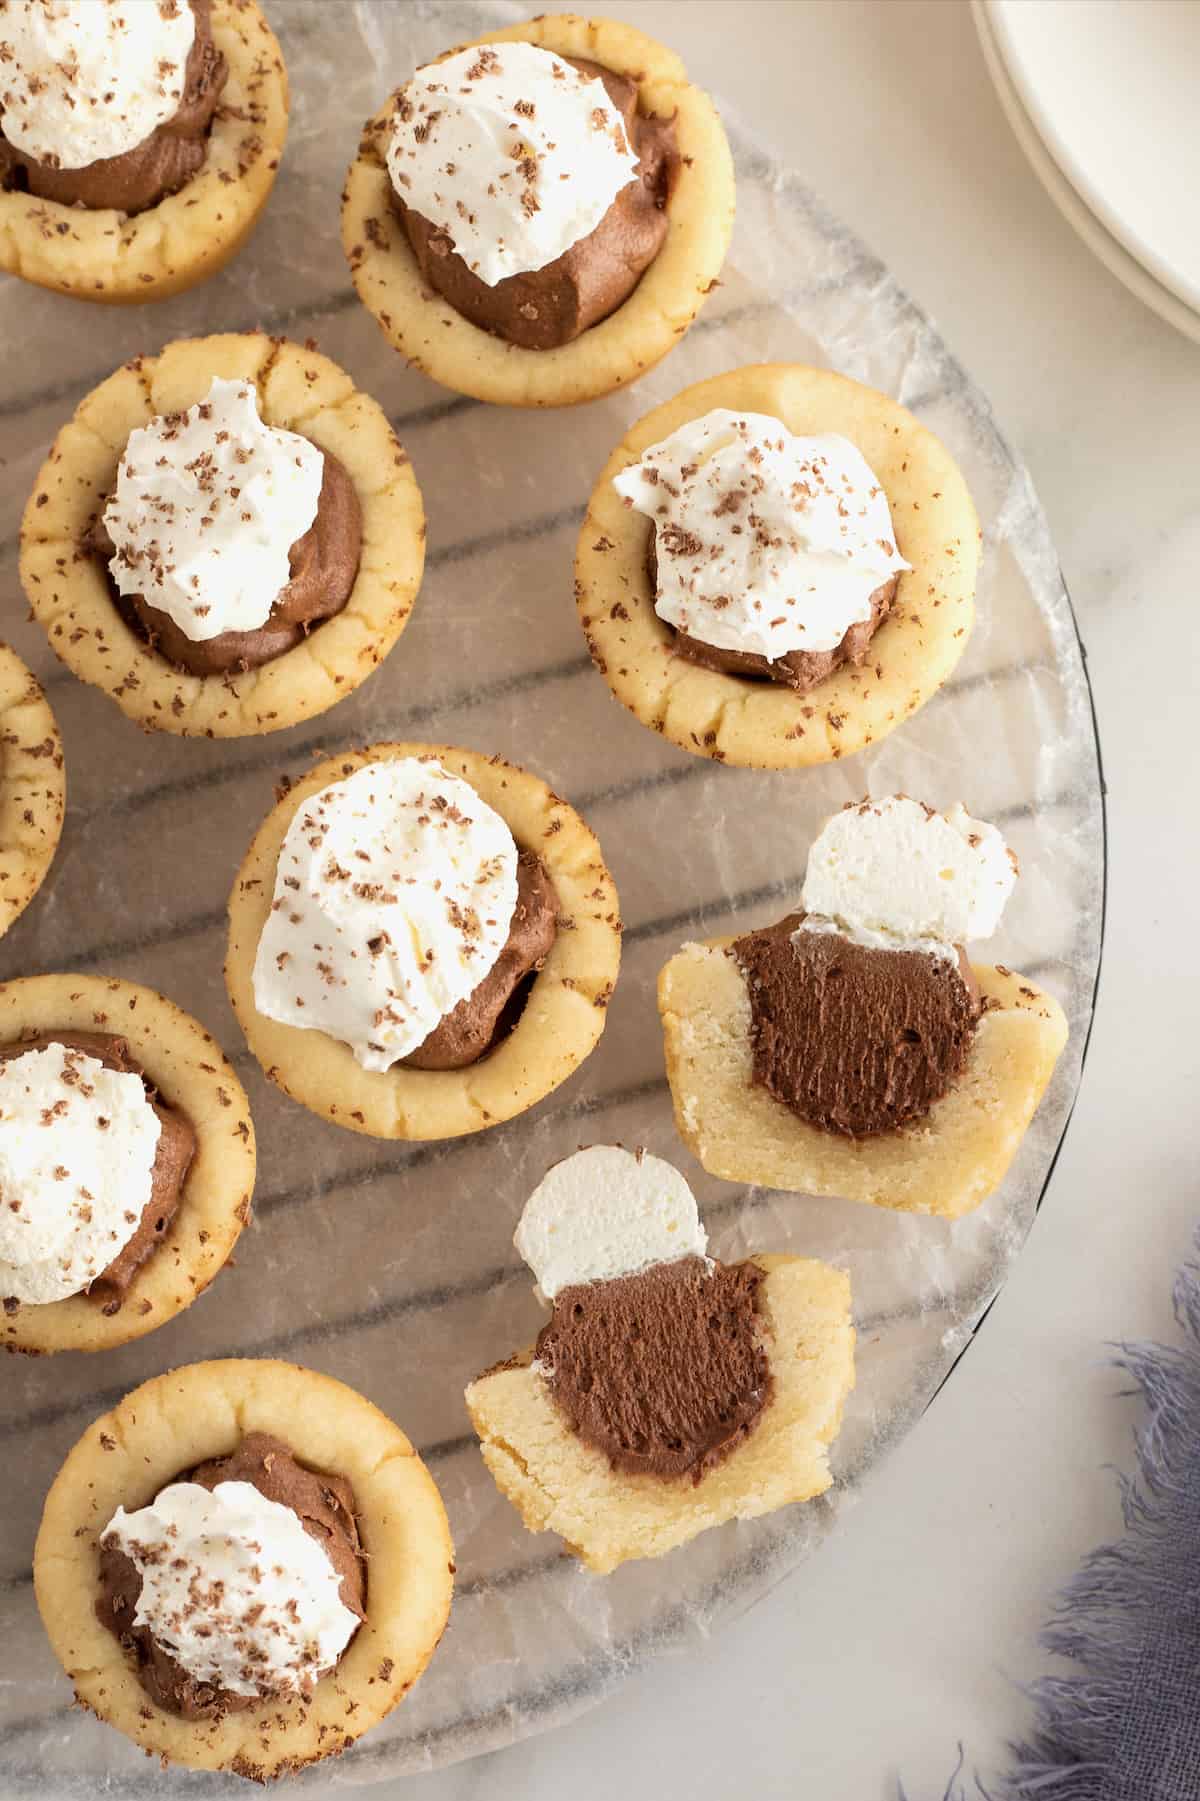
Mini Chocolate Fudge Cream Pies are the easiest little cream pies with a buttery crust and the dreamiest, creamiest fudge filling!
Experience Love at First Bite
Oh me! Oh my! I love pie! And these Mini Chocolate Fudge Cream Pies were love at first bite! Rich buttery little crusts baked to flaky perfection and filled with an even richer chocolate fudge cream. Top it all off with a dollop of whipped topping for a dreamy dessert that will knock you off your feet!
Easy Two-Bite Treats
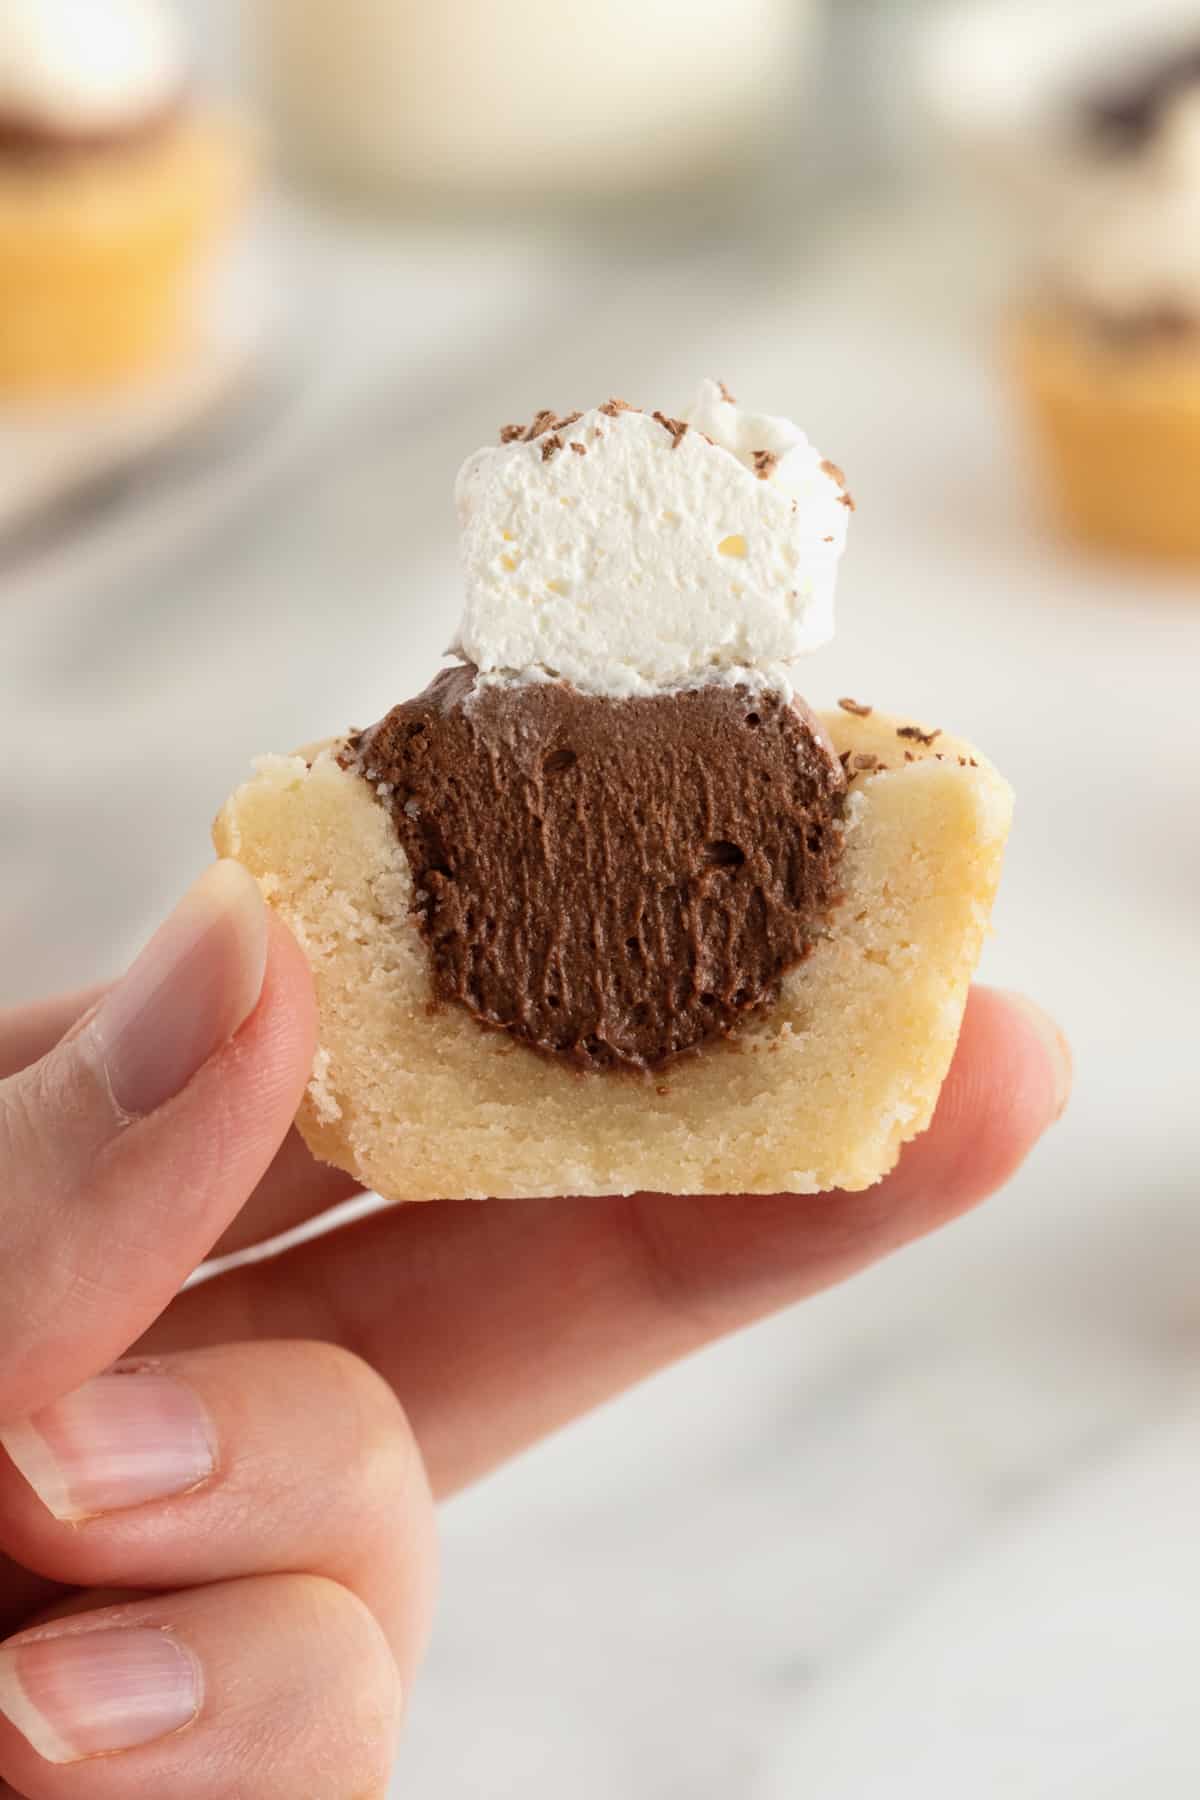
I cannot get over how easy these are to make. And how yummy they are to eat! Smooth chocolate fudge cream inside a buttery, flaky crust with creamy whipped cream on top. They remind me of chocolate chess pie. But in a two-bite treat that’s so fun to eat!
These pies are perfect for serving at summer get togethers. I know I will be making these little cuties all summer!
Picture Perfect Pies
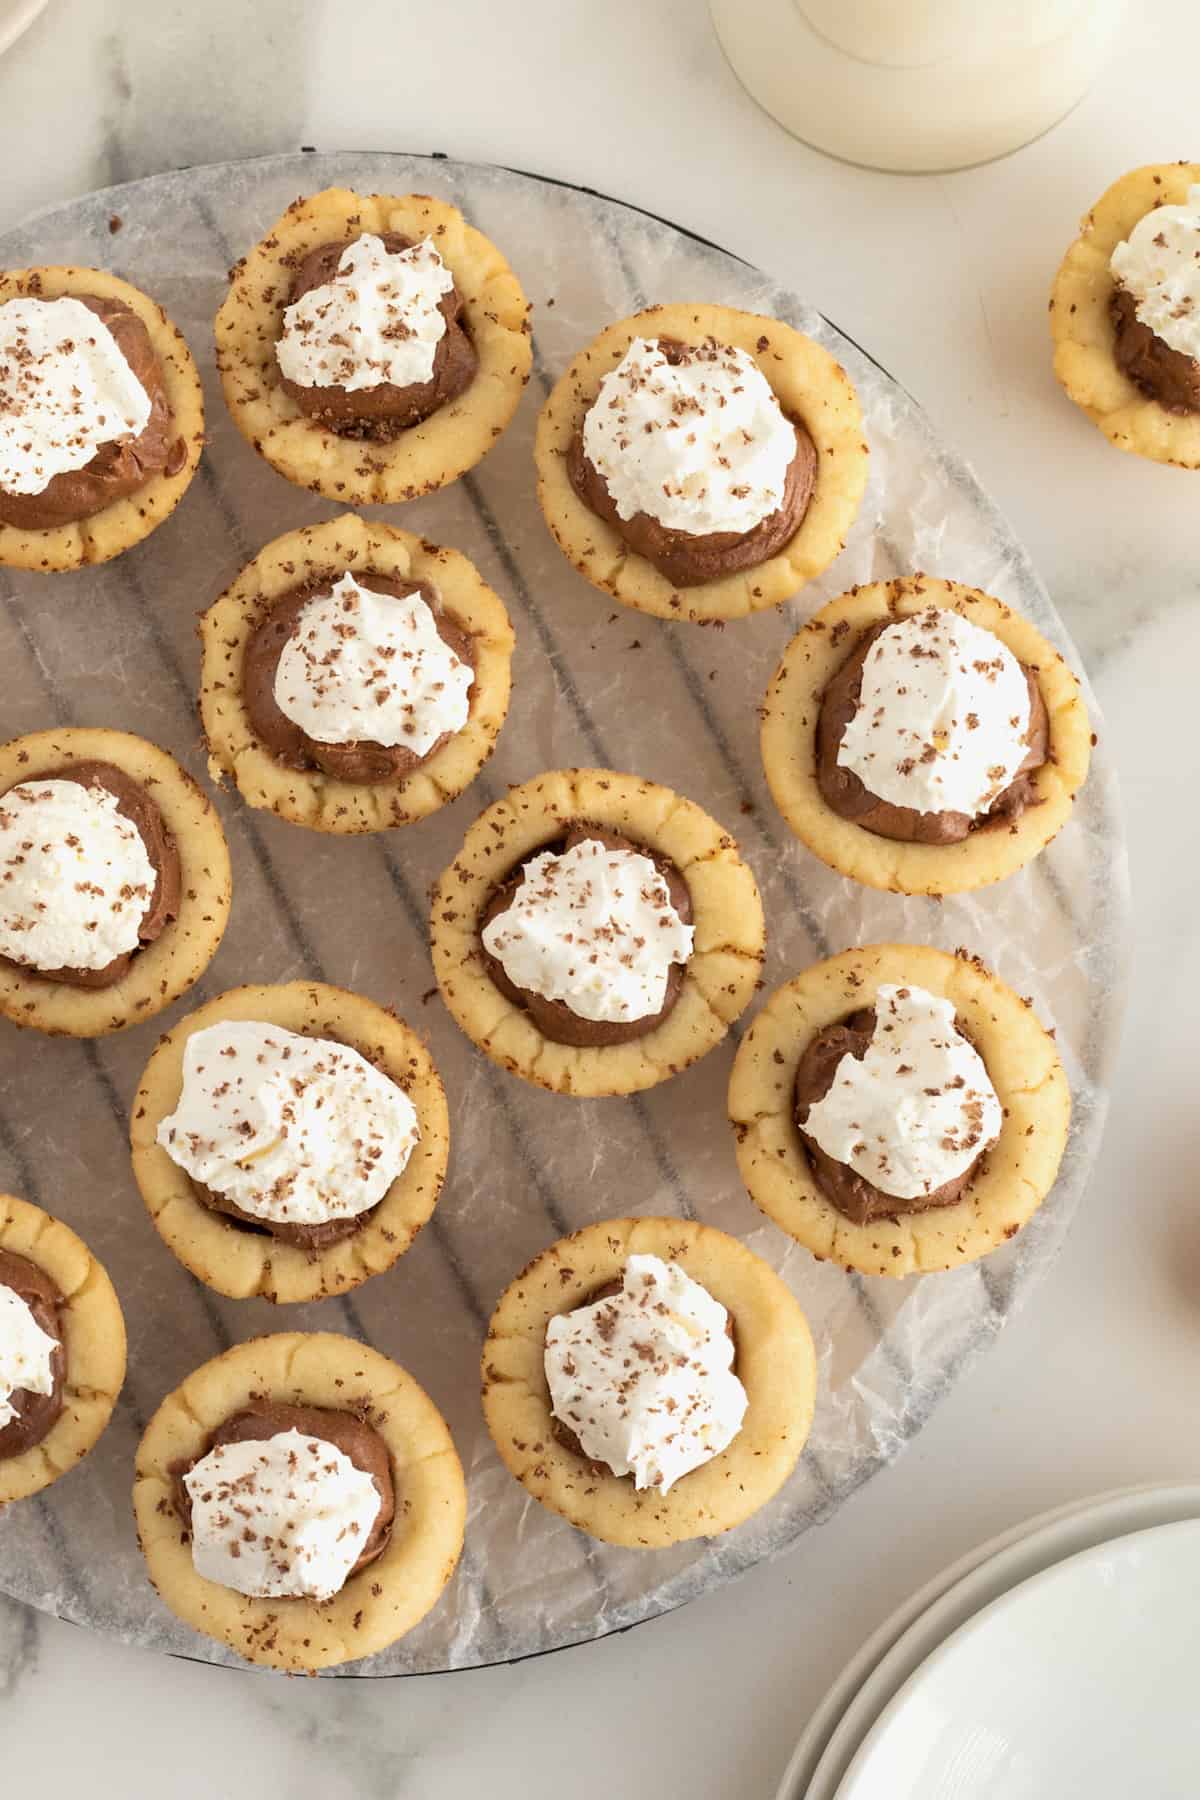
As beautiful as they are delicious, these Picture Perfect Pie Recipes will make an impression at any dessert table!

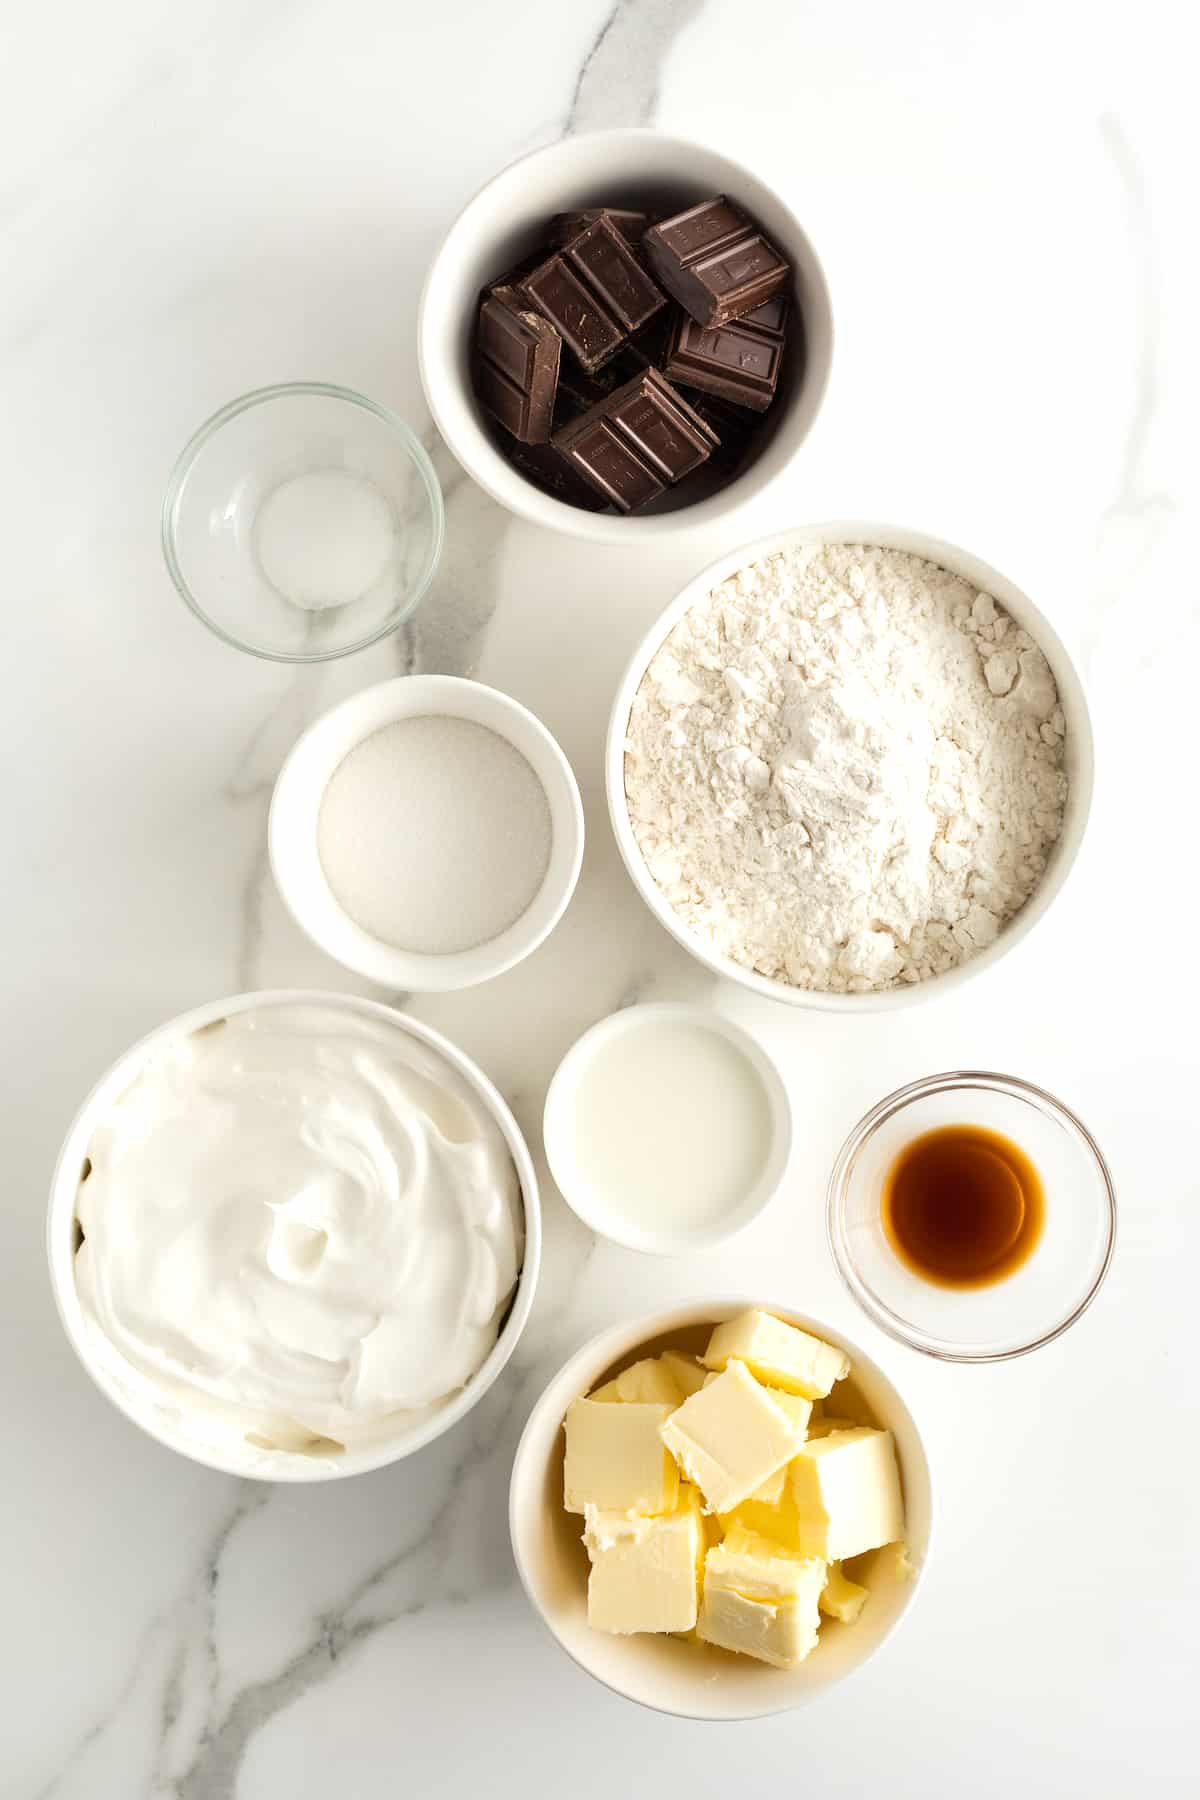
What Do I Need to Make Mini Chocolate Fudge Cream Pies?
- Unsalted butter
- Granulated sugar
- All-purpose flour
- Salt
- Semi-sweet chocolate squares
- Milk
- Vanilla extract
- Frozen whipped topping (like CoolWhip)
- Mini muffin tin
- Whisk
- Stand mixer
- Non-stick cooking spray
How to Make Homemade Whipped Cream
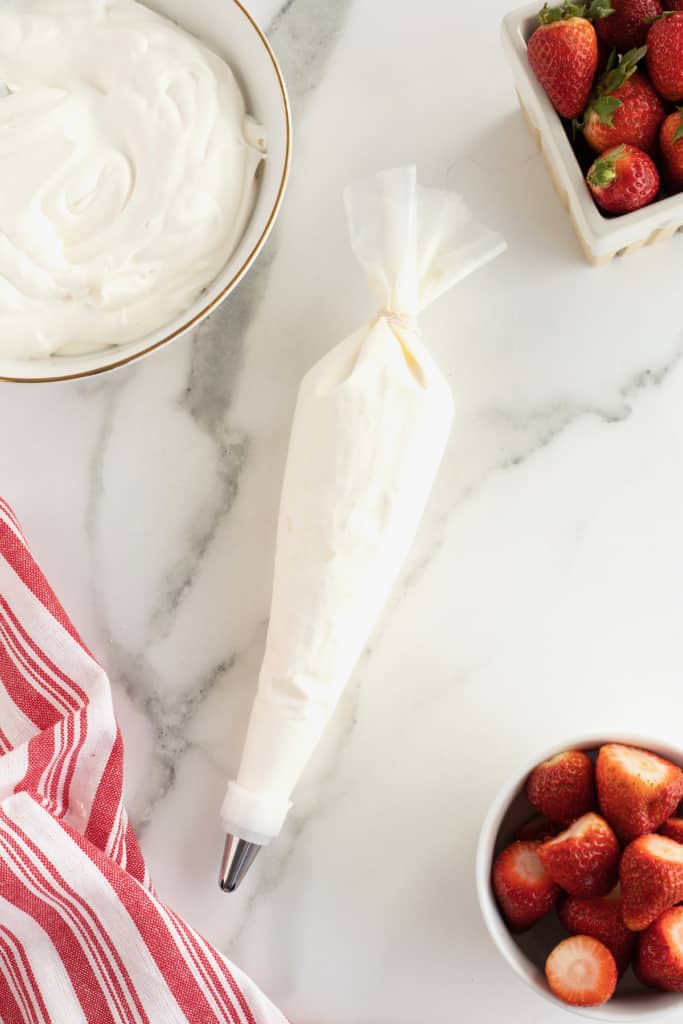
These mini cream pies are made with Cool Whip in the filling and dolloped on top. However, if you would like to, you can top them with homemade whipped cream. It’s easy to make and absolutely scrumptious.
How to Make Mini Chocolate Fudge Cream Pies
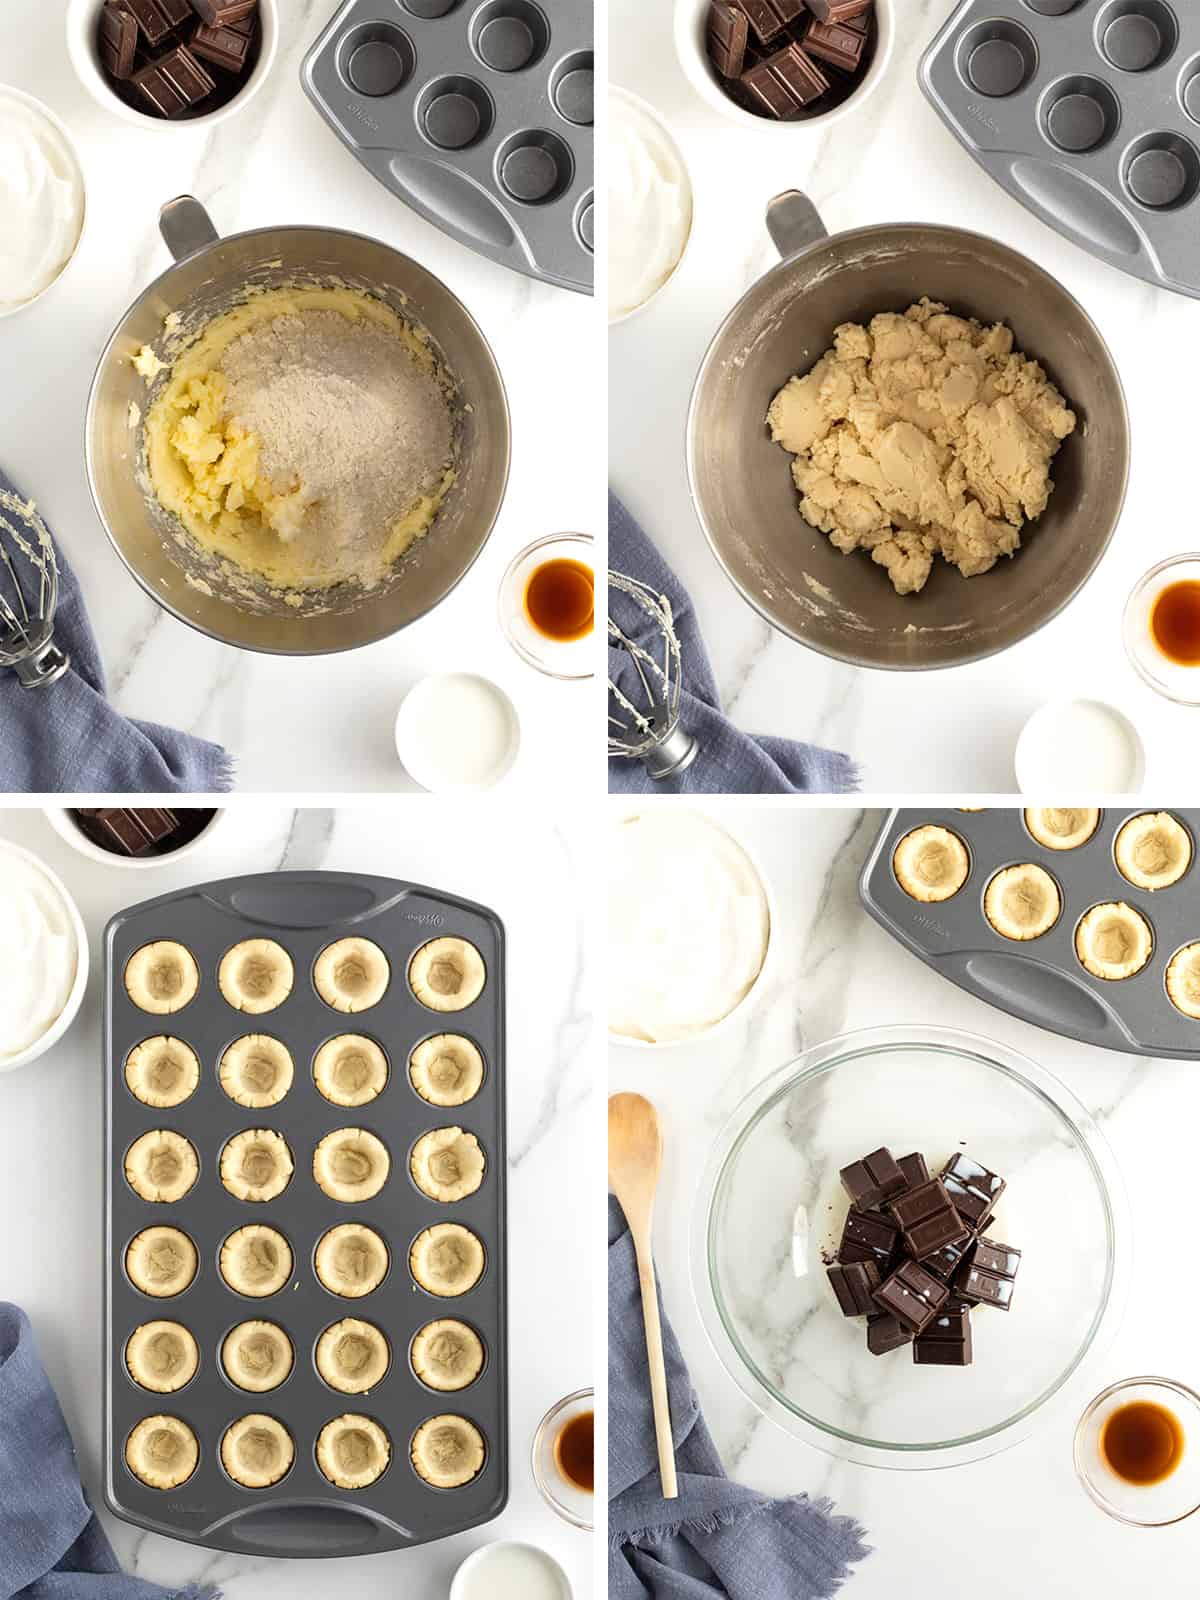
- Preheat oven to 350°F. Spray a 24-cup mini muffin pan with non-stick cooking spray and set aside.
- In the bowl of an electric mixer, beat the butter and sugar until well combined. Add the flour and salt and mix until a ball of dough forms.
- Divide dough into 24 (2 teaspoon-sized) balls and press each one into the bottom and up the sides of each greased muffin cup. Bake for 10 minutes.
- Remove from the oven and press the crust back into the pan with the tip of your finger or the back of a small spoon. Return to the oven for 6-8 minutes longer or until crusts are just starting to turn brown around the top edges.
- Remove mini pie crusts from the oven and let cool in the pan while you prepare the filling.
- Place chocolate squares and milk in a large microwaveable bowl.
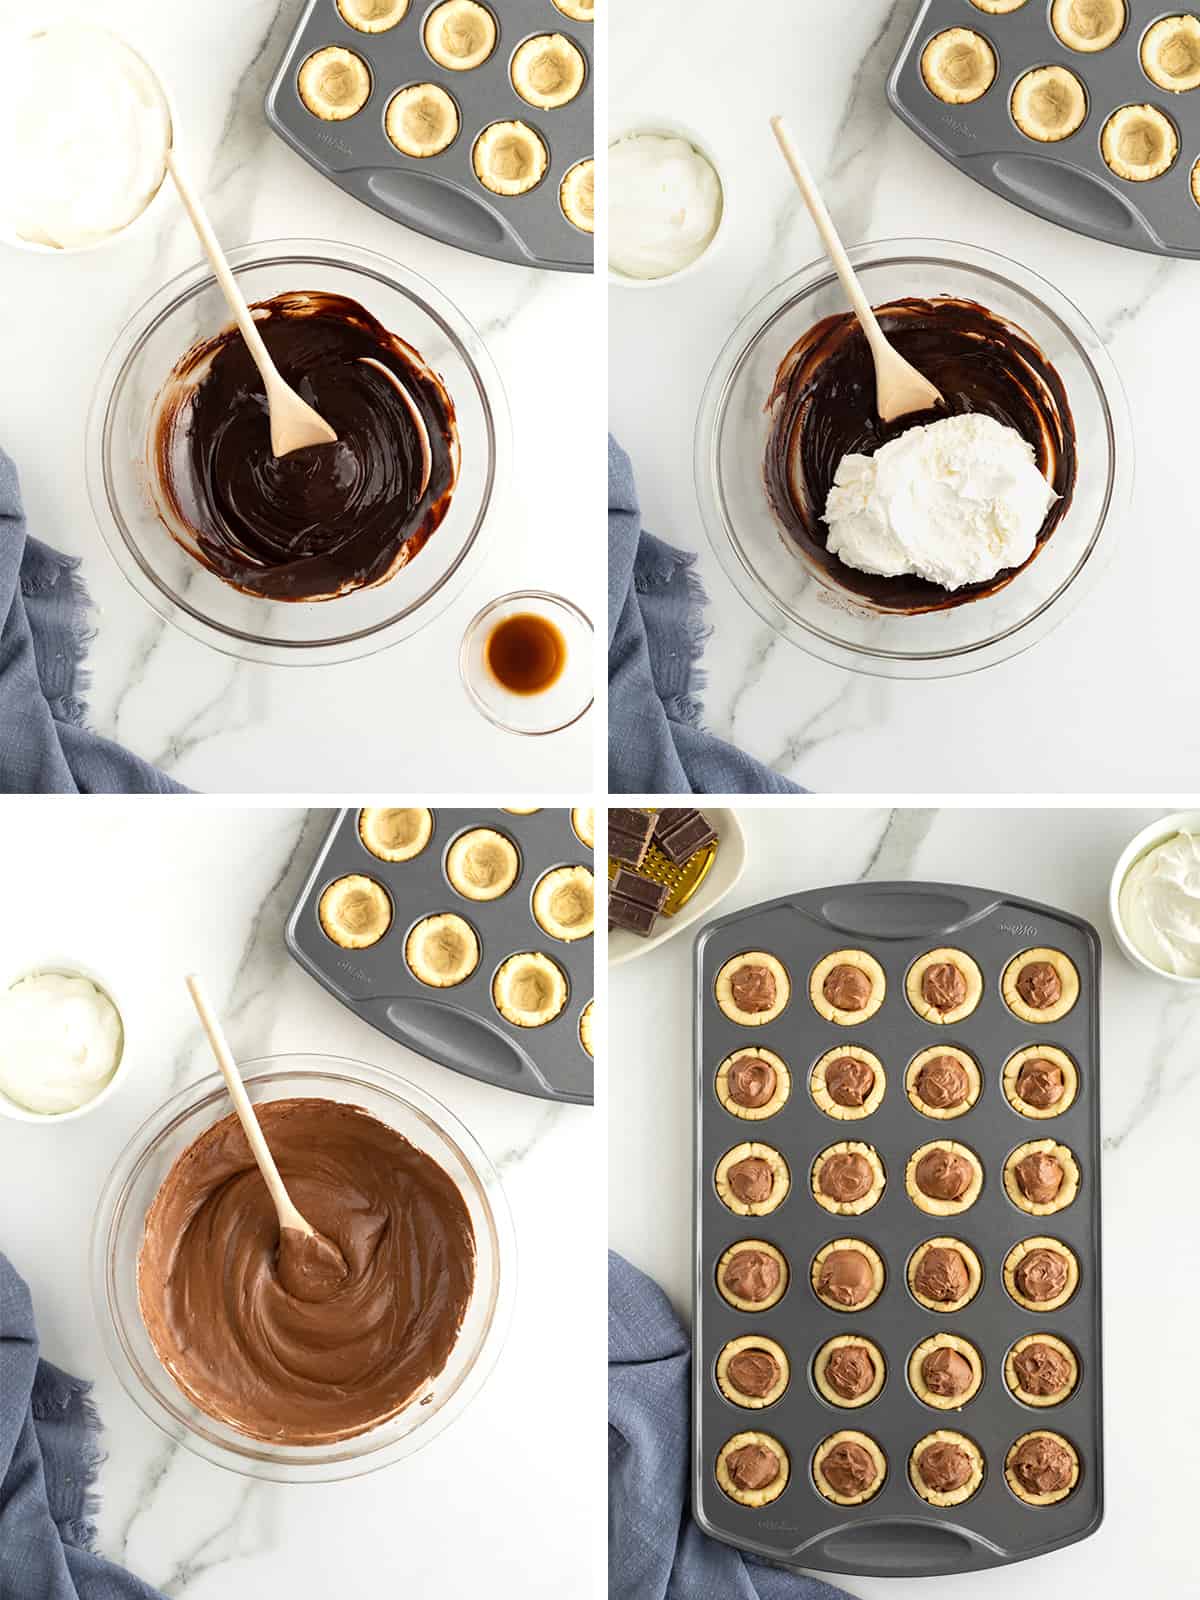
- Melt the chocolate and milk on medium power in 30-second intervals until completely melted. Let cool for about 10 minutes. Stir in the vanilla and then fold in 1-1/2 cups of the thawed whipped topping.
- Scoop a few teaspoons of the chocolate filling into each pie crust filling each one full.
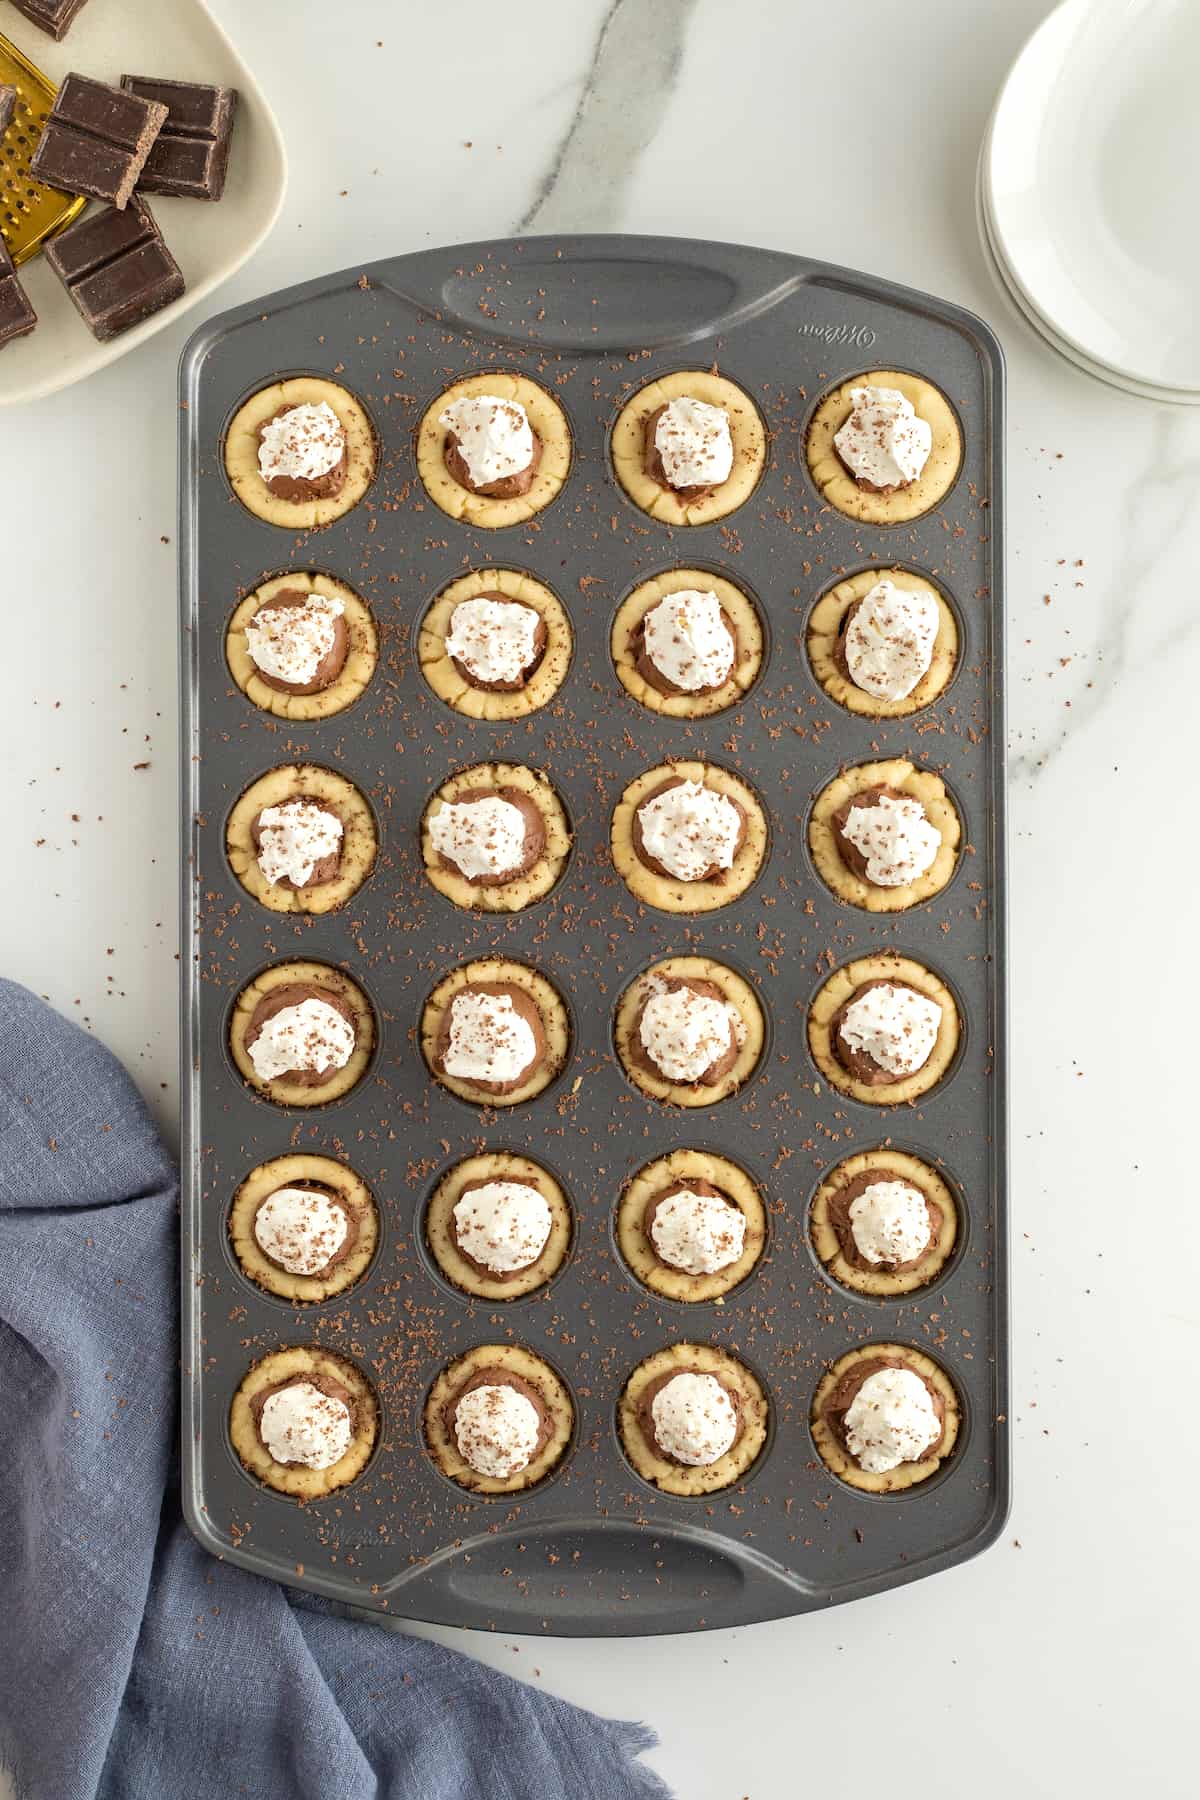
- Top each mini pie with a generous dollop of the remaining whipped topping and sprinkle with some chopped chocolate.
- Remove from the pan and serve immediately or store covered with plastic wrap in the refrigerator. Let set out for about 15 minutes before serving to soften the filling.
Make-Ahead and Storage Tips
You can prep and fill the mini pies up to 48 hours in advance. Just cover them tightly with plastic wrap or place in an airtight container in the fridge. If you’re preparing them more than a few hours in advance, hold off on adding the whipped topping and any garnishes until just before serving. This keeps everything looking fresh and prevents the topping from softening or separating.
For the best texture, take the pies out of the fridge about 15 minutes before serving. This softens the filling slightly and brings out the flavor.
Store any leftovers in the fridge and enjoy within 3 days. The flavor holds up, but the whipped topping may lose some of its fluff.
More Bite-Sized Treats You’ll Love
- Easy Fudge Brownie Bites: So easy, so fudgy and gone in two heavenly bites! Way better than any store bought bites and ready in under 30 minutes. What’s not to love?
- Sticky Bun Bites: Filled with cinnamon sugar and crushed pecans and coated in a sweet, sticky pecan-studded glaze, they are melt-in-your mouth delicious.
- Pecan Pie Bites: The crust is buttery, the filling is sweet and the pecans are plentiful in these delicious Pecan Pie Bites!
- Mini Cinnamon Rolls: Discover big fun and yum in these Mini Cinnamon Rolls. All you need is one can of jumbo cinnamon rolls to create bite-sized breakfast bliss!
If you make these Mini Chocolate Fudge Cream Pies and post a pic to social, be sure to tag me on Instagram @thebakermama so I can see! 😍 I just love seeing how inspired and creative y’all get with the ideas I share. Enjoy!
xoxo,


Mini Chocolate Fudge Cream Pies
- Prep Time: 30 mins
- Cook Time: 18 mins
- Total Time: 48 mins
- Yield: 24
- Category: Dessert
Description
Mini Chocolate Fudge Cream Pies are the easiest little cream pies with a buttery crust and the dreamiest, creamiest fudge filling!
Ingredients
- 1 cup (2 sticks) unsalted butter, softened
- 1/2 cup granulated sugar
- 2 cups all-purpose flour
- 1/2 teaspoon salt
- 8 (1 ounce) semi-sweet chocolate squares
- 1/4 cup milk
- 1 teaspoon vanilla
- 1 (16 ounce) container frozen whipped topping, thawed & divided (6.25 cups total)
Instructions
- Preheat oven to 350°F. Spray a 24-cup mini muffin pan with non-stick cooking spray and set aside.
- In the bowl of an electric mixer, beat the butter and sugar until well combined. Add the flour and salt and mix until a ball of dough forms.
- Divide dough into 24 (2 teaspoon-sized) balls and press each one into the bottom and up the sides of each greased muffin cup. Bake for 10 minutes. Remove from the oven and press the crust back into the pan with the tip of your finger or the back of a small spoon. Return to the oven for 6-8 minutes longer or until crusts are just starting to turn brown around the top edges. Remove from the oven and let cool in the pan while you prepare the filling.
- In a large microwavable bowl, melt the chocolate and milk on medium power in 30-second intervals until completely melted. Let cool for about 10 minutes. Stir in the vanilla and then fold in 1 and 1/2 cups of the thawed whipped topping.
- Scoop a few teaspoons of the fudge filling into each pie crust filling each one full.
- Top each mini pie with a generous dollop of the remaining whipped topping and sprinkle with some chopped chocolate.
- Remove from the pan and serve immediately or store covered with plastic wrap in the refrigerator. Let set out for about 15 minutes before serving to soften the filling.



Hello can you please clarify the cool whip measurements. Cool whip states that one 8 oz container is equivalent to 3 cups. So am I just using one 8 oz container? The recipe calls for 2 containers (16oz) which according to cool whip is equivalent to 6.5 cups. tThank you so much!
Hi Teresa! The recipe calls for 16 ounces of Cool Whip which should be about 6.25 cups. You will stir 1 and 1/2 cups of the Cool Whip into the pie filling and use the remainder to dollop on top of each pie before serving. I hope this helps and that you enjoy!
If using fresh whipping cream vs frozen whip topping inside the pie, are the measurements and storage instructions the same?
Hi Tracy! Great question! Yes, you can substitute fresh whipped cream for frozen whipped topping in these mini pies, but there are a few key differences to keep in mind: You’ll want to use about the same measured volume of 1 and 1/2 cups in the fudge filling (1 cup of whipped topping = about 1 cup of whipped cream once whipped), but remember that freshly whipped cream tends to be a bit softer and airier. Just make sure your cream is whipped to stiff peaks before folding it in as that will help the pies hold their shape. Fresh whipped cream is less stable than frozen whipped topping, so if you’re making these ahead of time, I’d recommend enjoying them within a day or so. Keep them refrigerated and ideally cover them gently so they don’t dry out. If you’re using frozen whipped topping, the pies can typically hold up a bit longer in the fridge (up to 3 days) without losing texture. I hope this helps and that you enjoy!
How long can they be stored in the fridge? I’d like to make them ahead of time.
Hi Peggy! You can prep and fill the mini pies up to 48 hours in advance. Just cover them tightly with plastic wrap or place in an airtight container in the fridge. If you’re preparing them more than a few hours in advance, hold off on adding the whipped topping and any garnishes until just before serving. This keeps everything looking fresh and prevents the topping from softening or separating. For the best texture, take the pies out of the fridge about 15 minutes before serving. This softens the filling slightly and brings out the flavor. I hope this helps and that you enjoy!
Thank you so much for another wonderful recipe. I made your pumpkin and pecan mini pies and also these to have a variety of mini pie like treats. I cut the cookie dough into thirds and added black cocoa powder to 1/3 and matched it with cookies and cream mousse, added peanut butter to 1/3 and used your chocolate filling, and added a hint of lemon to the last 1/3 and filled those with no bake cheesecake. Everyone loved them. Thank you so much for sharing your recipes, directions, and videos.
Can you use pre made pie crusts?
Hi Amanda! Yes you can. Enjoy!
can you use pre made pie crust?
Hi Melissa! Yes, you can. Enjoy!
I forgot to say that I used mini phyllo cups. 🙂
These are amazing! I made them vegan by using vegan chocolate, soy creamer, and coconut whipped cream. I also used caramel extract in place of vanilla. They are the perfect dessert for our family Valentine’s Day dinner. Thank you for such a simple lovely recipe! 🙂
That’s awesome, Aimee! I’m so happy you made the recipe work for you. Happy Valentine’s! 🙂
I want to make these for a family Christmas. Can they be made ahead and frozen for a few days? How long can they stay in fridge? More than a day? Thanks for your help.
Hi Rosemary! I wouldn’t recommend freezing them because they will be watery after you defrost. They’ll keep well in the refrigerator for 2-3 days. Enjoy!
Do you not recommend using cupcake liners for the crusts?
Hi Cherylann! I don’t usually use liners with my mini pies, but it certainly wouldn’t hurt and would ensure that they come out easily. Enjoy!
Hi
would it be possible to have the measures in weight? I dont trust cup measurements much and in pastry its said that quantities are to be very precise.
Tks a lot
Melisa
Hi Melisa! I don’t provide recipe measurements in weight, but you could easily use an online measurement converter to convert them yourself. Hope this helps. Enjoy!
I’m in the UK and desperately NEED to make these delicious looking chocolate fudge cream pies only we don’t have frozen whipped topping. Please can you tell me what I can use as an alternative? I don’t want to take a guess and totally ruin that first heavenly bite!
Thank you ☺ xx
Hi Lynsey! You could make fresh whipped cream with heavy whipping cream and sugar. Hope this helps! Enjoy!
These look wonderful!
[…] These are really easy to make – and really really easy to eat! These are just scrumptious! The original recipe includes Coolwhip, but you can substitute this with whipped cream with added icing sugar. You can find the original recipe at www.thebakermama.com […]
[…] These are really easy to make – and really really easy to eat! These are just scrumptious! The original recipe includes Coolwhip, but you can substitute this with whipped cream with added icing sugar. You can find the original recipe at www.thebakermama.com […]
these look sooo good!