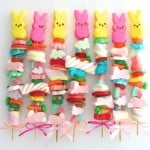
These super cute Easter Candy Kabobs are so easy and fun to make for Easter celebrations.
If you’re looking for something sweet and simple for an Easter celebration this week, I’ve got the cutest idea for you. These adorable Easter Candy Kabobs are so fun for everyone.
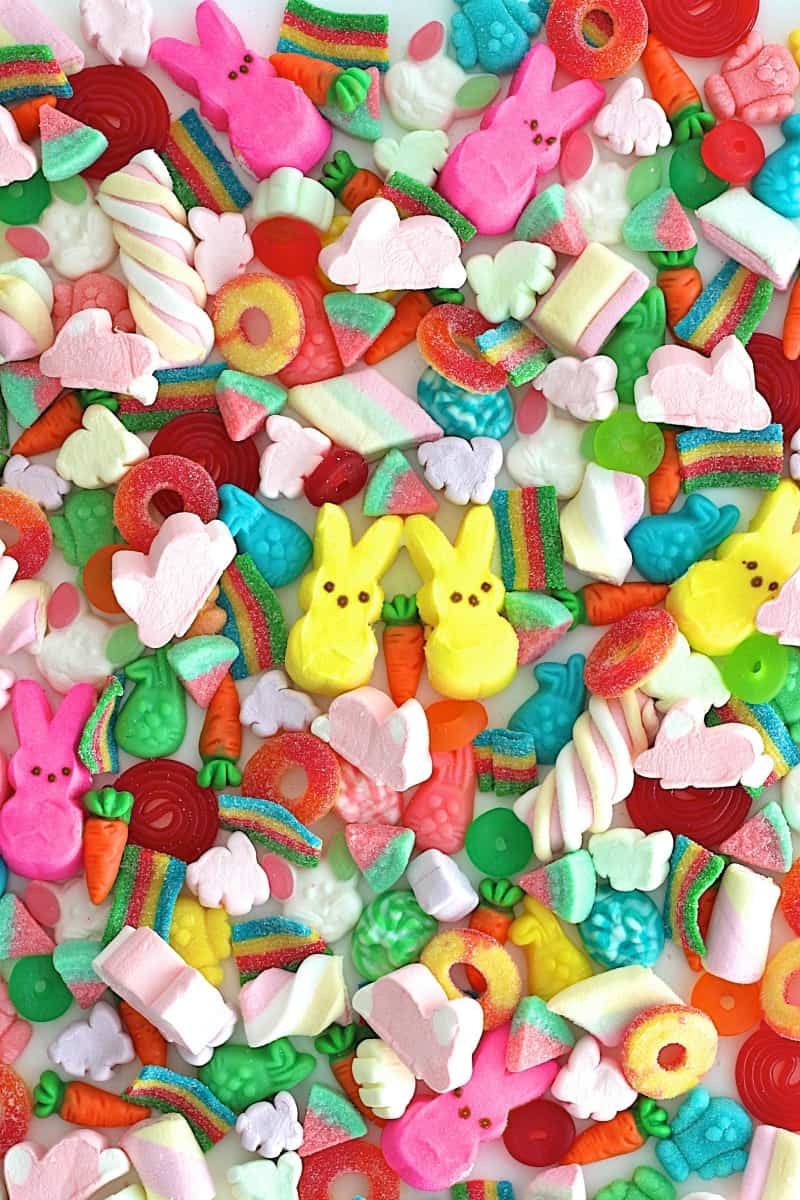
I saw some Easter candy kabobs at a department store the other day selling for like $5 each. They were so cute and I immediately thought of several celebrations I could take them to, but no way I was paying $5 for a stick with candy on it. So I immediately set out to make them myself. I found the most festive Easter gummies and marshmallows at World Market, Target and Williams Sonoma.but feel free to use any fun Easter candy!
What Do I Need to Make Easter Candy Kabobs?
- Assortment of soft Easter gummies and marshmallows
- Peeps bunny marshmallows, for the tops
- 10-12 inch bamboo skewers, with a sharp pointed end
- Non-stick cooking spray
- Ribbon
Perfect for Parties
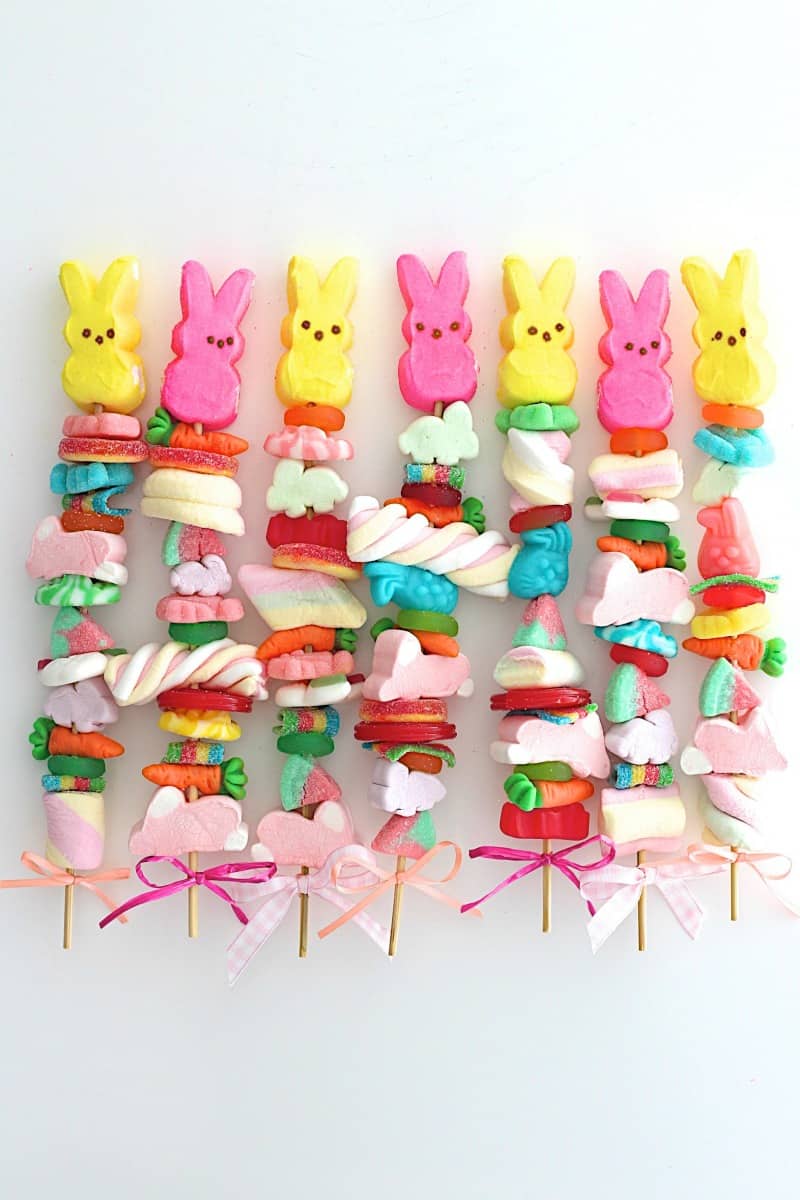
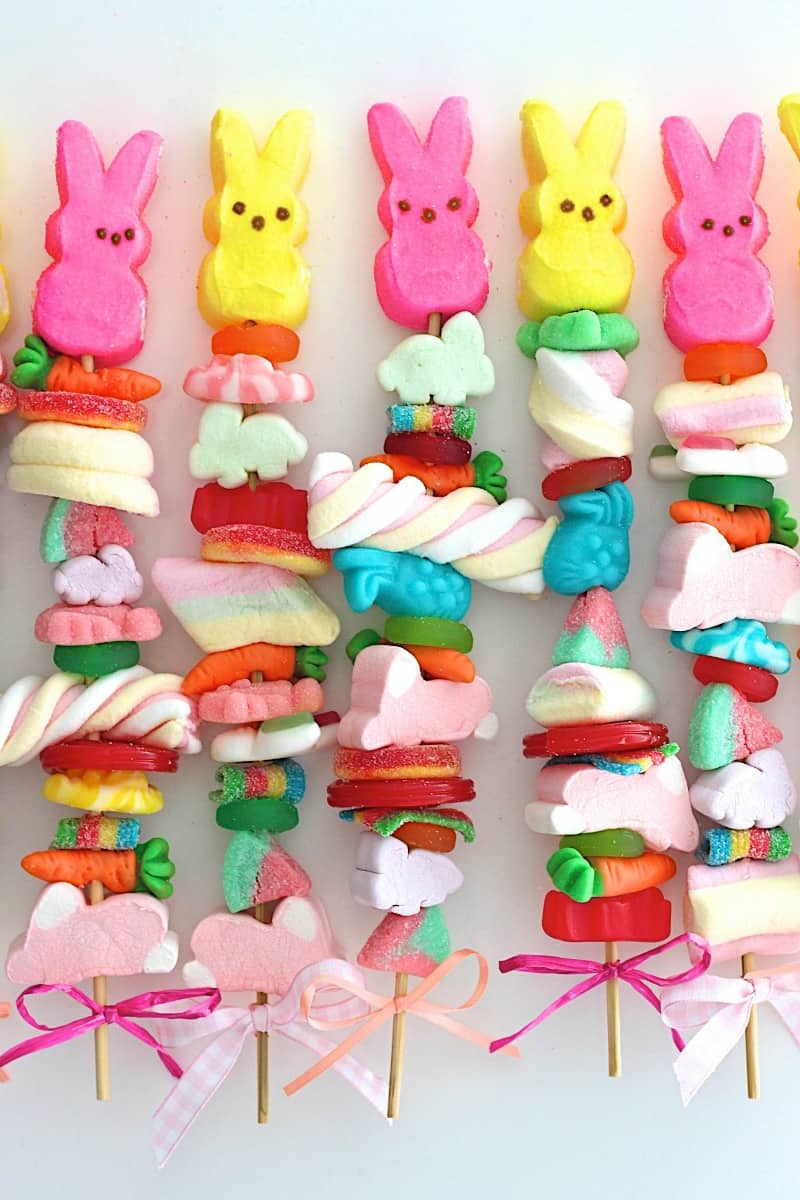
With lots of colorful candy, some bamboo skewers and ribbon, I had several of these adorable Easter candy kabobs ready to gift or take to a party. We’ll be taking them to a school celebration, a neighborhood Easter egg hunt and I’m thinking I’ll even put one beside each kids’ plate at our Easter lunch.
Good Point!
Be sure to cut the sharp pointed end off the bamboo sticks if you are serving them to small children. Or you could use kabob sticks without a pointed end.
How to Make Easter Candy Kabobs
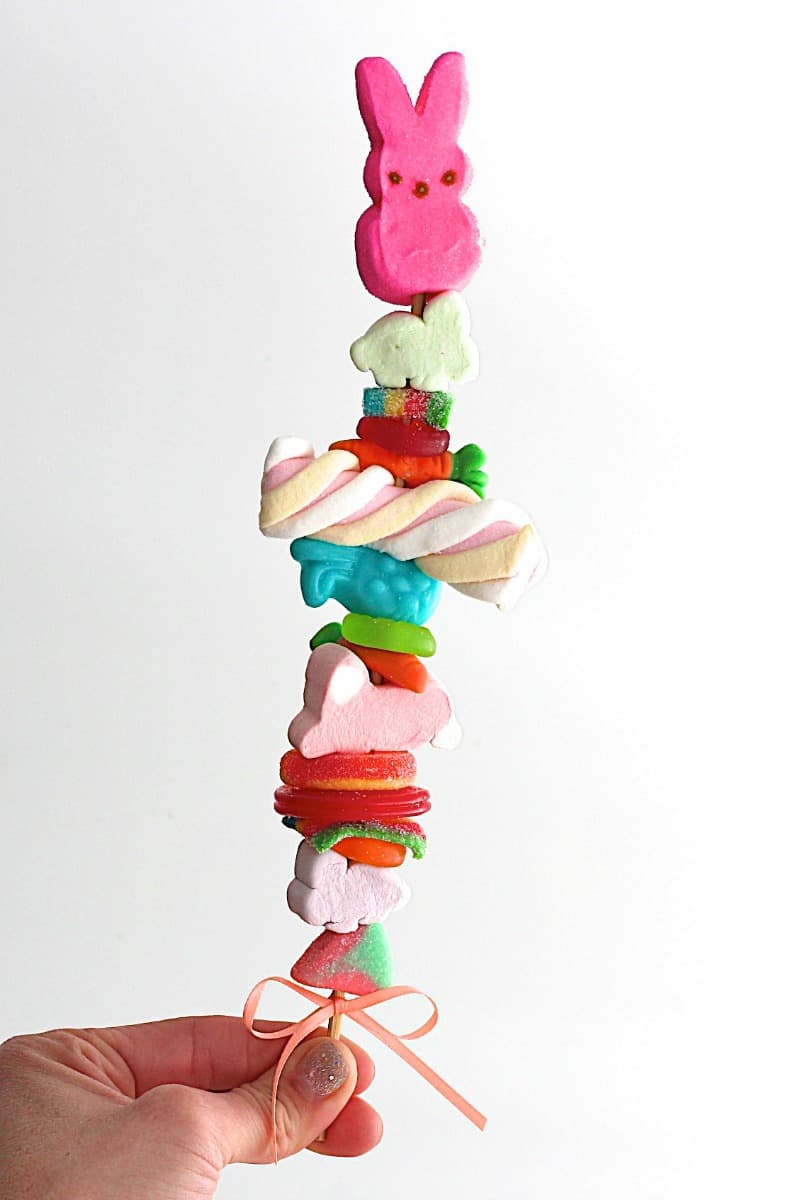
- Working with one bamboo skewer at a time, spray it with non-stick cooking spray. Insert candies onto the skewer alternating styles, colors and flavors.
- Leave a few inches on the bottom so there’s room to hold the kabob. Insert the Peep bunny on the top only pressing it halfway through so the bunny covers the pointed end of the skewer. (For younger kids, I would recommend cutting off the pointed end of the skewer just before topping it with the Peeps bunny so they don’t poke themselves with it.)
- Tie a ribbon bow on the bottom. Serve on a platter or if you want to gift them, place each one in a clear plastic bag and then tie it off with the ribbon.
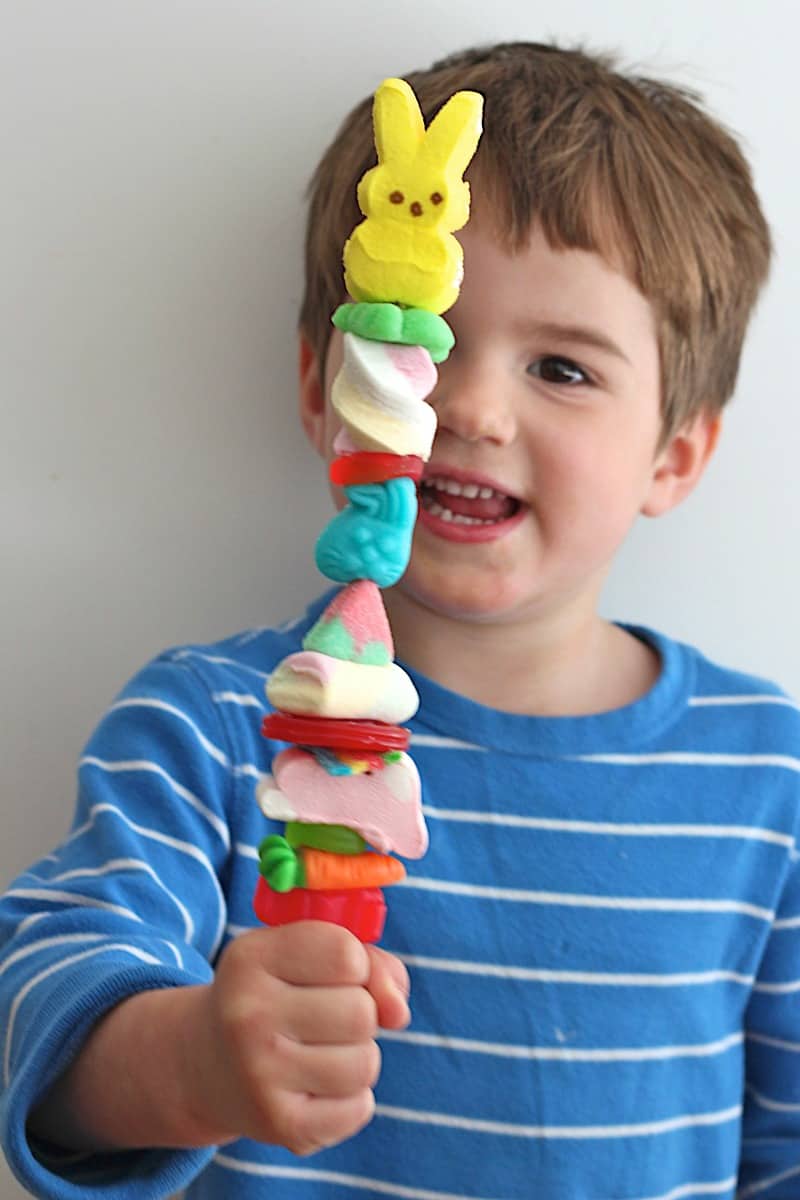
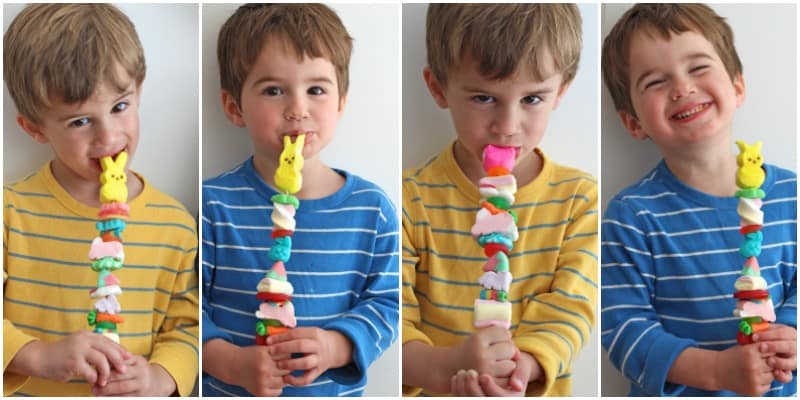
The boys had so much fun helping layer the candy on the skewers. We found that spraying the skewers with non-stick cooking spray before sticking the candy on them helps each piece slide on smoother.
They could hardly wait to try a few pieces of candy on their kabobs.
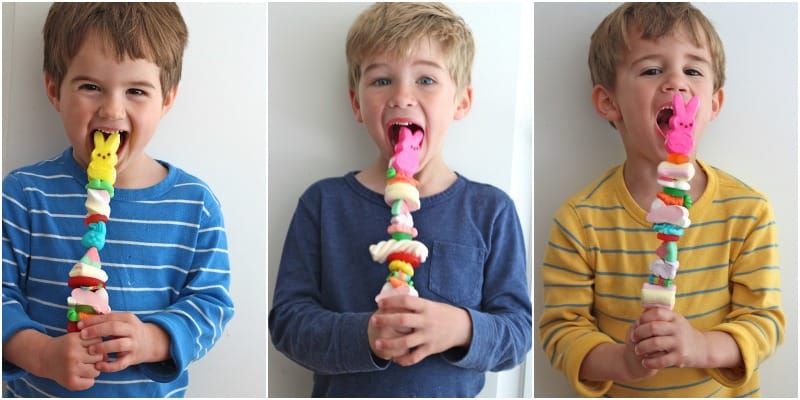
And, of course, they LOVED everything about these candy kabobs and keep asking when we get to make them again for their cousins and friends.
Perfect for parties and gifting, these Easter candy kabobs are sure to be oohed & aahed over and most certainly enjoyed.
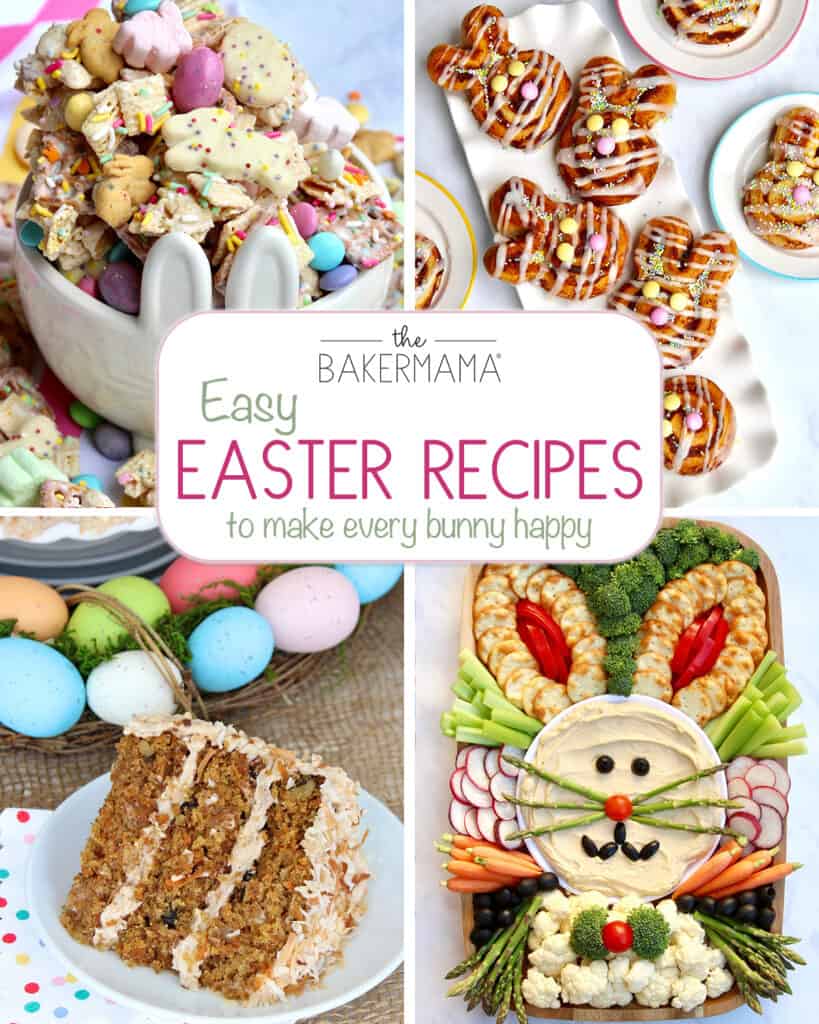
Easy Easter Recipes to Make Every Bunny Happy
Easter is just a hippity-hop away and I’m here with my favorite Easy Easter Recipes that are sure to make every bunny happy!
Wishing you a sweet Easter! If you make these Easter Candy Kabobs, be sure to snap a picture and tag me on Instagram @thebakermama so I can see! 😍 I just love seeing how inspired and creative y’all get with the recipes and ideas I share.
xoxo,

Easter Candy Kabobs
- Category: Dessert
Description
These super cute Easter candy kabobs are so easy and fun to make for Easter celebrations.
Ingredients
- assortment of soft Easter gummies and marshmallows
- Peeps bunny marshmallows for the tops
- bamboo skewers with a sharp pointed end
- non-stick cooking spray
- cute ribbon
Instructions
- Working with one bamboo skewer at a time, spray it with non-stick cooking spray. Insert candies onto the skewer alternating styles, colors and flavors. Leave a few inches on the bottom so there’s room to hold the kabob. Insert the Peep bunny on the top only pressing it halfway through so the bunny covers the pointed end of the skewer. (For younger kids, I would recommend cutting off the pointed end of the skewer just before topping it with the Peeps bunny so they don’t poke themselves with it.)
- Tie a ribbon bow on the bottom. Serve on a platter or if you want to gift them, place each one in a clear plastic bag and then tie it off with the ribbon.
You’re a woman after my own heart! I LOVE candy, so, um, I’d like all the kabobs, please? 🙂
Thanks Jennifer! I know, candy is my weakness, especially gummy candy. 🙂
How sweet and adorable! Great idea!
Thanks Kathryn! 🙂