
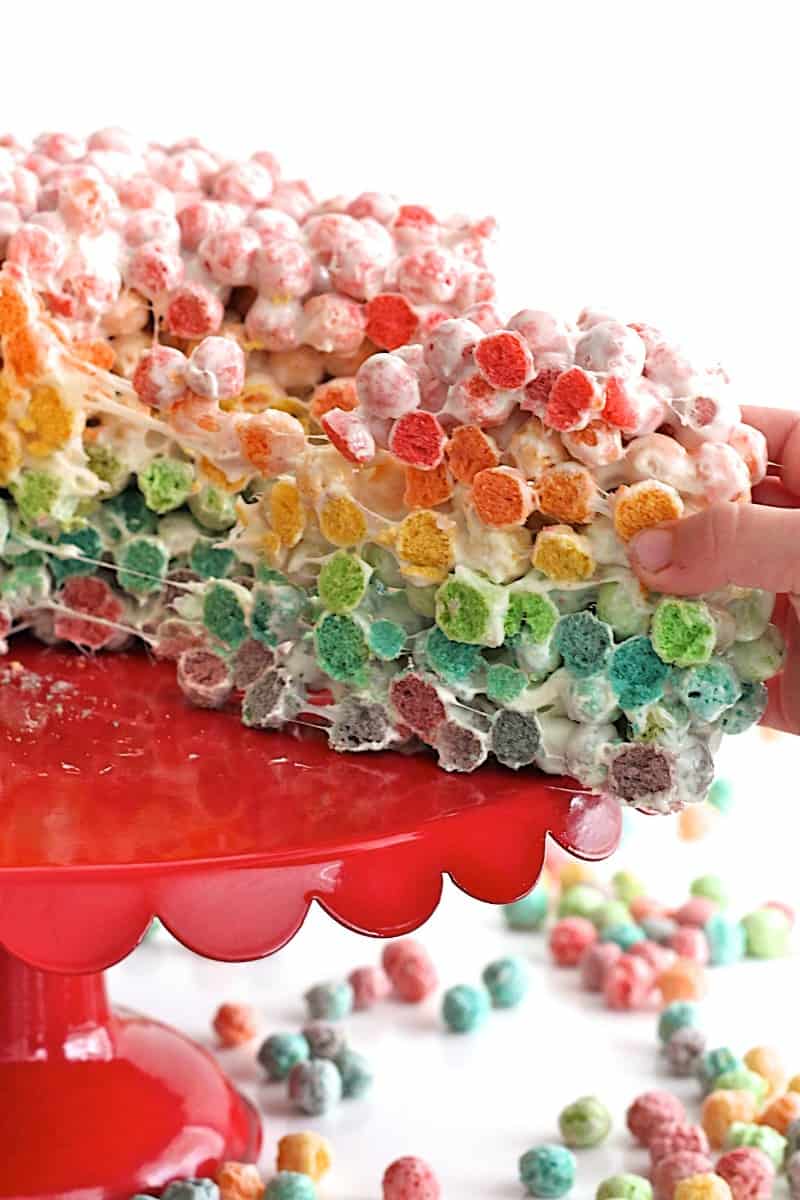
A colorful and tasty Rainbow Cereal Cake that’s fun to make and sure to sweeten any special occasion!
A Cake to Smile About
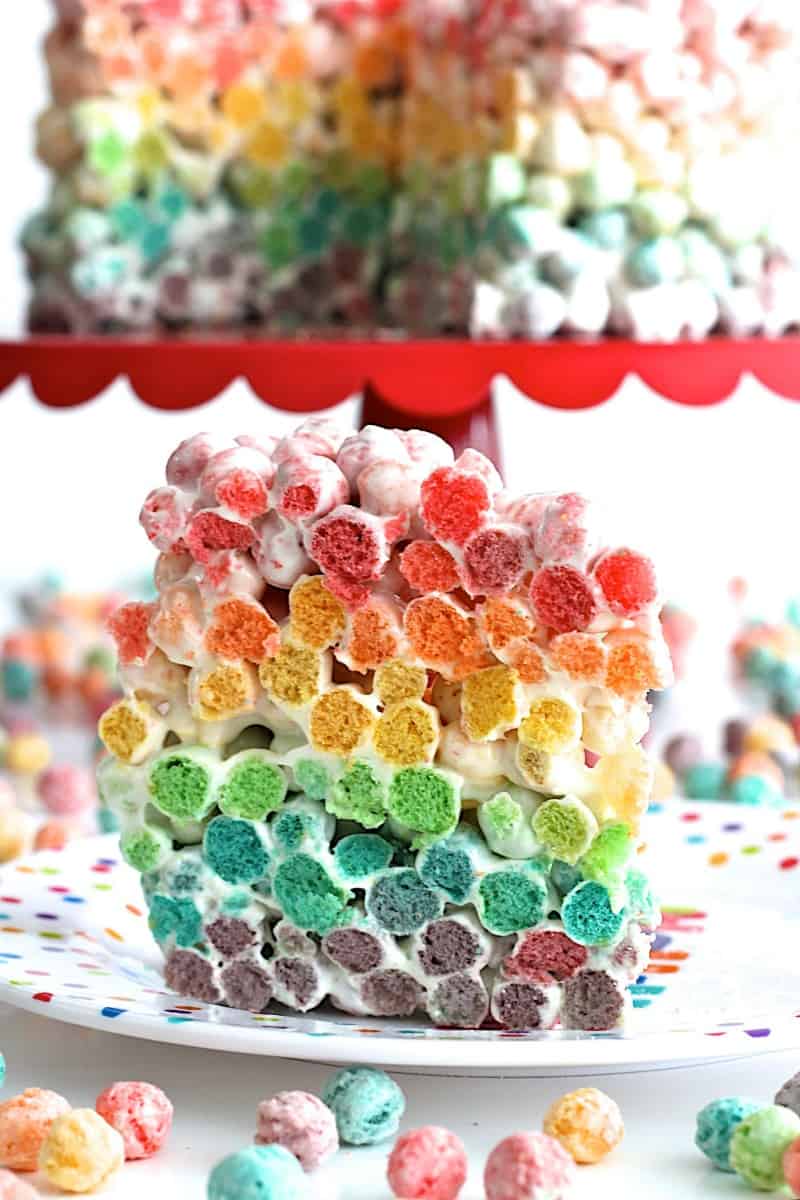
This Rainbow Cereal Cake makes me smile just like a real rainbow does! It’s bright and cheery and full of gooey chewy fruity flavor. Everyone will go crazy over how cute, creative and delicious it is! It’s such a great cake to make for special occasions like St. Patrick’s Day and birthday parties. Who wouldn’t love slicing into this cake to discover all the bright colors of the rainbow that you can eat?!
Family Fun!
The boys LOVED helping me make this cake! From sorting the cereal, to stacking each layer and especially eating a slice, it was so much fun! They were so amazed with how it all came together.
I used Fruit Loops Bloopers for the cake because it has all the colors of a rainbow, but you could use any cereal that has similar colors. The boys were thrilled when they saw these cereal boxes because we never buy this kind of cereal to eat for breakfast in the mornings. They, of course, loved snacking on it while we made the cake and especially eating it in cake form.
What Do I Need to Make Rainbow Cereal Cake?
- Rainbow colored cereal (such as Trix or Fruit Loops Bloopers)
- Mini marshmallows
- Butter
- 8-inch round cake pans
- Parchment paper
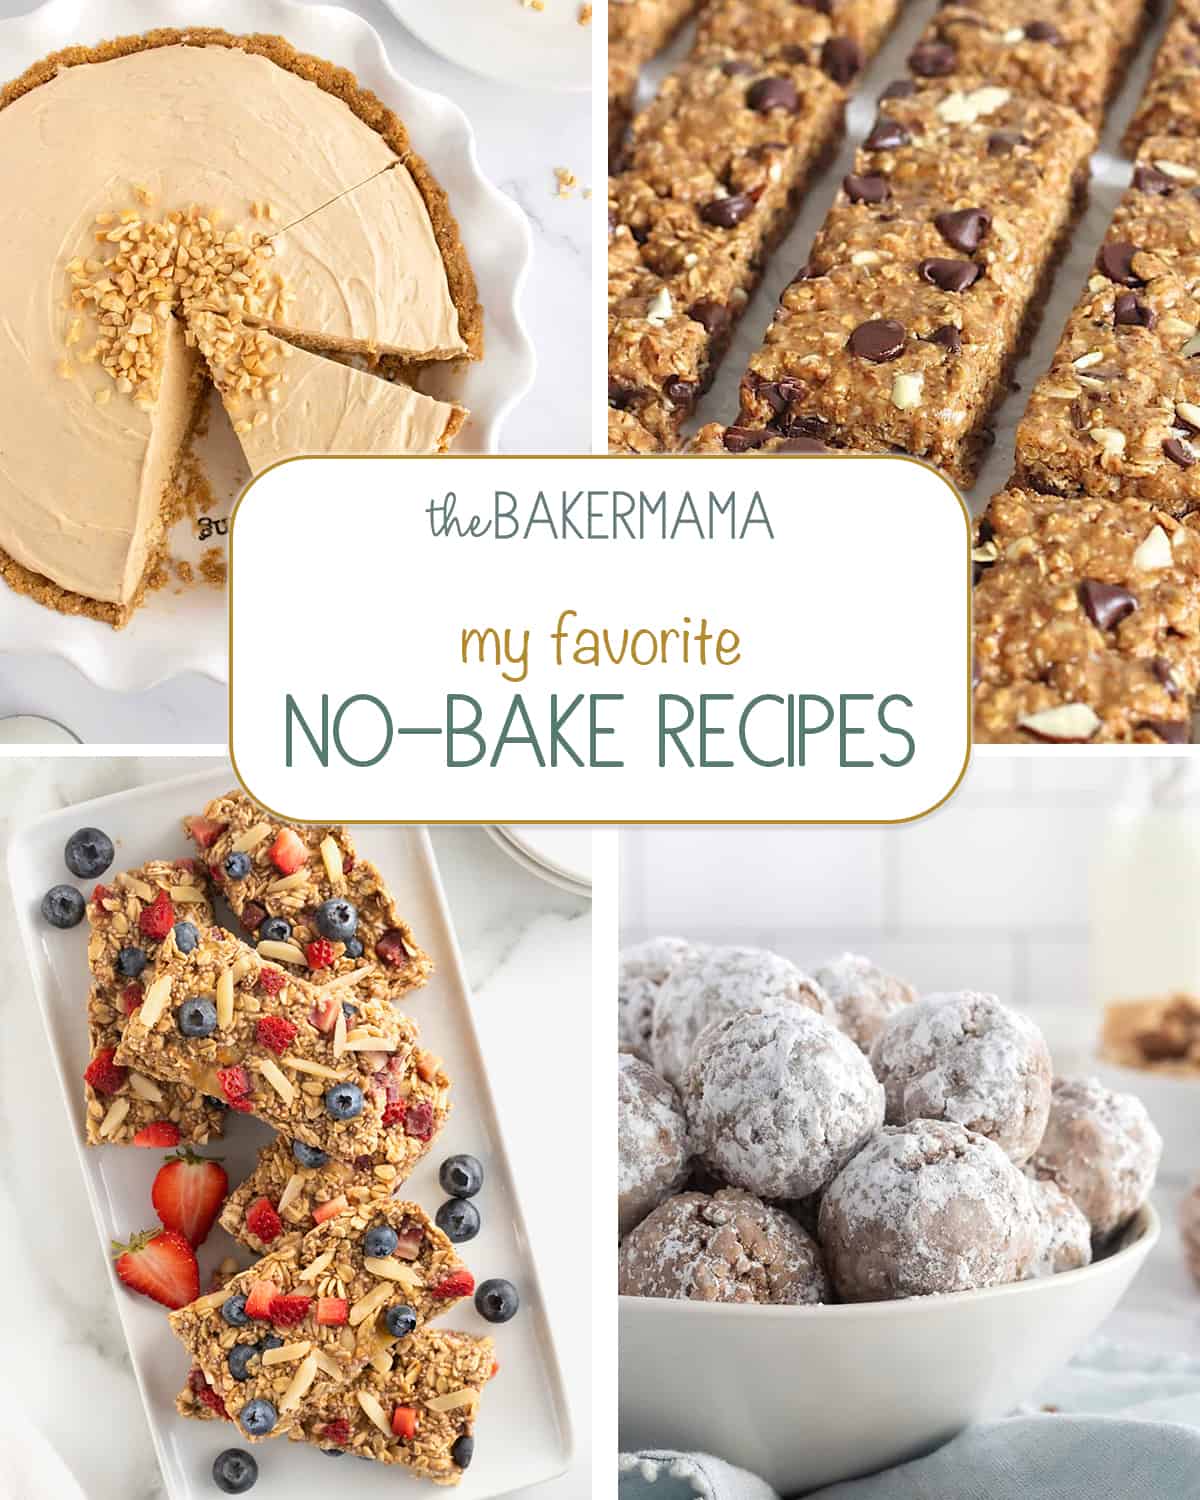
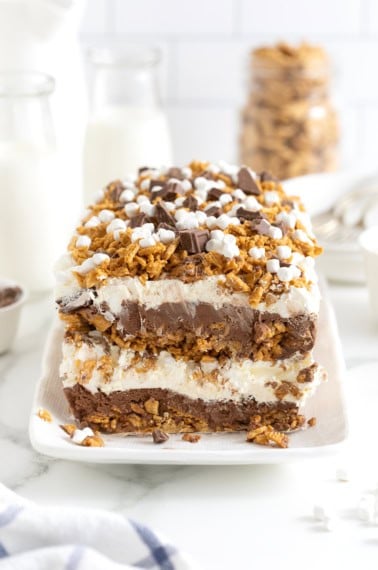
More of My Favorite No-Bake Recipes
From nutritious energy bites and hearty granola to dreamy and decadent icebox pies, my Favorite No-Bake Recipes leave nothing out but the oven. Skip the heat and enjoy these delicious no-bake eats!
How to Make Rainbow Cereal Cake
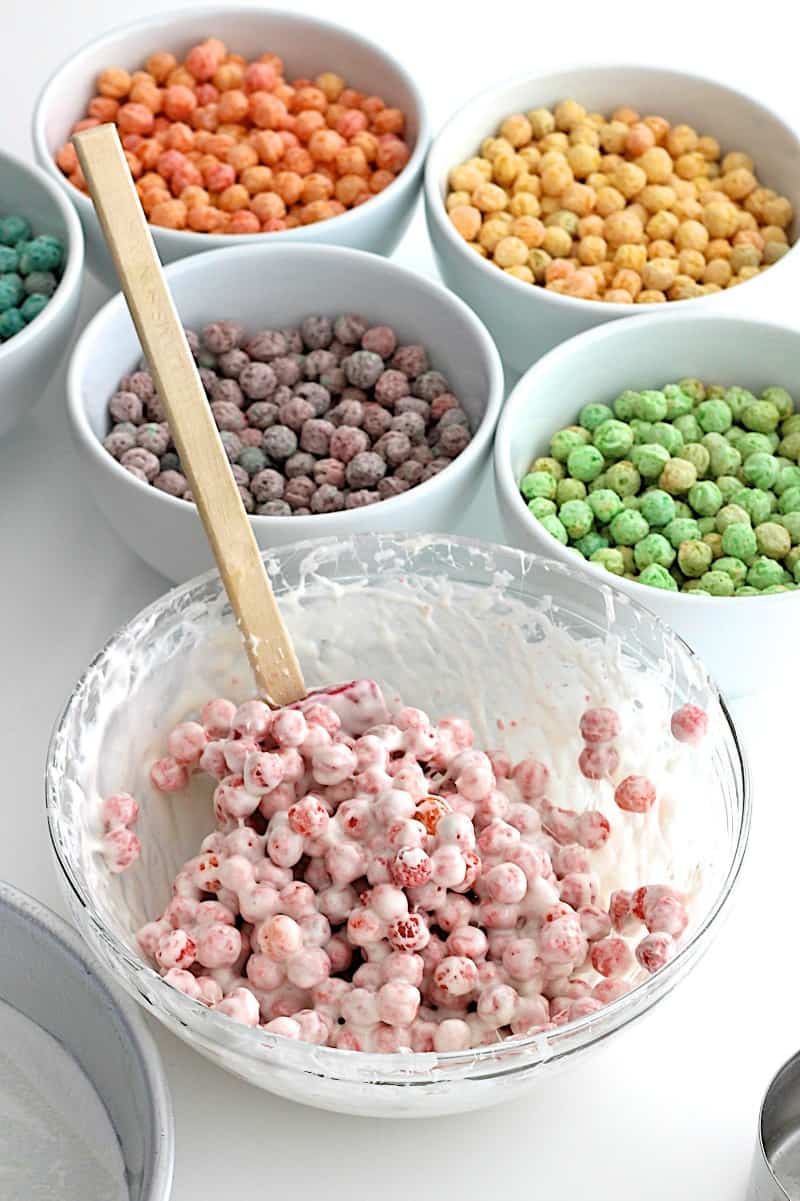
- Just 3 ingredients is all it takes. Very similar to making marshmallow treats except you’ll sort the cereal into each color first…

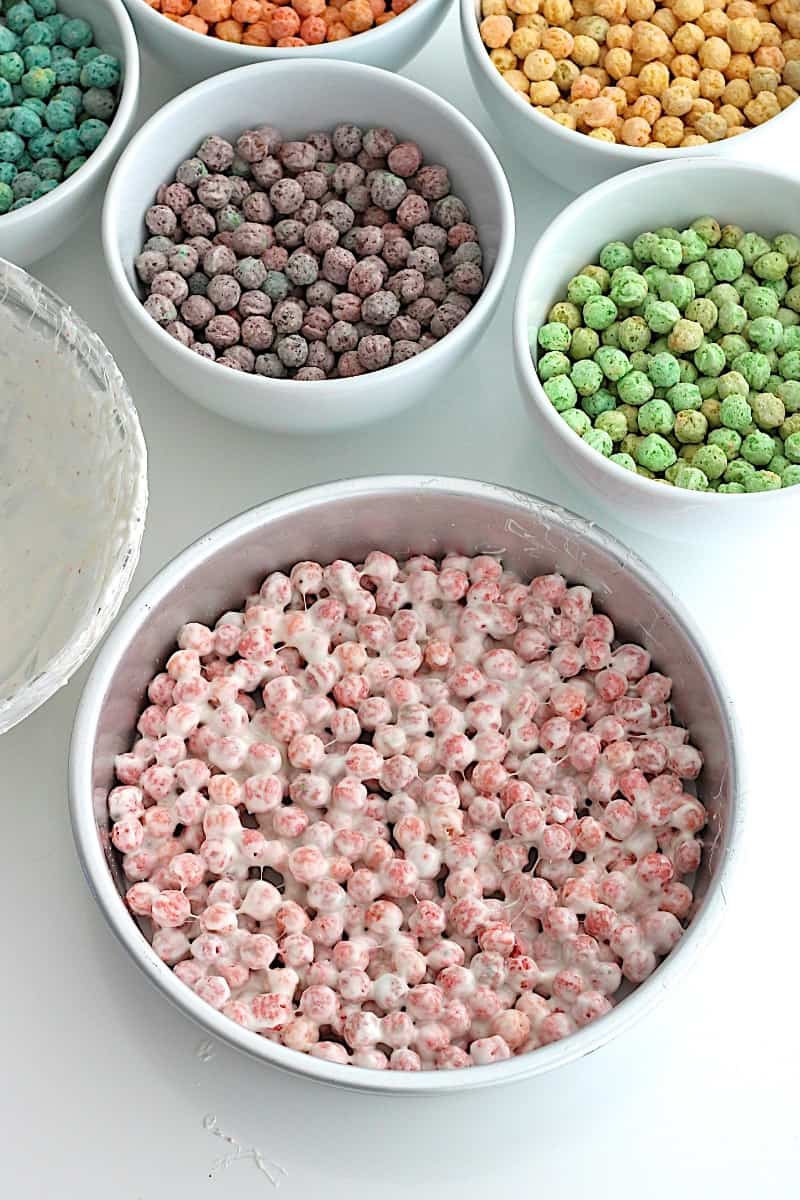
- Then you’ll melt 1-1/2 tablespoons butter with 3 cups mini marshmallows at a time to combine with one of the colors of cereal and then repeat the process with each color of cereal to create each layer…
- Stack two colors (with parchment paper in between) in each 8-inch round cake pan. If you don’t have enough cake pans for all 6 layers, you can stack two colors in one pan, let them cool, remove them and then stack two more colors.
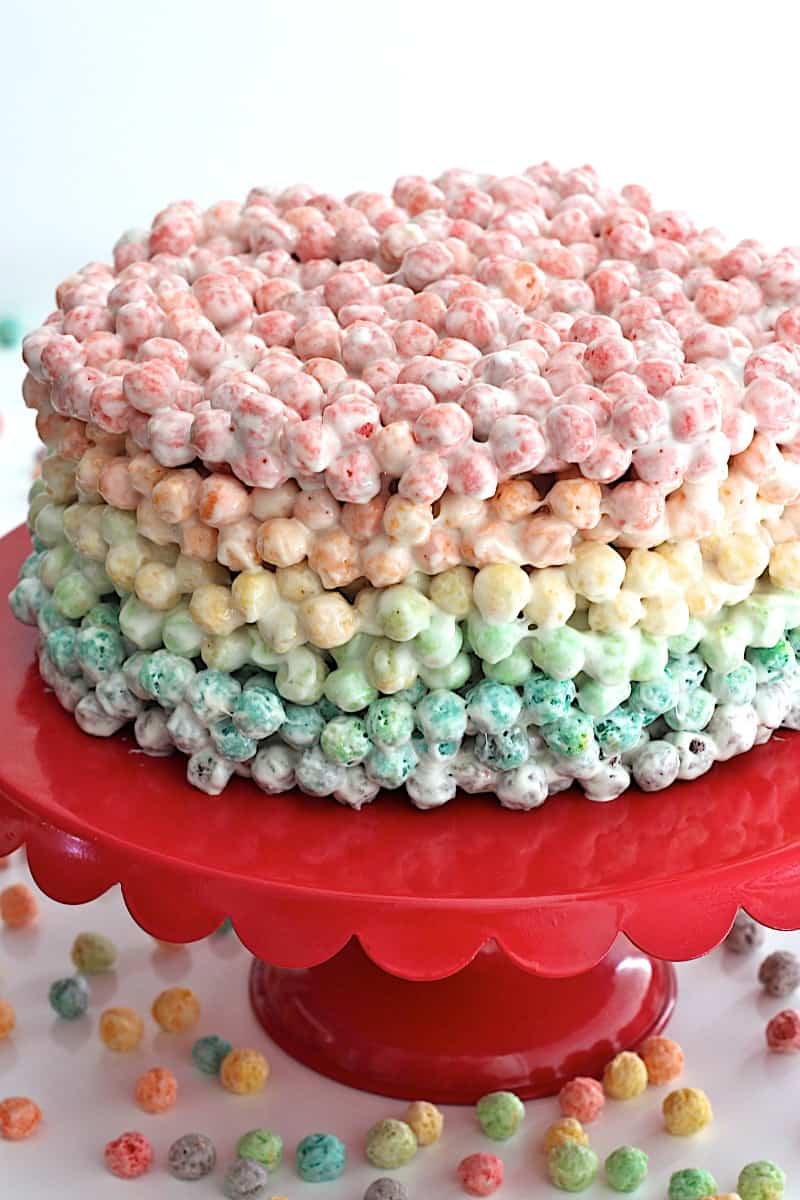
- Once all the layers have cooled, you’ll just stack them onto a cake stand or serving platter in the pattern of a rainbow…
- Place the cake in the refrigerator for about 15 minutes to insure it’s set before slicing and serving. We just ate it with our hands. Yummmm!
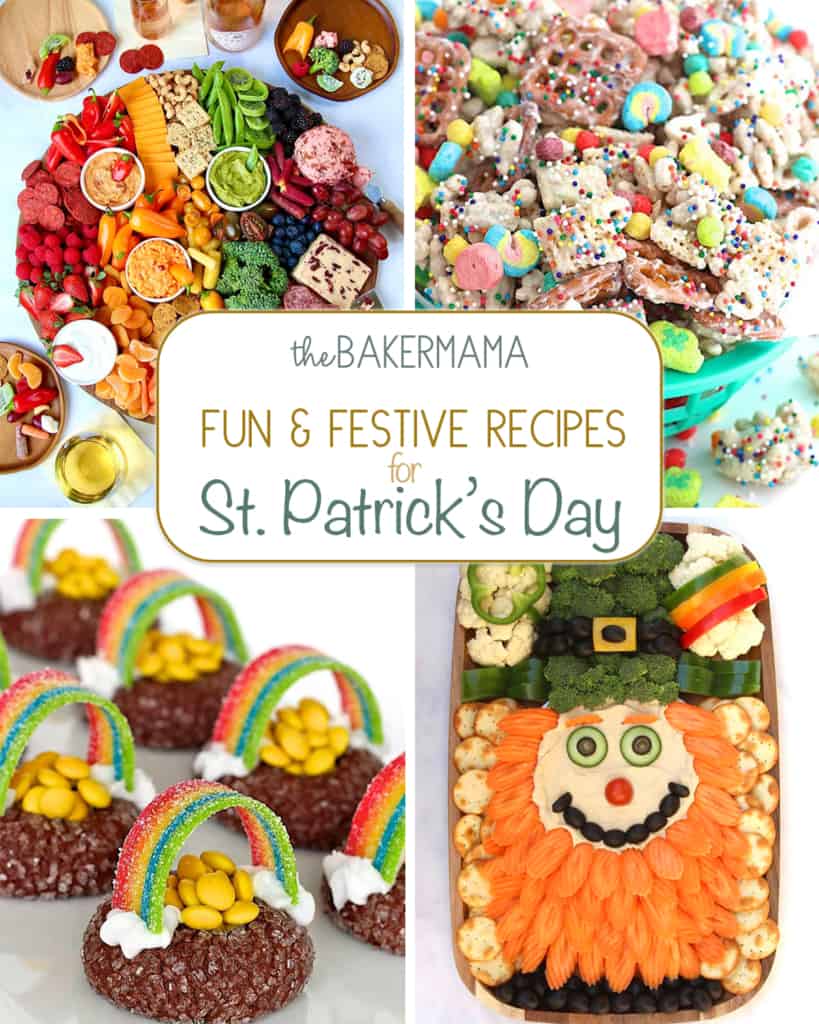
Fun and Festive Recipes for St. Patrick’s Day
Put some magic into your holiday with these Fun and Festive Recipes for St. Patrick’s Day. This collection of snacks and treats is sure to make all your lads and lasses feel lucky!
How to Store Rainbow Cereal Cake
This cake is best enjoyed within one day of making. Store tightly covered at room temperature.
So much fun and yum going on in this simple, sweet and colorful cake! I hope it brightens your next celebration! If you make this Rainbow Cereal Cake, be sure to snap a picture and tag me on Instagram @thebakermama so I can see! 😍 I just love seeing how inspired and creative y’all get with the recipes I share. Enjoy!
xoxo,


Rainbow Cereal Cake
- Prep Time: 1 hour 15 minutes
- Total Time: 1 hour 15 minutes
- Yield: 10 -12
- Category: Dessert
Description
A colorful and tasty rainbow cereal cake that’s fun to make and sure to sweeten any special occasion!
Ingredients
- 2 9.3 ounce boxes rainbow colored cereal (such as Trix or Fruit Loops Bloopers)
- 18 cups mini marshmallows (separated)
- 9 tablespoons butter (separated)
Instructions
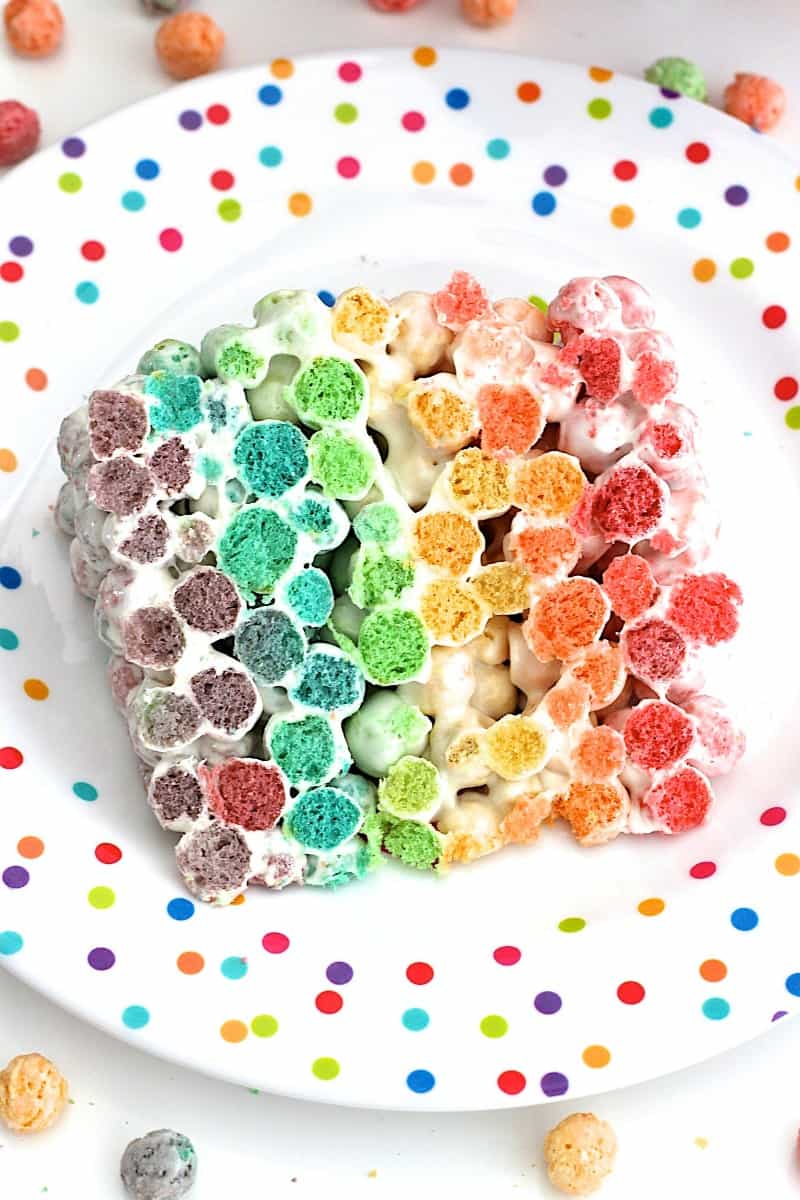
- Sort cereal so that each color is in its own bowl. You should have about 3 cups of each color (6 colors total).
- Line the bottom of three 8-inch round cake pans with parchment paper circles cut to fit the bottom of each pan. Spray each pan with non-stick cooking spray. Cut three additional parchment paper circles to use in between layers of cereal. (If you only have one or two cake pans, you will just have to repeat the process once the layers in your pan(s) have cooled.)
- In a large microwave safe bowl, melt 1-1/2 tablespoons butter with 3 cups mini marshmallows for 1 minute. Stir until marshmallows are melted and smooth. Add 3 cups of one of the colors of cereal. Gently stir until cereal is well coated in the melted marshmallows. Spray hands or a piece of parchment paper with non-stick cooking spray and press cereal evenly into one of the prepared cake pans.
- Place a circle of parchment paper, that’s been sprayed with non-stick cooking spray, on top of the cereal you just pressed into the cake pan. You’ll layer another layer on top of this layer to maximize cake pan space.
- Repeat process with remaining cereal colors, marshmallows and butter, melting 1-1/2 tablespoons butter and 3 cups mini marshmallows at a time for each color of cereal. You can use the same bowl for melting the marshmallows and stirring in the cereal.
- Press each color into the prepared cake pans with parchment paper on the bottom and in between each layer. Allow cereal layers to cool. To speed this process you can place them in the refrigerator for 10 minutes.
- Once cereal layers have cooled, turn pans upside down to allow cereal layers to fall out. If the cereal has stuck to the side of the pan, gently run a table knife around the edges before inverting.
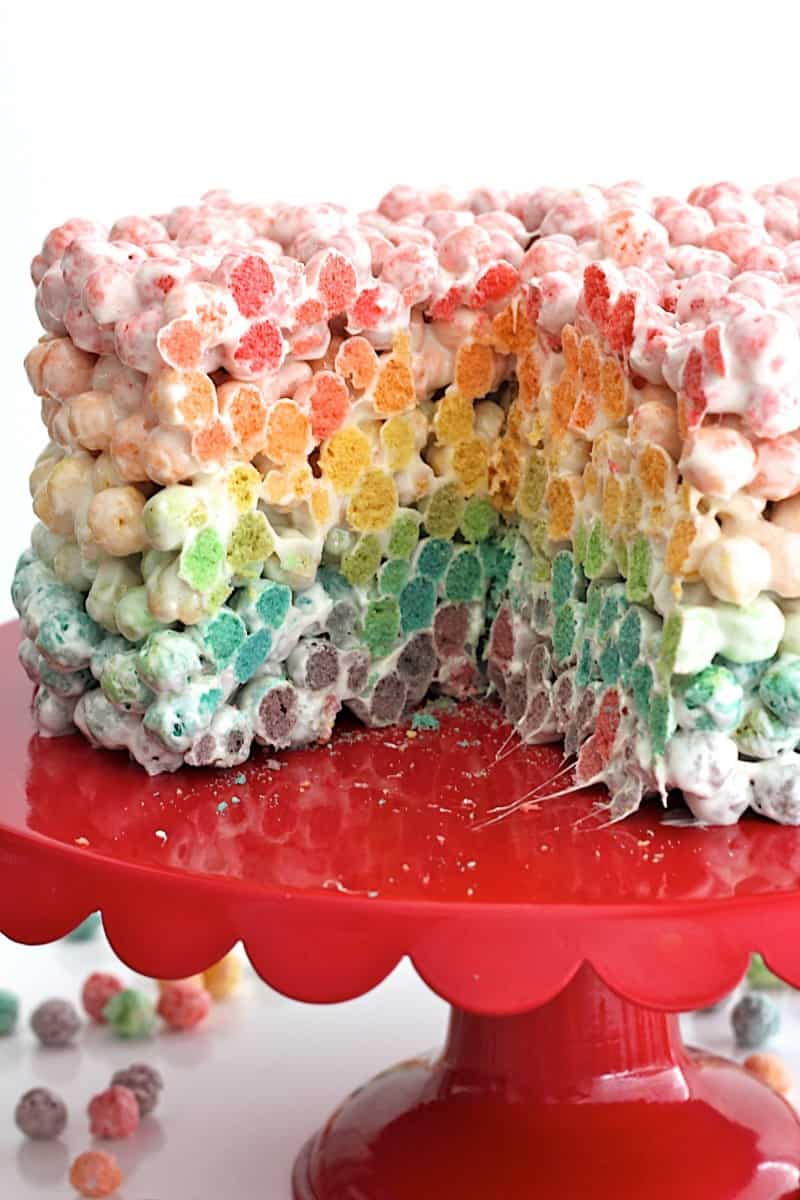
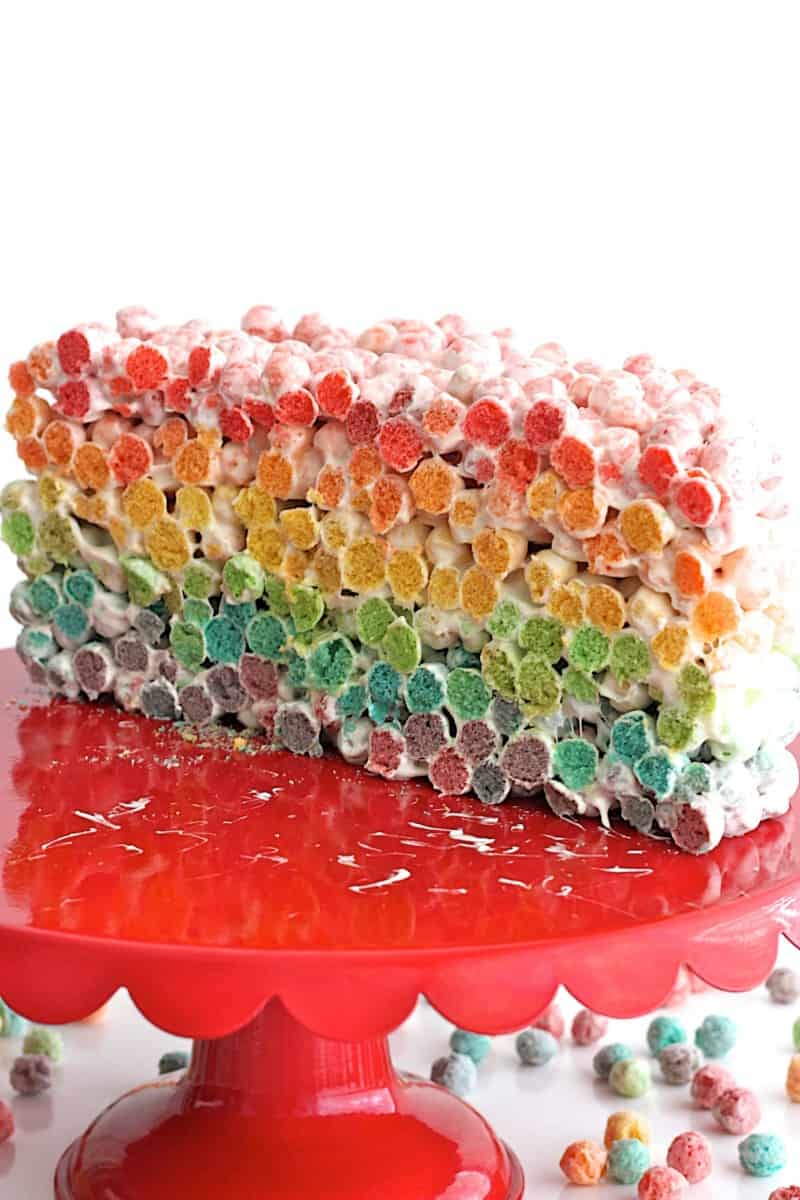
- Begin layering the rainbow cake on a cake stand or platter in the following order, from bottom to top: purple, blue, green, yellow, orange, red. Be sure to remove the parchment paper as each layer should set directly on top of the other. Gently press down on the top of the cake so layers press into each other. Place cake in the refrigerator for about 15 minutes to let it set before slicing and serving.


[…] I do, then you need to see this this Rainbow Birthday Cake. I love all the layers of colors! This Rainbow Cereal Cake is another fun dessert with colorful layers. It is no bake, so it is so easy. And this Rainbow […]