
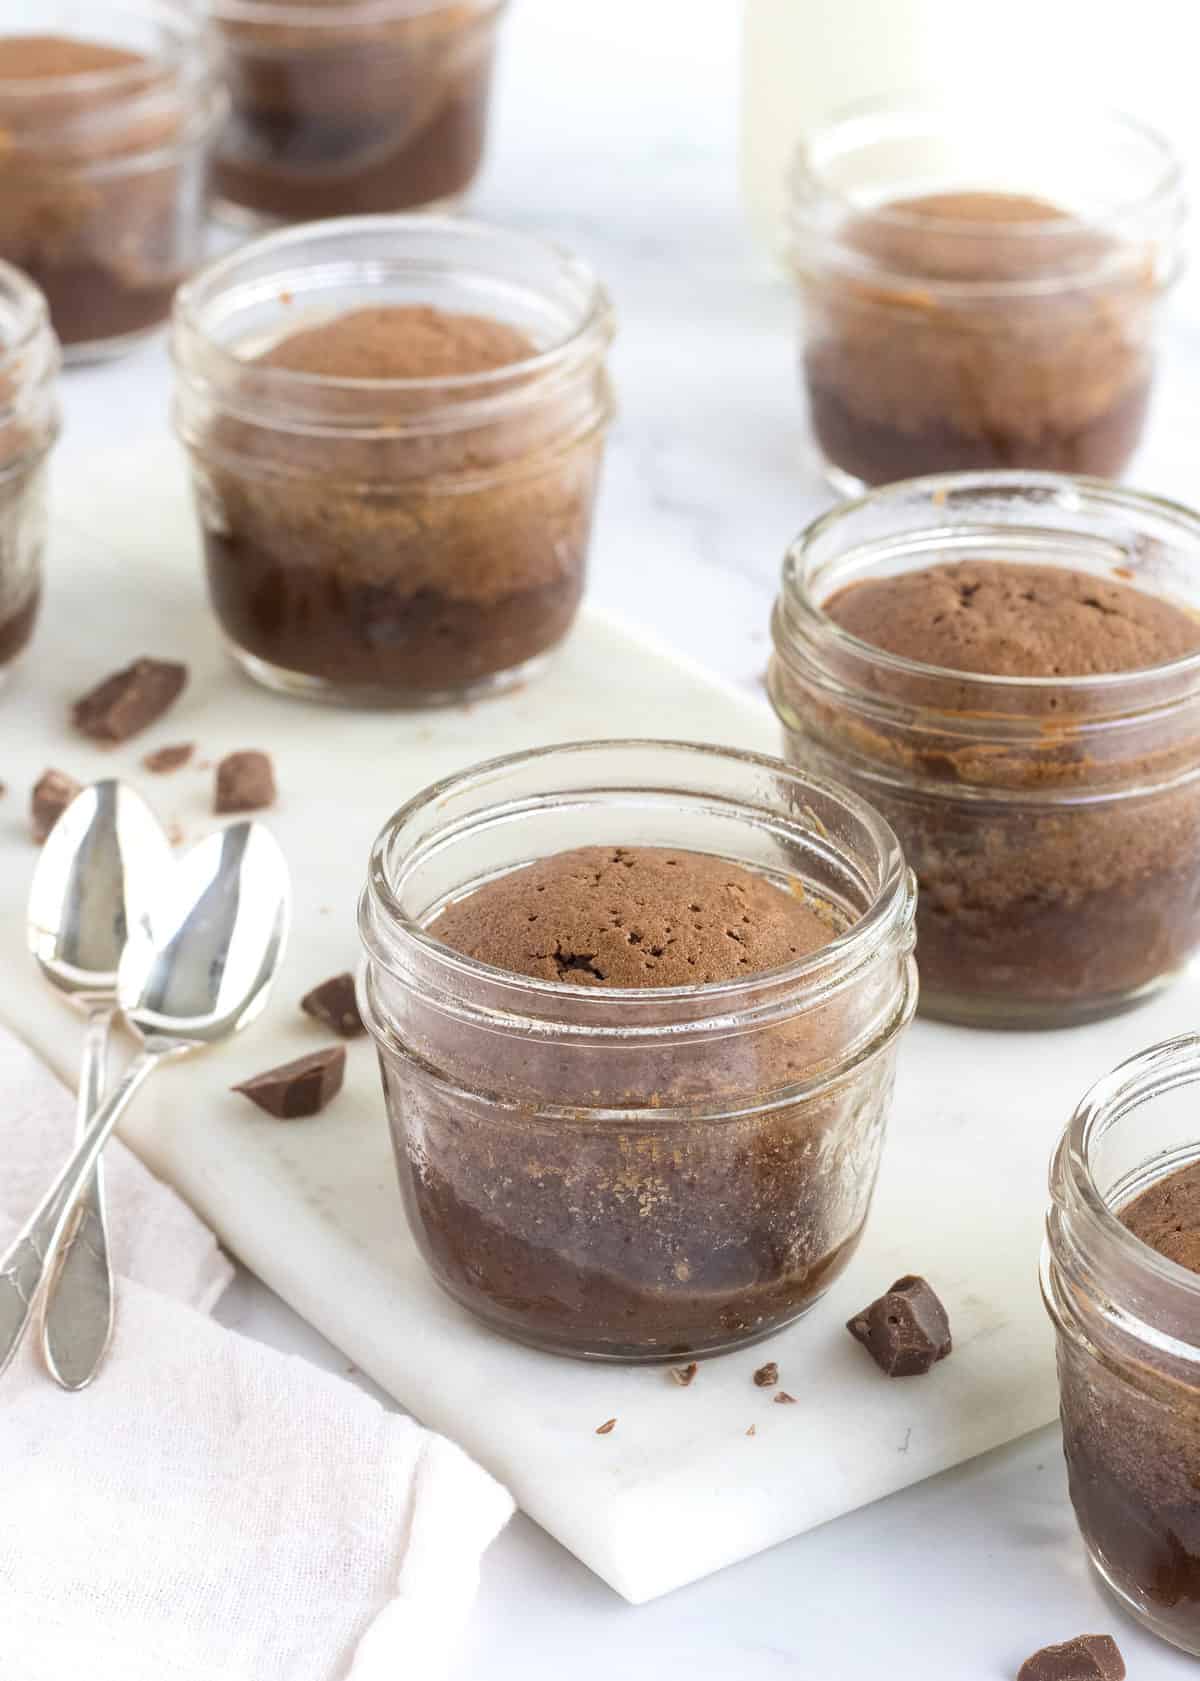
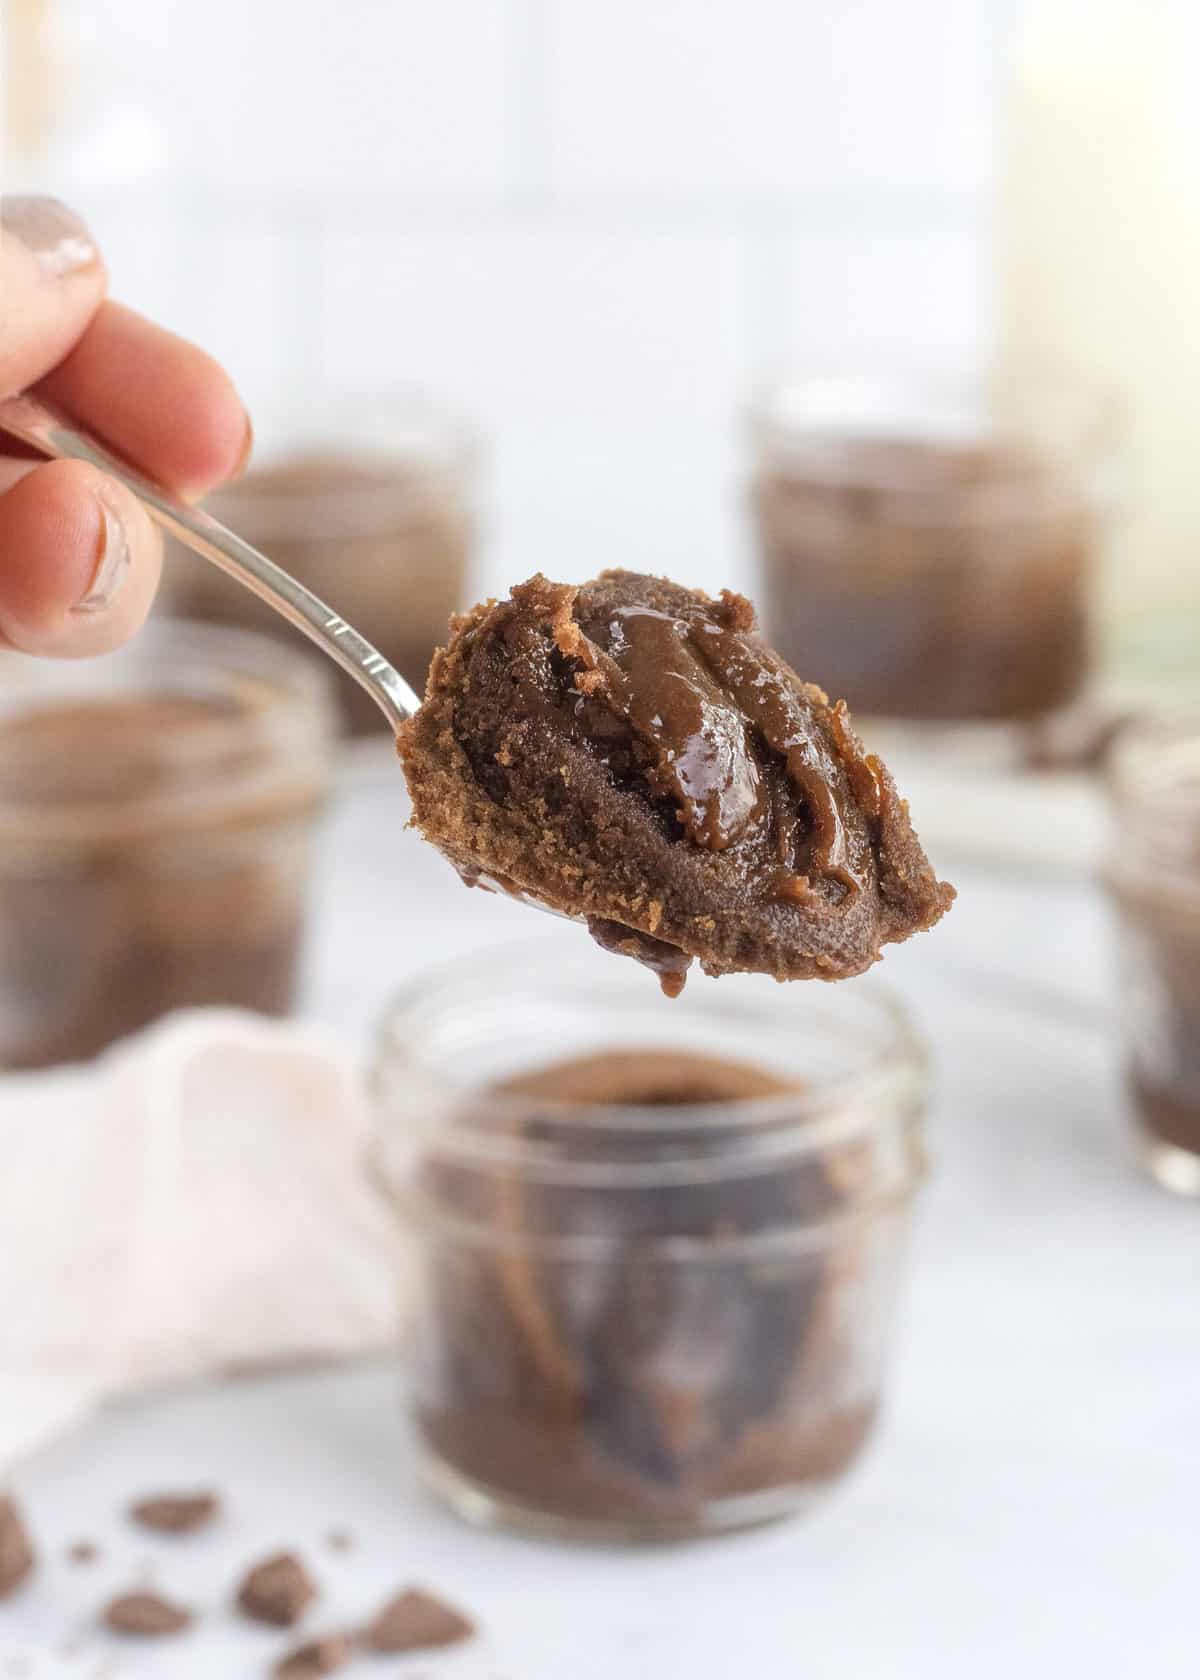
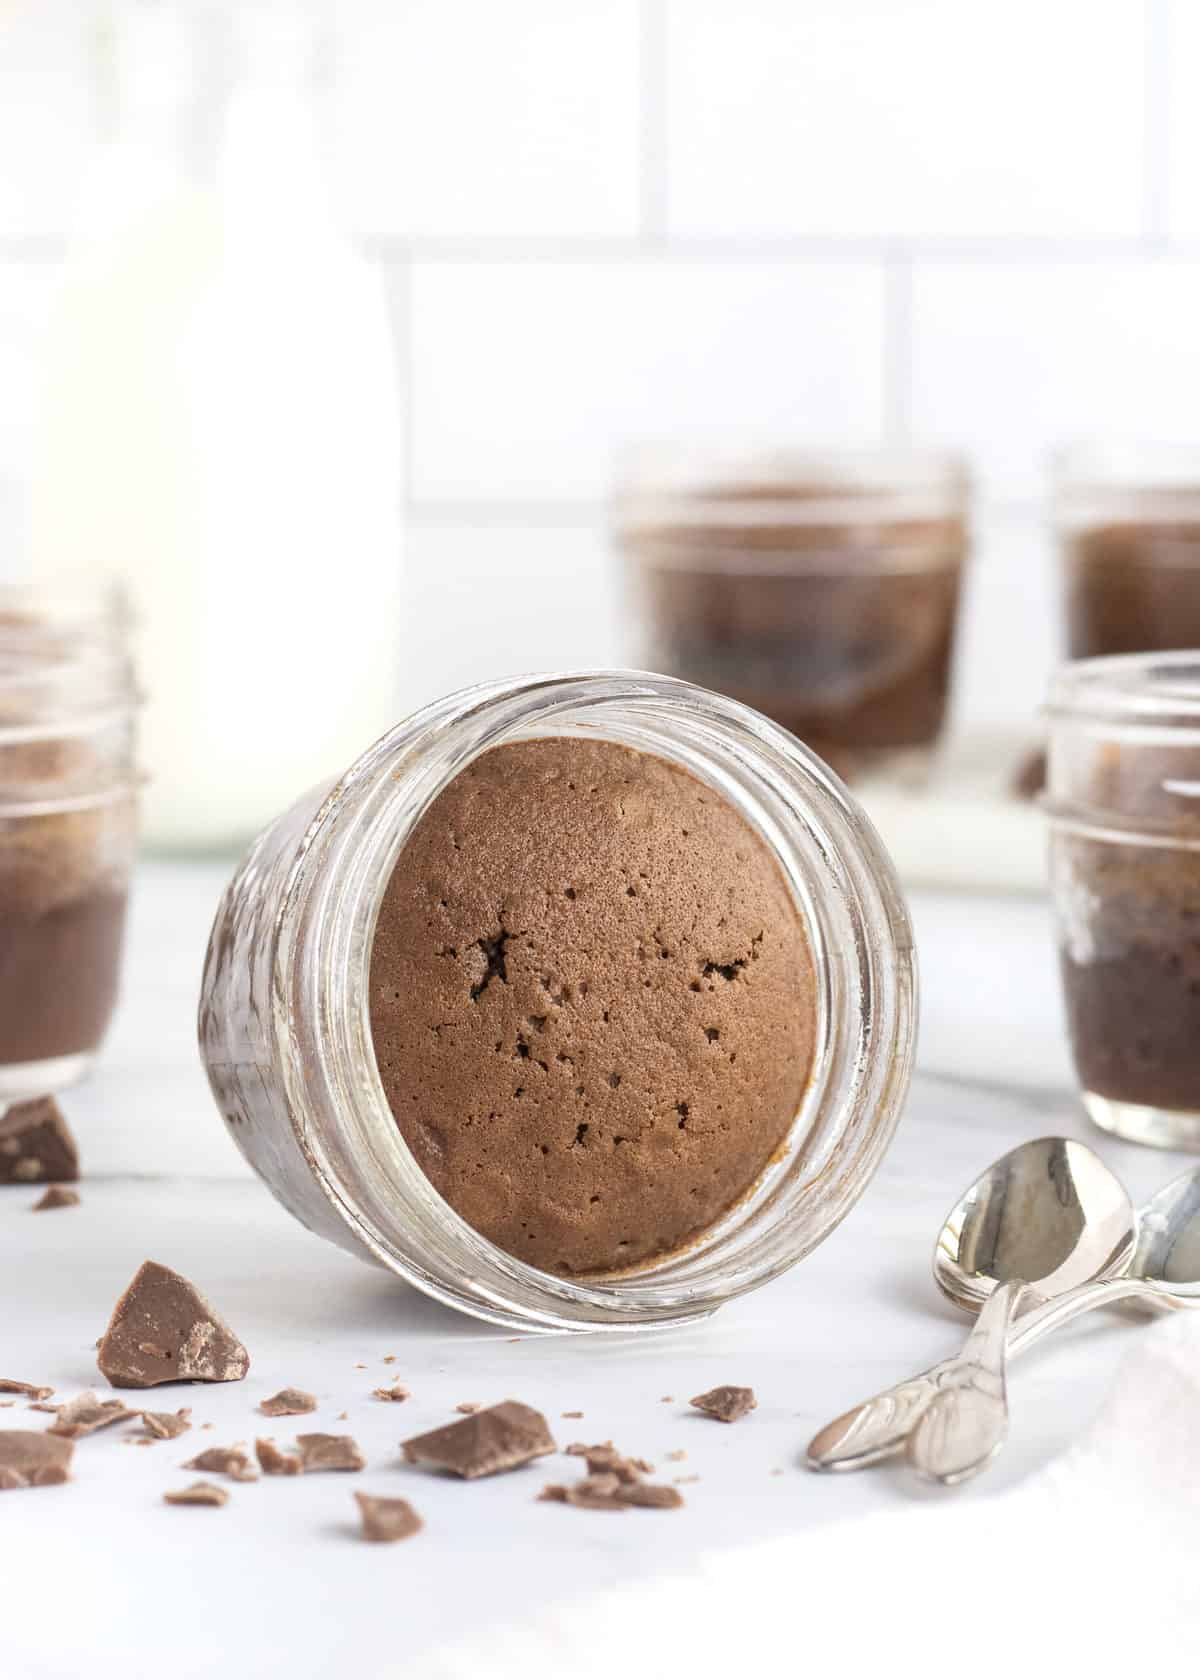
Decadent and easy-to-make Molten Chocolate Cakes bake up with a melting chocolate center every time! Everyone will love these little cakes!
Perfectly Decadent, Deceptively Easy
If the decadence of these Molten Chocolate Cakes doesn’t make you drool and dream for a jar of your own, there just might be something wrong with you! These are a go-to dessert for me when we’re hosting a dinner party. Every time I serve them, our guests are blown away and say that they feel like they’re eating at a fancy restaurant right here in our cozy little home.
Watch Me Make Molten Chocolate Cakes!
I’m obsessed with these little chocolate cakes and had so much fun baking them. Check out the video for a how-to video that I’m thrilled to share with you!
The Easiest Dessert You’ll Ever Make
My little secret is that these ooeey-gooey chocolate molten cakes have to be one of the absolute easiest desserts you’ll ever make. They’re one of those desserts that you can quickly prepare before dinner and wait to bake right before you are ready to eat dessert so they are nice and warm and gooey.
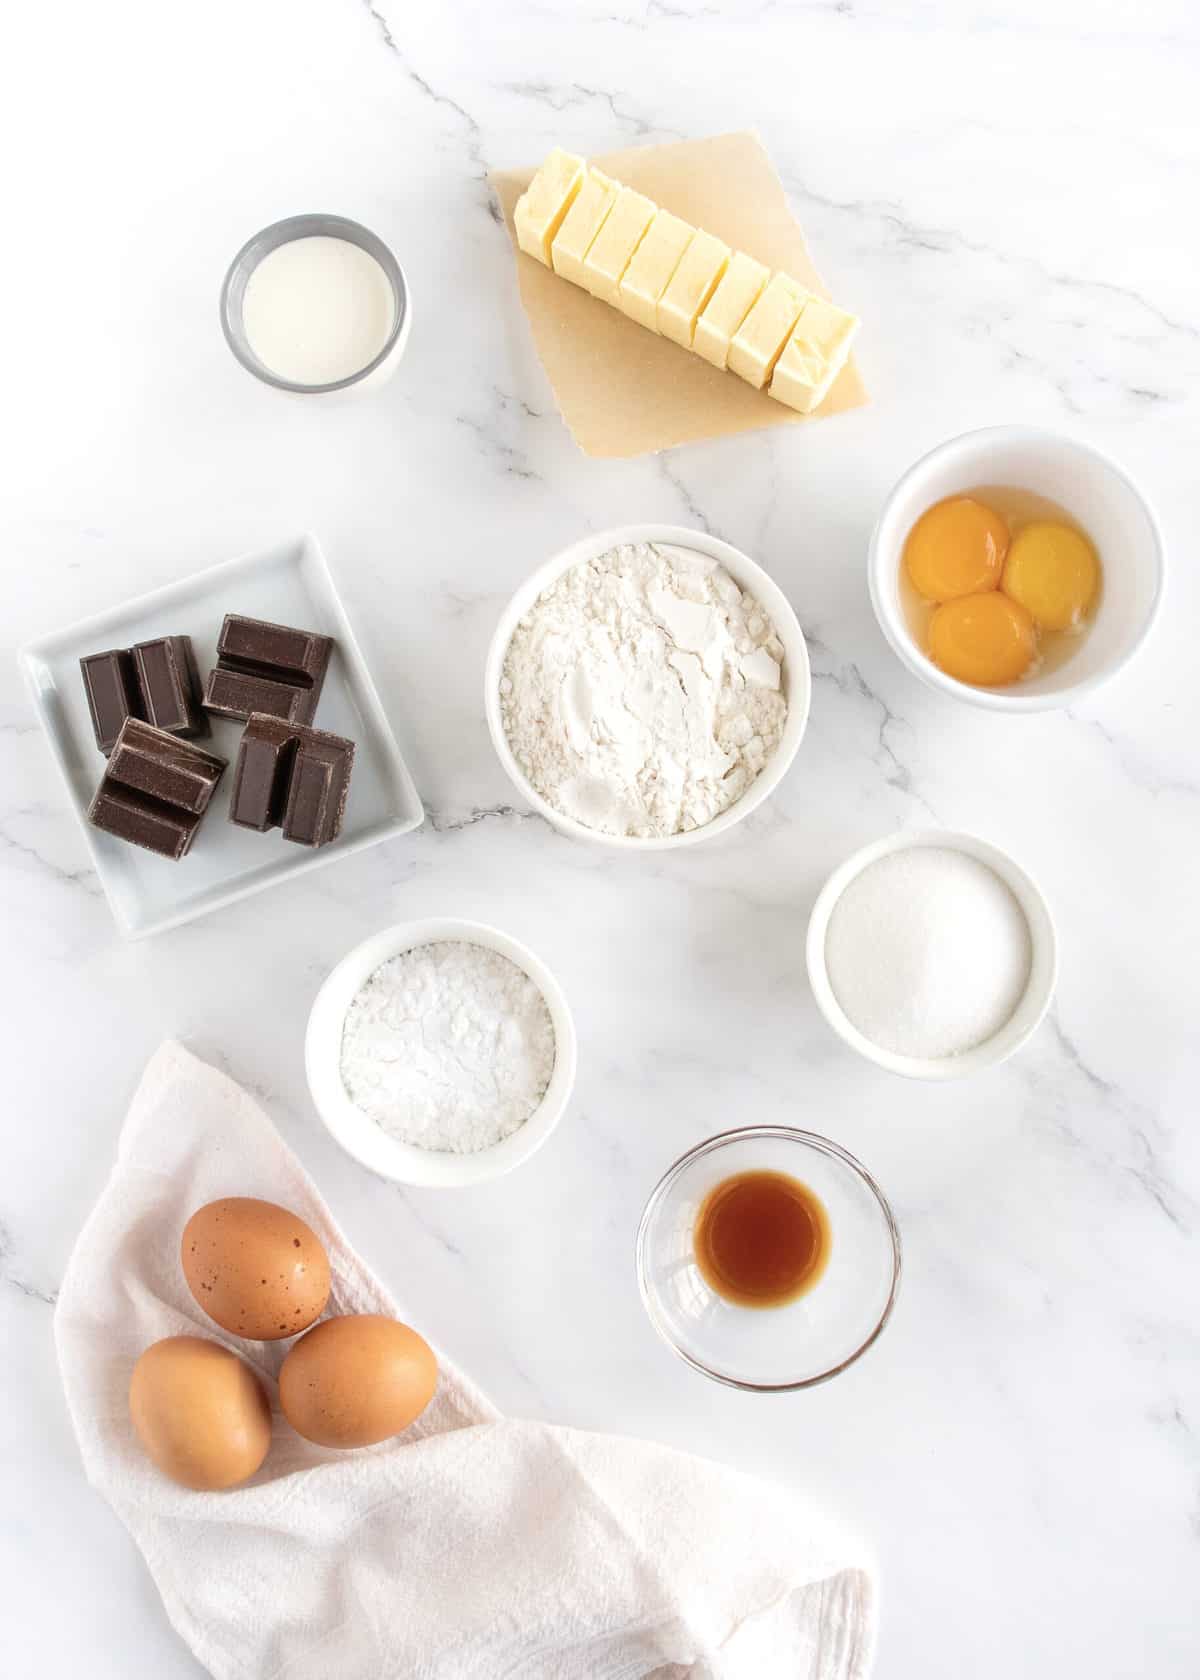
A few simple ingredients will get you an amazing cake with a melting chocolate center every time. In fact, you probably have all of the ingredients on hand and could be digging a spoon into your own little jar of amazingness in about 30 minutes. Butter, sugar, flour, eggs, cream and baking chocolate and a little vanilla and you’ve got everything you need for some amazing little cakes.
How to Make Molten Chocolate Cakes
- Preheat oven to 400°F. Grease 8 (4-ounce) or 6 (6-ounce) jars/ramekins with non-stick cooking spray and arrange on a rimmed baking sheet.
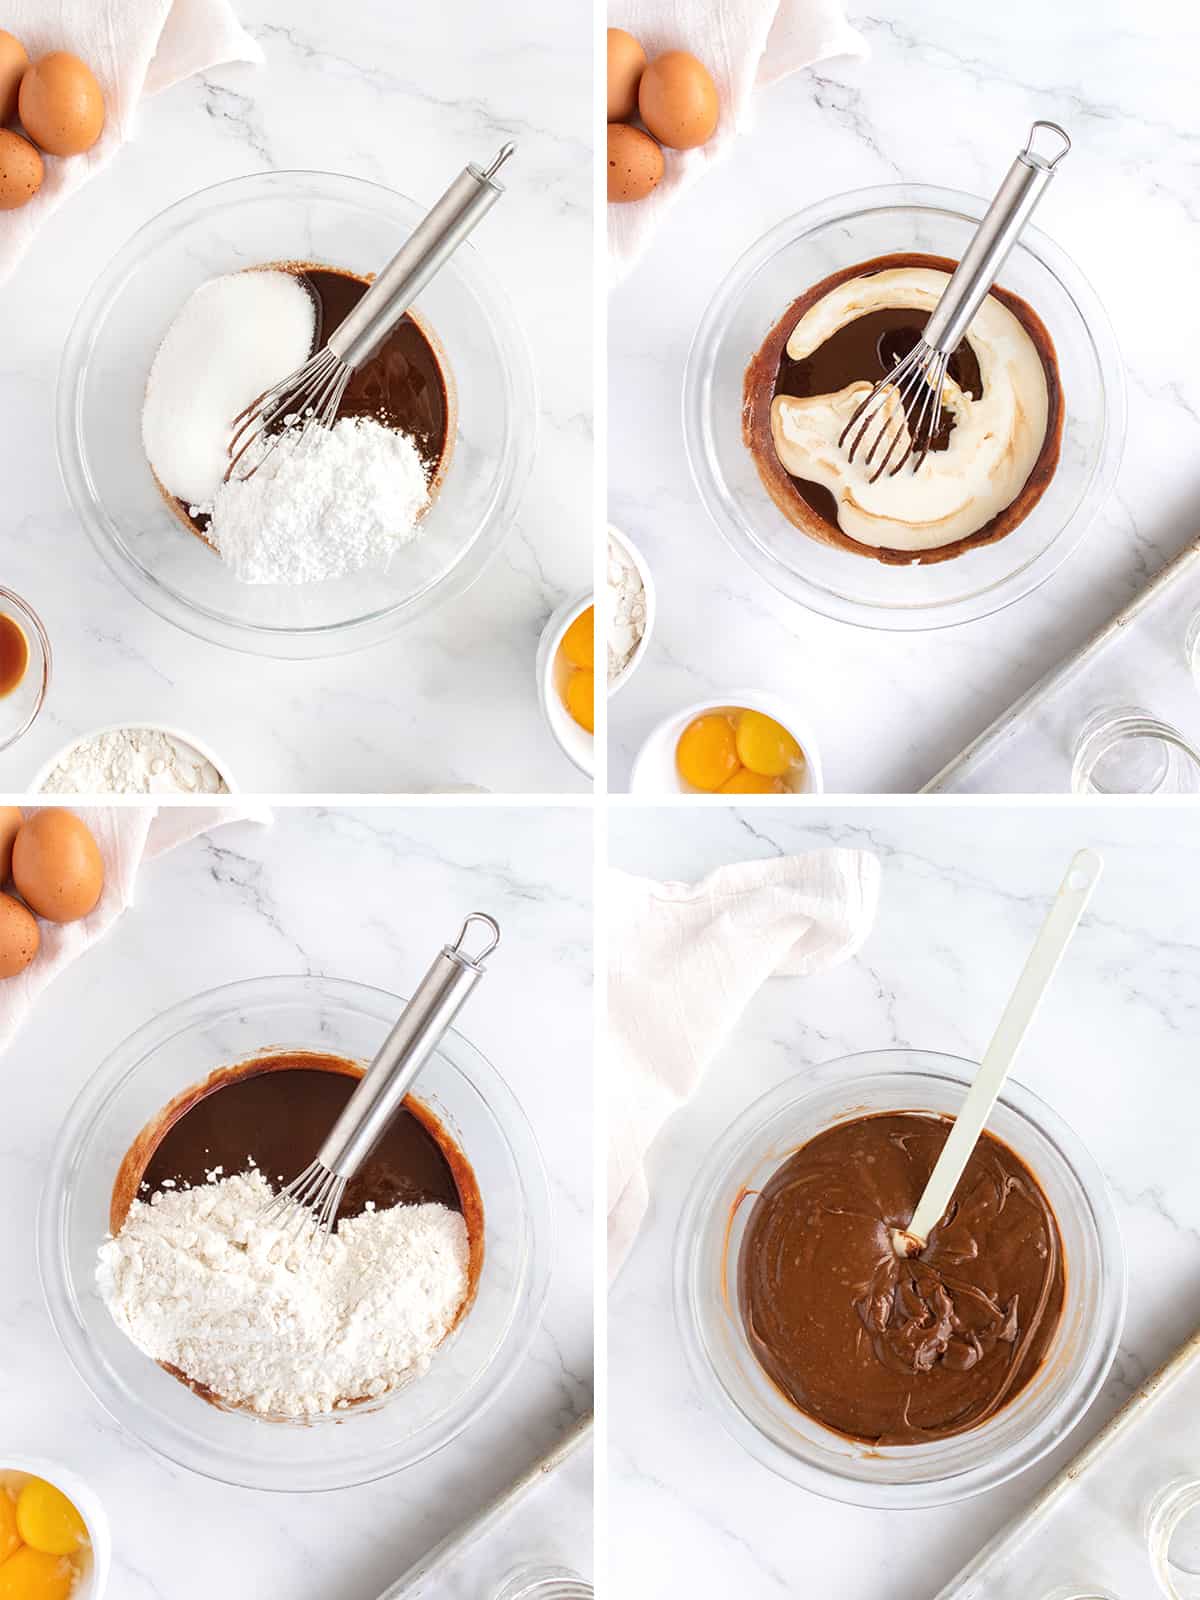
- In a large microwavable bowl, microwave the butter and chocolate in 30 seconds intervals until melted, about 2 minutes, whisking at each interval. Add sugars and whisk until well combined. Whisk in heavy cream and vanilla. Add the flour and whisk until just combined.
- In a separate bowl, whisk the eggs with a hand-held mixer on high speed until pale yellow and airy, about 5 minutes. Using a rubber spatula, fold the egg mixture into the chocolate mixture until well blended. The batter will be thin and bubbly.
- Pour batter into prepared jars/ramekins, filling each one almost full. Bake for 13-14 minutes until cakes are set around the edges, but soft in the centers. Let stand a few minutes before serving right out of the jars or inverting ramekins onto plates.
Notes: Batter can be made the day ahead and the jars can be placed in the refrigerator until you’re ready to bake and serve. They’re best served warm right out of the oven, but they reheat nicely in the microwave.
More Sweet and Simple Desserts
Cookies, cakes, brownies, muffins, and more! For a quick pick-me-up Easy Treats to Sweeten Our Days is a collection of simple, delicious recipes guaranteed to put a smile on your face!

Anyone could make these Molten Chocolate Cakes and everyone will love them! I hope you and your loved ones enjoy them as much we do! If you make them and post a pic to social, be sure to tag me on Instagram @thebakermama so I can see! I just love seeing how inspired and creative y’all get with the ideas I share.
Enjoy!
xoxo,


Molten Chocolate Cake
- Prep Time: 15 mins
- Cook Time: 15 mins
- Total Time: 30 mins
- Yield: 8
- Category: Dessert
Description
Bake decadent little Molten Chocolate Cakes with a melting chocolate center every time!
Ingredients
- 8 tablespoons butter
- 4 ounces semi-sweet baking chocolate
- 1/2 cup granulated sugar
- 1/2 cup powdered sugar
- 1/4 cup heavy cream
- 1/2 teaspoon vanilla
- 1/2 cup all-purpose flour
- 3 large eggs
- 3 large egg yolks
Instructions
- Preheat oven to 400°F. Grease 8 (4-ounce) or 6 (6-ounce) jars/ramekins with non-stick cooking spray and arrange on a rimmed baking sheet.
- In a large microwavable bowl, microwave the butter and chocolate in 30 seconds intervals until melted, about 2 minutes, whisking at each interval. Add sugars and whisk until well combined. Whisk in heavy cream and vanilla. Add the flour and whisk until just combined.
- In a separate bowl, whisk the eggs with a hand-held mixer on high speed until pale yellow and airy, about 5 minutes. Using a rubber spatula, fold the egg mixture into the chocolate mixture until well blended. The batter will be thin and bubbly.
- Pour batter into prepared jars/ramekins, filling each one almost full. Bake for 13-14 minutes until cakes are set around the edges, but soft in the centers. Let stand a few minutes before serving right out of the jars or inverting ramekins onto plates.
- Notes: Batter can be made the day ahead and the jars can be placed in the refrigerator until you’re ready to bake and serve. They’re best served warm right out of the oven, but they reheat nicely in the microwave.


Can you place these jars in the oven without a water barh
Hi Angelique! Yes, I successfully bake with these mini jars all the time without a water bath. Enjoy!
Made this last night – doubled it for extra. Super easy and tasty!
Hi Maegan
I’m super excited to try this recipe, I have one question for clarification. list of ingredients mentions 3 large eggs and 3 egg yolks, am I correct Its a total of 6 eggs and only the yolks of 3 of those 6?
Hi Rashauna! That is correct. Enjoy them! They’re so yummy!
Hello! I’m at work surfing around your blog from my new iphone!
Just wanted to say I love reading through your blog and look forward
to all your posts! Carry on the outstanding work!