
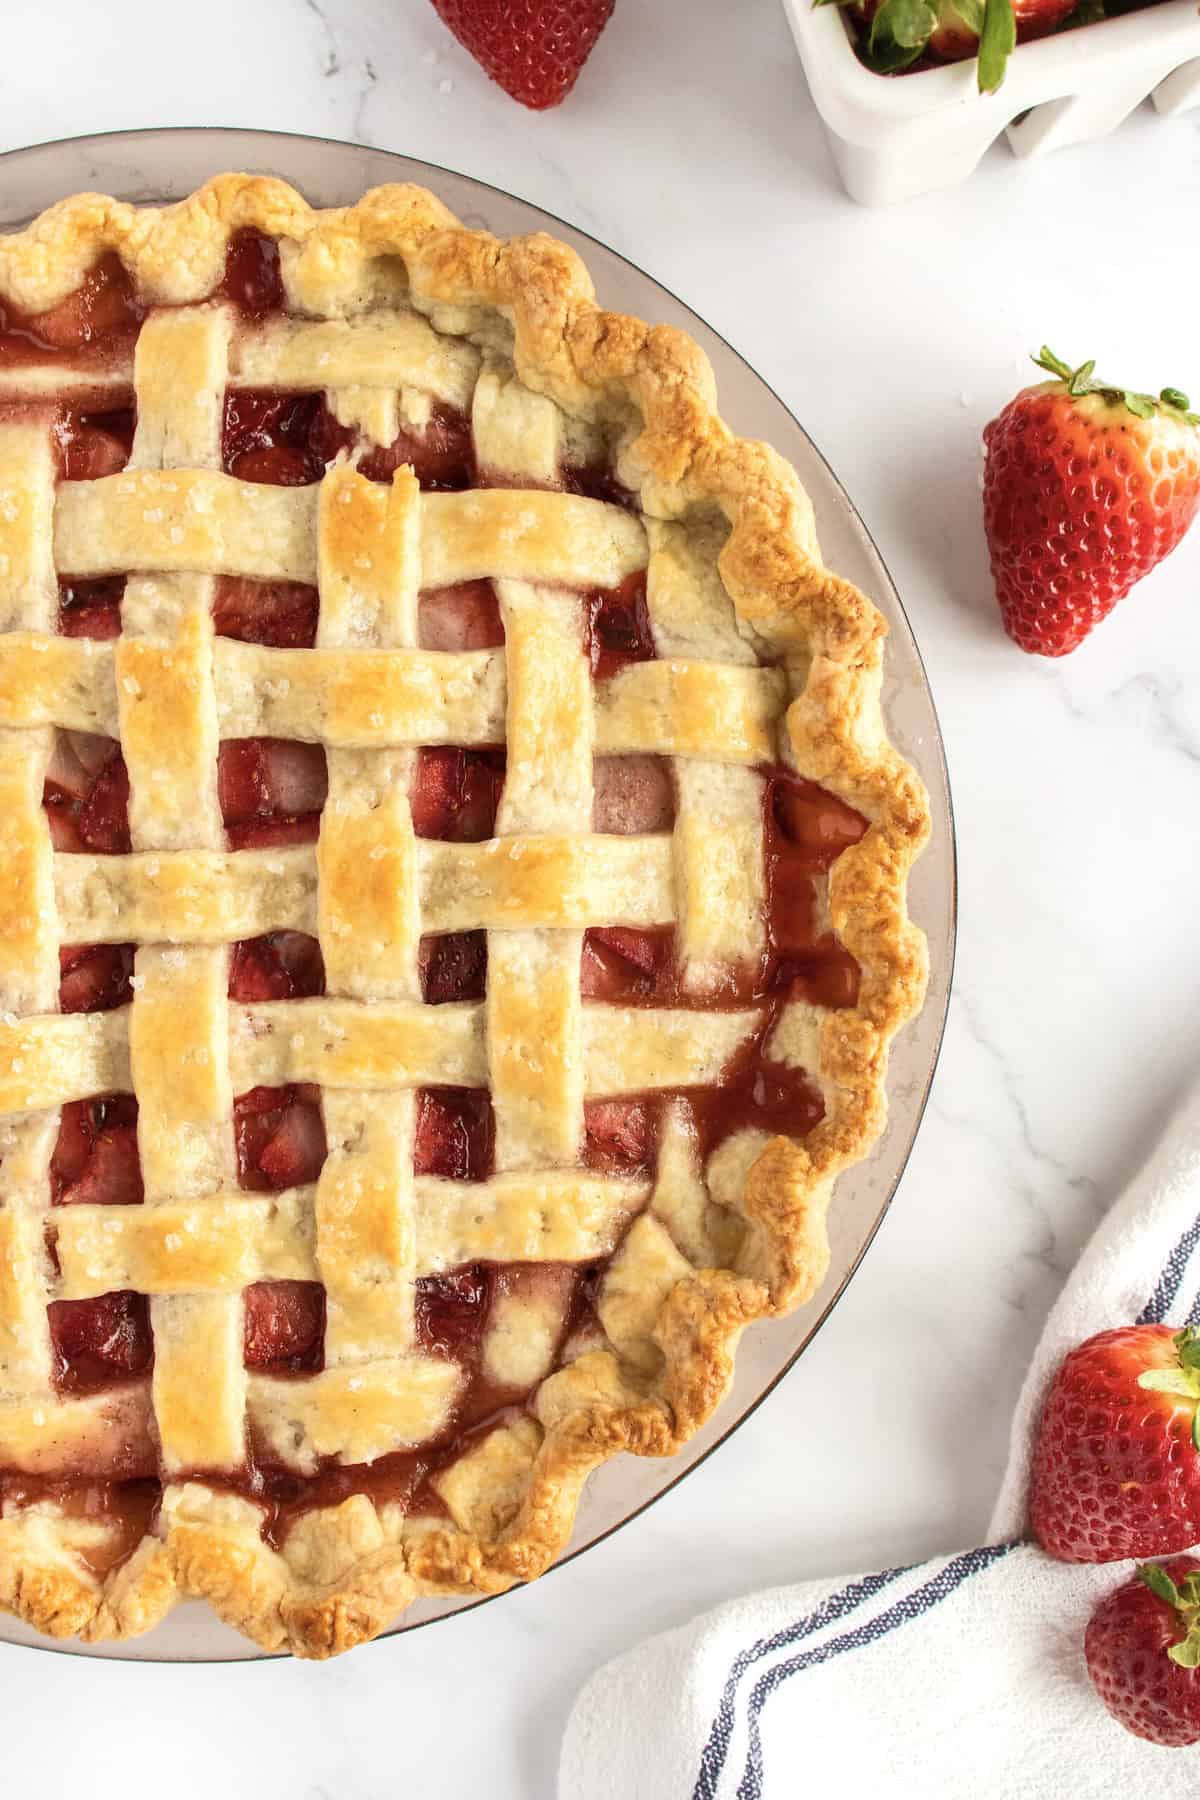
Nothing celebrates the sweetness of summer like a beautiful and delicious Fresh Strawberry Pie. From the flaky crust to the tender strawberry filling, it’s the mouth-watering flavor that summer memories are made of!
Isn’t She Lovely?
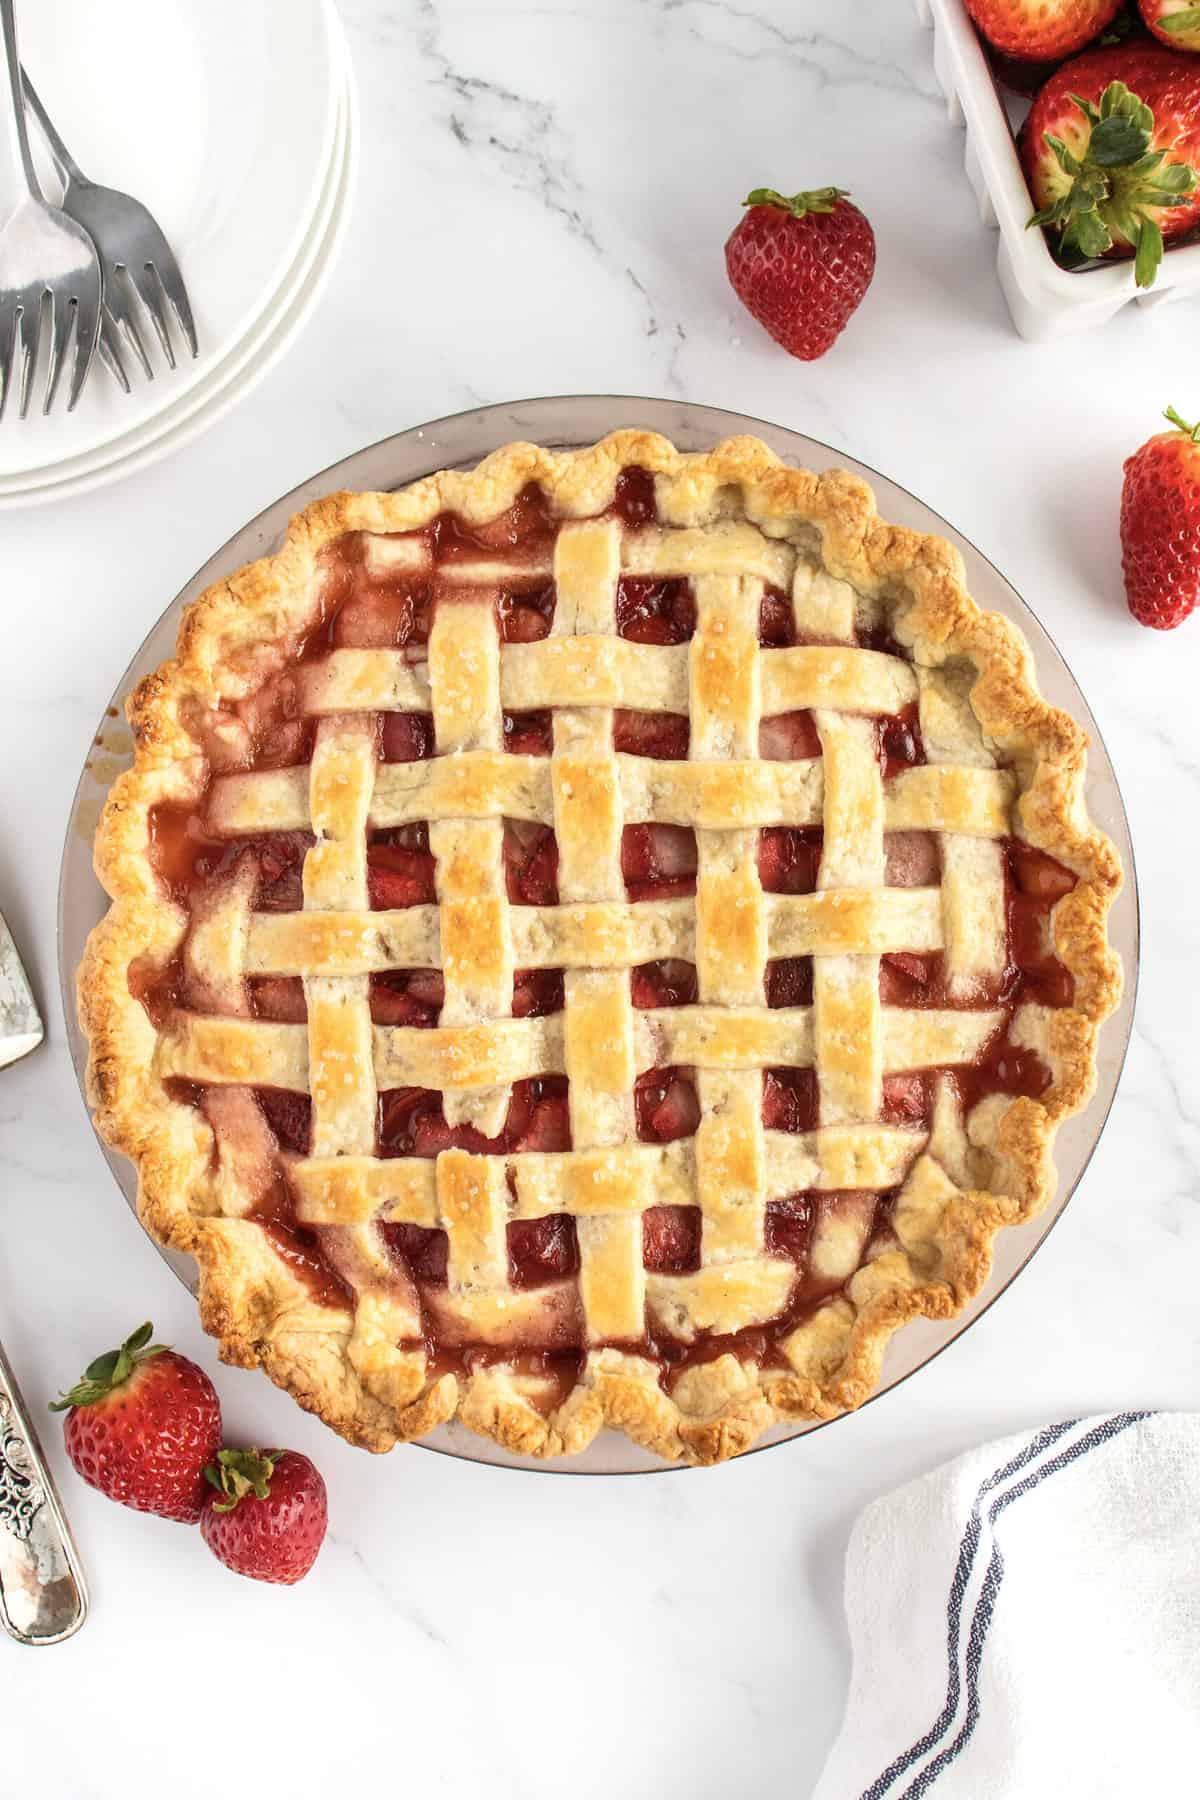
Forget that I’ve just given you your ear worm for the day (you’re welcome), but how gorgeous is that pie? I’m in love! Y’all, ever since I was a little girl, Fresh Strawberry Pie has always meant one thing: summer! And when you’re a kid, the magic of summer is in the little things. Rope swings. Fourth of July fireworks. Grandma’s strawberry pie. It’s what memories are made of! And this pie is one that I remember eating every summer. And it’s definitely one you won’t forget. It’s so sweet and juicy.

Of course the crust on this pie is buttery, flaky, and sprinkled with a light dusting of sugar to make it even more delicious. And inside! Sweet fresh strawberries, the surprise of lemon zest and a hint of cinnamon make this filling balanced and so incredibly delicious. You won’t want to make strawberry pie any other way!
How to Make Fresh Strawberry Pie
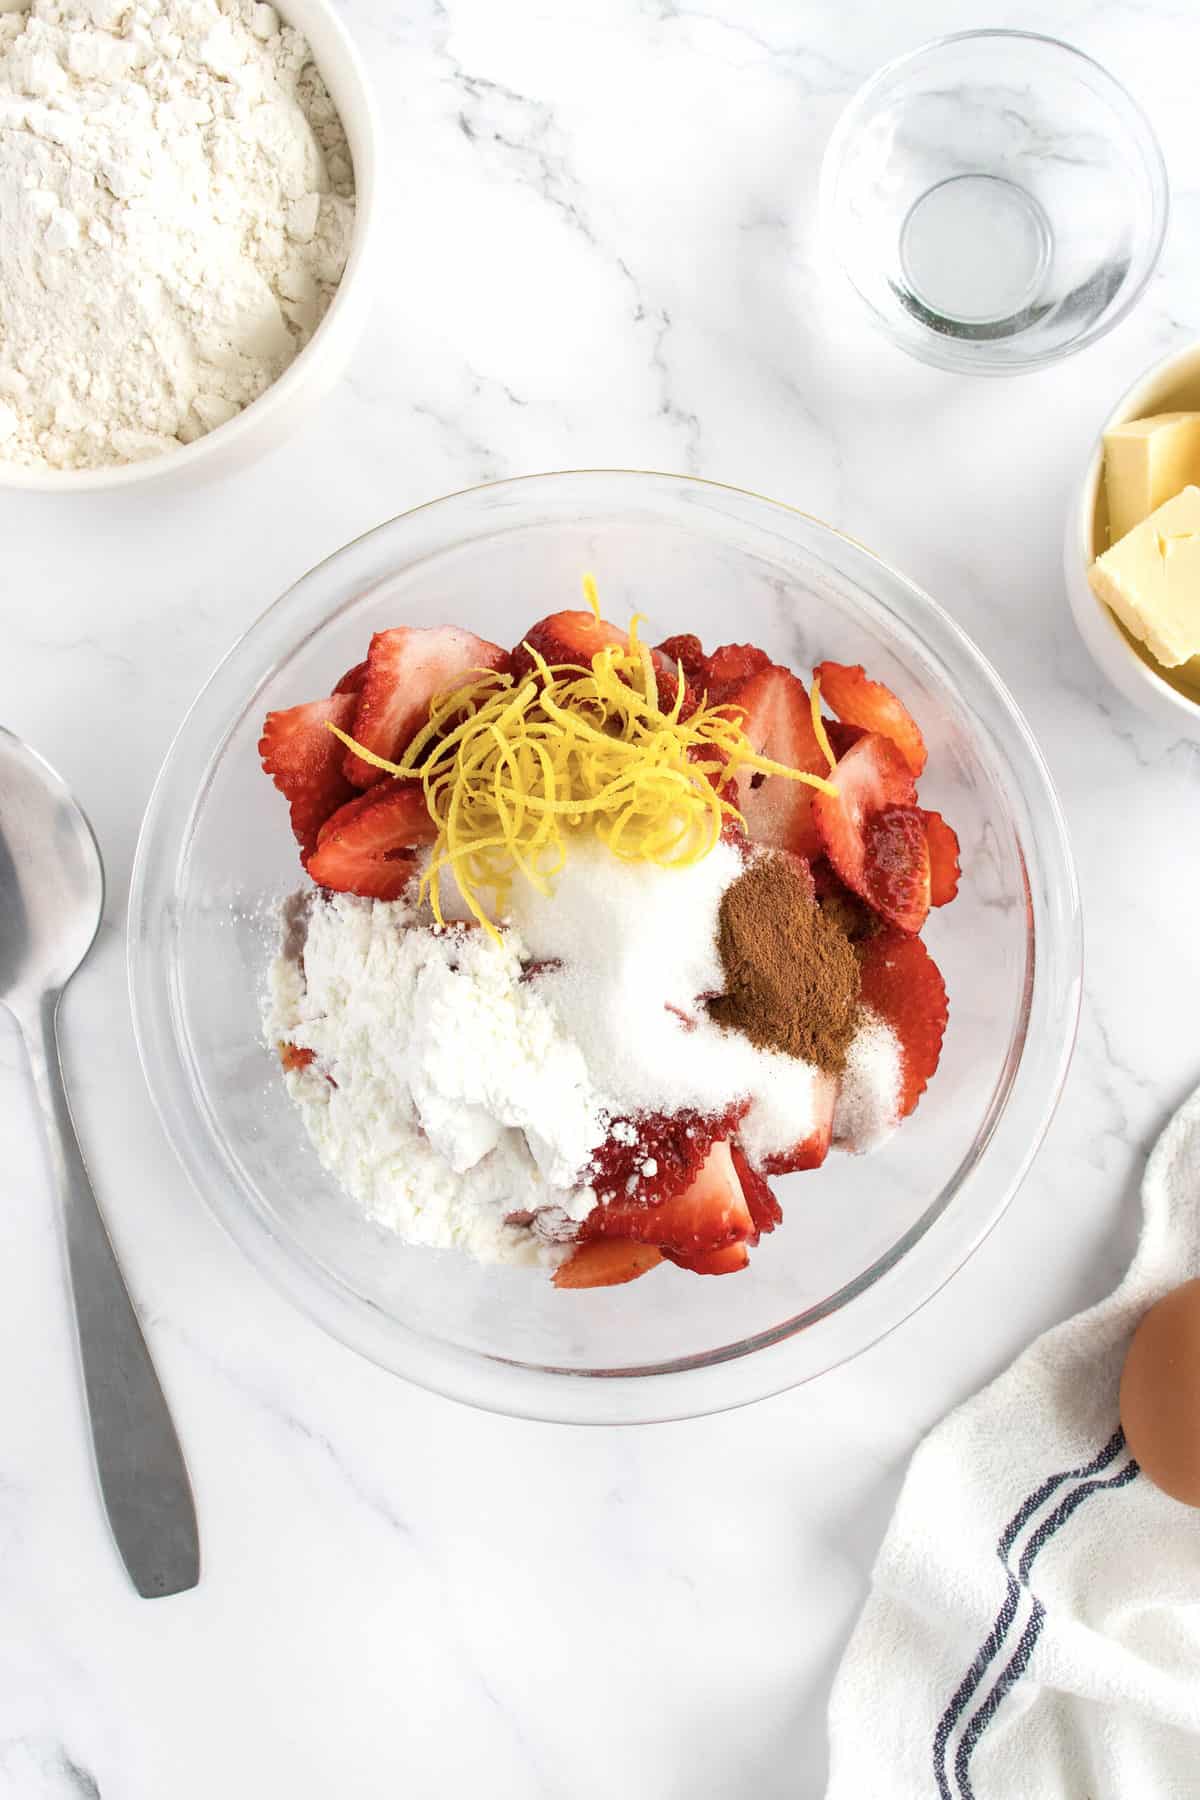
First, in a large mixing bowl, stir together the sliced strawberries, lemon zest, lemon juice, cornstarch, granulated sugar, cinnamon and salt. Gently toss together until the cornstarch has disappeared. Cover with plastic wrap and let the strawberry filling set in the bowl while you prepare the crusts. For everything you need to know about making perfect pie crusts, see my Complete Guide to Pie Crust.
Make the Pie Crust
Generously butter a 9-inch pie plate and set aside.
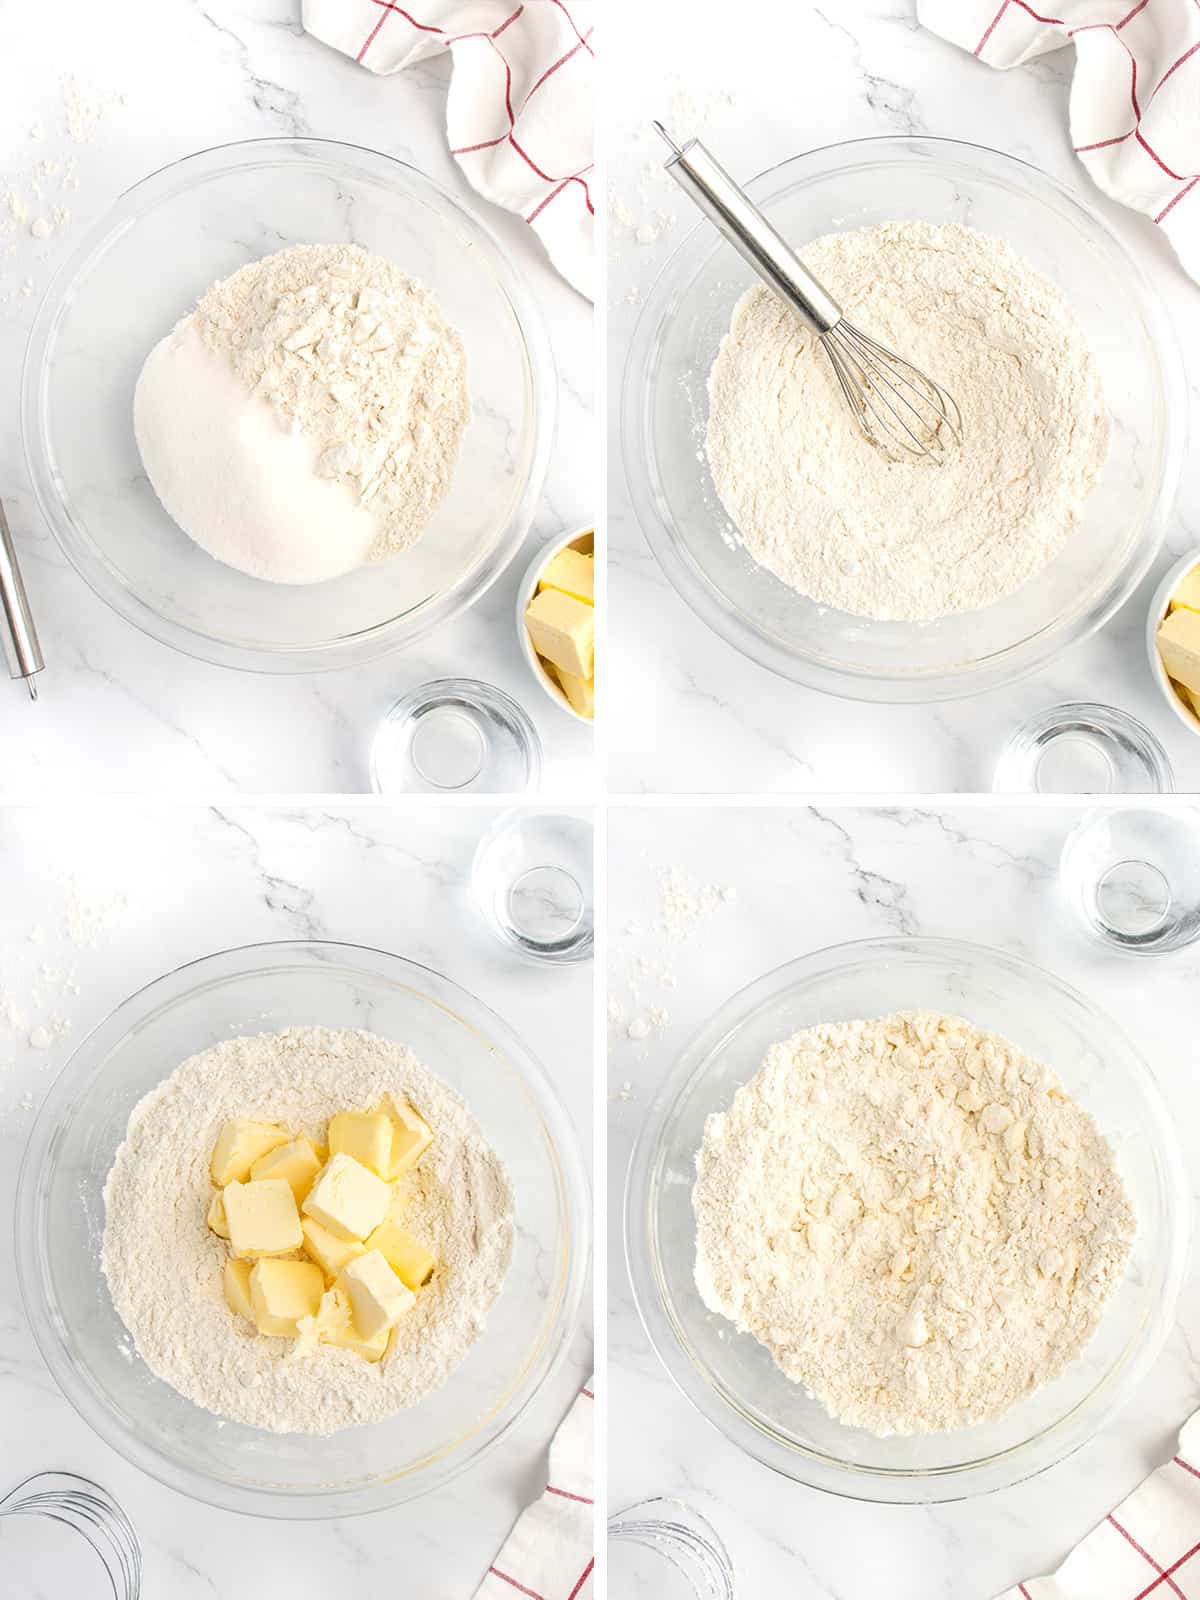
In a large bowl, whisk together the flour and sugar. Cut in the butter with a pastry blender or two knives until mixture is crumbly. Add the water and knead with your hands until well combined.
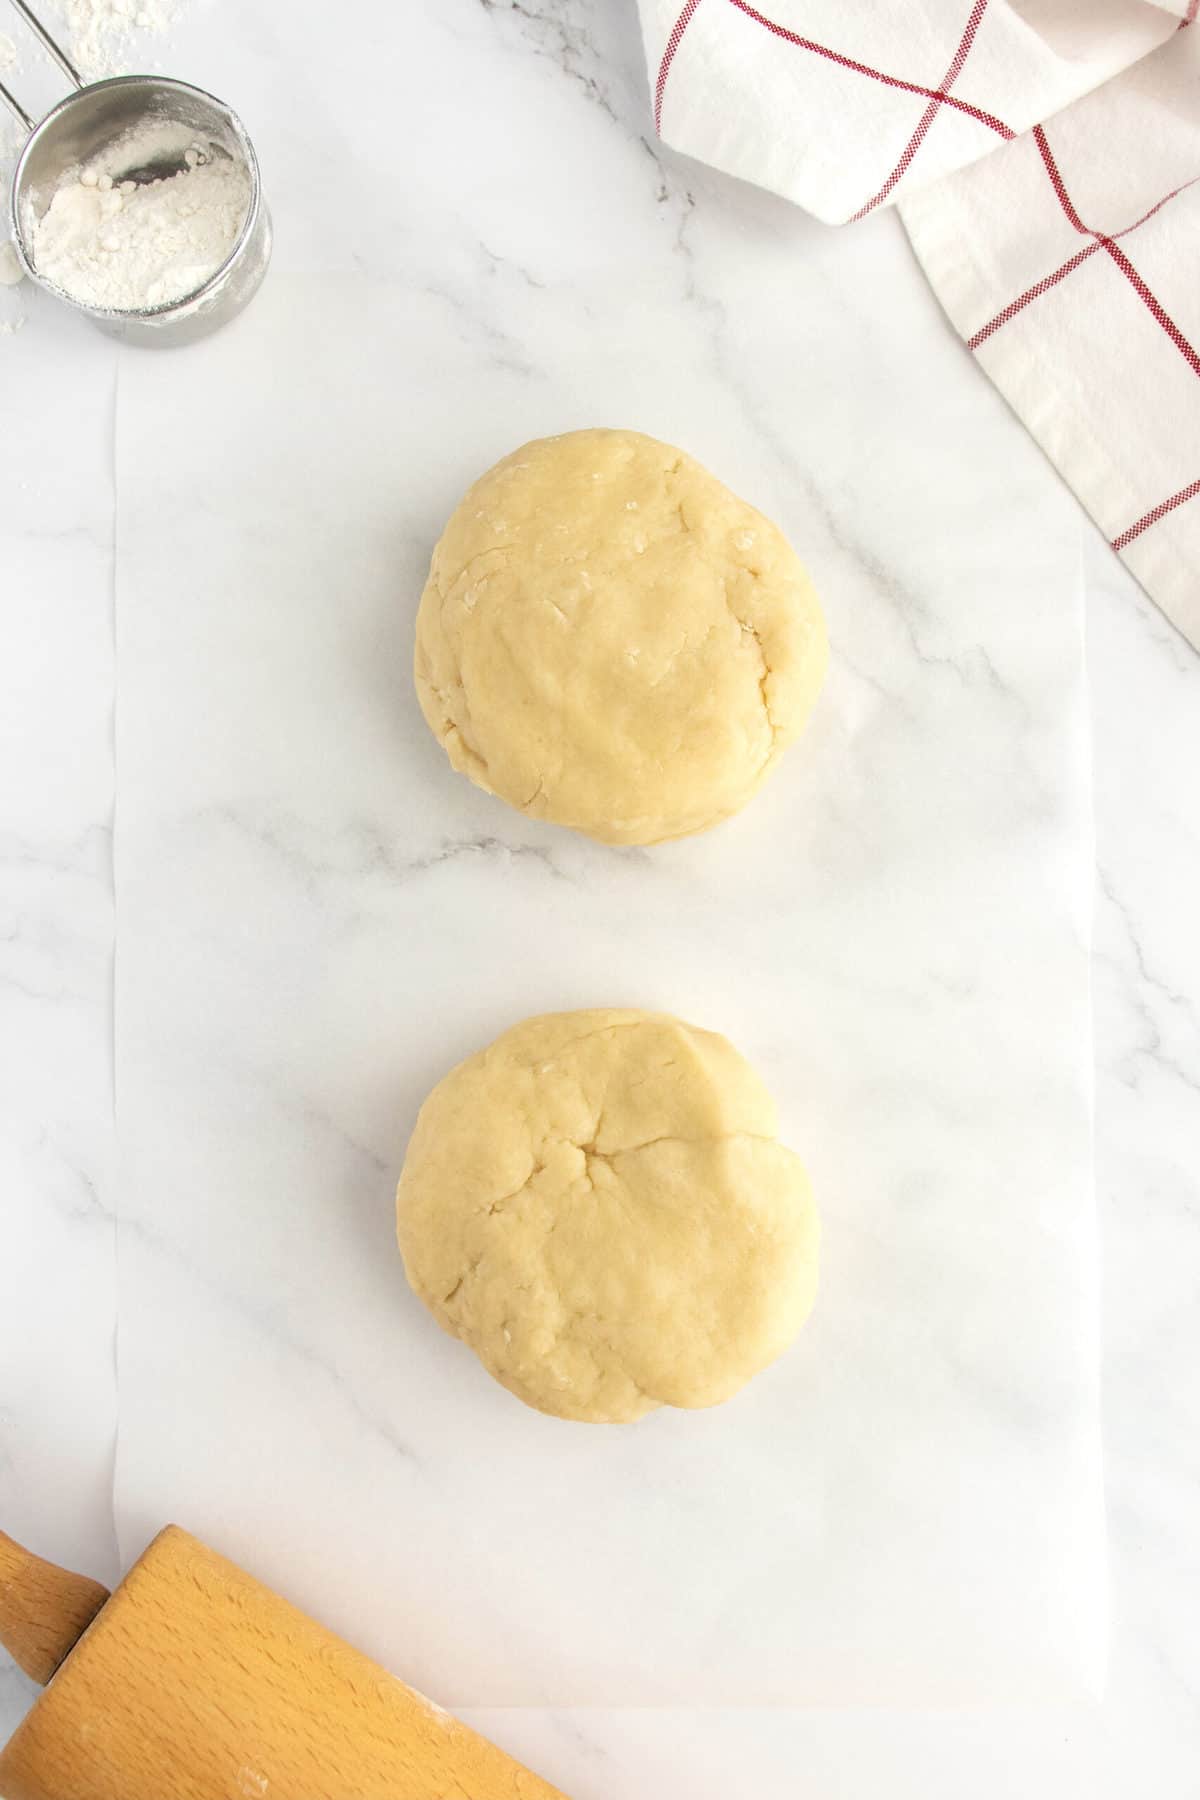
Divide dough into two equal balls. Flatten each ball of dough slightly and wrap with plastic wrap. Place in the refrigerator for 30 minutes. While the dough is chilling, preheat the oven to 400°F.
Assemble the Pie
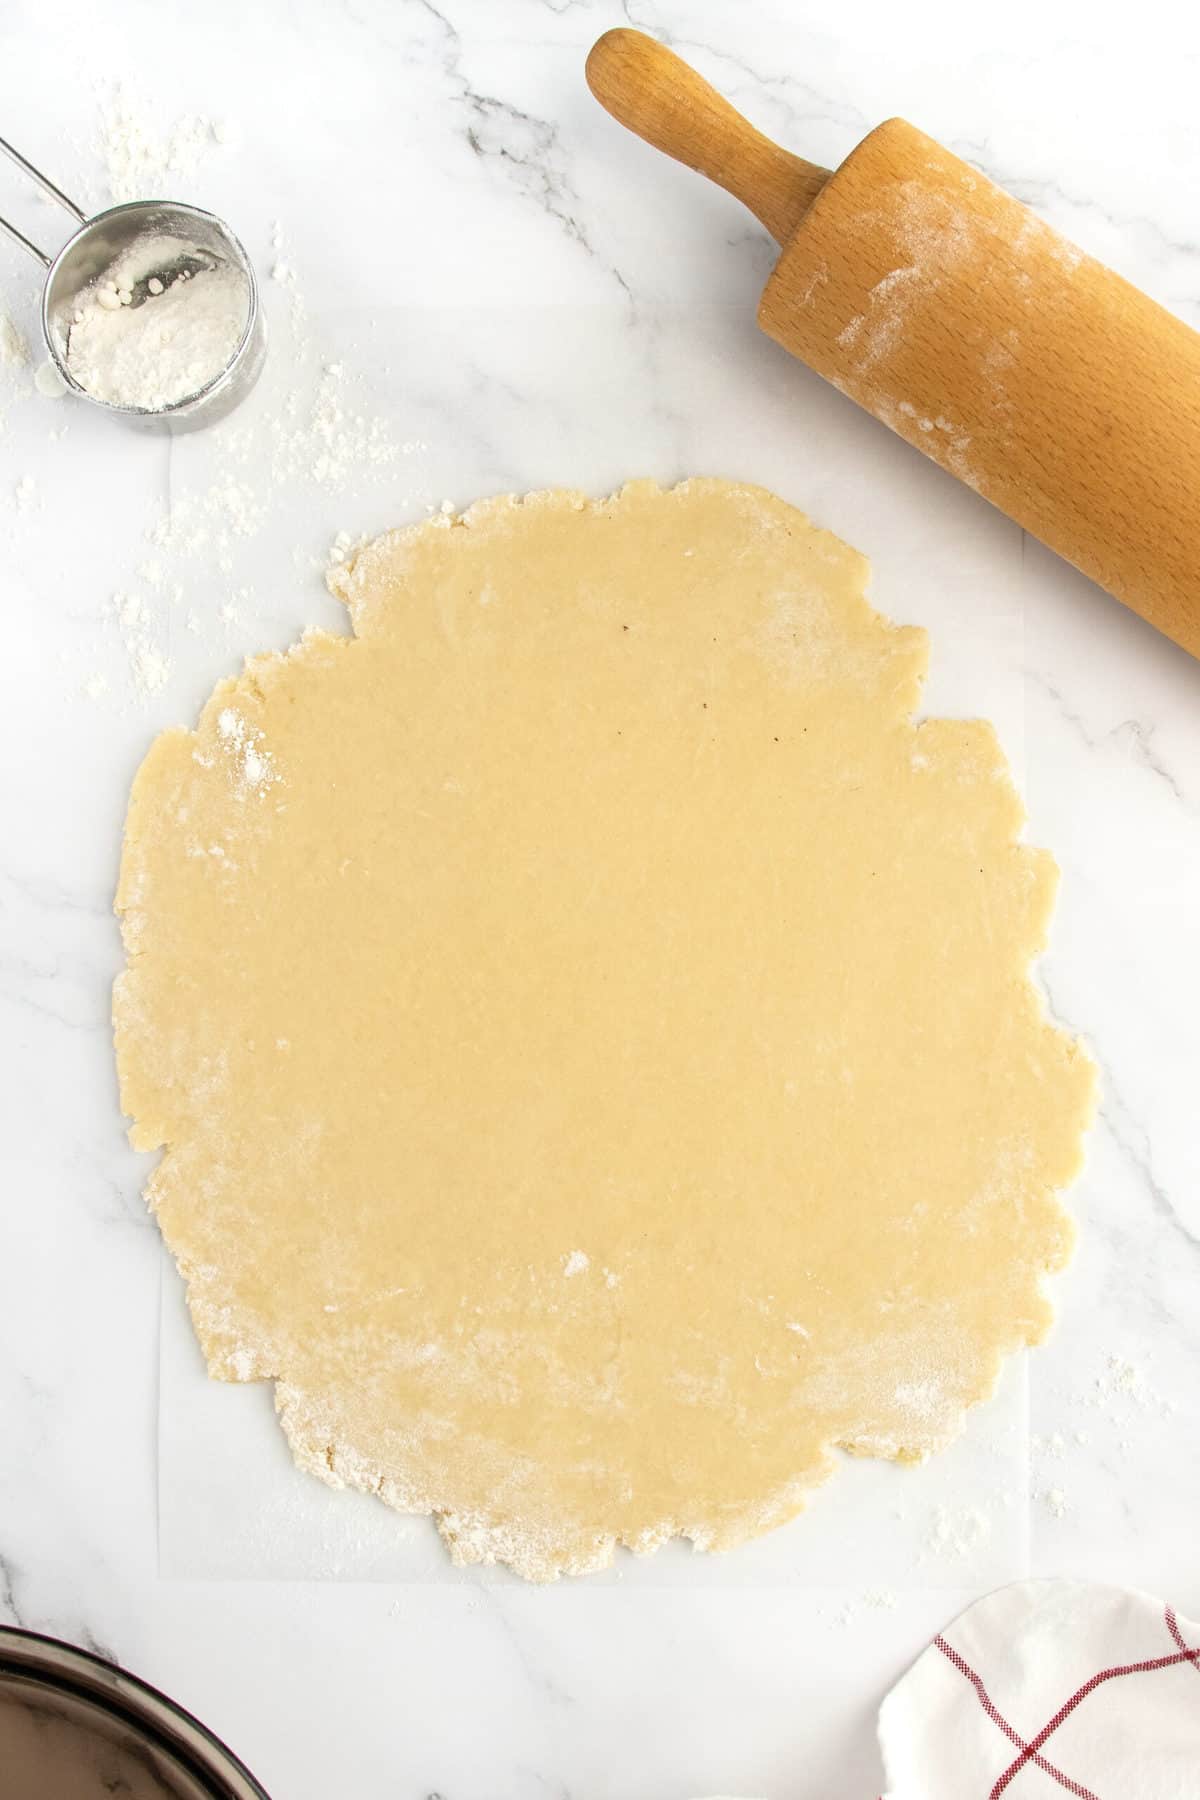
Remove the dough from the refrigerator and let set while you prep the work surface. On a lightly floured surface using a floured rolling pin, roll each ball of dough into a disc that is about 1-inch larger than the pie plates. Check for size by inverting the pie plate over the rolled out disc of dough to measure for a 1-inch edge surrounding the pie plate. The disc should be about 1/8-inch thick.
Transfer the dough to the pie plate by gently rolling the dough up around your rolling pin and then placing the rolling pin on one side of the pie plate and rolling it into the plate. Press down and around to make the dough fit the pie plate and hang over the sides.
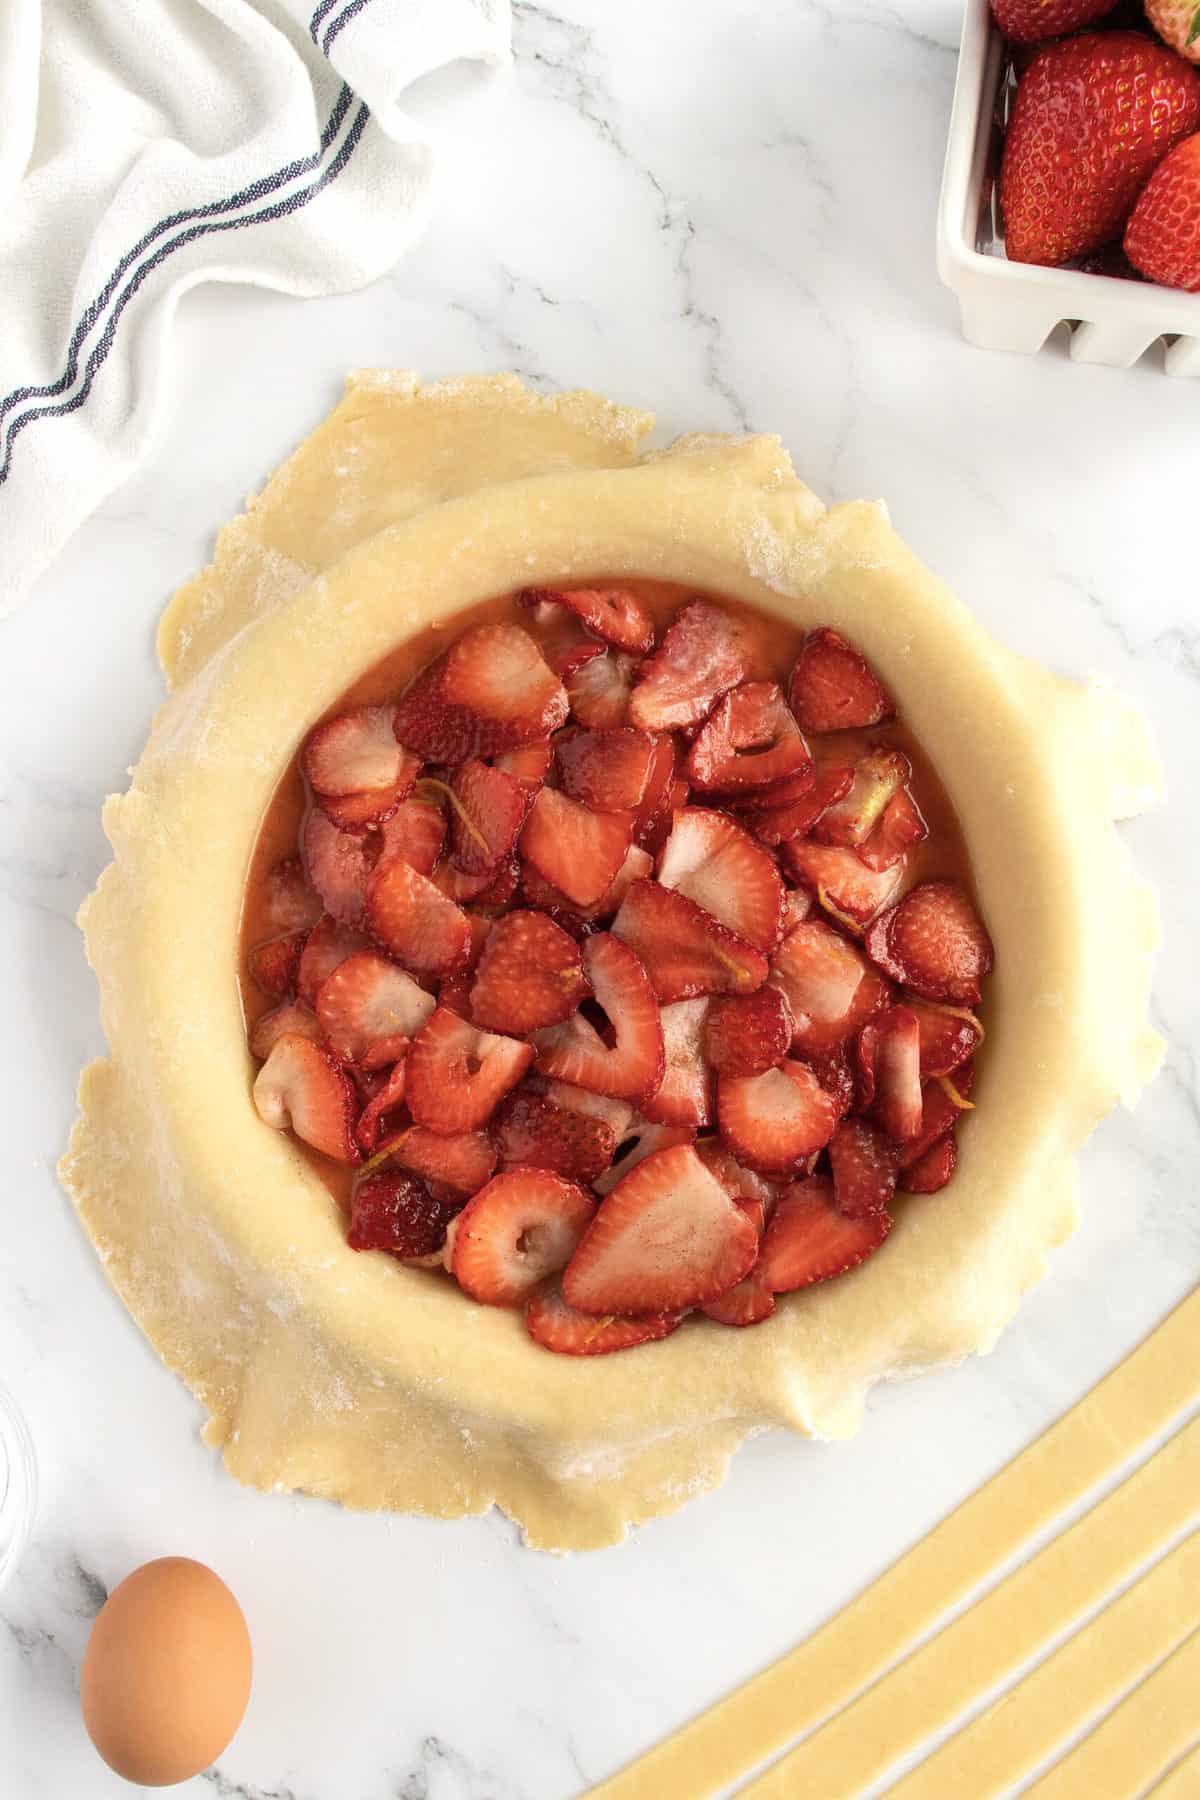
Fill the pie crust in the pie plate with the strawberry filling.
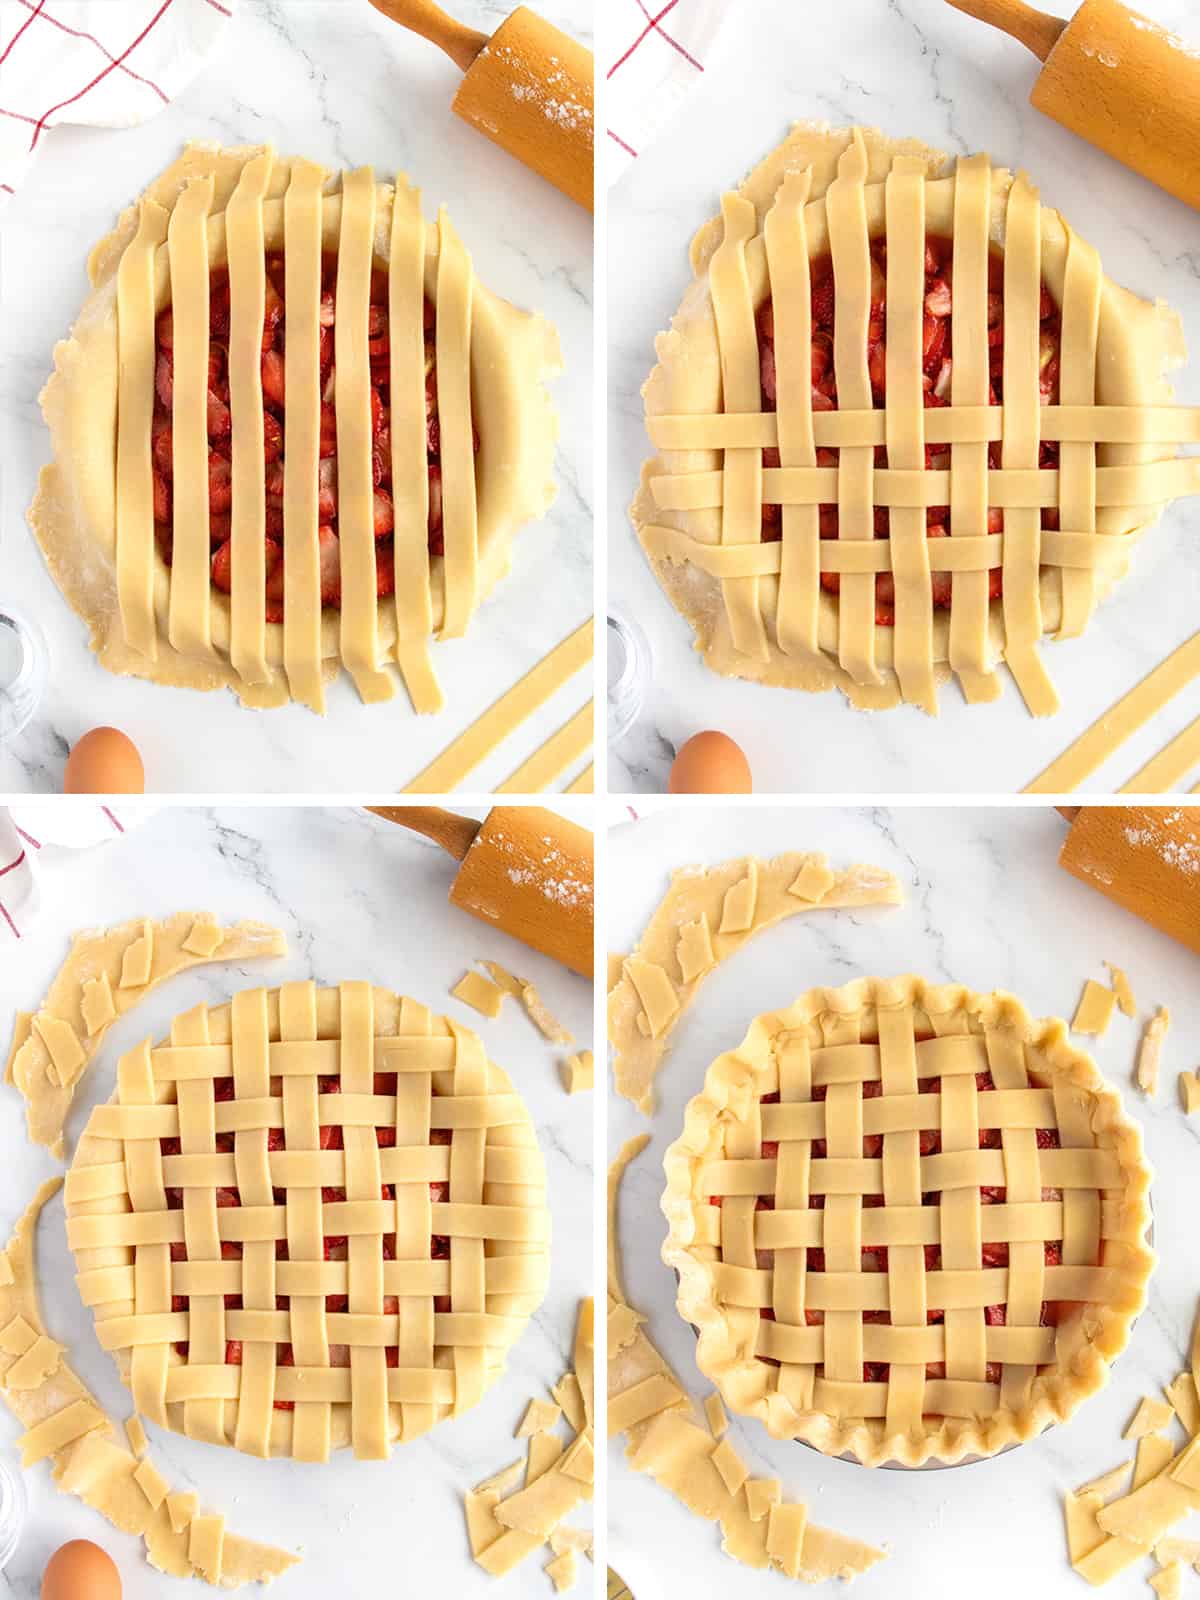
After placing the first crust in the pie plate and filling it, cut the second rolled out crust into about 1/2-inch wide strips (you should get about 12 strips). Lay half of the strips across the top of the strawberry pie filling, leaving about 1/2-inch between each strip. Try to place the longer strips in the middle of the pie. Weave the remaining strips, one at a time, with the first set of strips to form the lattice. Start on one side of the pie and work your way to the other side, spacing each strip about 1/2-inch apart. Trim the ends of each strip even with the edge of the pie plate. Fold over the hanging dough from the first crust to cover the ends of the strips. Then flute the edges to seal and secure them.
In a small bowl, whisk together the egg and 1 tablespoon water. Brush over the top and edges of the latticed pie. Sprinkle evenly with 1 teaspoon sugar.
Bake the Pie
To bake, place the pie on a rimmed baking sheet and bake for 40 minutes at 400 degrees, rotating the baking sheet halfway through the baking time. If the top or edges of the crust are starting to brown before the filling is bubbling, tint the pie with foil and continue to bake until the crust is golden brown and the strawberry filling is bubbling.
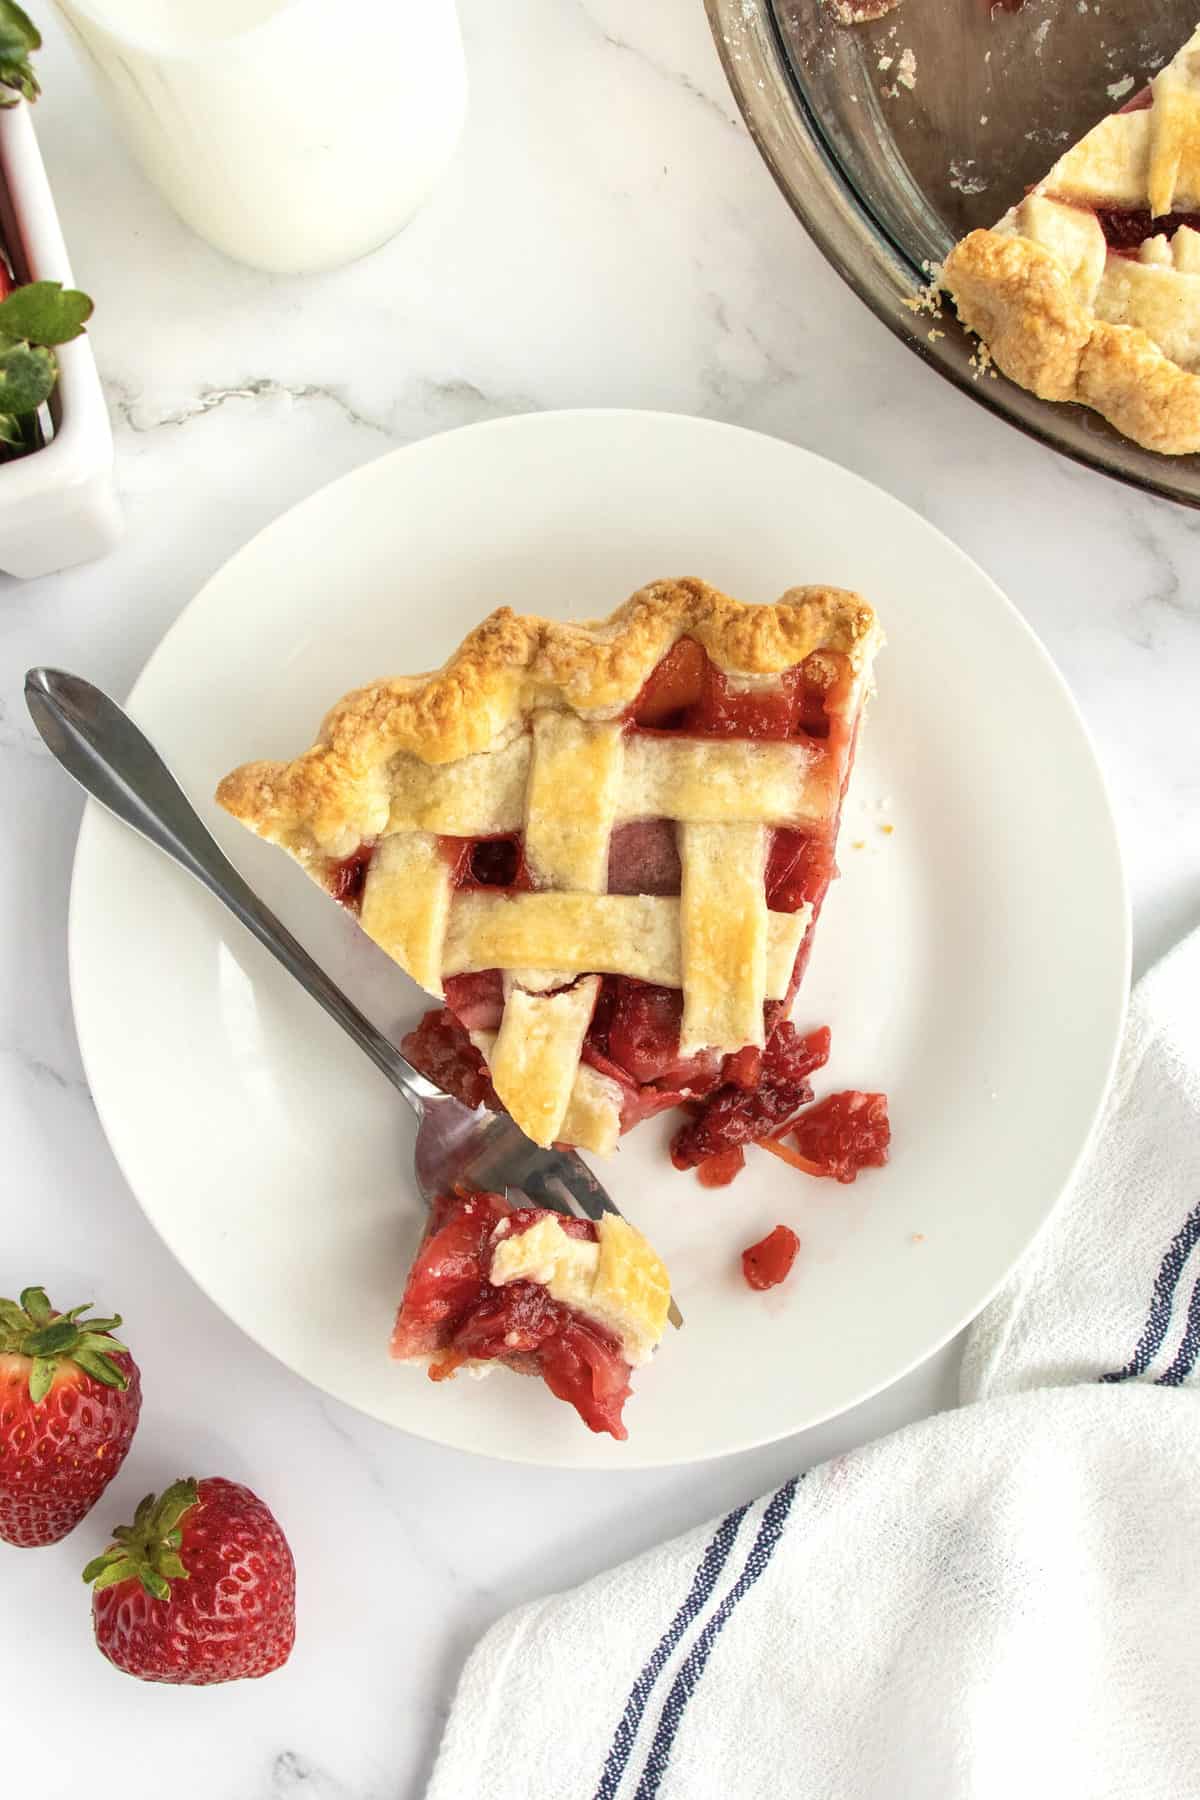
Remove from the oven and let pie cool on a wire rack for at least 1 hour before slicing and serving. Store leftover strawberry pie at room temperature, covered in plastic wrap, for up to 2 days or in the refrigerator for up to 5 days
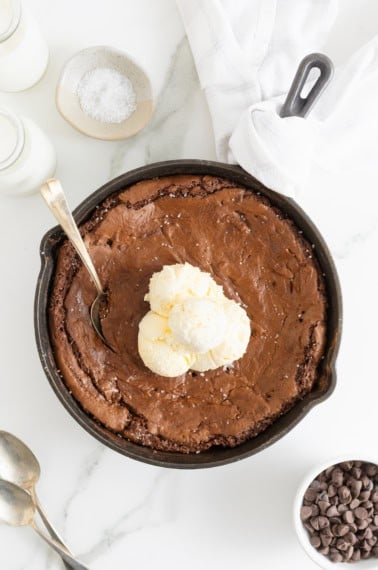
More Pies You’ll Love
A stunning double-crusted Fresh Cherry Pie makes a show-stopping summer dessert! A scratch-baked Pumpkin Cream Pie that really is as “easy as pie” and would be the perfect ending to your Thanksgiving feast! Deliciously sweet apples are mounded in a flaky crust and topped with an irresistible nutty streusel. It’s homemade goodness at its very best in Mom’s Special Apple Pie!
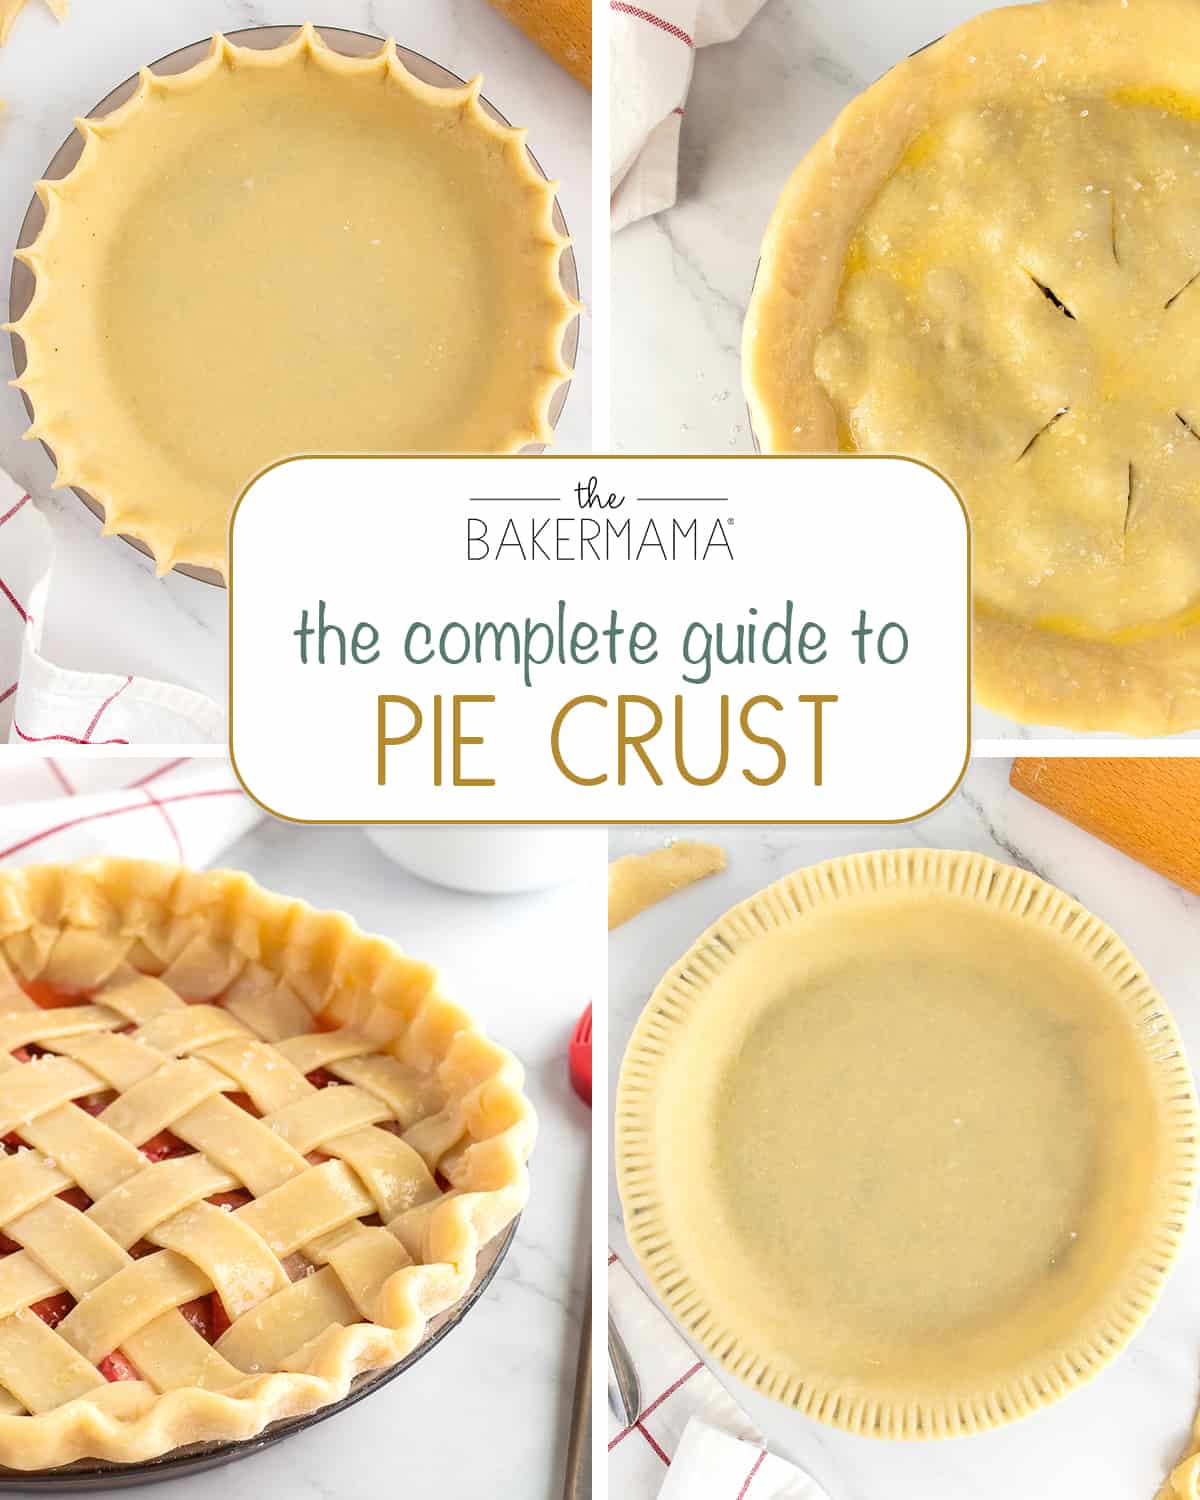
The Complete Guide to Pie Crust
Take the mystery out of making pies once and for all with The Complete Guide to Pie Crust! I’ll take you step-by-step from making the dough to baking picture-perfect pies.
If you make this Fresh Strawberry Pie, be sure to snap a picture and share it with me or tag me on Instagram @thebakermama so I can see.  I love seeing how inspired and creative y’all get with the recipes I share. Enjoy!
xoxo,


Fresh Strawberry Pie
- Cook Time: 40 minutes
- Total Time: 40 minutes
- Yield: 1 (9-inch) pie
Description
Nothing celebrates the sweetness of summer like a beautiful and delicious Fresh Strawberry Pie. From the flaky crust to the tender strawberry filling, it’s the mouth-watering flavor that summer memories are made of!
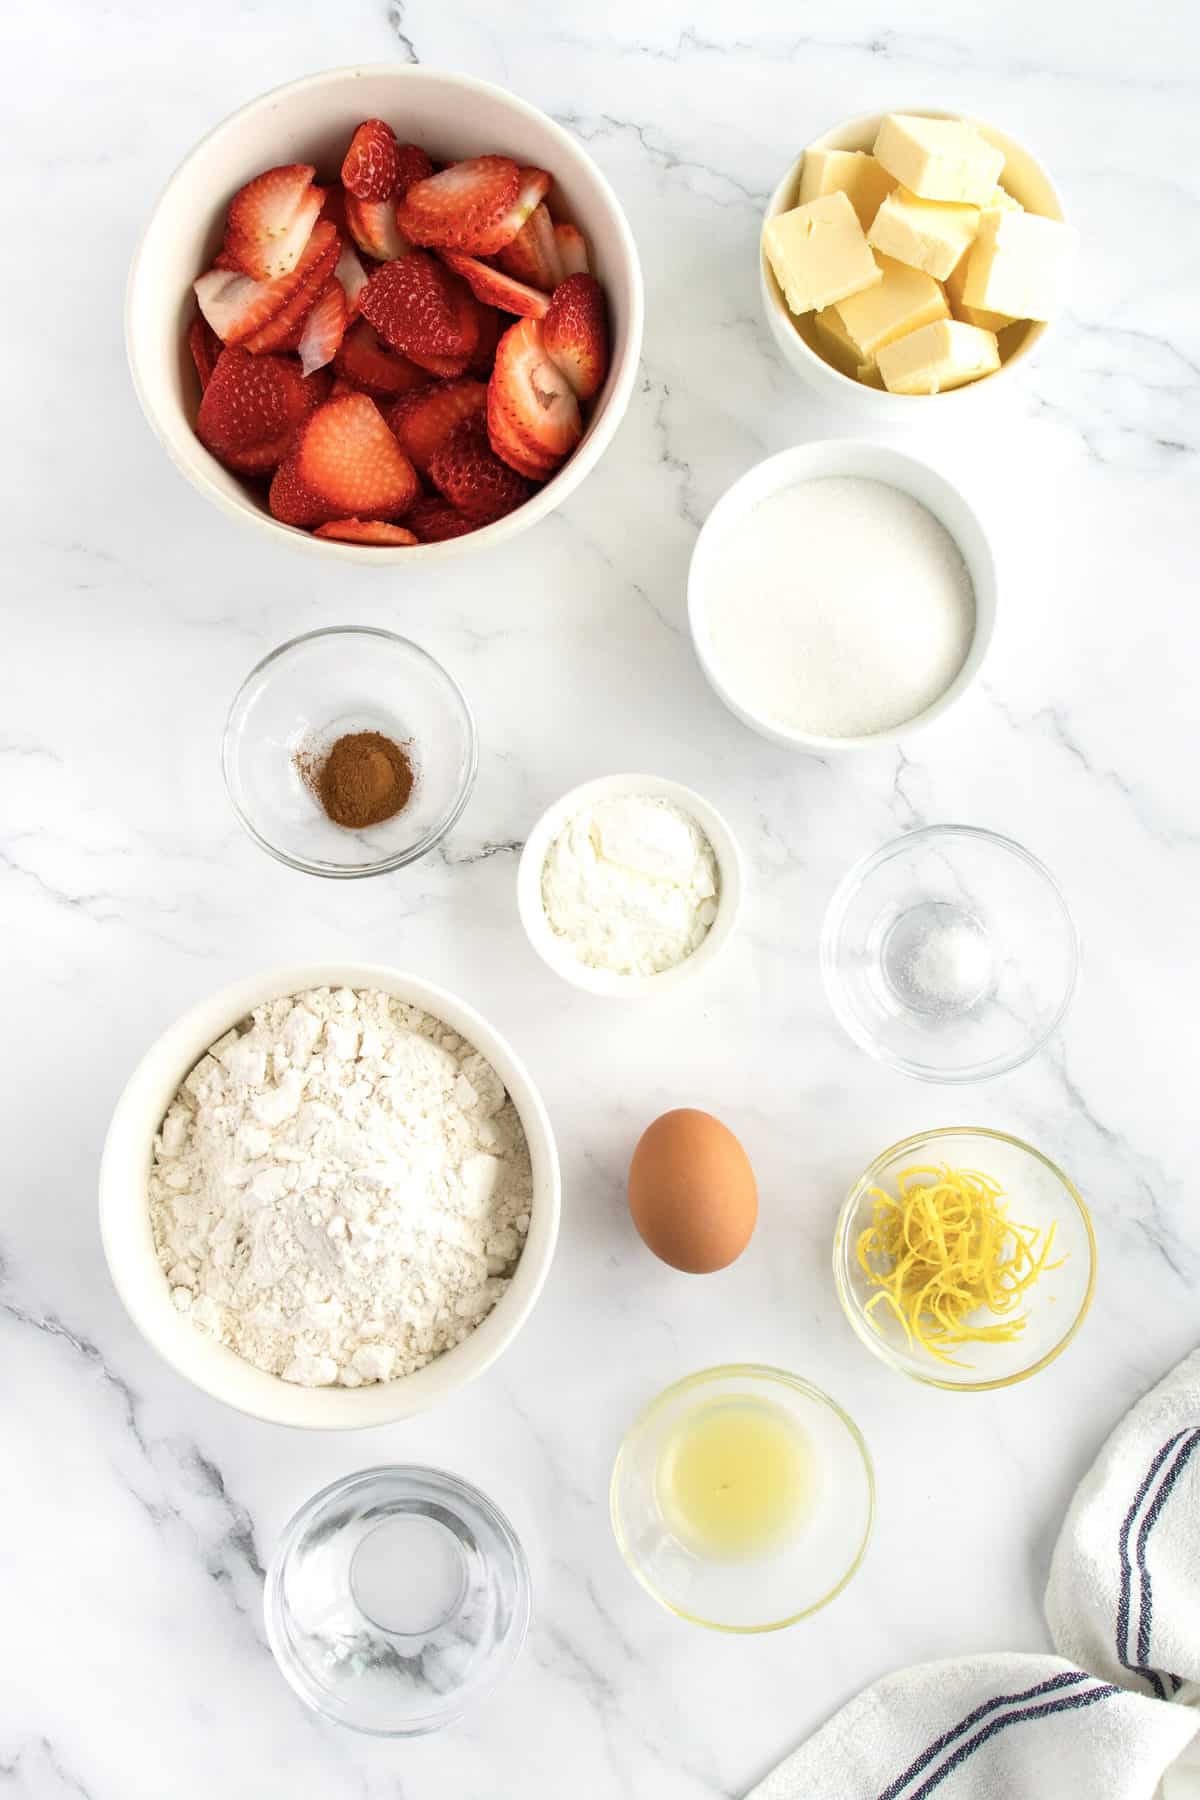
Ingredients
Crusts:
- 2 and 1/2 cups all-purpose flour
- 1/2 cup granulated sugar
- 1 cup (2 sticks) unsalted butter, cold & cubed
- 1/4 cup cold water
Filling:
- 5 cups sliced fresh strawberries
- zest of half a lemon
- 1 tablespoon lemon juice
- 1/4 cup cornstarch
- 1/2 cup granulated sugar
- 1/2 teaspoon ground cinnamon
- Pinch of salt
Topping:
- 1 large egg, beaten
- 1 tablespoons water
- 1 teaspoon granulated sugar
Instructions
- In a large mixing bowl, stir together the sliced strawberries, lemon zest, lemon juice, cornstarch, granulated sugar, cinnamon and salt. Gently toss together until the cornstarch has disappeared. Cover with plastic wrap and let the strawberry filling set in the bowl while you prepare the crusts.
- To make the pie crusts: Generously butter a 9-inch pie plate and set aside.
- In a large bowl, whisk together the flour and sugar. Cut in the butter with a pastry blender or two knives until mixture is crumbly. Add the water and knead with your hands until well combined. Divide dough into two equal balls.
- Flatten each ball of dough slightly and wrap with plastic wrap. Place in the refrigerator for 30 minutes.
- While the dough is chilling, preheat the oven to 400°F.
- Remove the dough from the refrigerator and let set while you prep the work surface. On a lightly floured surface using a floured rolling pin, roll each ball of dough into a disc that is about 1-inch larger than the pie plates. Check for size by inverting the pie plate over the rolled out disc of dough to measure for a 1-inch edge surrounding the pie plate. The disc should be about 1/8-inch thick.
- Transfer the dough to the pie plate by gently rolling the dough up around your rolling pin and then placing the rolling pin on one side of the pie plate and rolling it into the plate. Press down and around to make the dough fit the pie plate and hang over the sides.
- Fill the pie crust in the pie plate with the strawberry filling.
- After placing the first crust in the pie plate and filling it, cut the second rolled out crust into about 1/2-inch wide strips (you should get about 12 strips). Lay half of the strips across the top of the strawberry pie filling, leaving about 1/2-inch between each strip. Try to place the longer strips in the middle of the pie. Weave the remaining strips, one at a time, with the first set of strips to form the lattice. Start on one side of the pie and work your way to the other side, spacing each strip about 1/2-inch apart. Trim the ends of each strip even with the edge of the pie plate. Fold over the hanging dough from the first crust to cover the ends of the strips. Then flute the edges to seal and secure them.
- In a small bowl, whisk together the egg and 1 tablespoon water. Brush over the top and edges of the latticed pie. Sprinkle evenly with 1 teaspoon sugar.
- Place pie on a rimmed baking sheet and bake for 40 minutes, rotating the baking sheet halfway through the baking time. If the top or edges of the crust are starting to brown before the filling is bubbling, tint the pie with foil and continue to bake until the crust is golden brown and the strawberry filling is bubbling.
- Remove from the oven and let pie cool on a wire rack for at least 1 hour before slicing and serving.
Notes
Store at room temperature, covered in plastic wrap, for up to 2 days or in the refrigerator for up to 5 days


I do GCSE home economics and for our final test we need to make a three course meal with a side. I made this pie with custard this morning to test it before finalising my menu… and it came out great! Had 0 structural integrity, but that one’s on me cause I made a few mistakes. Very clear recipe and tasted great, thank you! I definitely need some revisions, but it’s a wonderful recipe and the cinnamon added an amazing aroma and flavour that I wouldn’t never thought of because I associate cinnamon with apples.
Hi, Ciarán! Thank you so much for sharing! Good luck with your final test. I can’t wait to hear how it comes out!
Could I use frozen strawberries? I ask because I have some frozen whole strawberries to use up. Also, could this be made ahead of time and frozen, then cooked at a later date? How would that work if I froze in advance? Just thaw then cooked?
Hi Lisa! You can definitely use frozen strawberries, but I would recommend letting them defrost first and then draining off any excess liquid before proceeding with the recipe. To freeze the prepared pie (unbaked), wrap the pie tightly in plastic wrap and then place it in a freezer bag for up to 3 months. Thaw the frozen pie in the refrigerator overnight and then proceed with baking. To freeze the baked pie, let it cool completely, wrap the pie tightly in plastic wrap and then place it in a freezer bag for up to 3 months. Thaw the frozen pie in the refrigerator overnight. You can then bake the thawed pie in a 350°F preheated oven for 5-10 minutes to crisp up the crust. I hope this helps and that y’all enjoy!
Surprisingly really really good! I expected something along the lines of a less flavorful cherry pie but it was much better than I thought! It’s got all the warm flavors of summer and I had to stop myself from having 2 slices in one day lol! Awesome recipe and I’ll definitely be using it again.
Hi Denise! I’m so happy to hear you enjoyed it so much! It truly is such a flavorful and comforting summer pie. I hope you get to enjoy it again and often! 🙂
I only made the filling and can’t comment on the crust (I have the world’s best crust recipe). But the filling is 5 stars! I used 6 cupsnof strawberries and less sugar, as we like pies to taste like their berry filling, not sugar. My husband says it is the best pie he’s ever had, and he has had a lot over his life! NOTE: Do not butter the pie tin. I never do, but tried it since the recipe said to. UGH! What a MESS! grease comes up over the edges…grease everywhere!
Hi! I’m so glad you enjoyed it. I wonder if your pie crust recipe has less butter and that’s why you ran into that problem? It’s never happened to me! But so glad you enjoyed the pie filling!
Easy, great pastry, will make this many more times. Delicious.
Hi, Judith! So happy you enjoyed it!
I made this pie exactly to the recipe. it’s in the garbage.
Wow! That’s a very vague response/review for something that ended up in the trash. I have a hard time believing you followed the ingredients and instructions exactly if it turned out that bad as this recipe has been baked and enjoyed by many with great success. It’s one of our family’s favorite pies and it always bakes to perfection!!