
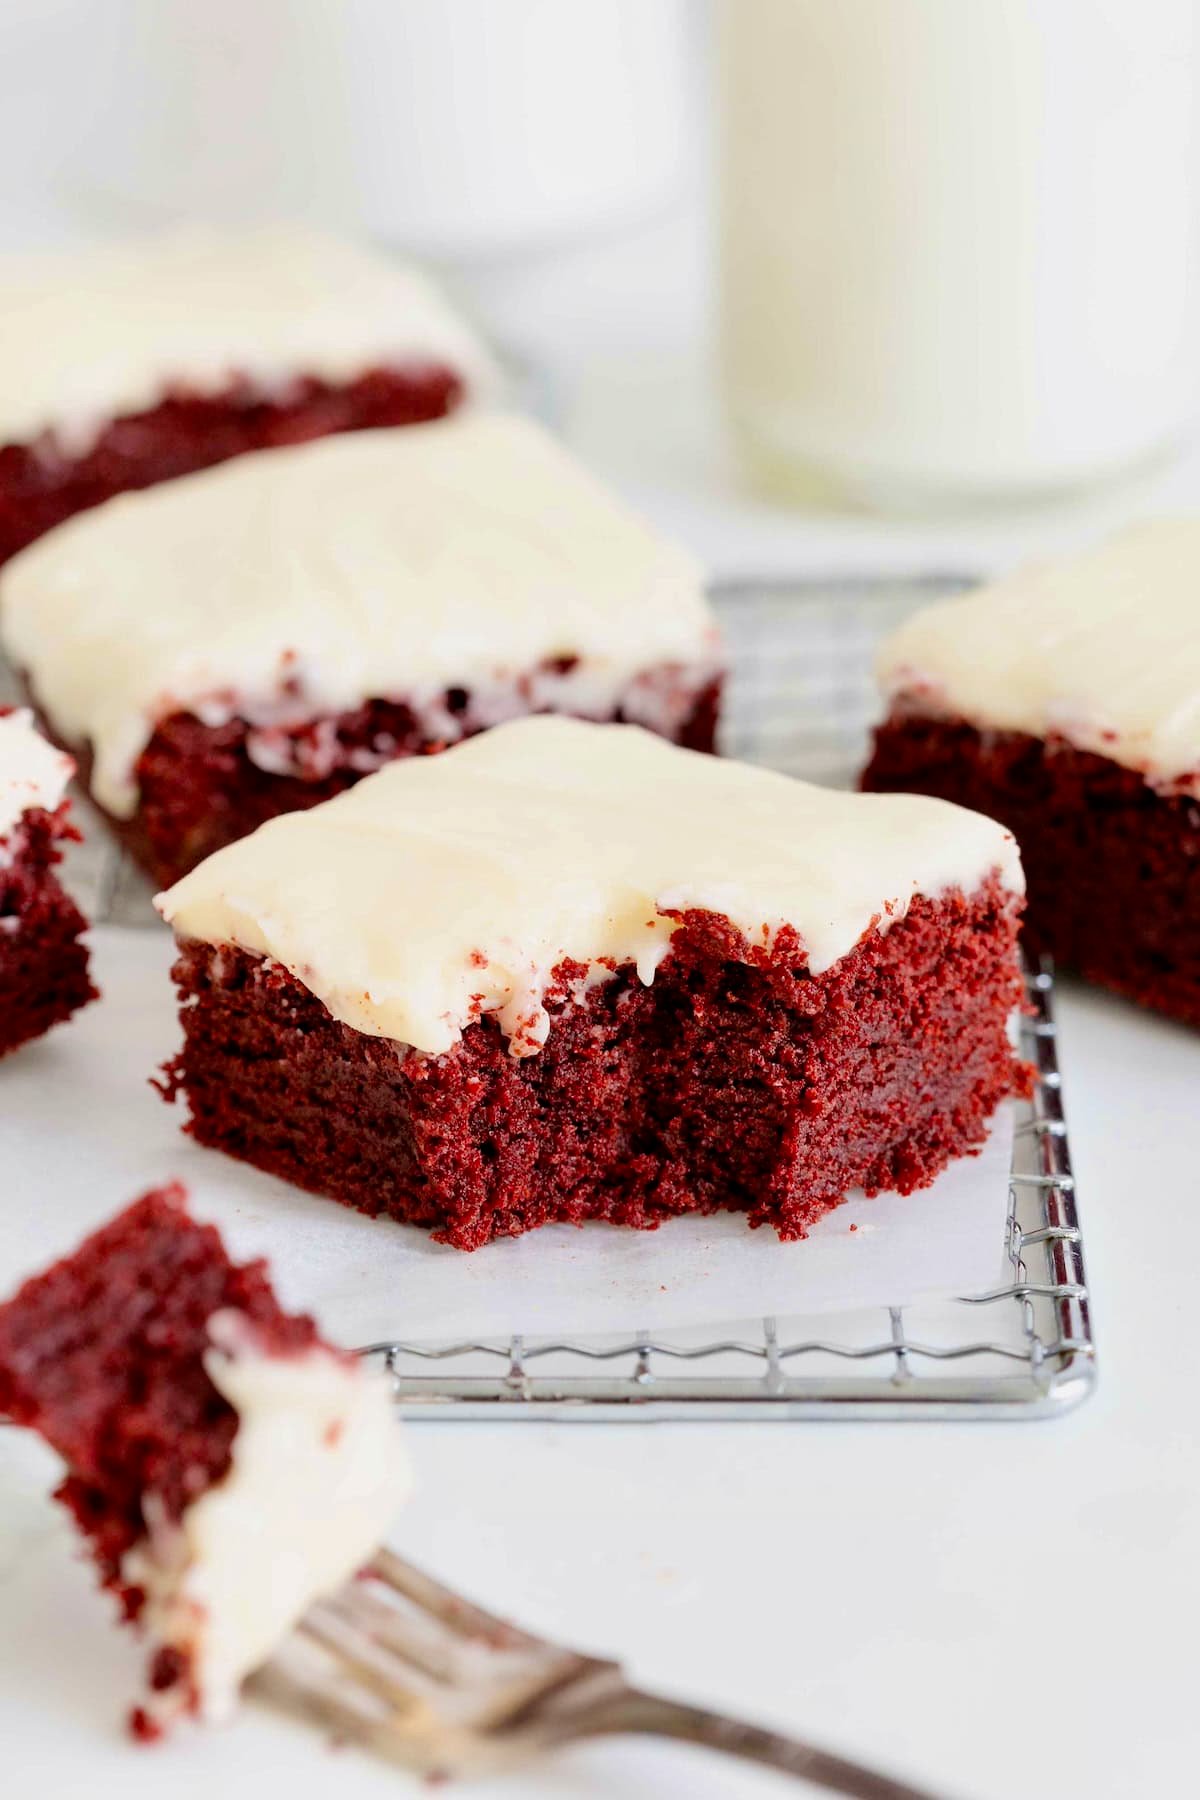
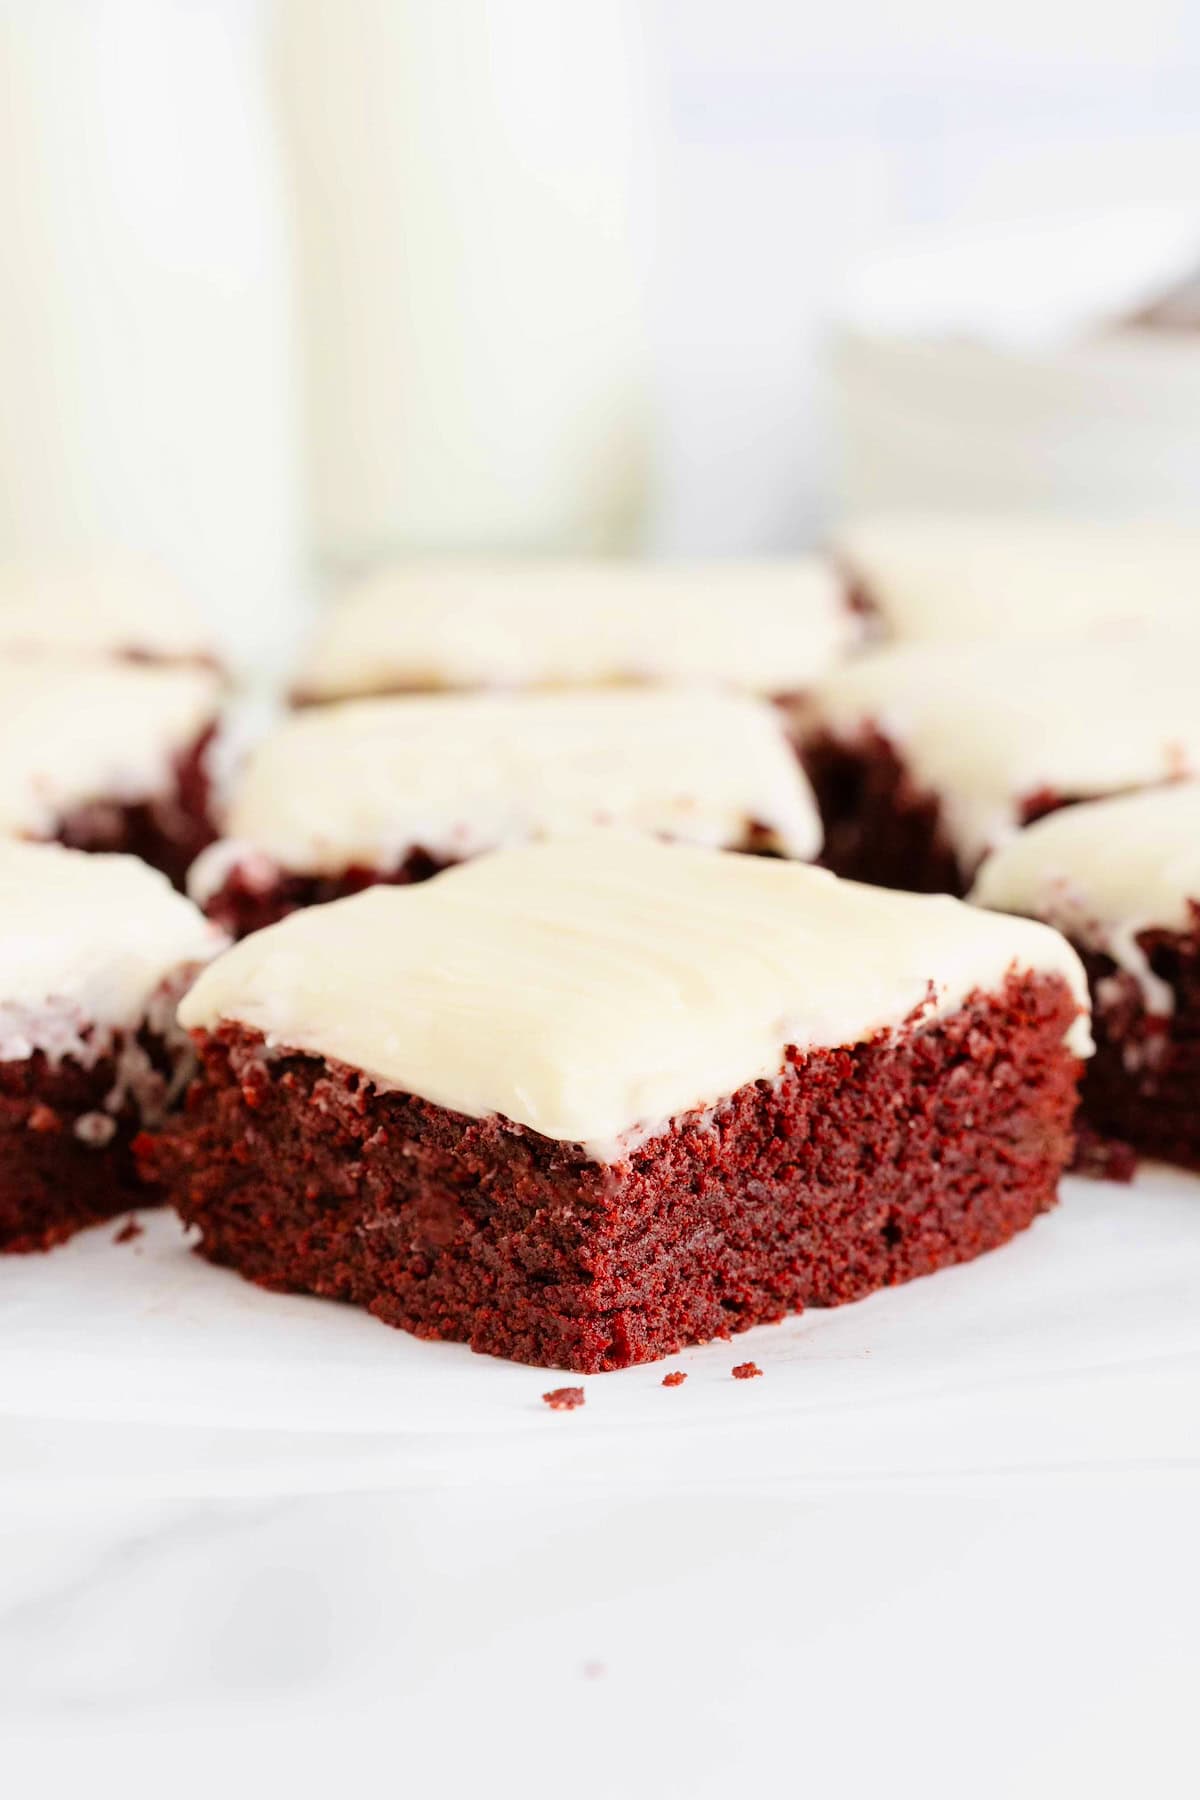
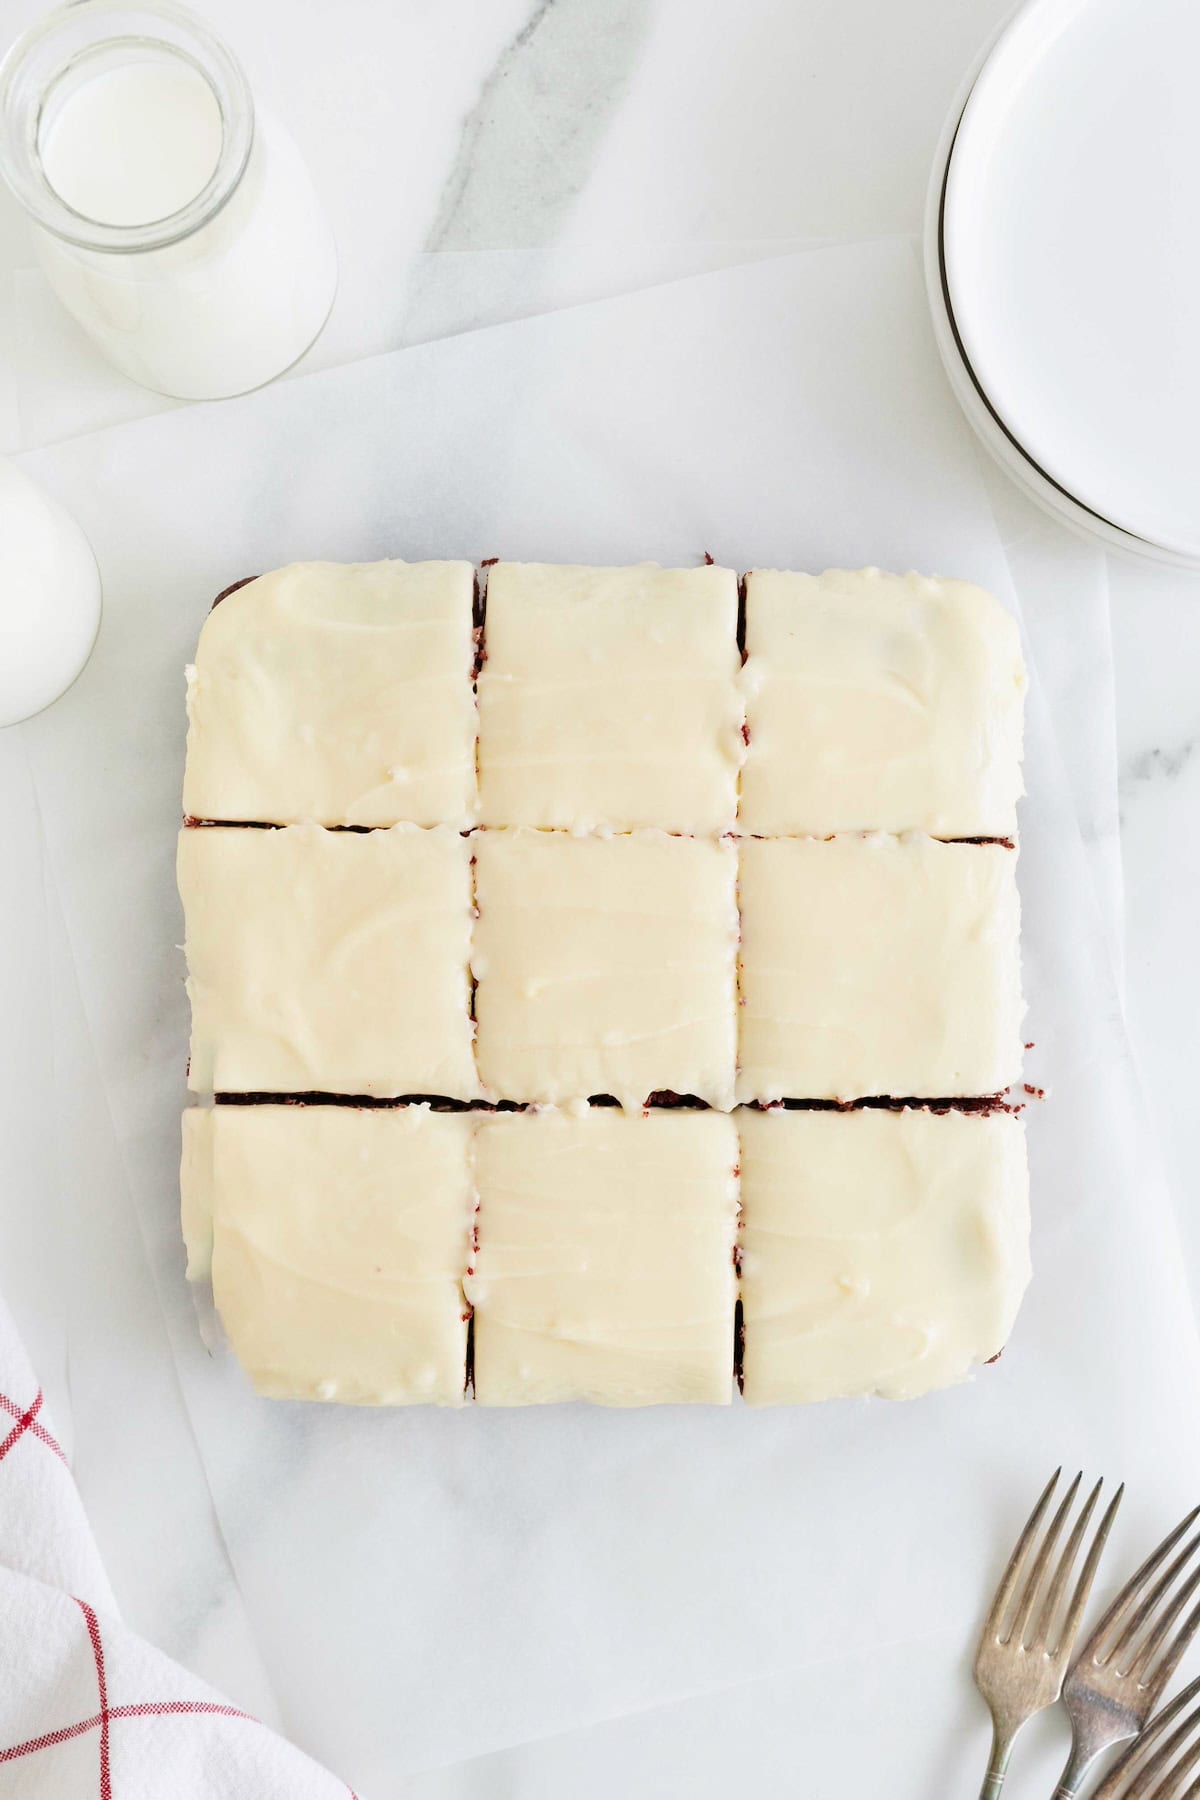
Rich fudge brownies made festive with a tint of red and dreamy cream cheese frosting make these Red Velvet Brownies pure brownie bliss!
The Cure for the Craving
These Red Velvet Brownies with Cream Cheese Frosting are nothing short of fabulous! They’re easy and fun to make and just perfect to take to a party or just to have on the kitchen counter to answer those chocolate cravings.
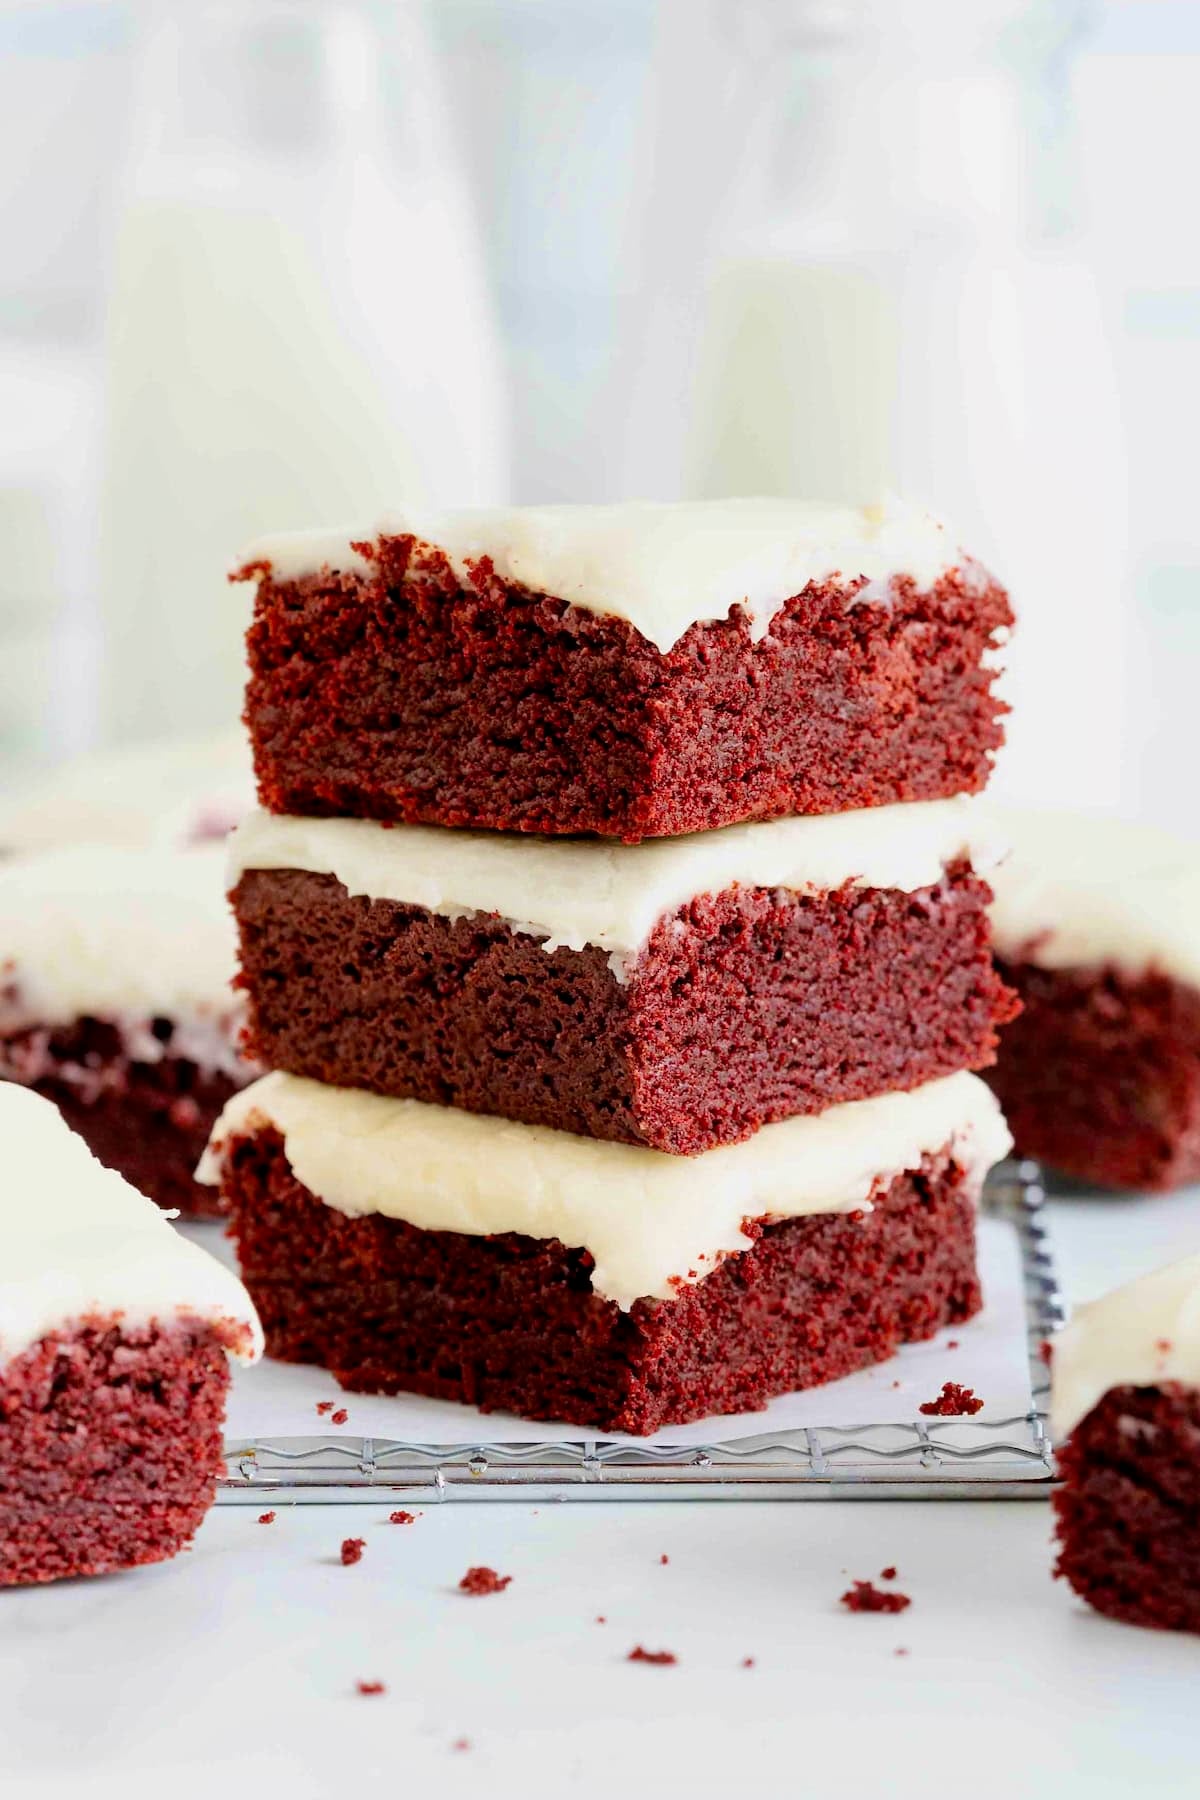
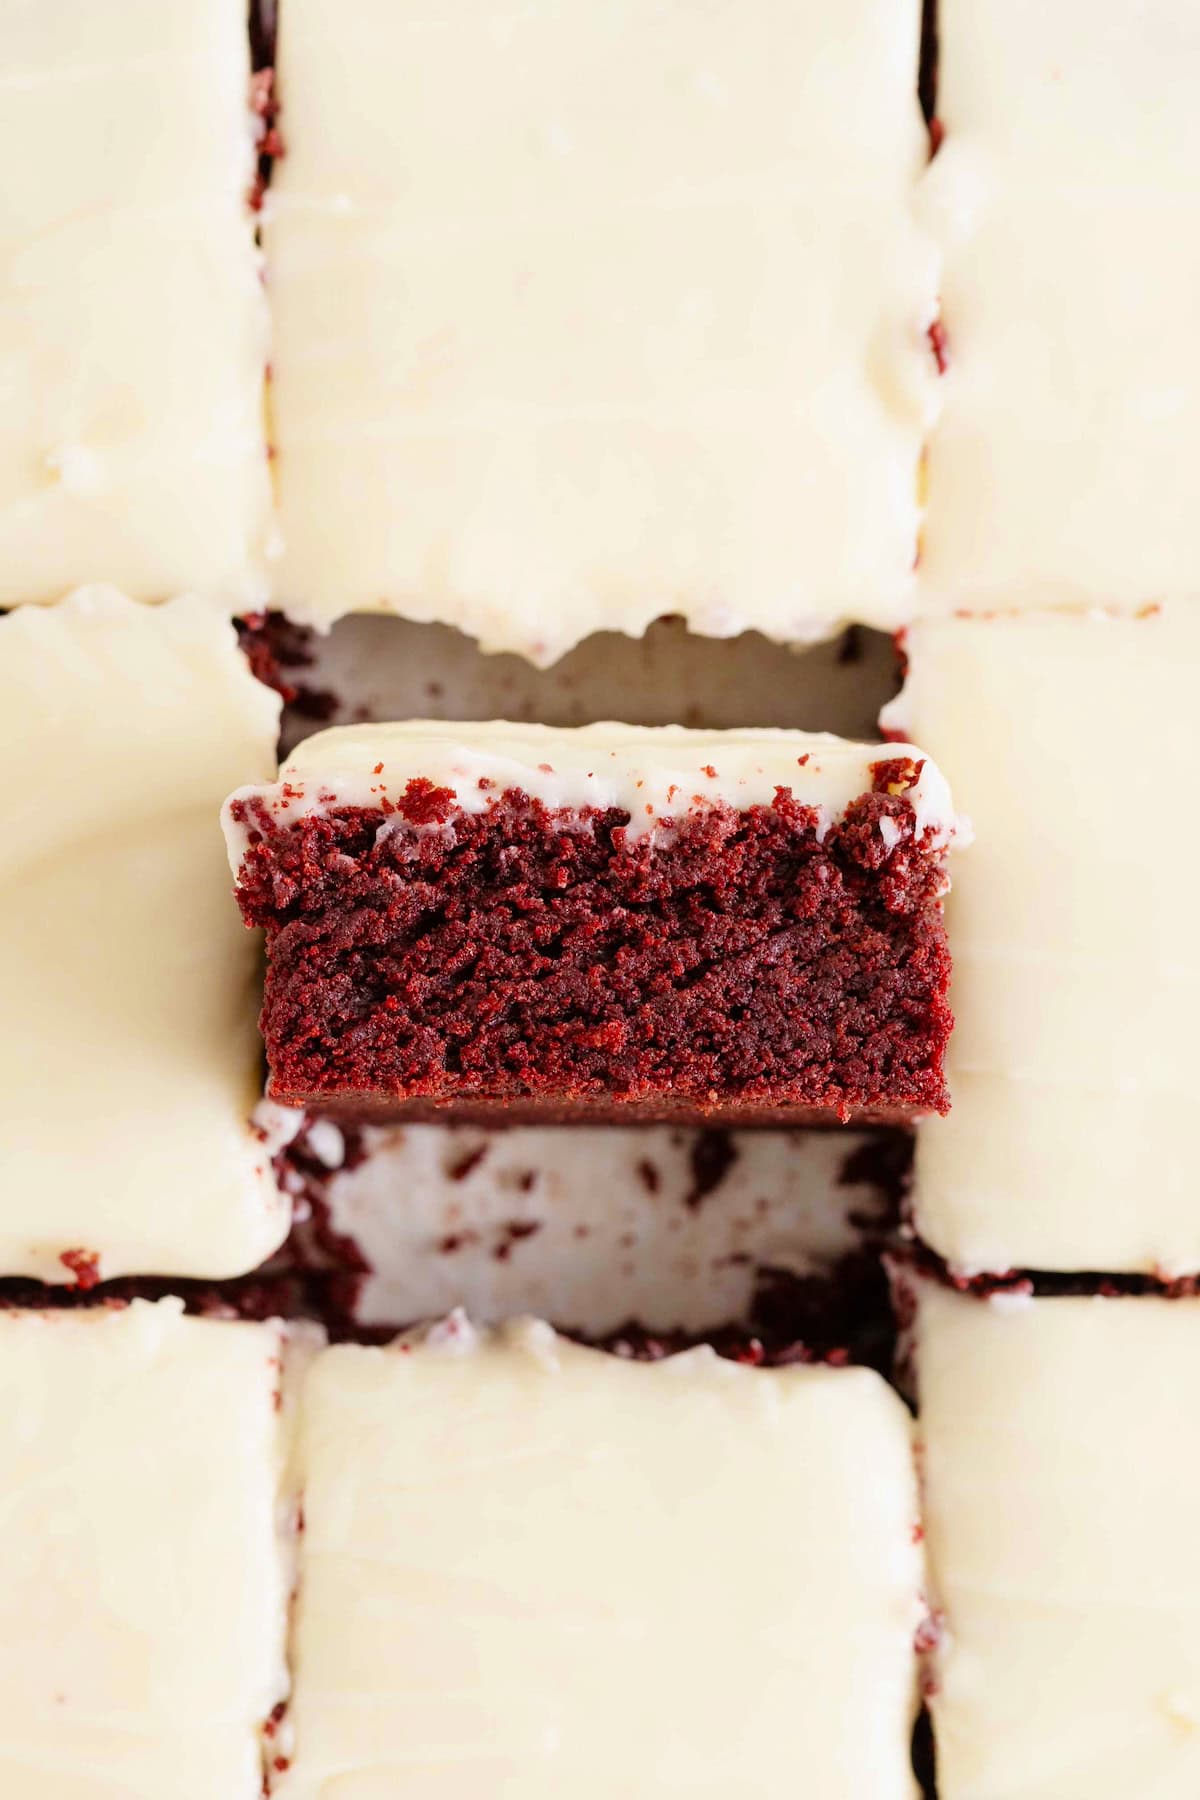
Soft and fudgy like a really good brownie, with a distinct red color and a sweet, tangy frosting, these brownies are my red velvet cake recipe‘s even more chocolatey cousin. They’re so full of chocolate flavor and the cream cheese frosting is the perfect complement to the moist, rich brownie.
Ingredients and Supplies
(see recipe card at the bottom of this post for measurements and details. To learn more about specific baking ingredients and how they function in baking recipes, reference my Complete Guide to Baking Ingredients)
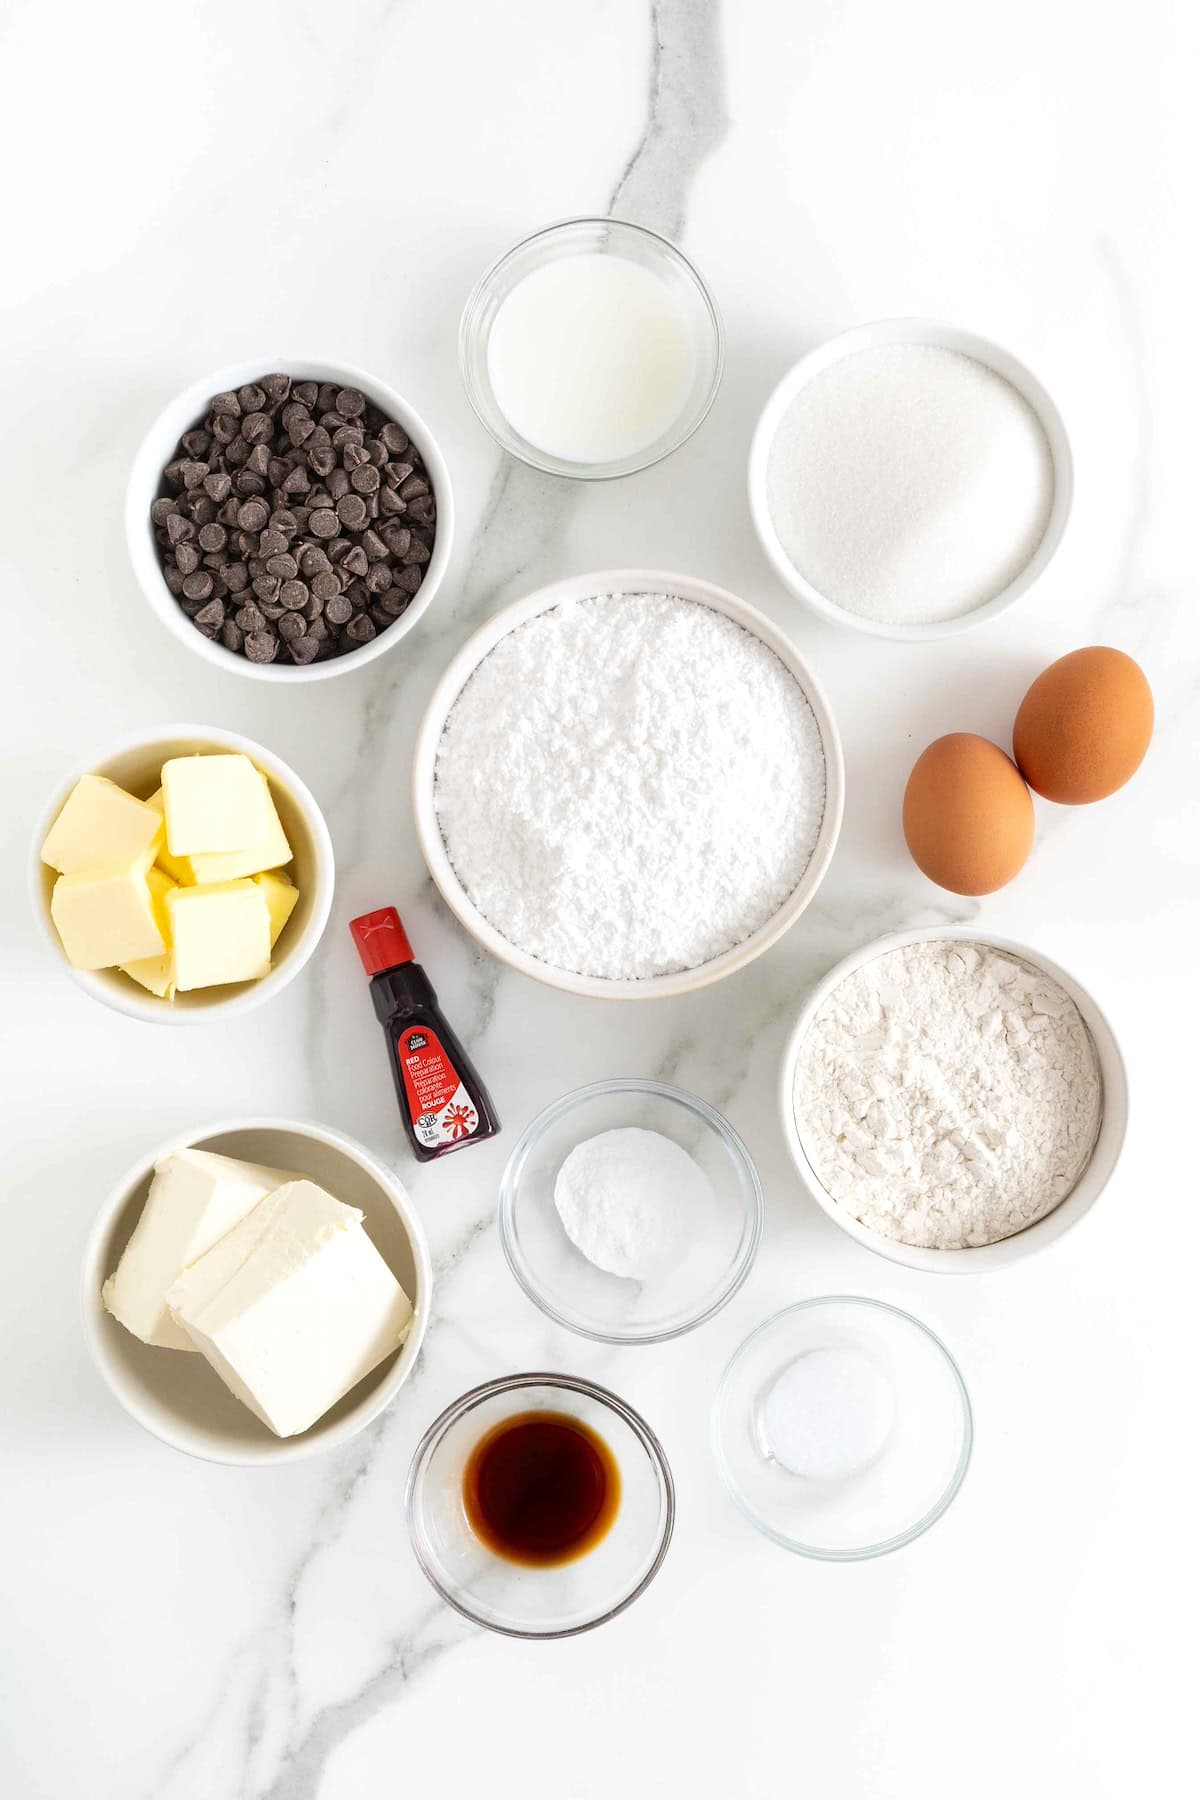
Ingredients:
- Unsalted butter: adds richness and moisture to the brownies as well as providing richness in the frosting.
- Semi-sweet chocolate chips: gives the brownies that classic sweet chocolate flavor.
- Granulated sugar: sweetens, but also contributes to the crispness on the top of the brownies.
- Large eggs: binds the batter and contribute moisture and richness.
- Pure vanilla extract: boosts the overall flavor of the brownies with a warm, sweet note as well as elevates the flavor of the frosting.
- All-purpose flour: provides structure and body to the brownies.
- Baking powder: leavening agent that makes the brownies rise a bit.
- Kosher salt: balances the sweetness and enhances the other flavors. Table salt will actually pack a saltier punch than Kosher salt so if you only have table salt, adjust accordingly.
- Red food coloring: gives the brownies that distinctive red velvet hue.
- Cream cheese: gives the frosting its creamy, tangy base.
- Whole milk: adds moisture and richness to the frosting and makes it a spreadable consistency.
- Powdered sugar: sweetens and stabilizes the cream cheese frosting. Sift first to avoid lumps.
Supplies:
- 8-inch square baking dish
- parchment paper or nonstick cooking spray
- Large microwaveable bowl
- Whisk
- Electric mixer with whisk attachment (or hand mixer)
How to Make Red Velvet Brownies with Cream Cheese Frosting
- Preheat oven to 350°F. Line the bottom of an 8-inch square baking dish with parchment paper or spray generously with non-stick cooking spray. Set aside.
- In a large microwaveable mixing bowl, add the butter and chocolate chips. Melt on medium power, 1-2 minutes; whisking every 30 seconds until chocolate is completely melted and mixture is smooth.
- Let the butter/chocolate mixture cool for a few minutes before whisking in the sugar.
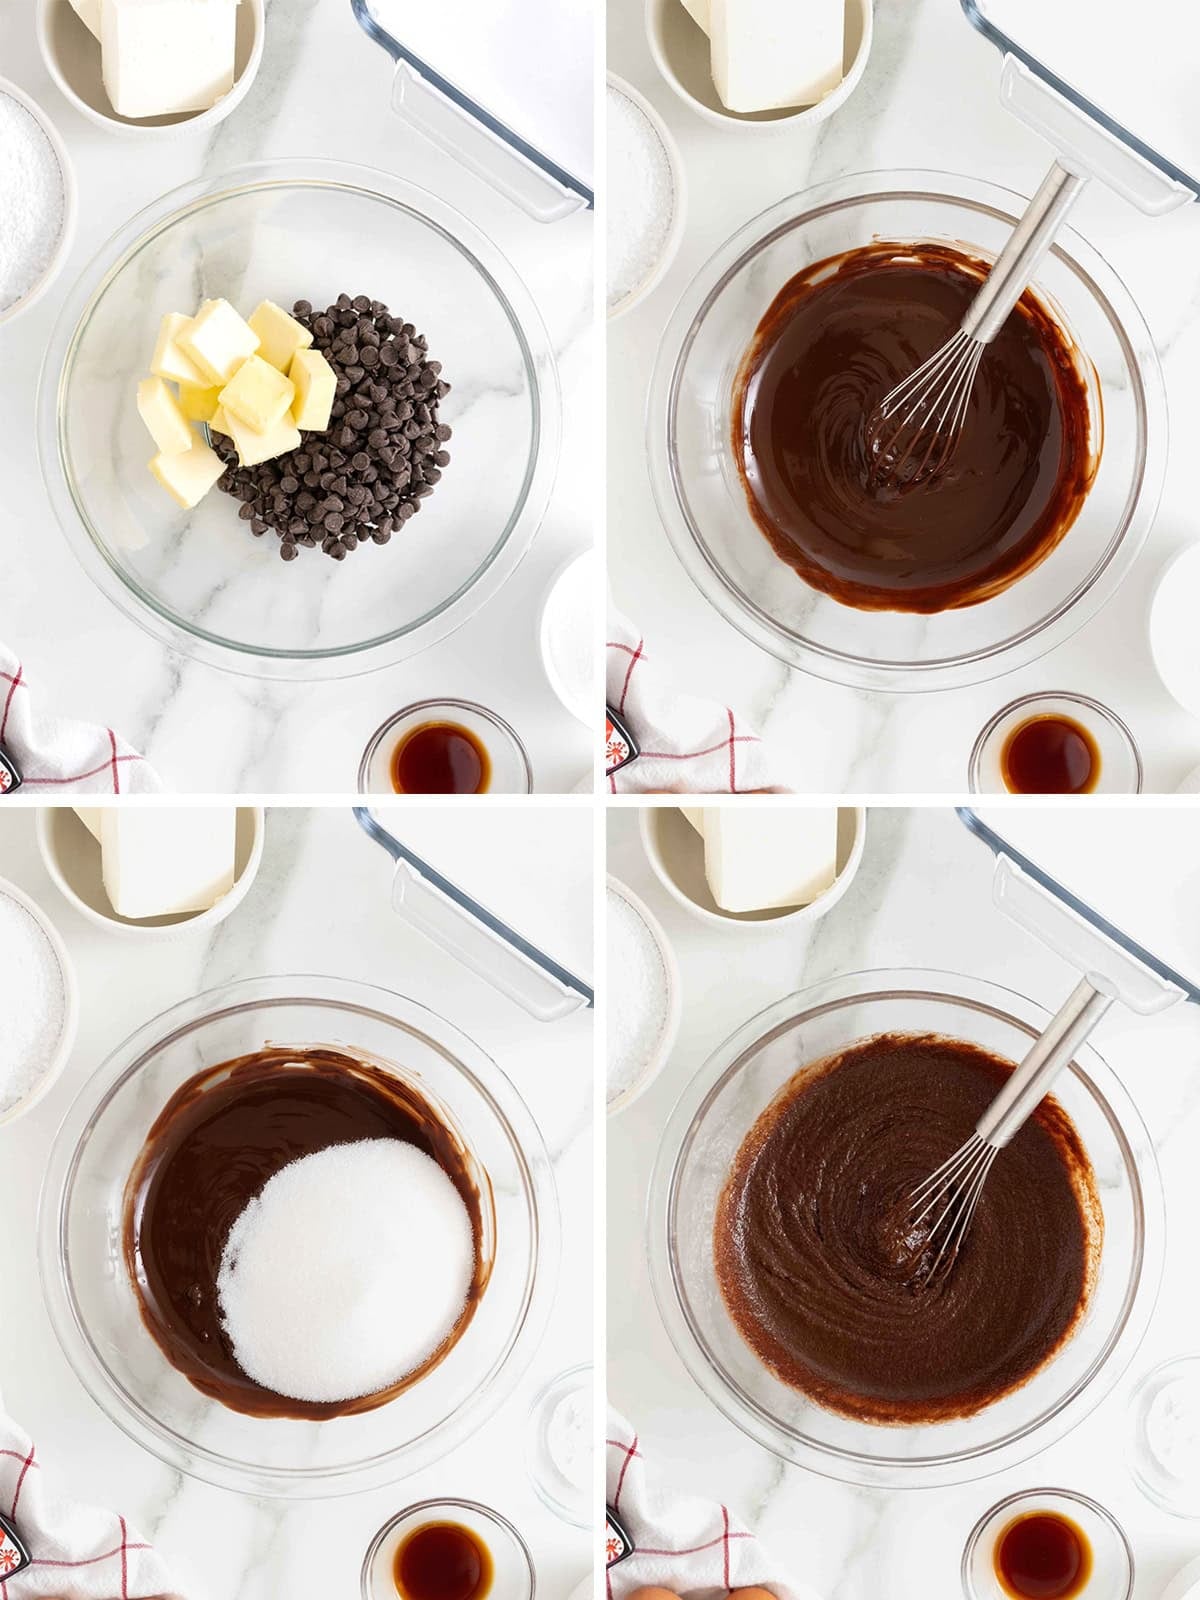
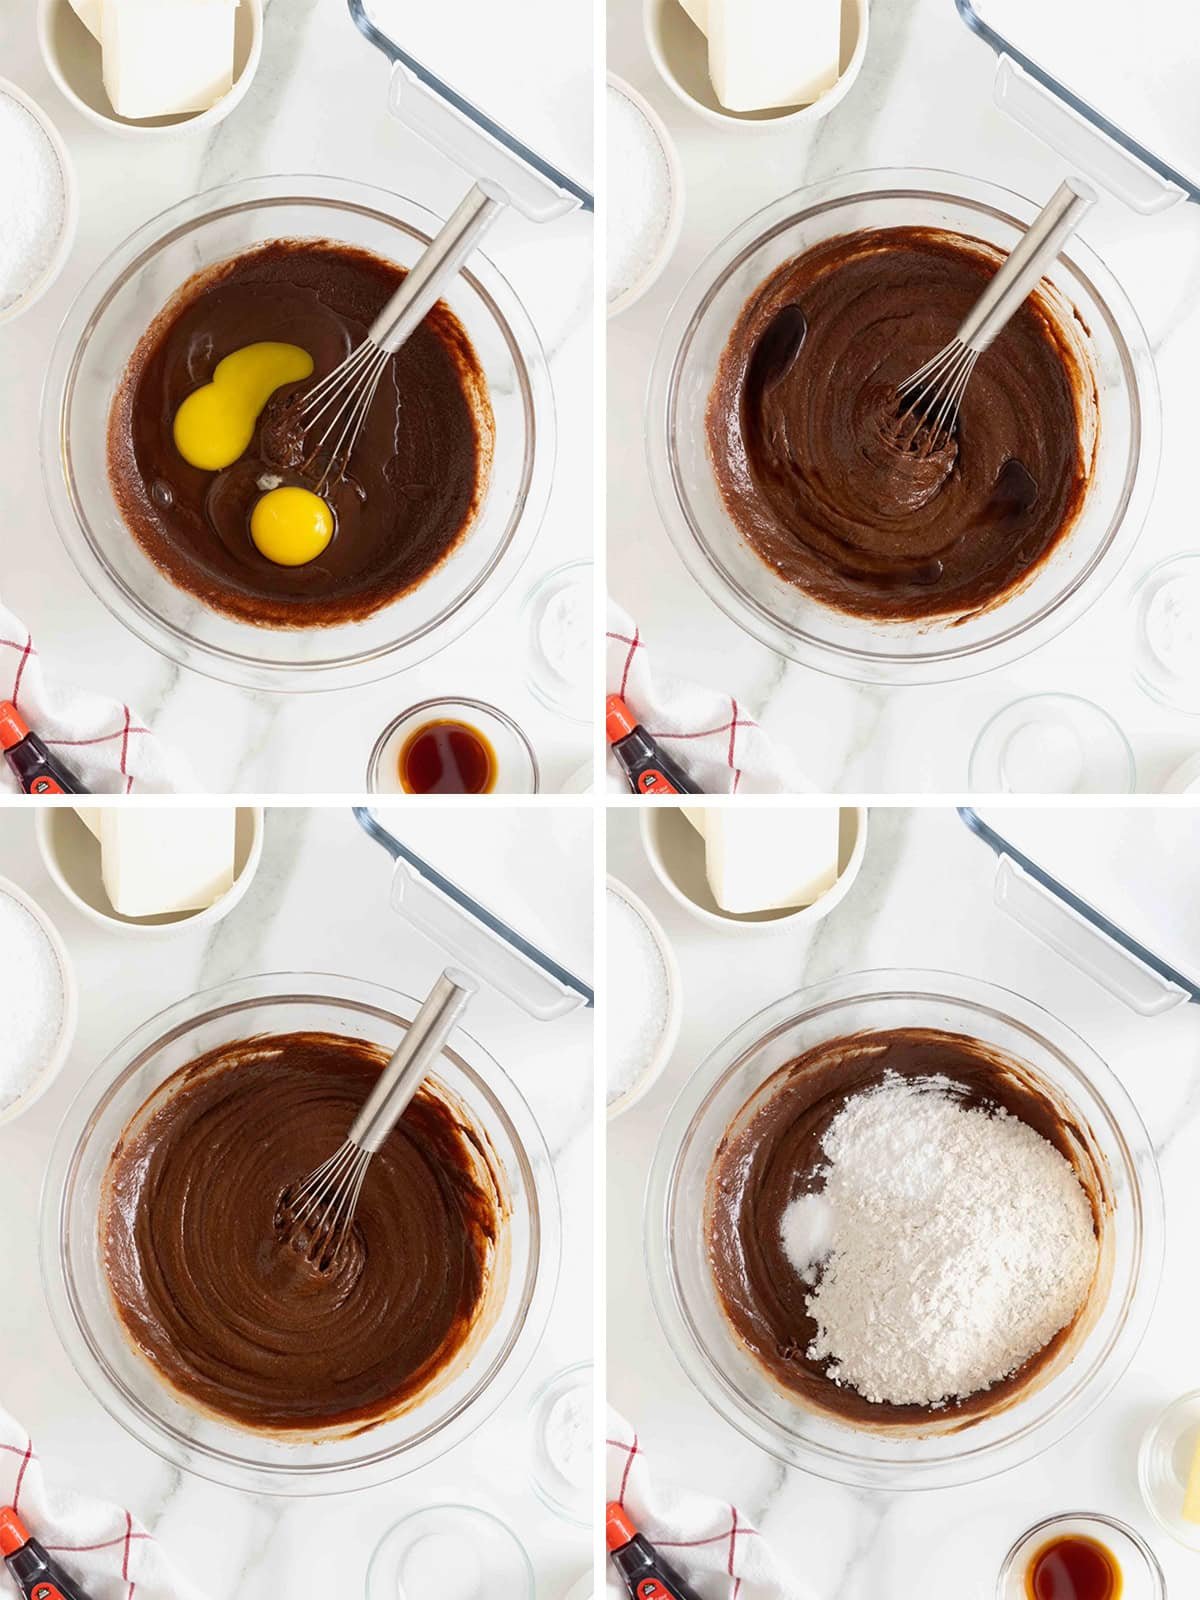
- Whisk in the eggs, one at a time, until well combined.
- Stir in the vanilla.
- Add the flour, baking powder and salt and stir until just combined.
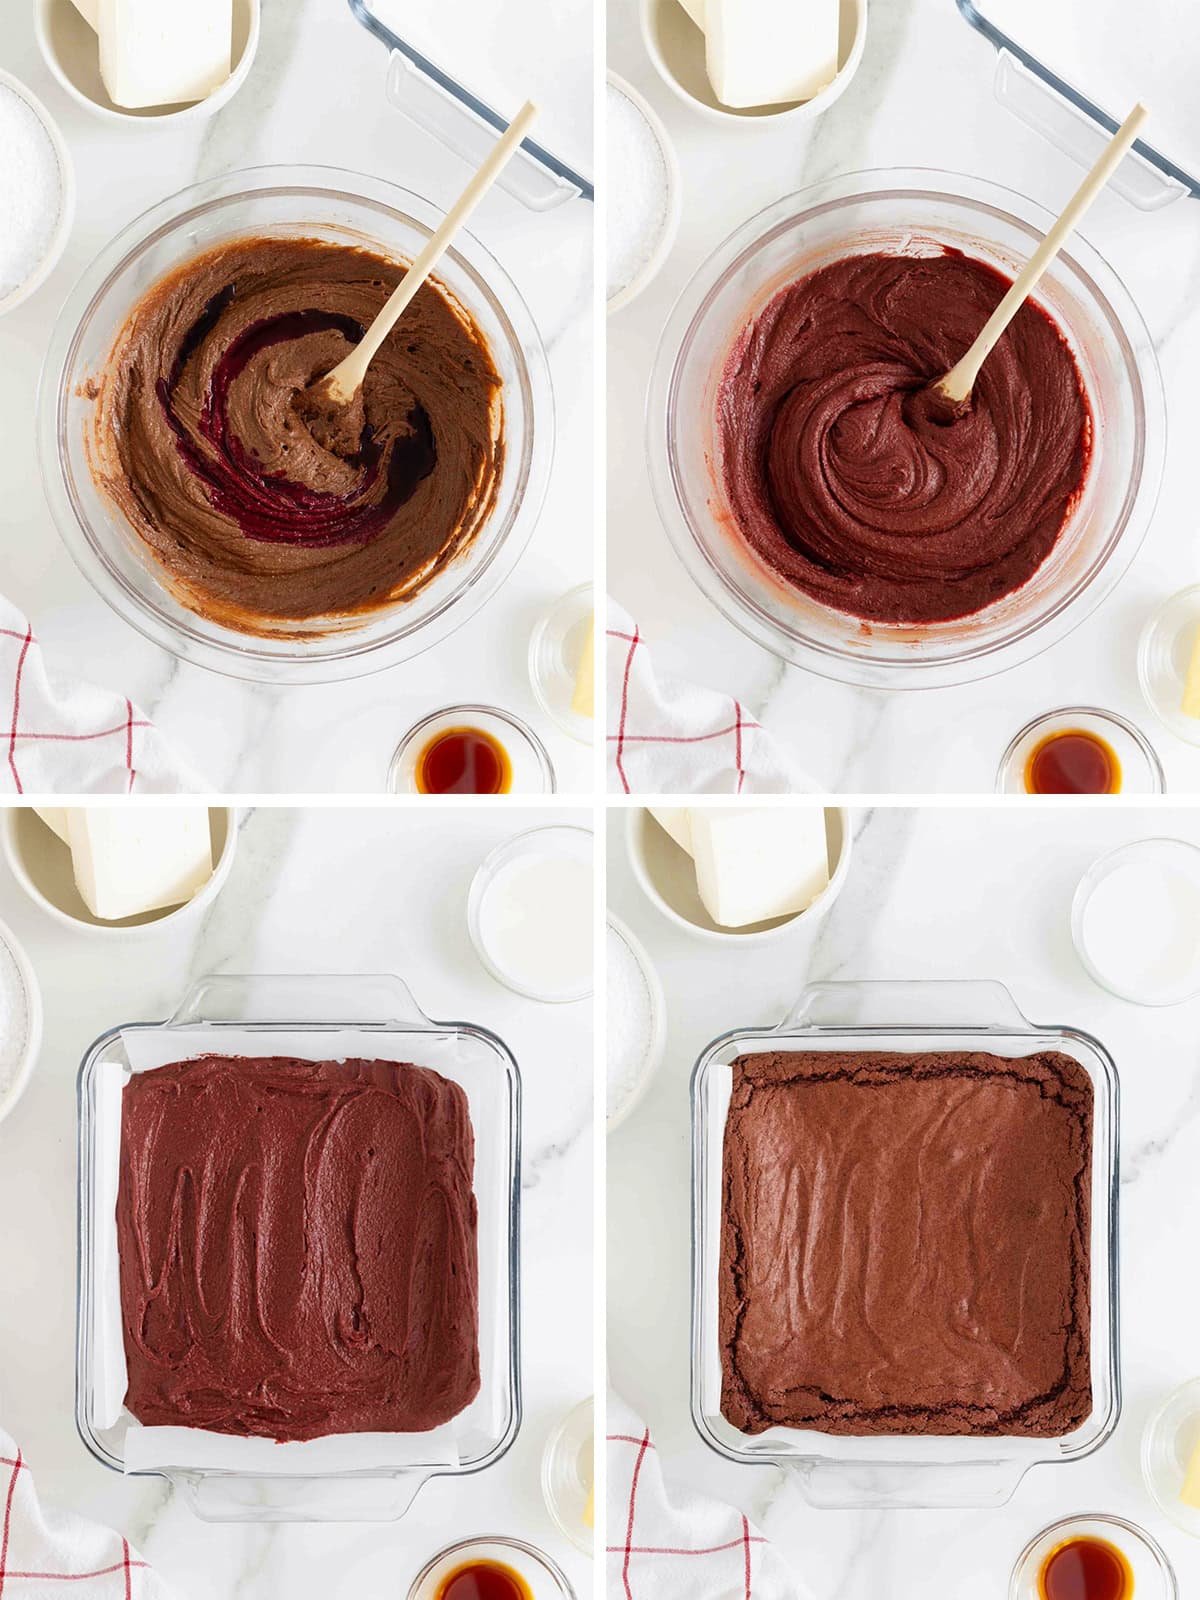
- Fold in the red food coloring, a little at a time, until batter is red.
- Spread batter into prepared baking dish.
- Bake the brownies in the middle rack of the oven for about 20 minutes or until a toothpick inserted in the center comes out clean. Let cool completely in the baking dish.
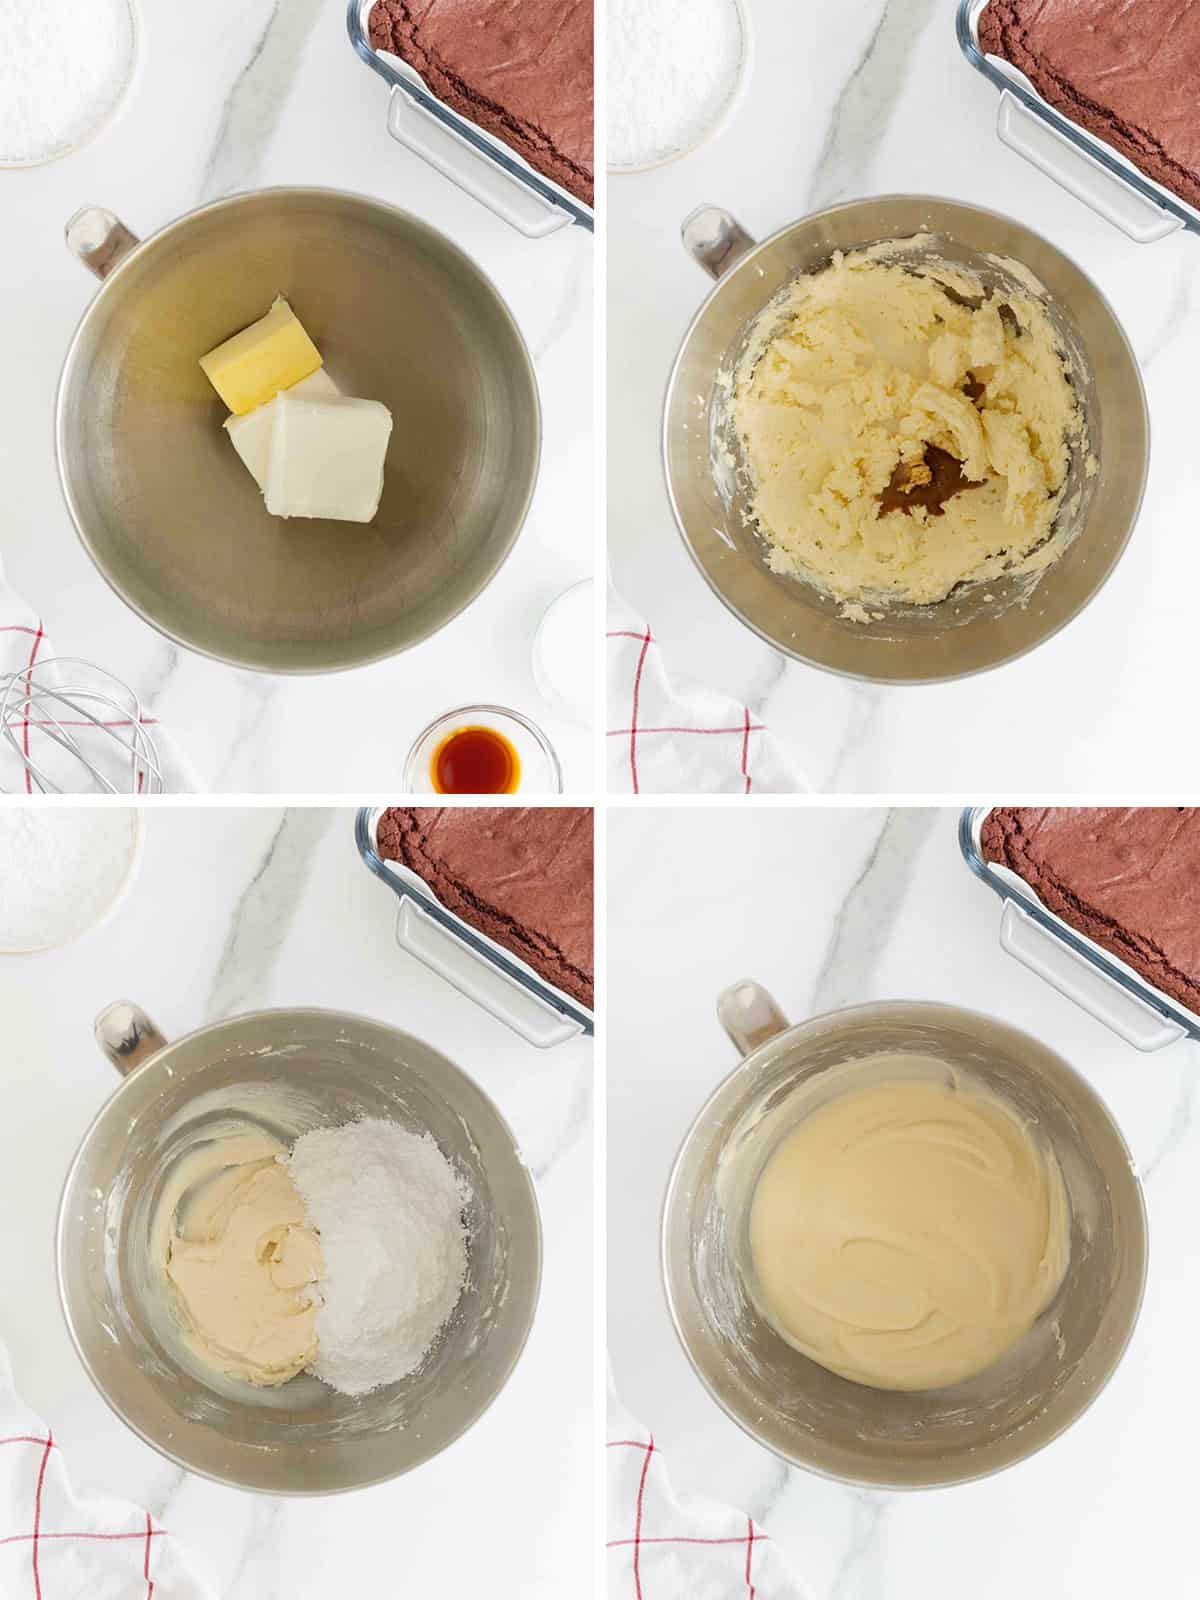
- Meanwhile, make the cream cheese frosting. In the bowl of an electric mixer fitted with the whisk attachment, beat together the cream cheese and butter until smooth.
- Add the milk and vanilla and beat until well combined.
- Slowly beat in the powdered sugar until thick and creamy.
- Once the brownies are cooled, spread the frosting evenly over them.

- Slice and serve.
Storage
Store red velvet brownies with cream cheese frosting in an airtight container in the refrigerator. Because of the cream cheese frosting, they should not be left at room temperature for extended periods. If stacking the brownies, place a sheet of parchment paper between layers to prevent sticking. They will stay fresh and moist in the refrigerator for up to 4–5 days. Enjoy chilled or let set at room temperature for 20-30 minutes to soften.
To freeze for longer storage, first chill the brownies in the refrigerator until the frosting is firm. Place slices on a baking sheet to freeze until solid, then wrap each brownie tightly in plastic wrap and store in a freezer-safe bag or container. Freeze for up to 2–3 months. Thaw overnight in the refrigerator or at room temperature for about 30–45 minutes before serving.
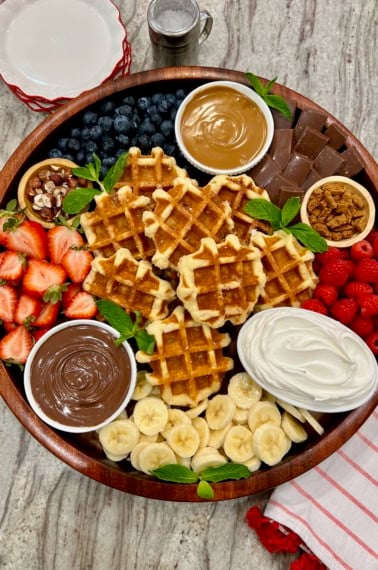
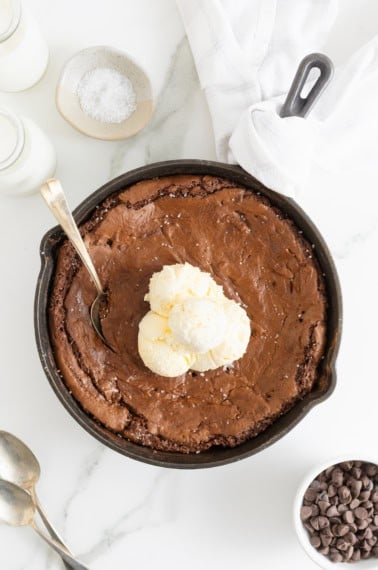
More of The Best Brownies and Bars
From chewy and fudgy to nutty, chunky, chocolatey, no-bake and flourless. My collection of the Best Brownies and Bars has something everyone will love!

If you make my Red Velvet Brownies with Cream Cheese Frosting, be sure to snap a picture and share it with me @thebakermama on Instagram so I can see. If you’re on Facebook, be sure to join my Friends of The BakerMama group to connect and share all the fun and yummy recipes of mine that you make! 😍 I just love seeing how inspired and creative y’all get with the ideas I share. Enjoy!
xoxo,


Red Velvet Brownies with Cream Cheese Frosting
- Prep Time: 10 mins
- Cook Time: 20 mins
- Total Time: 30 mins
- Yield: 9 brownies
- Category: Brownies
Description
Rich fudge brownies made festive with a tint of red and dreamy cream cheese frosting make these Red Velvet Brownies pure brownie bliss!
Ingredients
- 1/2 cup (1 stick) unsalted butter
- 1 cup semi-sweet chocolate chips
- 1 cup granulated sugar
- 2 large eggs
- 1 teaspoon vanilla
- 1 cup all-purpose flour
- 1 teaspoon baking powder
- 1/2 teaspoon salt
- 1 (1 ounce) bottle red food coloring
Cream Cheese Frosting:
- 1 (8 ounce) package cream cheese, softened
- 1/4 cup unsalted butter, softened
- 2–3 teaspoons milk
- 1 teaspoon vanilla
- 2 cups powdered sugar
Instructions
- Preheat oven to 350°F. Line the bottom of an 8-inch square baking dish with parchment paper or spray generously with non-stick cooking spray. Set aside.
- In a large microwaveable mixing bowl, add the butter and chocolate chips. Melt on medium power, 1-2 minutes; whisking every 30 seconds until chocolate is completely melted and mixture is smooth.
- Let the butter/chocolate mixture cool for a few minutes before whisking in the sugar.
- Whisk in the eggs, one at a time, until well combined. Stir in the vanilla.
- Add the flour, baking powder and salt and stir until just combined.
- Fold in the red food coloring, a little at a time, until batter is red.
- Spread batter into prepared baking dish.
- Bake the brownies in the middle rack of the oven for about 20 minutes or until a toothpick inserted in the center comes out clean. Let cool completely in the baking dish.
- Meanwhile, make the cream cheese frosting. In the bowl of an electric mixer fitted with the whisk attachment, beat together the cream cheese and butter until smooth. Add the milk and vanilla and beat until well combined. Slowly beat in the powdered sugar until thick and creamy.
- Once the brownies are cooled, spread the frosting evenly over them. Slice and serve.
Oh boy, these take red velvet brownies to a new level… 🙂 Xo, Alison
http://www.simplyfairbyalisonjeanine.com