
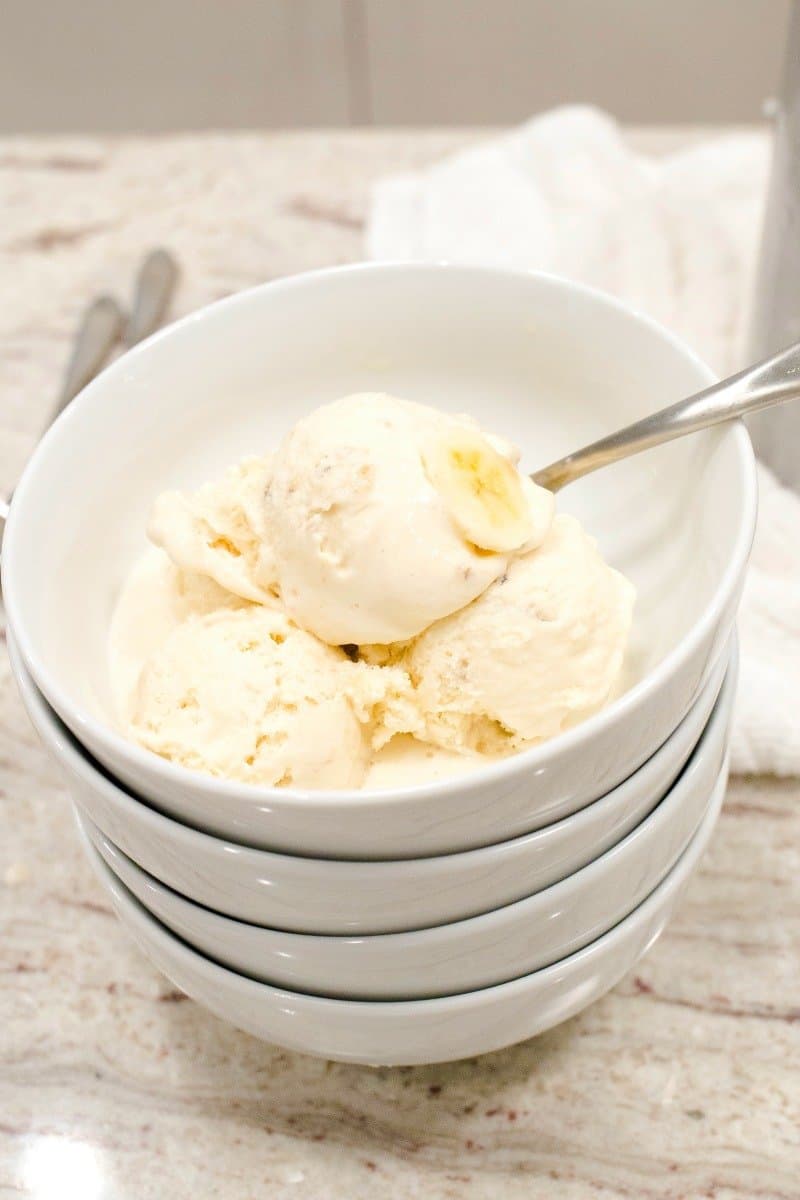
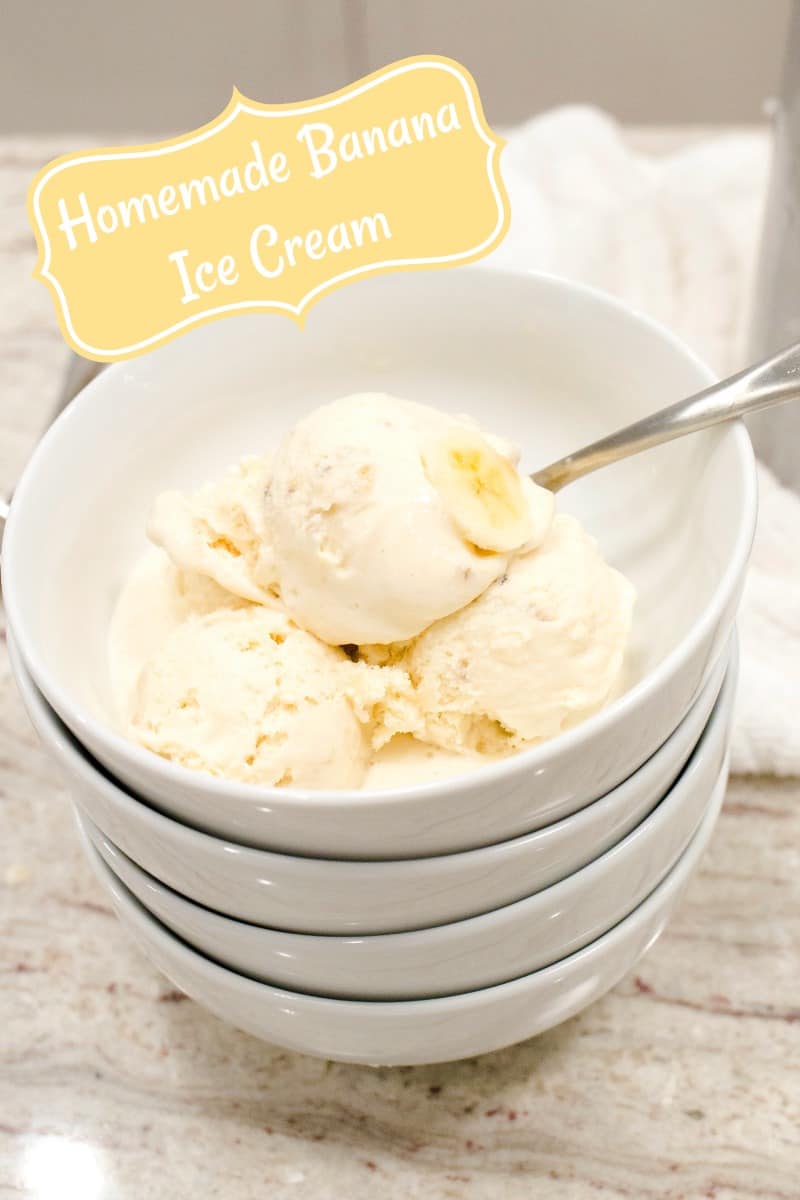
You can’t go wrong with Homemade Banana Ice Cream! It’s just so creamy, dreamy, delicious!
Each time I eat homemade ice cream, I’m reminded how worth it it is to take the time to make it. It’s just on a whole other level from store bought ice cream. You can taste the freshness and rich, creaminess that makes it so incredibly delicious.
Sure, it’s a process, but once you go down that homemade ice cream path, it becomes harder to resist making it than it is to actually make it. You just crave that homemade frozen comfort. If you don’t have an ice cream maker, you should try my homemade cookies and cream ice cream recipe. So easy and so delicious.
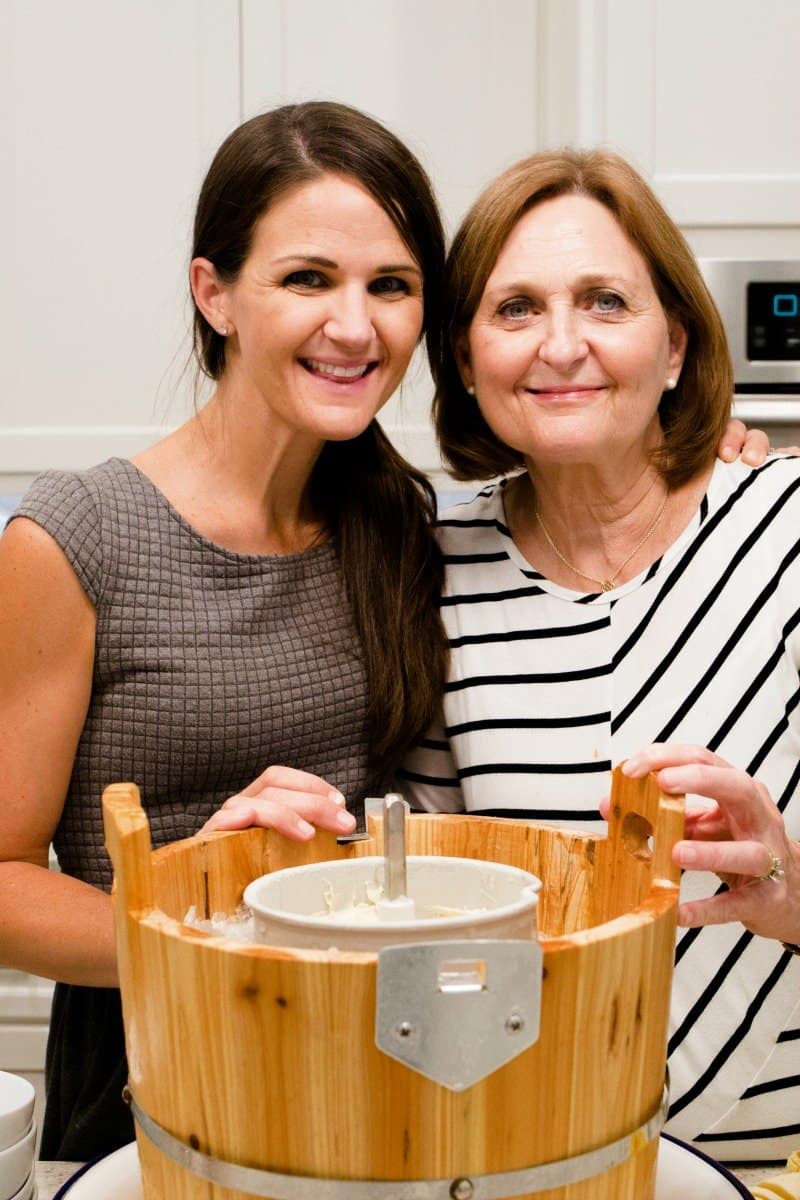
My grandma and now my mom have been making this banana ice cream for us for as long as I can remember. You say banana ice cream and I can just taste the delicious memories with family and friends over the years.
That old-fashioned ice cream maker has churned out so many batches of the most beautiful banana ice cream that everyone literally goes bananas over.
It really isn’t that hard to make. One time and you’ll be a homemade ice cream making pro.
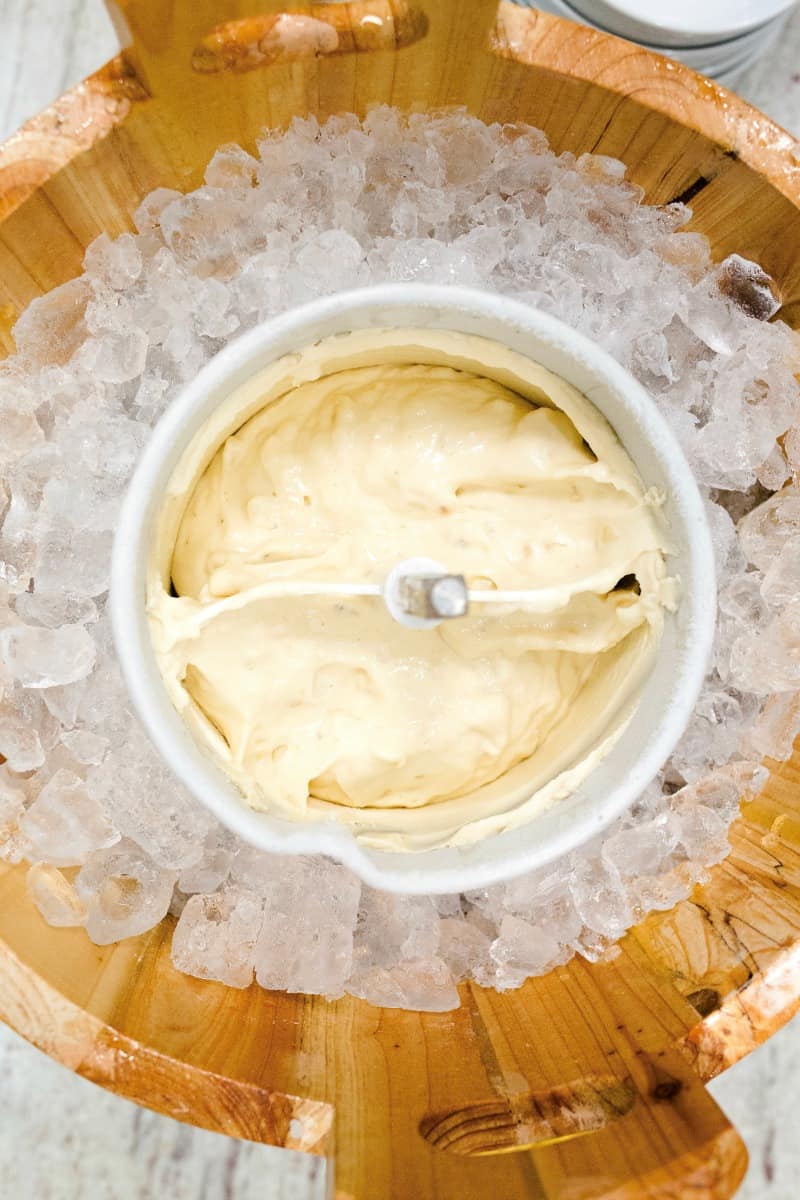
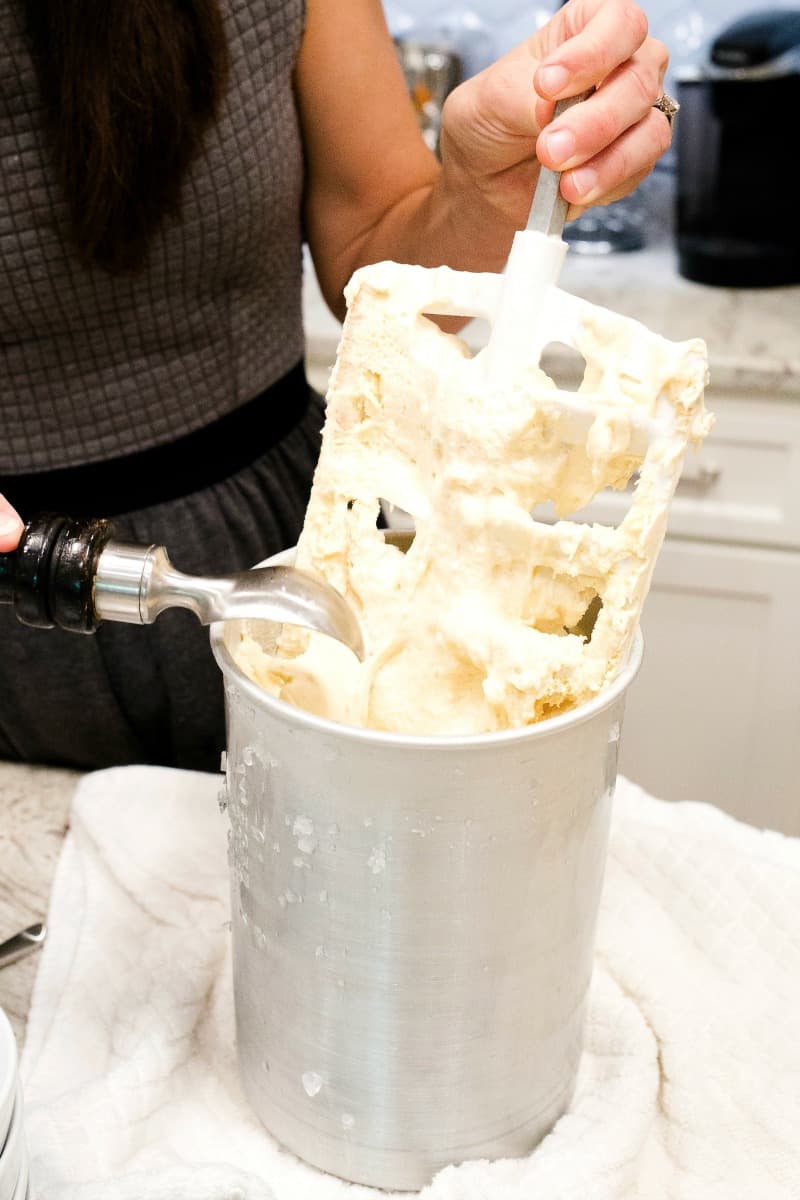
After heating the ice cream base to cook the eggs, you’ll pour the mixture into the ice cream maker can and surround it with ice and rock salt (per mixer instructions) before letting it churn into a thick creamy ice cream dream.
Here are some old-fashioned ice cream maker tips:
- use rock salt or ice cream salt – found at most grocery stores near the kosher salt or at some hardware stores
- never fill the ice cream can more than 3/4 full or it will become overcrowded as it freezes and your ice cream will turn out grainy
- most ice cream makers recommend an ice to salt ratio of three to one
- the handle within the can will become more and more difficult to turn as the ice cream freezes and when it stops, that means the ice cream is done
- wipe the top of the can clean of any ice or salt before opening to scoop the ice cream out. You don’t want that rock salt flavor to get in the ice cream.
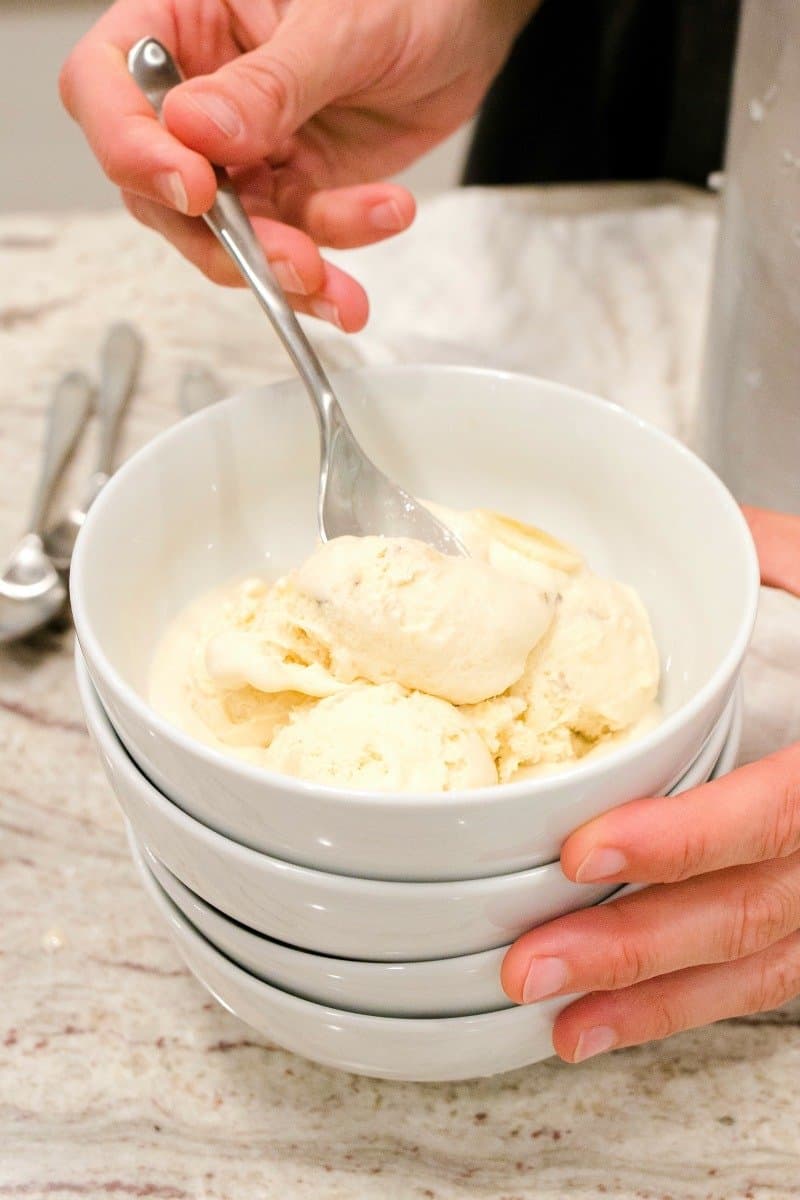
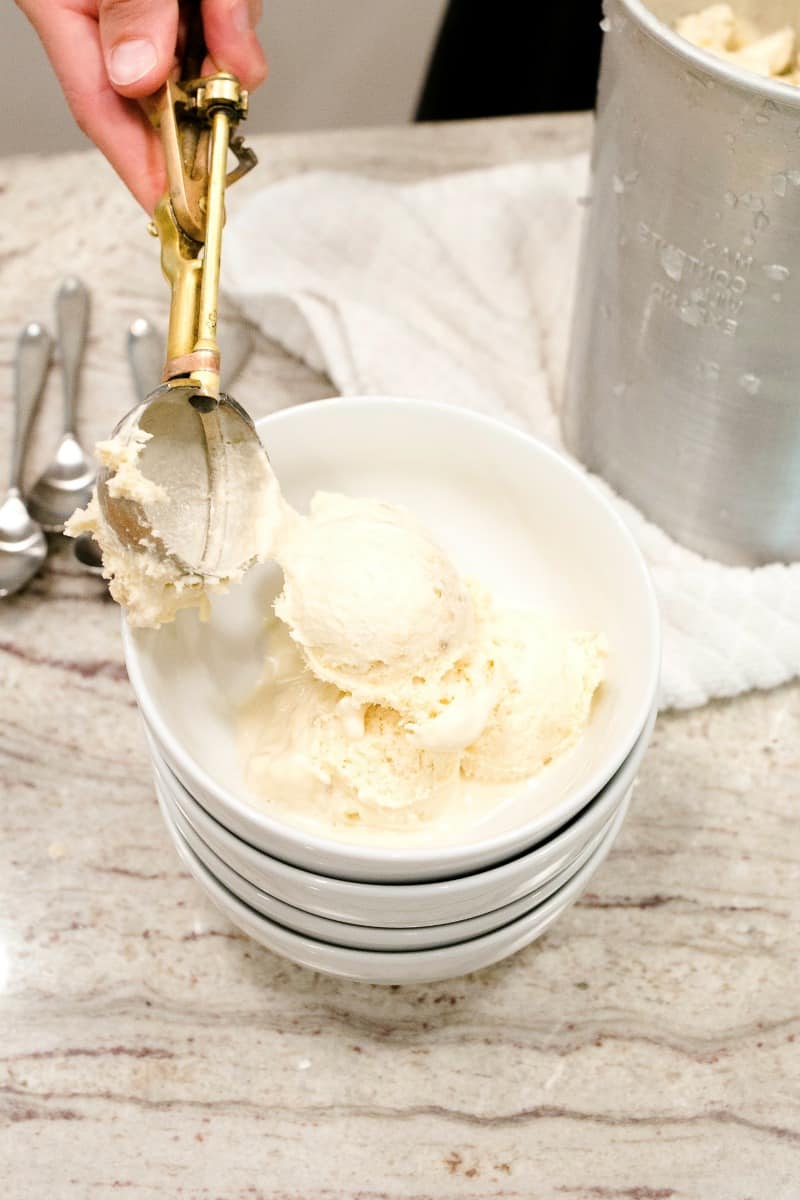
- leave ice cream can in the maker surrounded by the ice and salt to serve or remove the can and scoop the ice cream into a freezer safe container to serve or store
It’s one of those desserts that our family and friends look forward to and pretty much expect at all of our gatherings. Be it 4th of July, a birthday, an anniversary or just a casual Sunday supper, we all go crazy over it.
It’s so creamy and full of fresh banana flavor. I love the occasional little chunks of frozen banana throughout.
So pull out the ice cream maker and grab a bunch of ripe bananas. The best banana ice cream you’ll ever eat awaits you.
Enjoy!
xoxo,


Homemade Banana Ice Cream
- Prep Time: 15 mins
- Cook Time: 30 mins
- Total Time: 45 mins
- Yield: 4 quarts
- Category: Dessert
Description
You can’t go wrong with Homemade Banana Ice Cream! It’s just so creamy, dreamy, delicious!
Ingredients
- 6 large eggs
- 1 cup granulated sugar
- 2 cups evaporated milk
- 1 (4 ounce) box vanilla Junket ice cream mix
- 2 cups non dairy creamer (it’s a powder)
- 6 ripe bananas, mashed
Instructions
- Use at least a 4 quart old-fashioned ice cream maker or a modern ice maker according to manufacturer’s instructions. If the bowl of the ice cream maker requires chilling beforehand, be sure to place the bowl in the freezer the night before.
- In a large mixing bowl, whisk together the eggs and sugar until thoroughly combined.
- In a large heavy saucepan, heat evaporated milk over medium-low heat until just barely simmering, stirring frequently. Turn heat to low.
- Slowly whisk the egg/sugar mixture into the hot evaporated milk mixture, whisking constantly until well combined. Turn heat back to medium-low and continue to stir continuously until mixture thickens and coats the back of the spoon, about 8-10 minutes.
- Remove from the heat. Whisk in the vanilla junket and non dairy creamer. Fold in the mashed bananas.
- Pour mixture into the ice cream maker can. Freeze according to manufacturer’s instructions.
- Once ice cream is frozen, serve immediately or spoon into a freezer-safe container and store in the freezer until ready to serve.
Recipe by Maegan Brown/Photography by Madison Mentesana
Hi! I love banana ice cream, but I sadly have an egg allergy. I’ve had some weird reactions to certain ice creams that use too many eggs. Is there any substitutes I could use? Or can I use less eggs? Thank you!
Hi Daisie! I haven’t made homemade ice cream without eggs so I couldn’t say for sure. I do have a recipe for 1-ingredient banana ice cream that is delicious, if you’d like to try it: https://thebakermama.com/recipes/one-ingredient-banana-ice-cream/ Enjoy!
Most recipes use just the egg yolk. This use the whole egg???
Yes, we’ve always used the whole egg and the texture of the ice cream is perfectly rich and creamy without any ice crystals. Enjoy!
On the banana ice cream, it says use non-dairy creamer is that powder or is there a liquid
Hi Tony! It’s a powder. Enjoy!