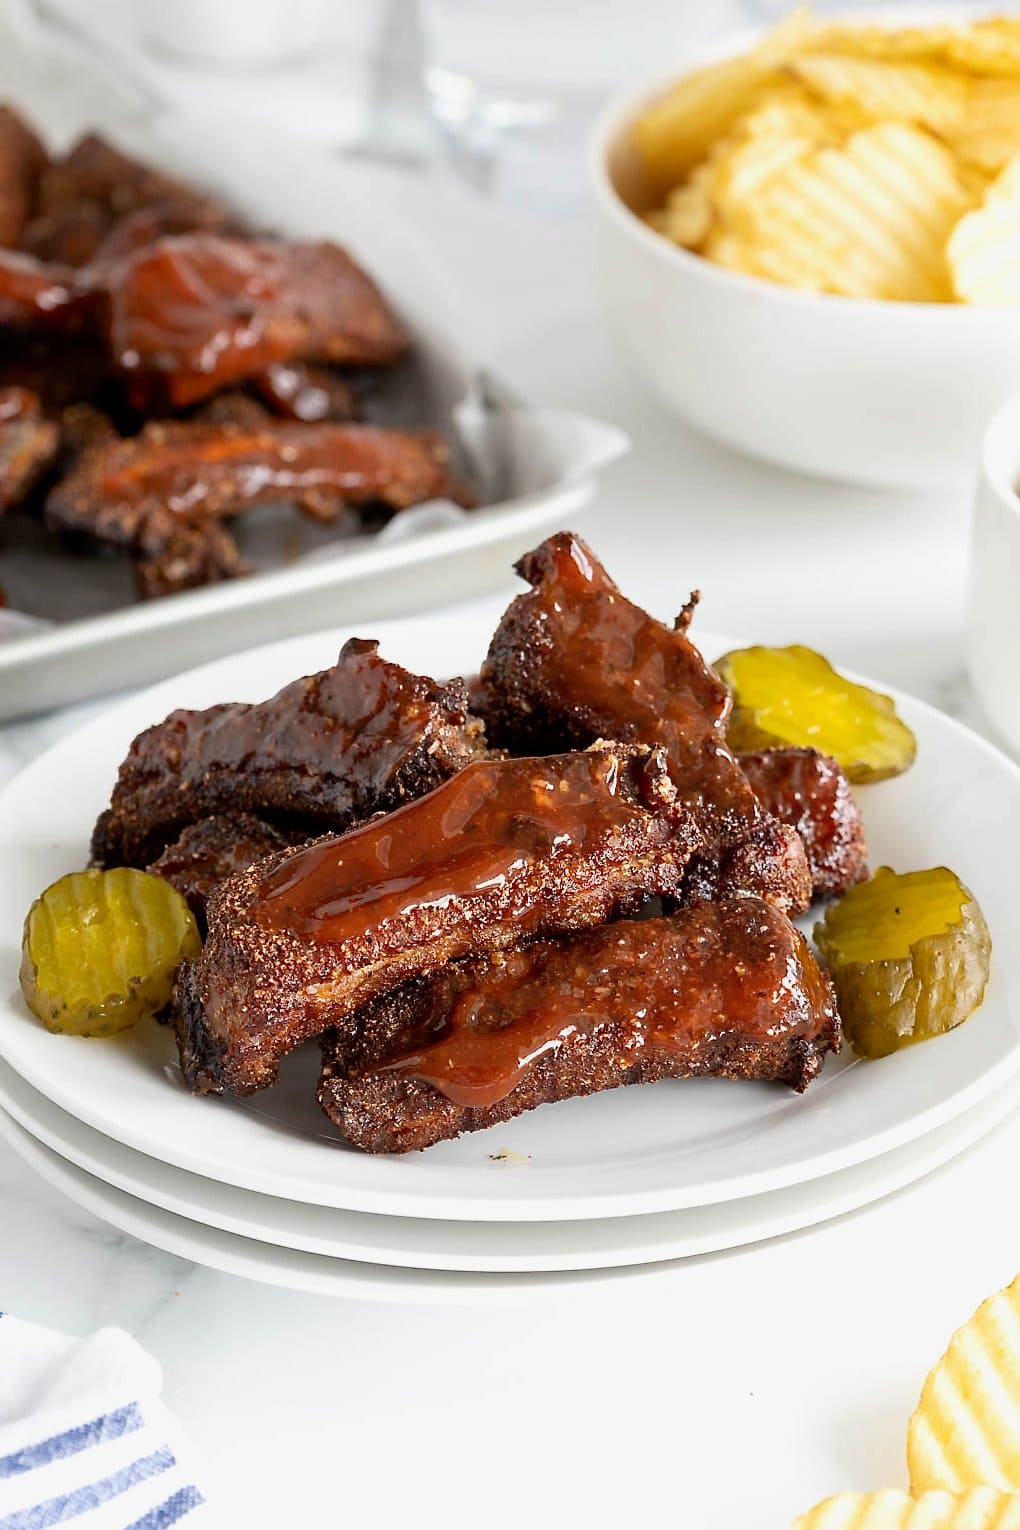
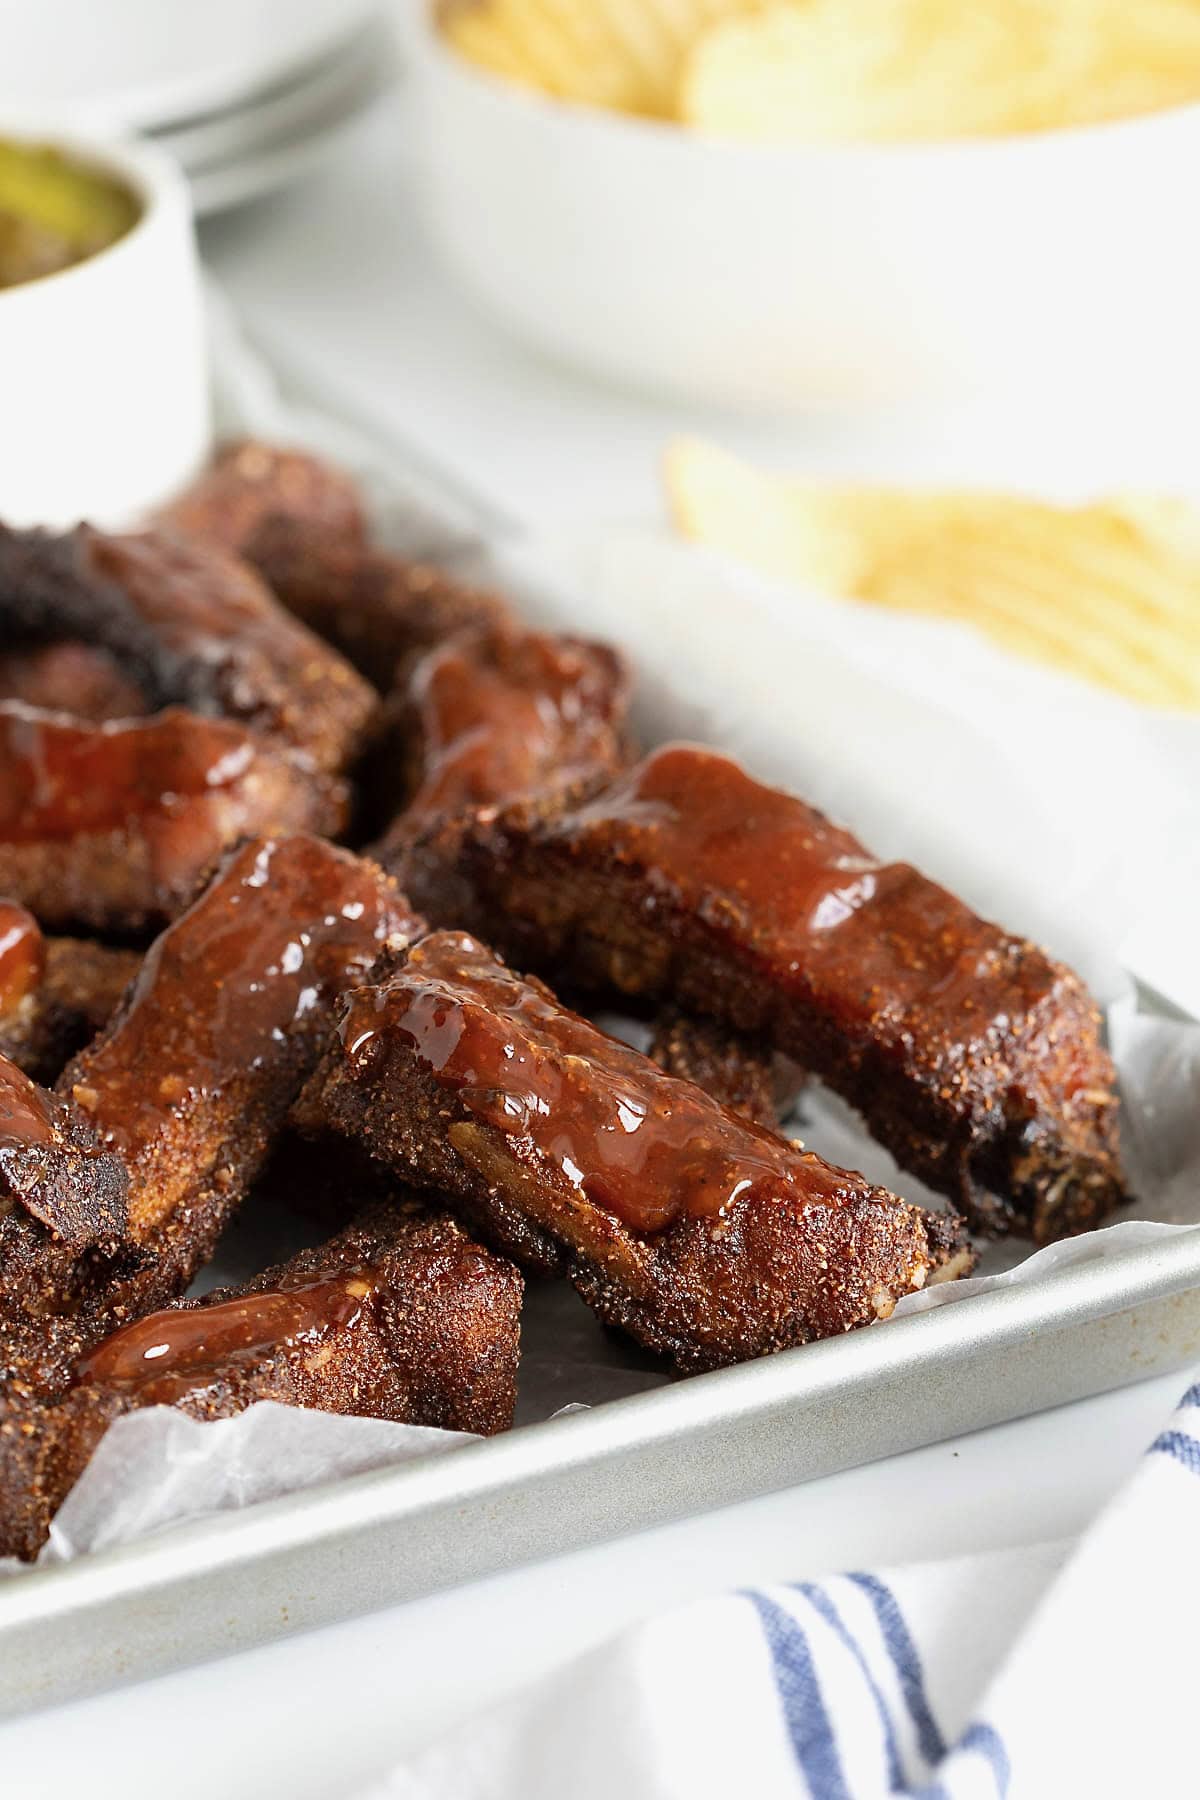
With a crispy, flavorful crust and a juicy center, these Dry Rubbed Baked Baby Back Ribs make a delicious snack and great game day grub!
Turn up the Yum
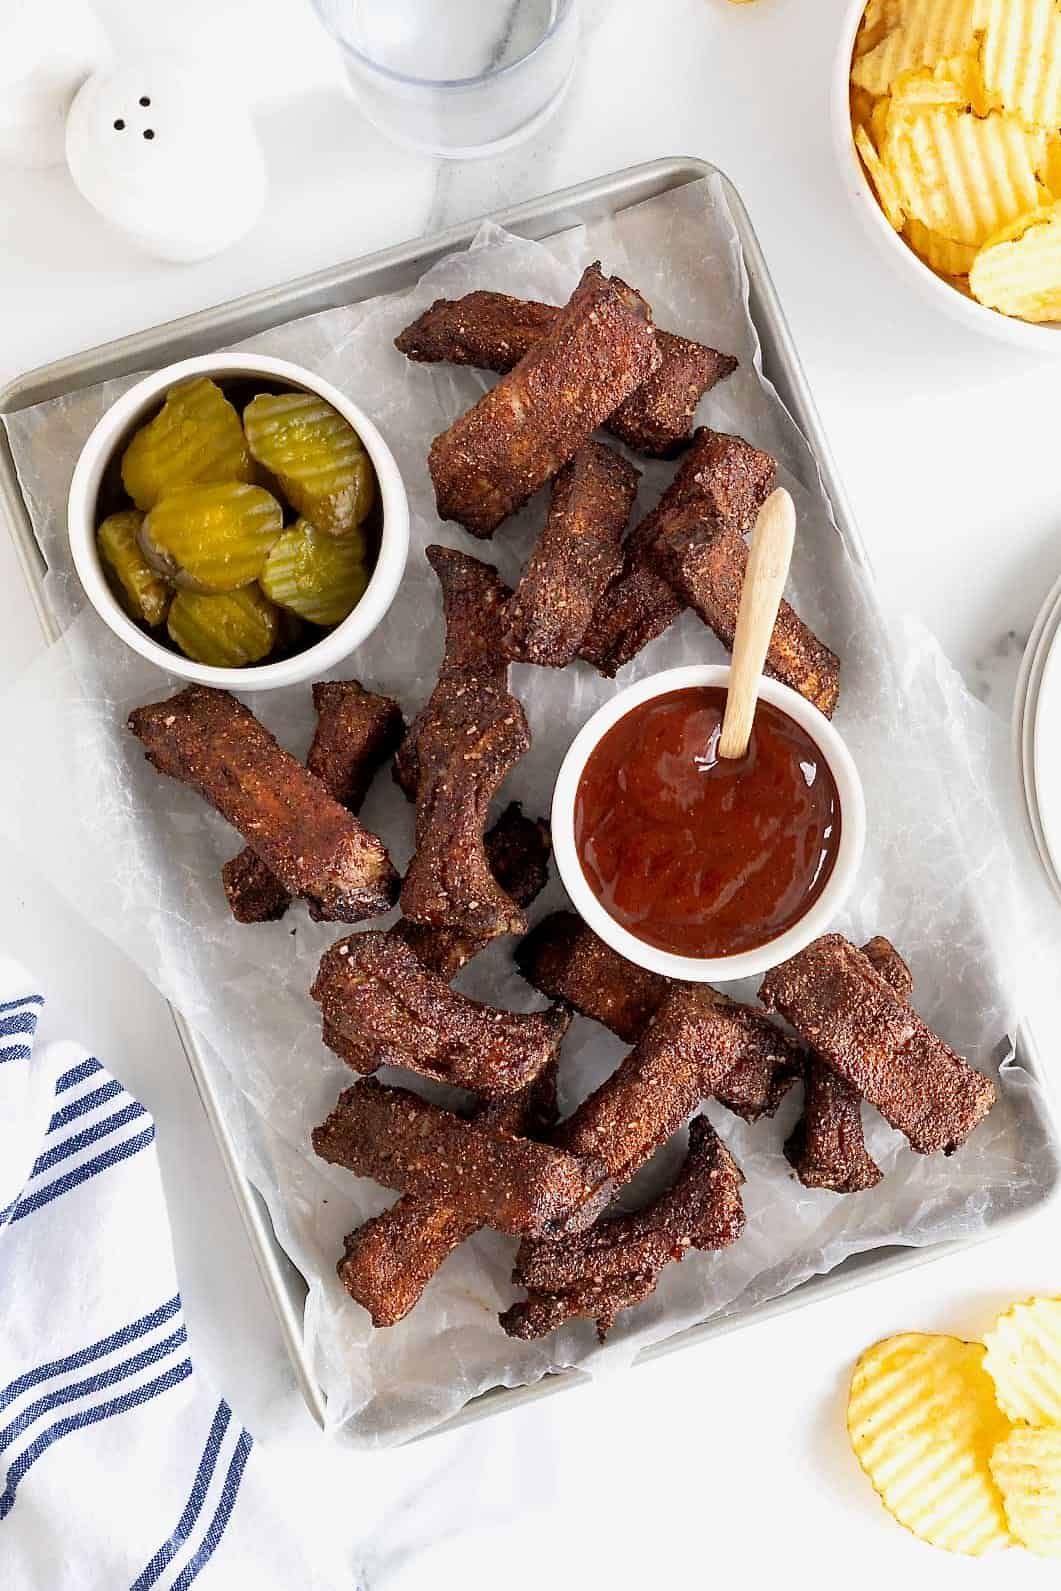
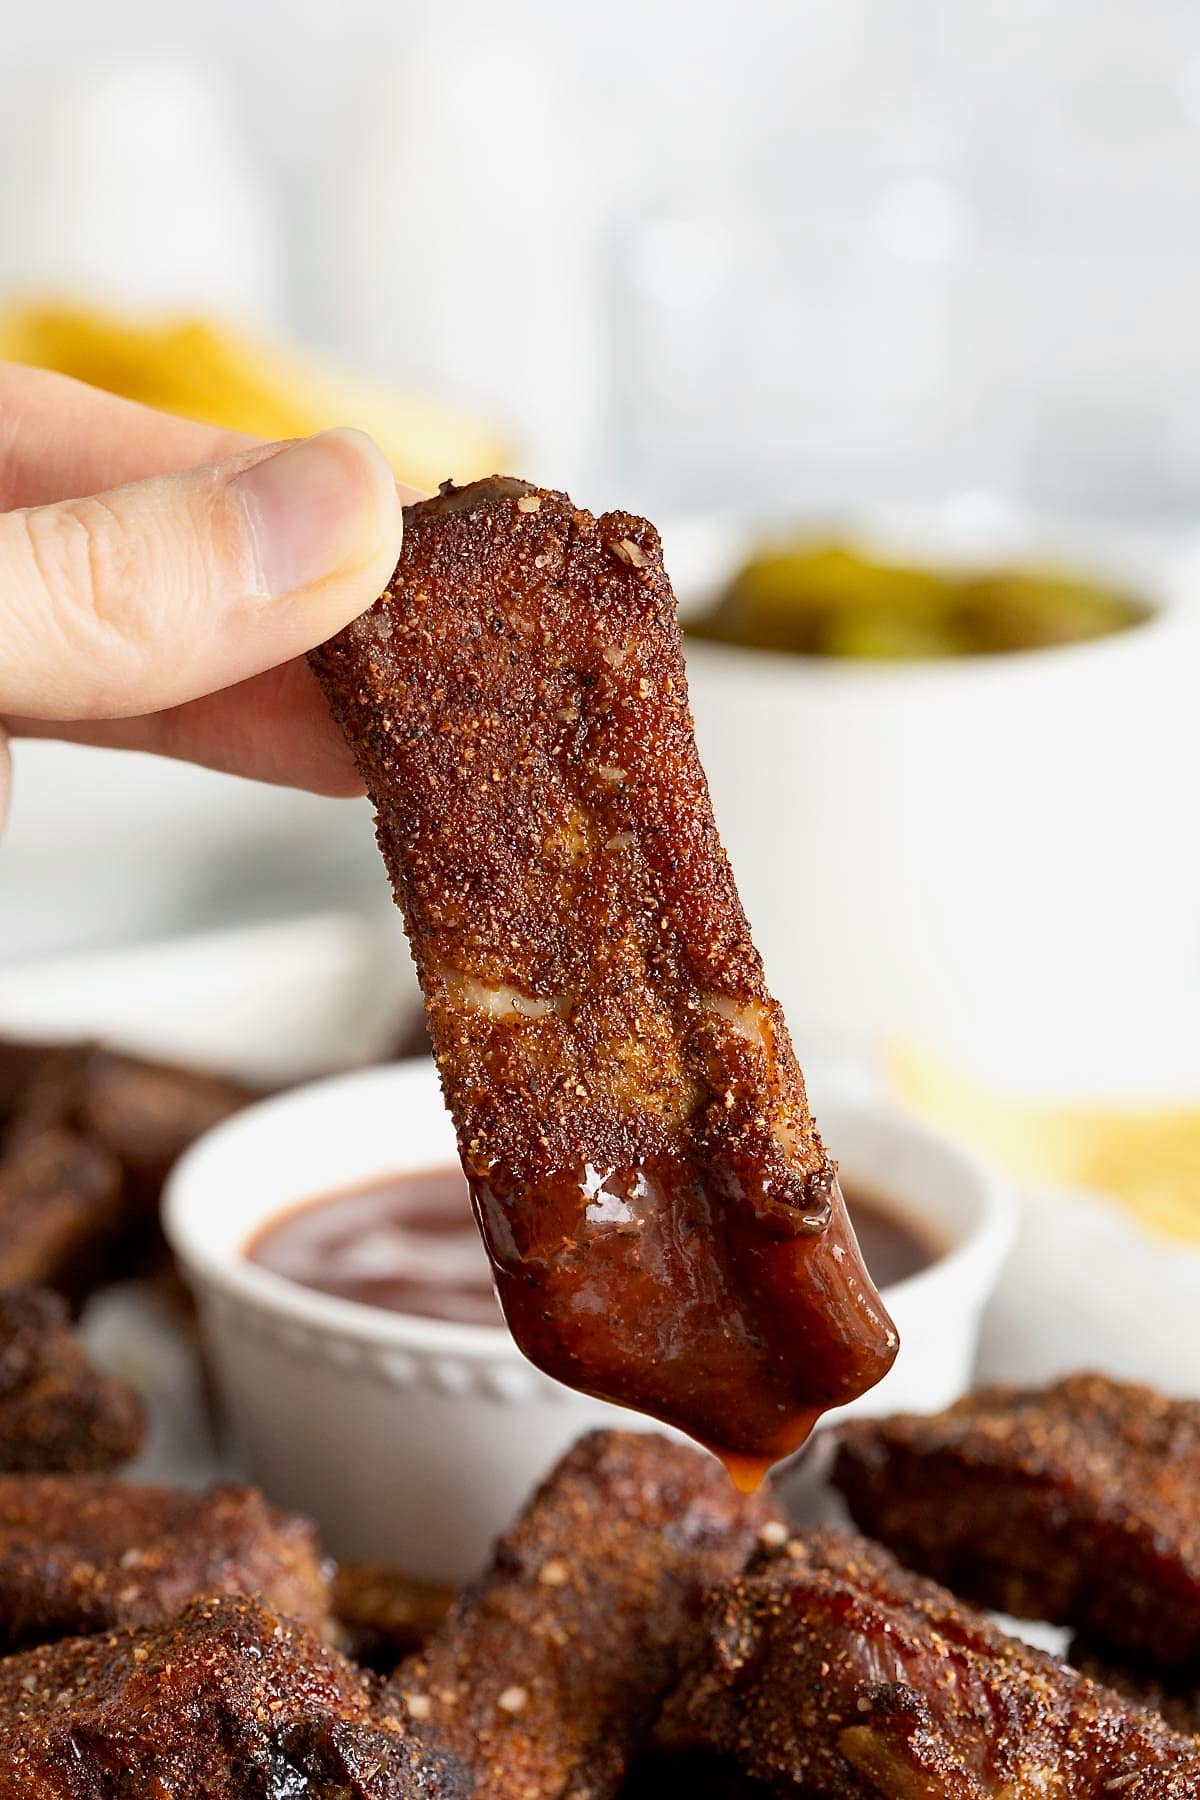
Seasoned to perfection, these Baked Baby Back Ribs are dry rubbed to create a crispy, flavorful, slightly charred crust and a tender, juicy inside. Dipped in barbecue sauce or enjoyed on their own, they’re a fan-favorite finger food your crowd is sure to love!

I cannot even think about a rack of ribs without getting hungry (or singing that Chili’s commercial in my head). And baby back ribs are especially delicious. Popular for being tender and meaty cuts of pork ribs, these baby back ribs are dry rubbed and baked to perfection.
A dry rub is just a mixture of spices and seasonings that enhances the flavor of meat as it cooks. Like a marinade only…well, dry. The rub creates a crust that’s crisp and flavorful and leaves the meat inside so juicy.
A Snack with Substance
When I need a snack or an appetizer with a bit more substance, some of my go-to’s are baked honey mustard chicken wings, bacon-wrapped grilled chicken skewers or these scrumptious ribs. I think the hardest part about them is waiting for them to cook while my kitchen fills up with that delicious smell. The waiting!
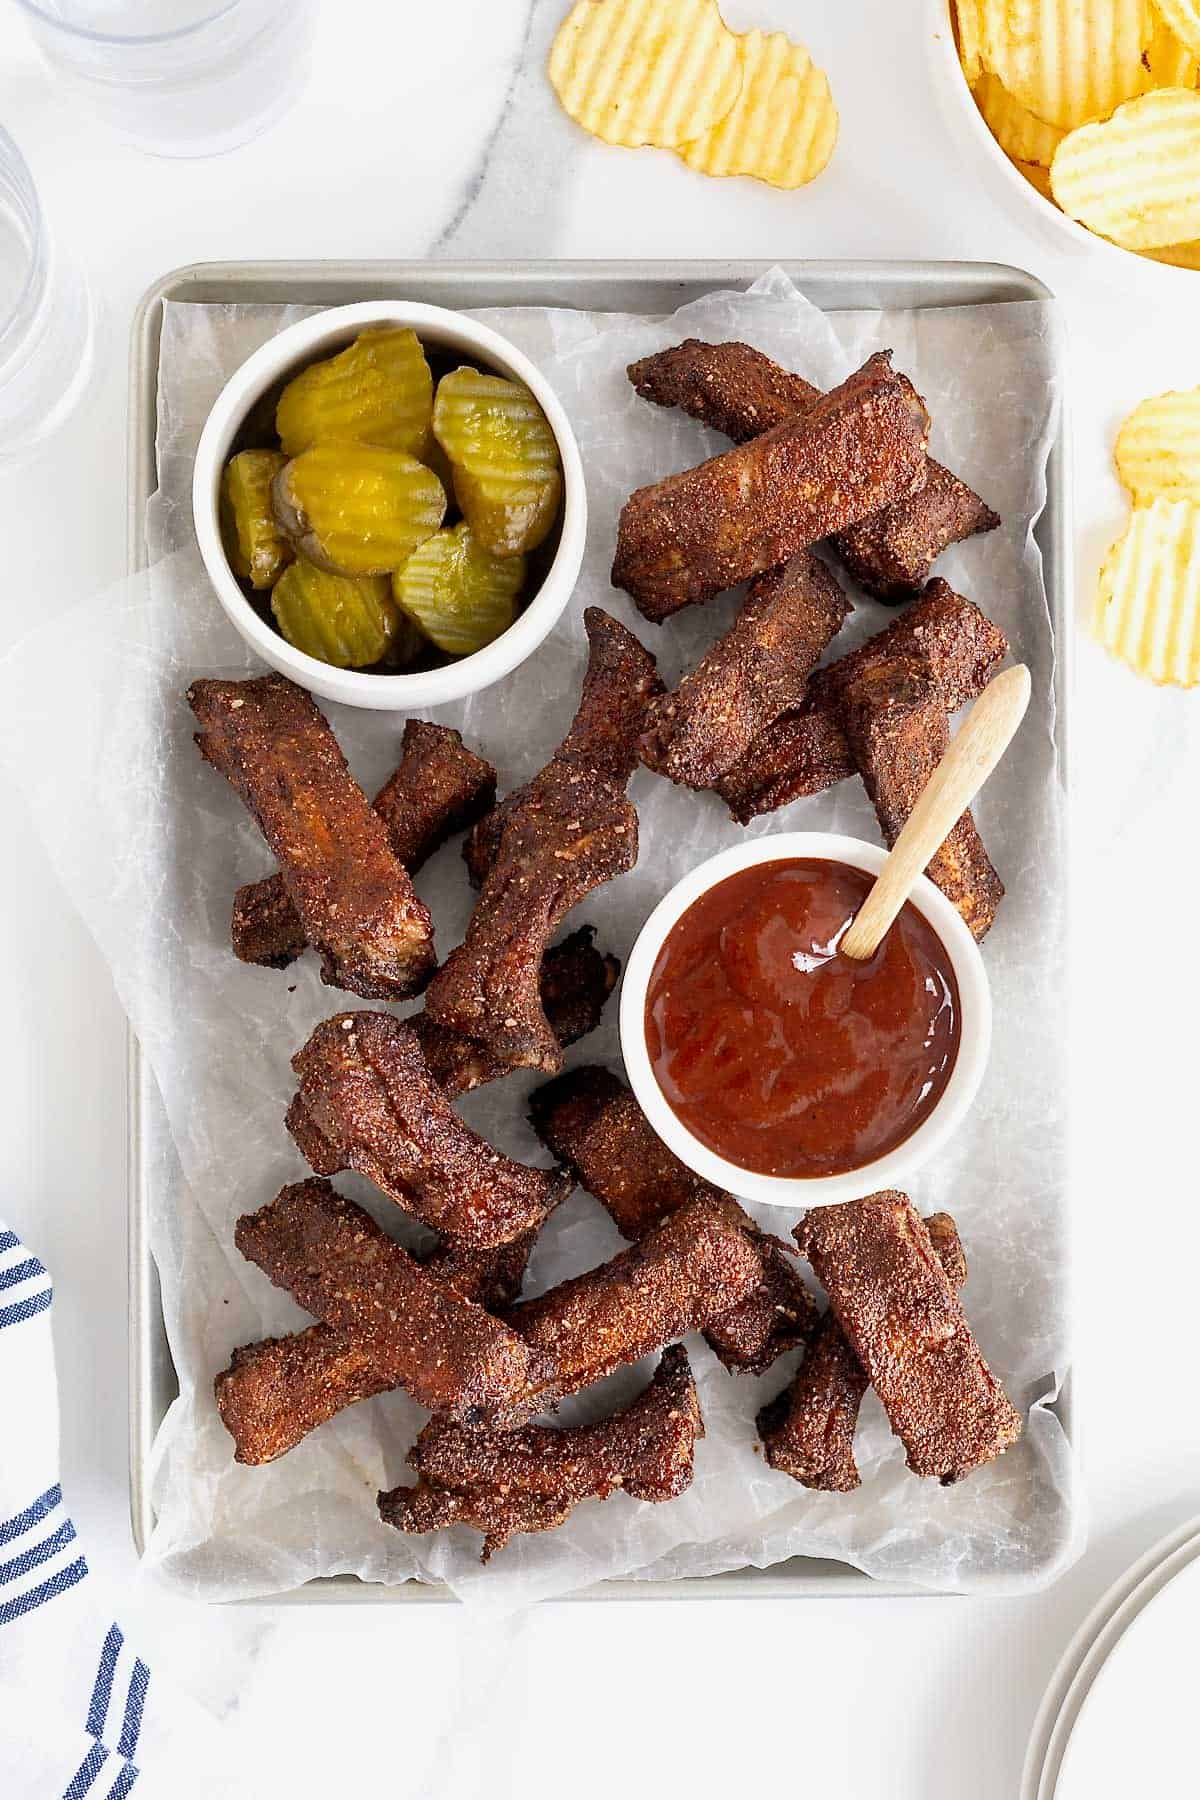
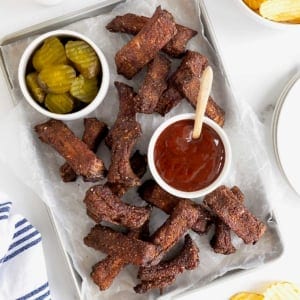
They make a great snack or appetizer or even a light meal served with my Classic Cole Slaw or a potato salad.
Ingredients and Supplies
(see recipe card at the bottom of this post for measurements and details)
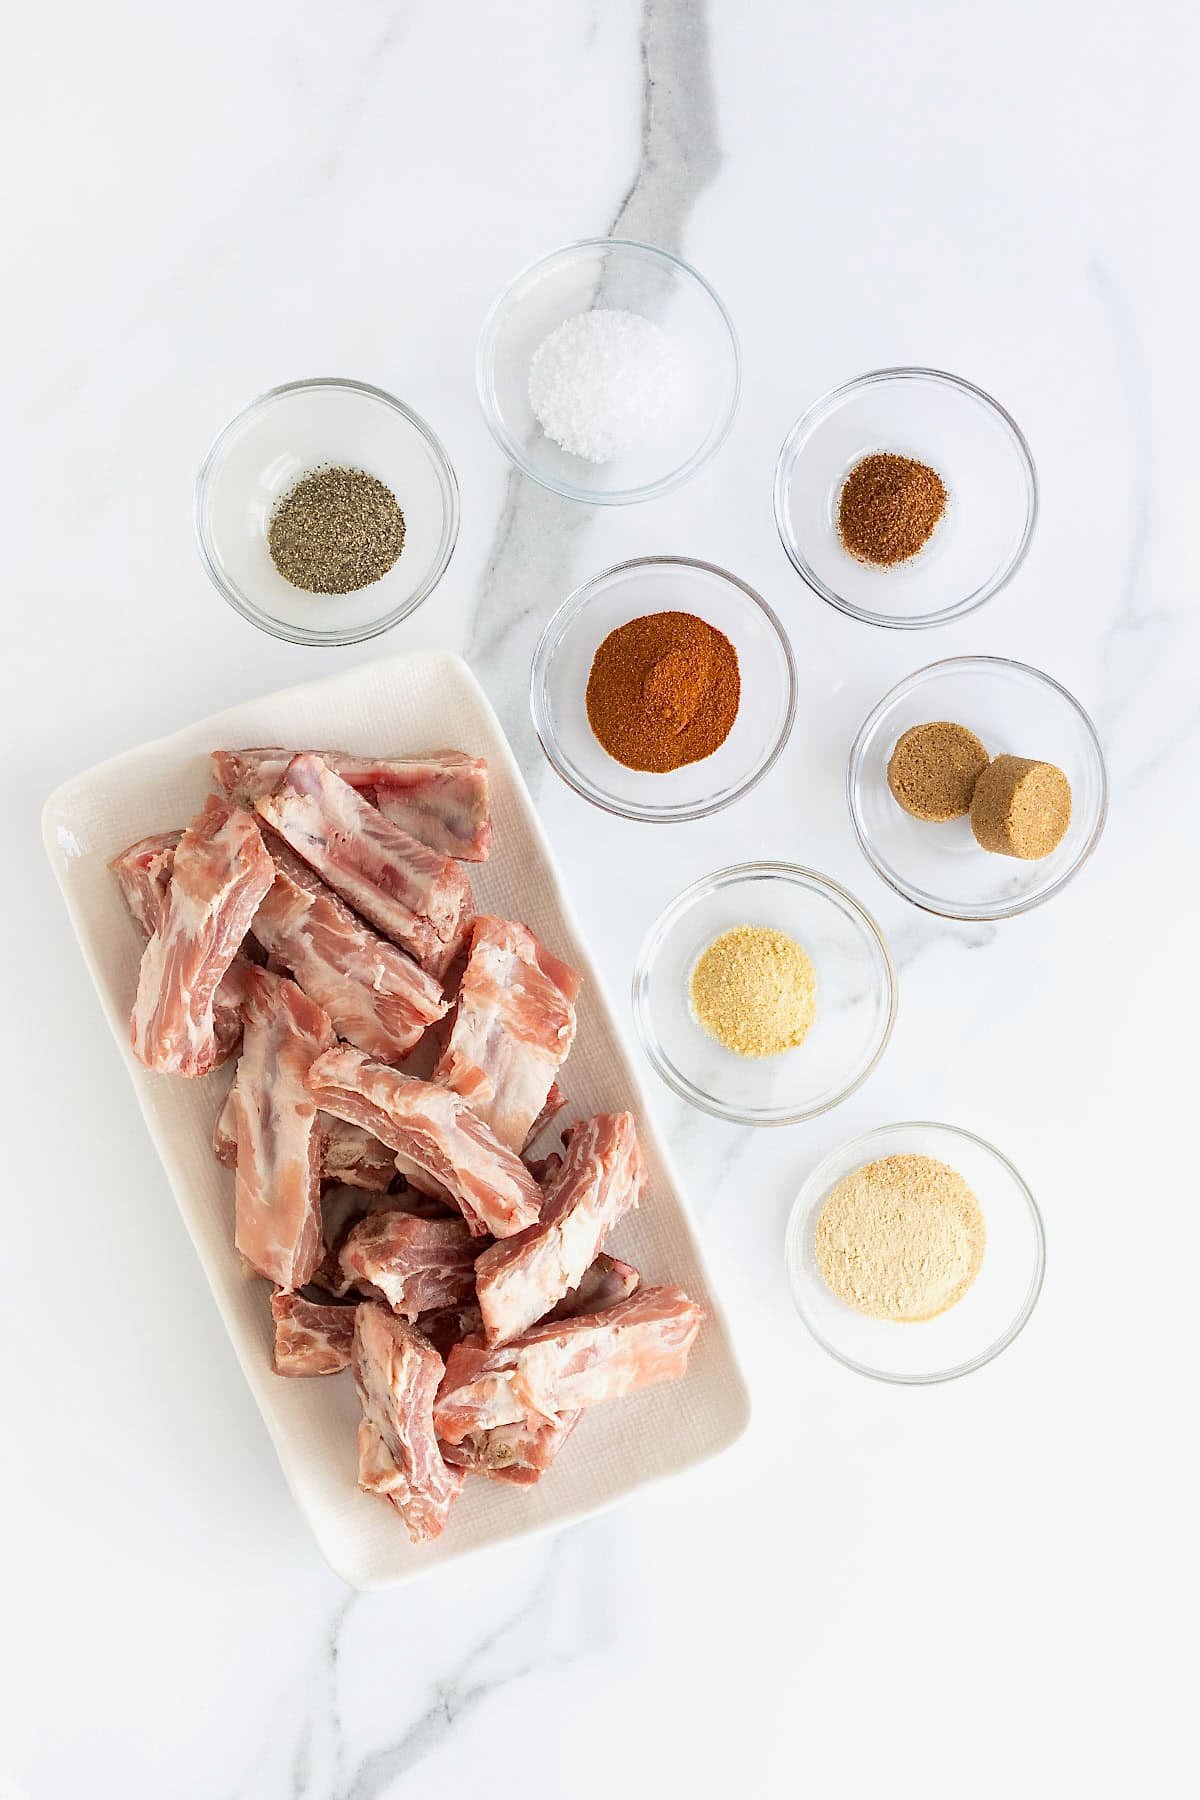
Ingredients:
- Baby back ribs (extra meaty): They’re the star of the show — super tender and meaty, perfect for holding all that sweet and spicy rub flavor. Removing the excess fat and membrane helps the spices penetrate and improves the texture.
- Dark brown sugar: adds sweetness and helps develop a caramelized crust. Dark brown sugar adds more molasses flavor than light brown sugar, but light can be substituted.
- Paprika: adds a warm, earthy flavor and a reddish color, but it’s not spicy. Use smoked paprika if you want more of a BBQ-style smoke flavor or chili powder if you want a spicier version.
- Garlic powder: adds savory depth that enhances the overall flavor of the rub. Garlic powder distributes more evenly in rubs than fresh garlic.
- Kosher salt: enhances all the other flavors and helps retain moisture. Kosher salt is ideal for even distribution. If using table salt, reduce to 1 and 1/2 teaspoons.
- Fresh ground black pepper: adds sharpness and balances the sweetness. Freshly cracked pepper has a better aroma and flavor.
- Onion powder: adds a sweet-savory depth that complements the garlic. It also helps round out the “meaty” flavor without overpowering.
- Cayenne pepper: brings a subtle spice to the rub. Increase to 1 teaspoon if you want more of a spicy kick.
- Barbecue sauce (optional, for serving)
Supplies:
How to Make Baked Baby Back Ribs with a Dry Rub
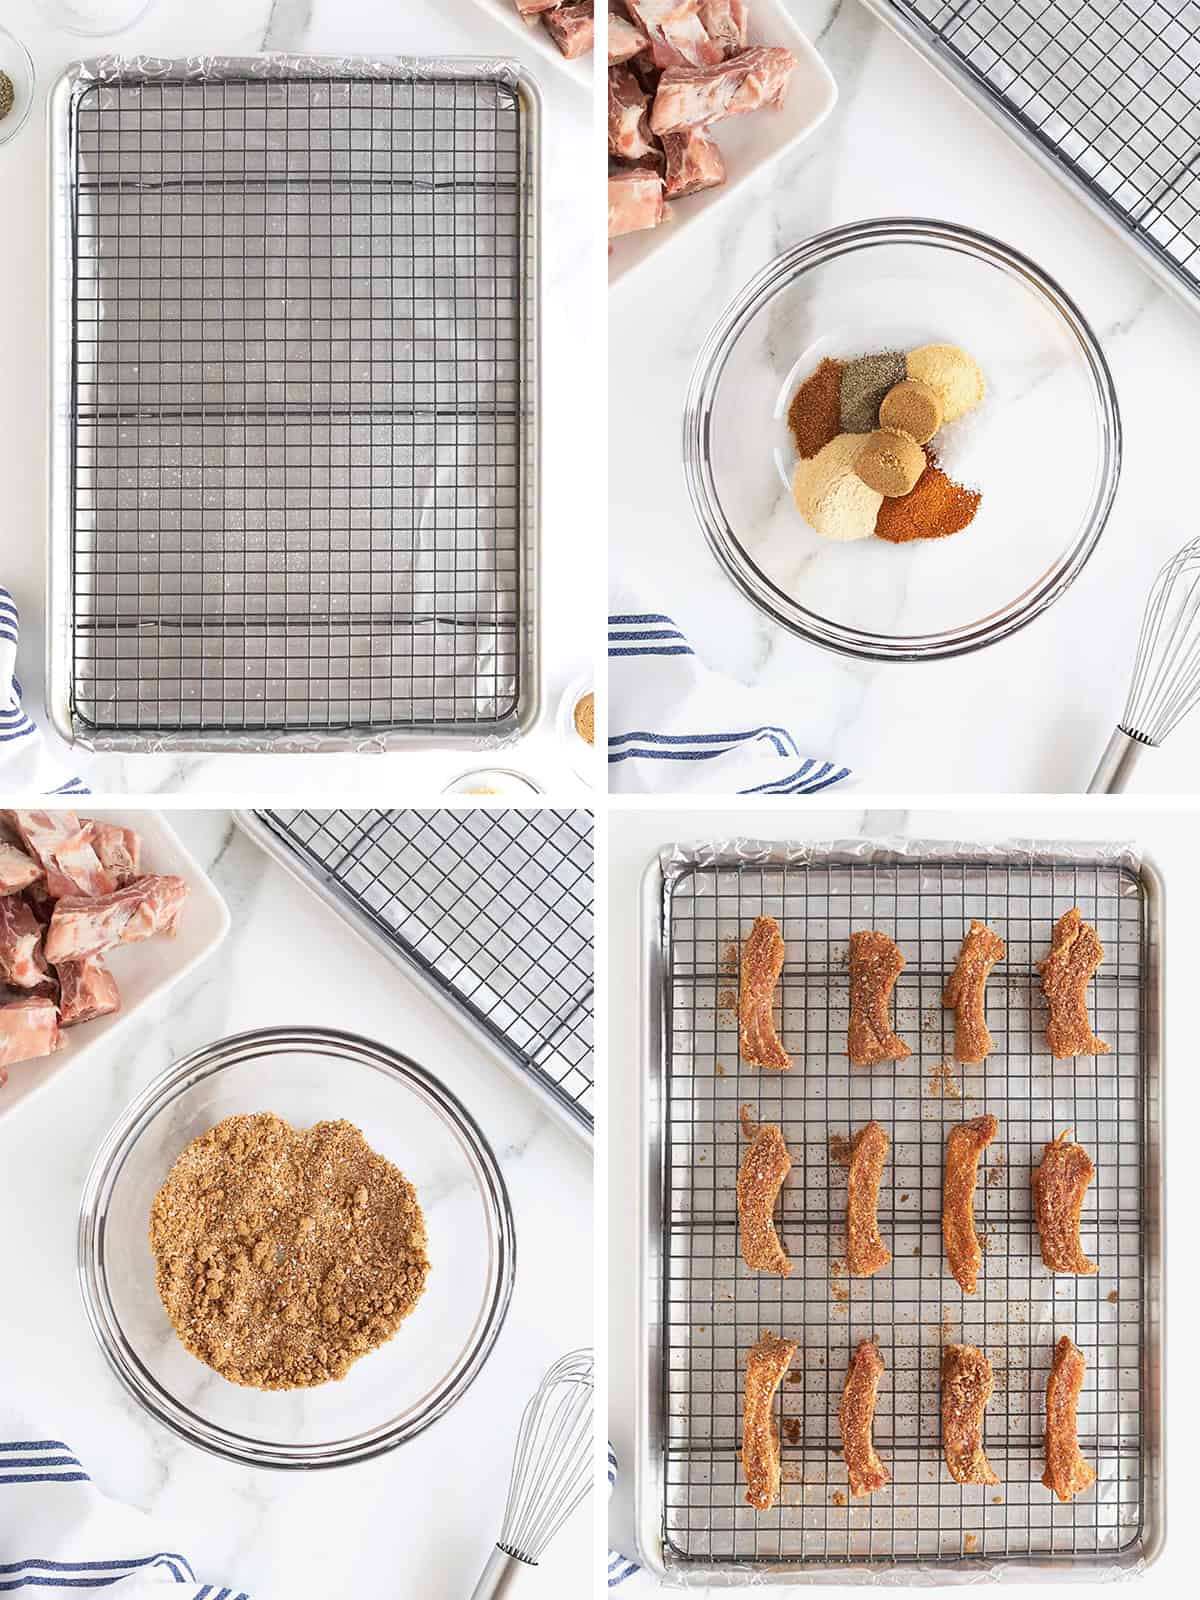
- Line a rimmed sheet pan with foil, fit a baking rack into the sheet pan, and then spray the rack with non-stick cooking spray.
- Pat the rack of ribs dry. Trim any excess fat and remove the membrane, if desired. Slice in between the bones to cut the rack into individual ribs.
- In a shallow bowl, whisk together the brown sugar, paprika, garlic powder, salt, black pepper, onion powder, and cayenne pepper to make the dry rub.
- Rub the spice mixture evenly over each of the ribs (top, bottom and sides) and then space out on the prepared baking rack. Let set for 30 minutes.
- Meanwhile, preheat the oven to 400°F.
- Bake the ribs on the middle rack of the oven for 60-90 minutes or until the internal temperature reaches 190-200°F. The ribs should bake tender and have a crisp, slightly charred crust.
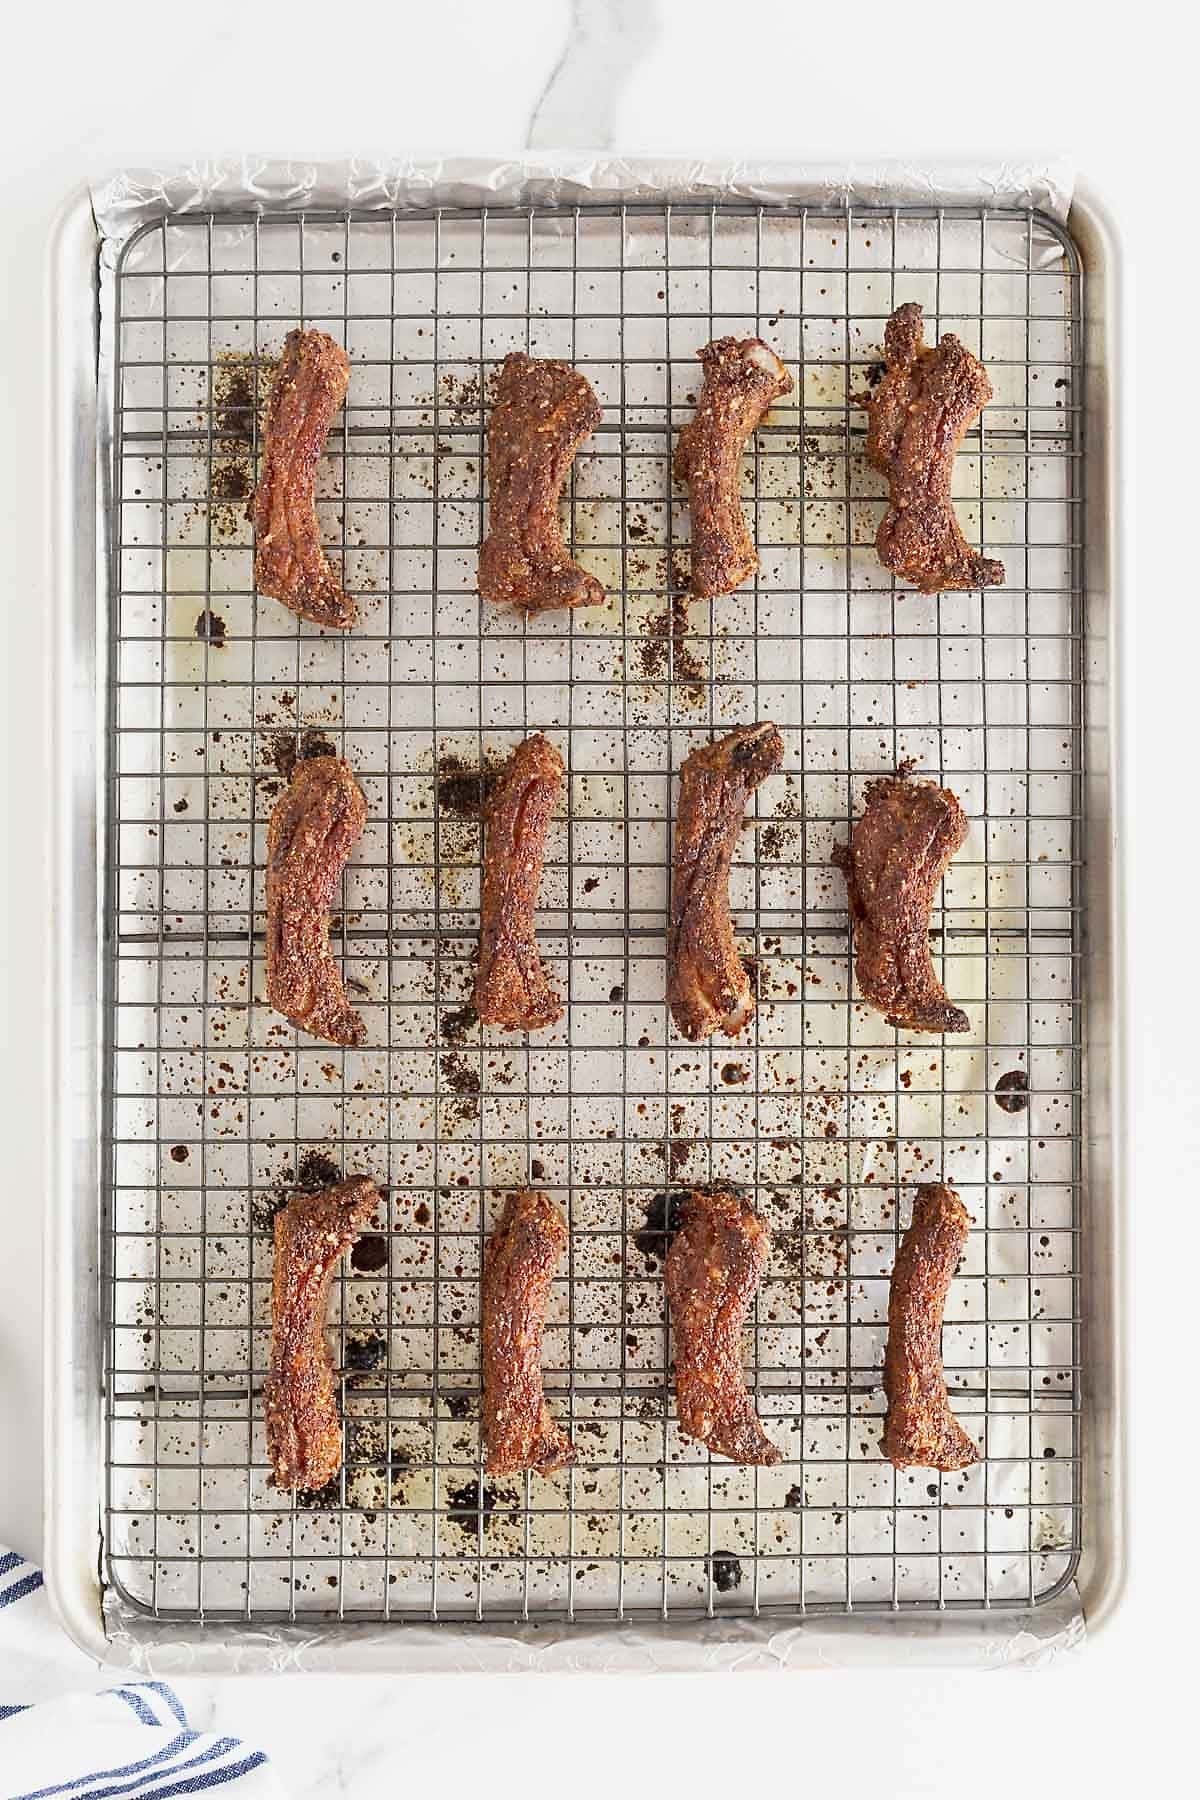
- Serve with barbecue sauce on the side.
Storage
Store in an airtight container in the refrigerator for up to three days.
Reheat by placing the ribs in a shallow baking dish and brushing with leftover barbecue sauce or adding a little broth or water. Then cover the dish with foil and heat in a 300°F oven until heated through, about 20 minutes. You can also reheat leftover ribs in the microwave, in a microwave-safe dish covered with a damp paper towel, in 30 second intervals until heated through.
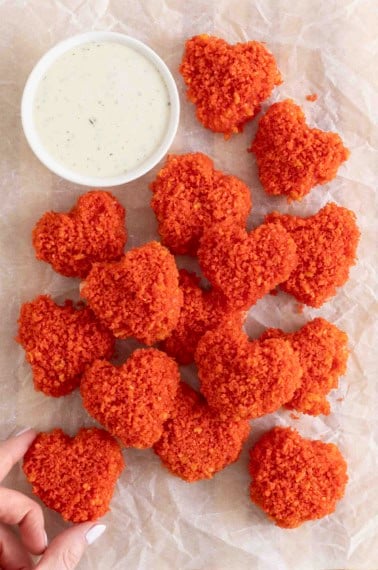
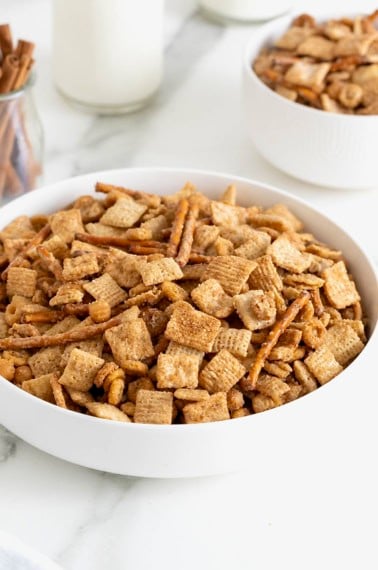
More Winning Recipes for Football Season
You’ll score big with my Winning Recipes for Football Season! I’ve rounded up our favorite game day recipes that are sure to win everyone over at your football watch party!

If you make my Baked Baby Back Ribs, be sure to snap a picture and share it with me on Instagram @thebakermama so I can see. If you’re on Facebook, be sure to join my Friends of The BakerMama group to connect and share all the fun and yummy recipes of mine that you make! 😍 I just love seeing how inspired and creative y’all get with the ideas I share. Enjoy!
xoxo,

Baked Baby Back Ribs (Dry Rub)
- Prep Time: 10 minutes
- Rest Time: 30 minutes
- Cook Time: 90 minutes
- Total Time: 2 hours 10 minutes
- Yield: 12-14 ribs
Description
With a crispy, flavorful crust and a juicy center, these Dry Rubbed Baked Baby Back Ribs make a delicious snack and great game day grub!
Ingredients
- 1 (3-4 pound) rack of extra meaty baby back ribs, cut into individual ribs (about 12–14 ribs)
- 2 tablespoons dark brown sugar
- 1 tablespoon paprika
- 1 tablespoon garlic powder
- 2 teaspoons kosher salt
- 1 teaspoon fresh ground black pepper
- 1 teaspoon onion powder
- 1/2 teaspoon cayenne pepper
Instructions
- Line a rimmed sheet pan with foil, fit a baking rack into the sheet pan, and then spray the rack with non-stick cooking spray.
- Pat the rack of ribs dry. Trim any excess fat and remove the membrane, if desired. Slice in between the bones to cut the rack into individual ribs.
- In a shallow bowl, whisk together the brown sugar, paprika, garlic powder, salt, black pepper, onion powder, and cayenne pepper to make the dry rub.
- Rub the spice mixture evenly over each of the ribs (top, bottom and sides) and then space out on the prepared baking rack. Let set for 30 minutes.
- Meanwhile, preheat the oven to 400°F.
- Bake the ribs on the middle rack of the oven for 60-90 minutes or until the internal temperature reaches 190-200°F. The ribs should bake tender and have a crisp, slightly charred crust.
- Serve with barbeque sauce on the side.
OMG!! These were by far the best ribs I have ever had! They were so simple to make and the taste was fantastic! They were surprisingly tender, with a nice crisp crust. I normally cook my ribs on a lower temperature for a longer time, so I was a bit hesitant as to how tender they would be, but they did not disappoint. I had 2 racks, so I did 2 different trays and rotated them halfway through the cooking time. I will definitely be making these again and throwing away all other rib recipes. Thank you so much for another simple, delicious recipe!
Hi, Alana! YAY! I am delighted that you enjoyed the ribs so much! So happy they turned out tender and delicious for you. Thank you for sharing!