
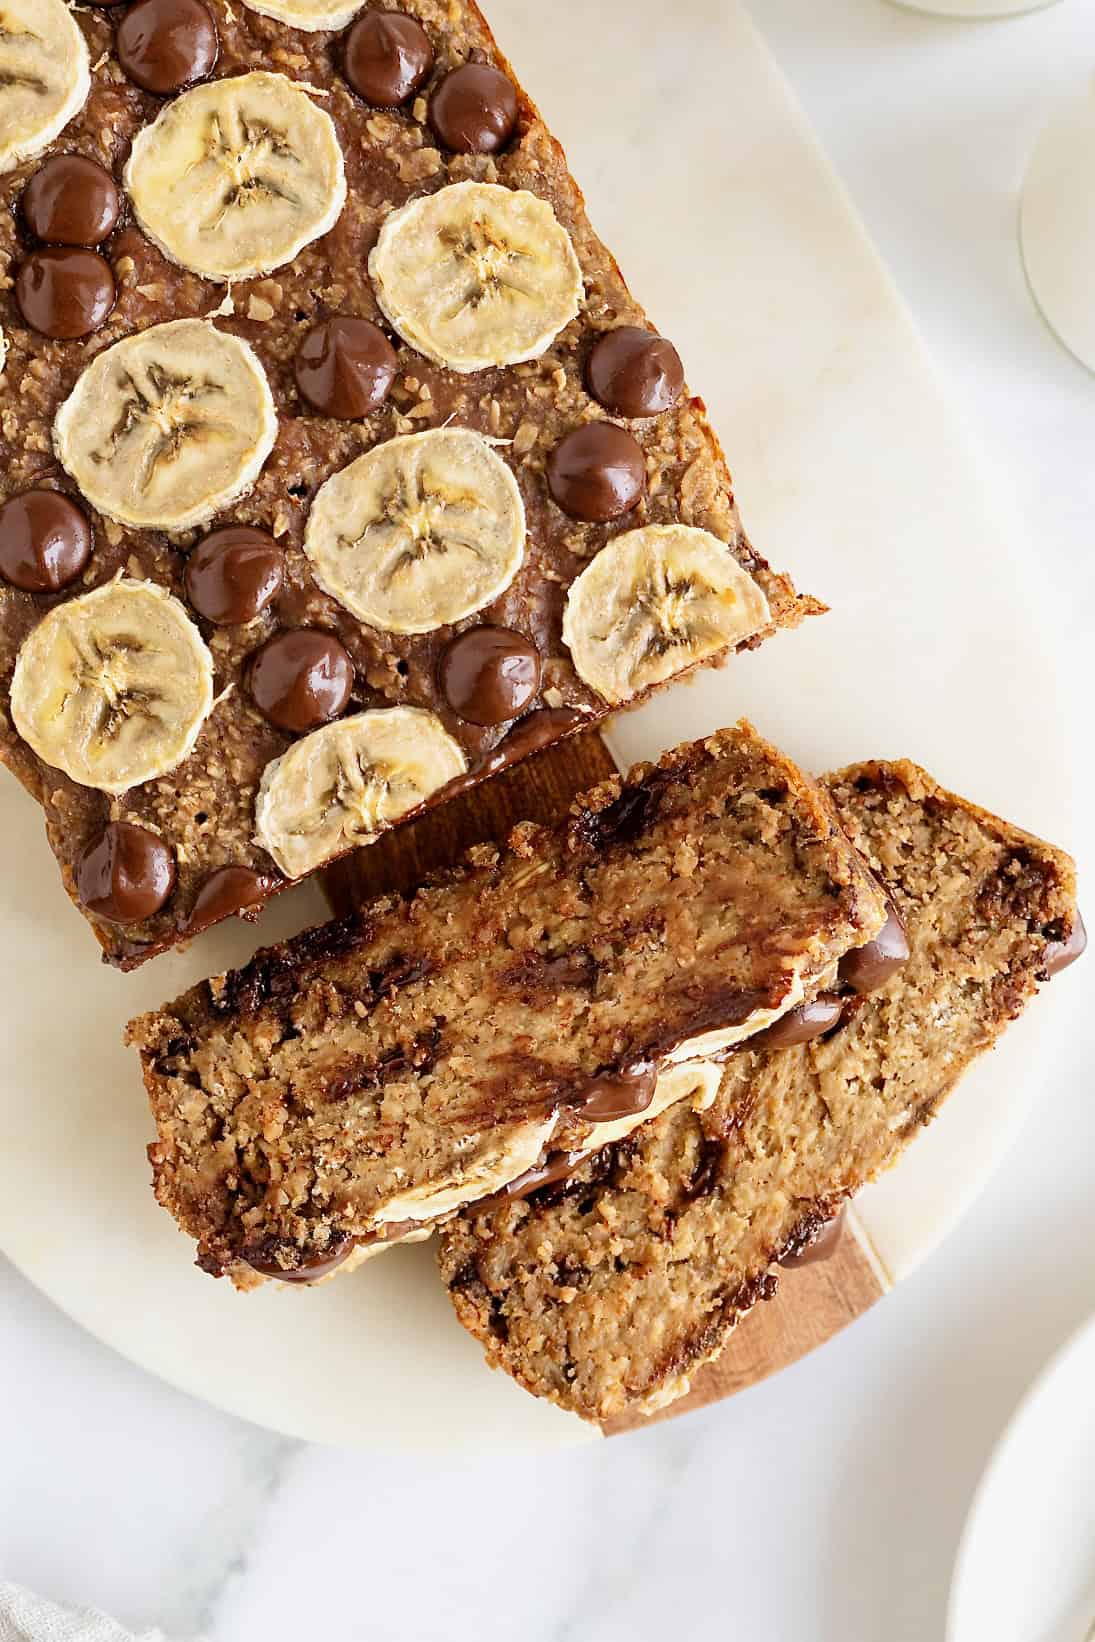
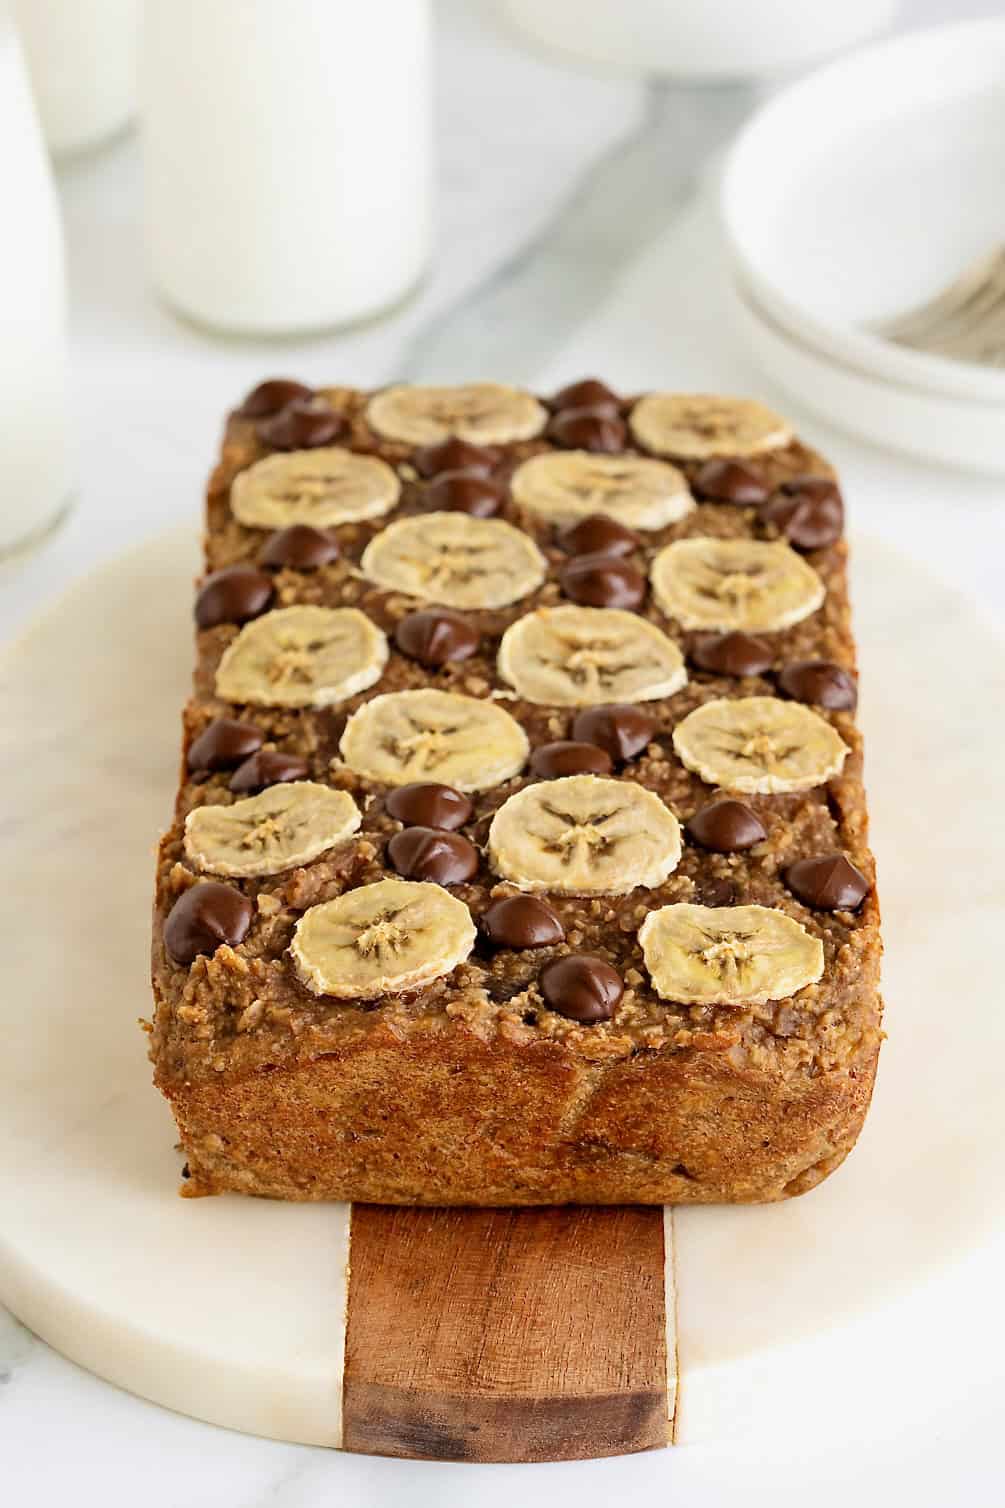
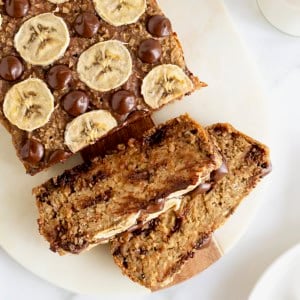
This 4-Ingredient Flourless Chocolate Chip Banana Bread is made with just bananas, oats, peanut butter and chocolate chips. That’s it and it’s so unbelieveably AMAZING!
Easy and Incredibly Satisfying
Here I go again! Baking flourless chocolate chip banana bread with a few simple ingredients that turns out so delicious you’ll never miss the flour, butter, oil, eggs or sugars it doesn’t have in it. Flour-free, dairy-free and absolutely incredible.
If you’ve tried my Flourless Chocolate Banana Bread, Healthy Flourless Pumpkin Bread or Healthy 5-Ingredient Flourless Banana Bread recipes, you know you’re in for another great one! And if you haven’t baked these breads yet, you so need to. They’re easy and incredibly satisfying!
30 minutes to Perfection
In about 30 minutes, you’ll be pulling out warm chocolate chip peanut butter banana bread bliss that nobody will be able to resist.
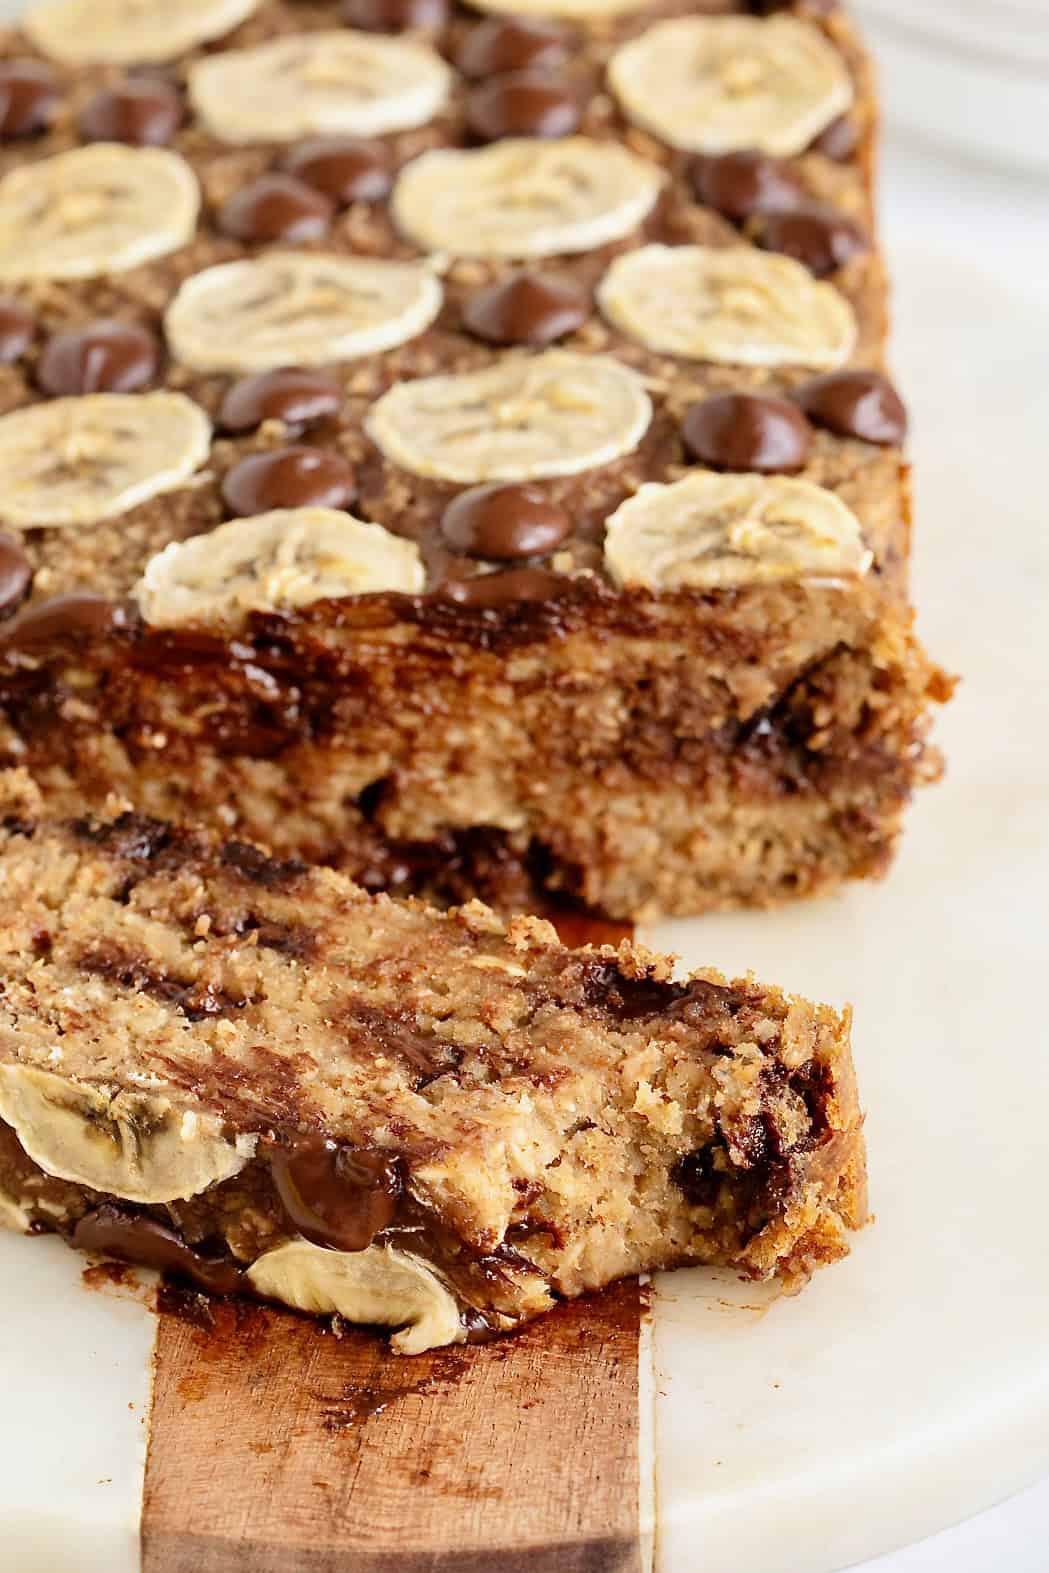
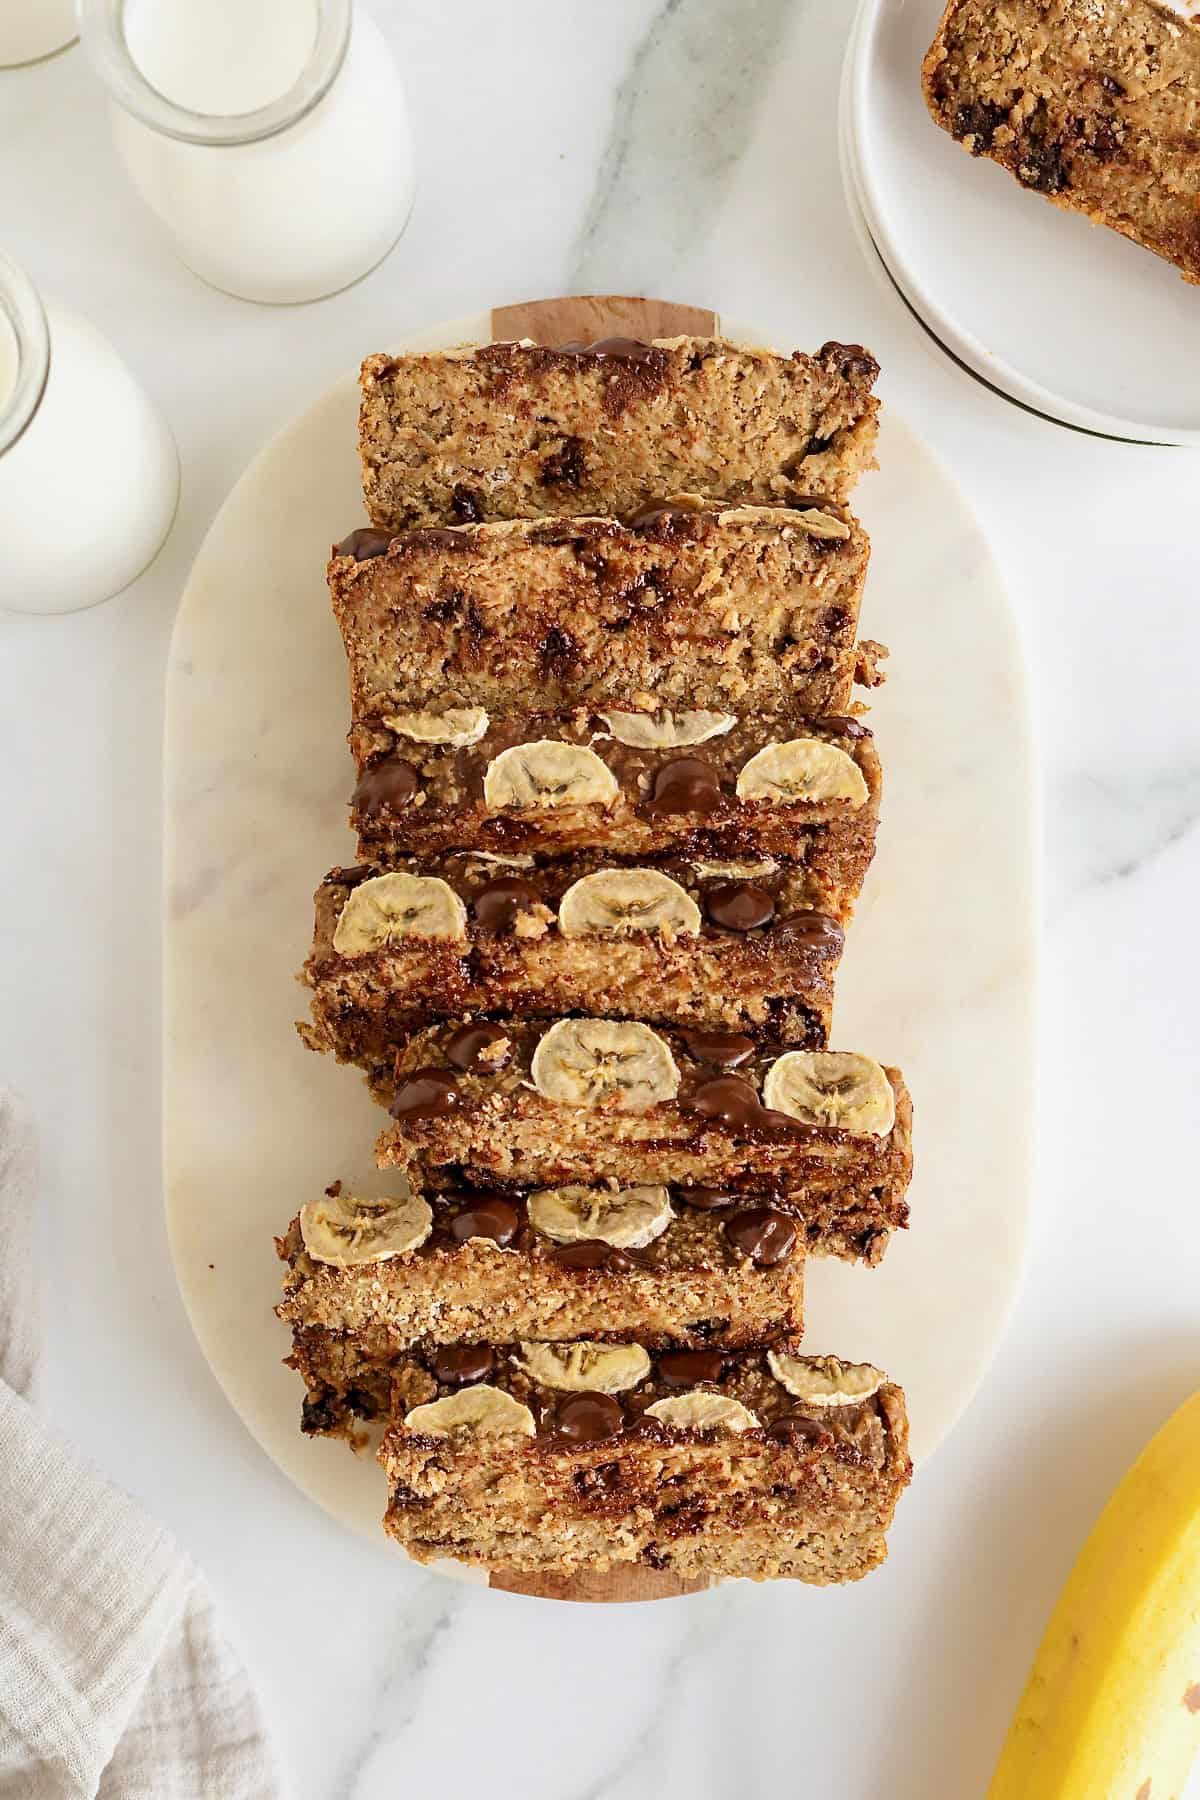
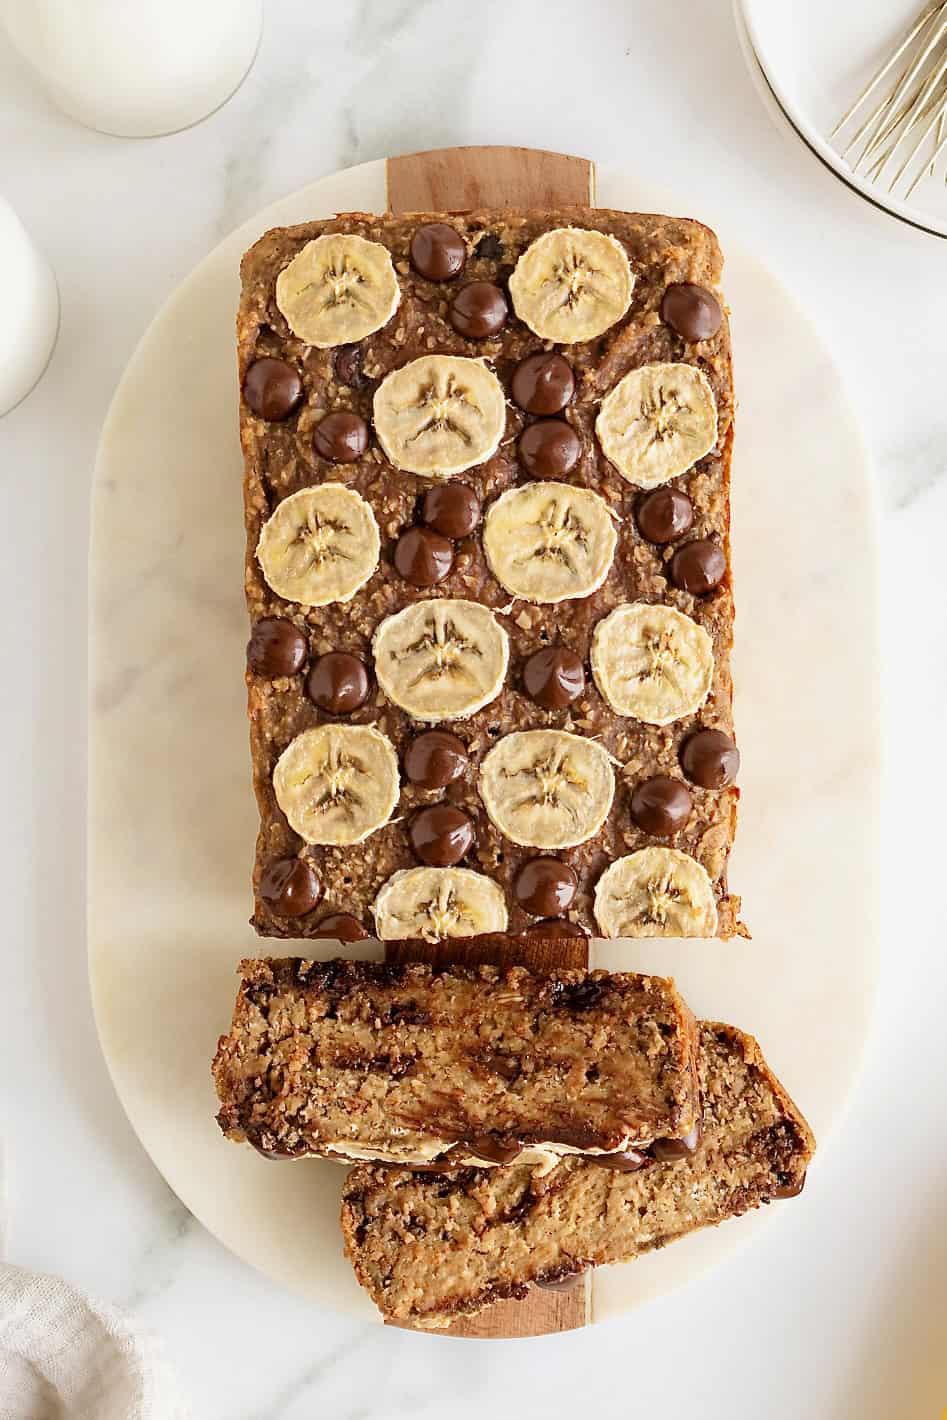
The texture is spot on when it comes to how banana bread should look and taste. Moist and tender with pure banana flavor. The peanut butter and chocolate flavors just make it all the more delicious. Mmmm…mmmm!
This banana bread truly meets, if not exceeds, those banana bread cravings I get so often. It’s been a family favorite lately for breakfast, snack time and even dessert. I already have the recipe memorized and it never ceases to mesmerize me each time I eat a slice.
Watch Me Make It!
Step into the kitchen with me to make this amazing 4-Ingredient flourless chocolate chip banana bread!
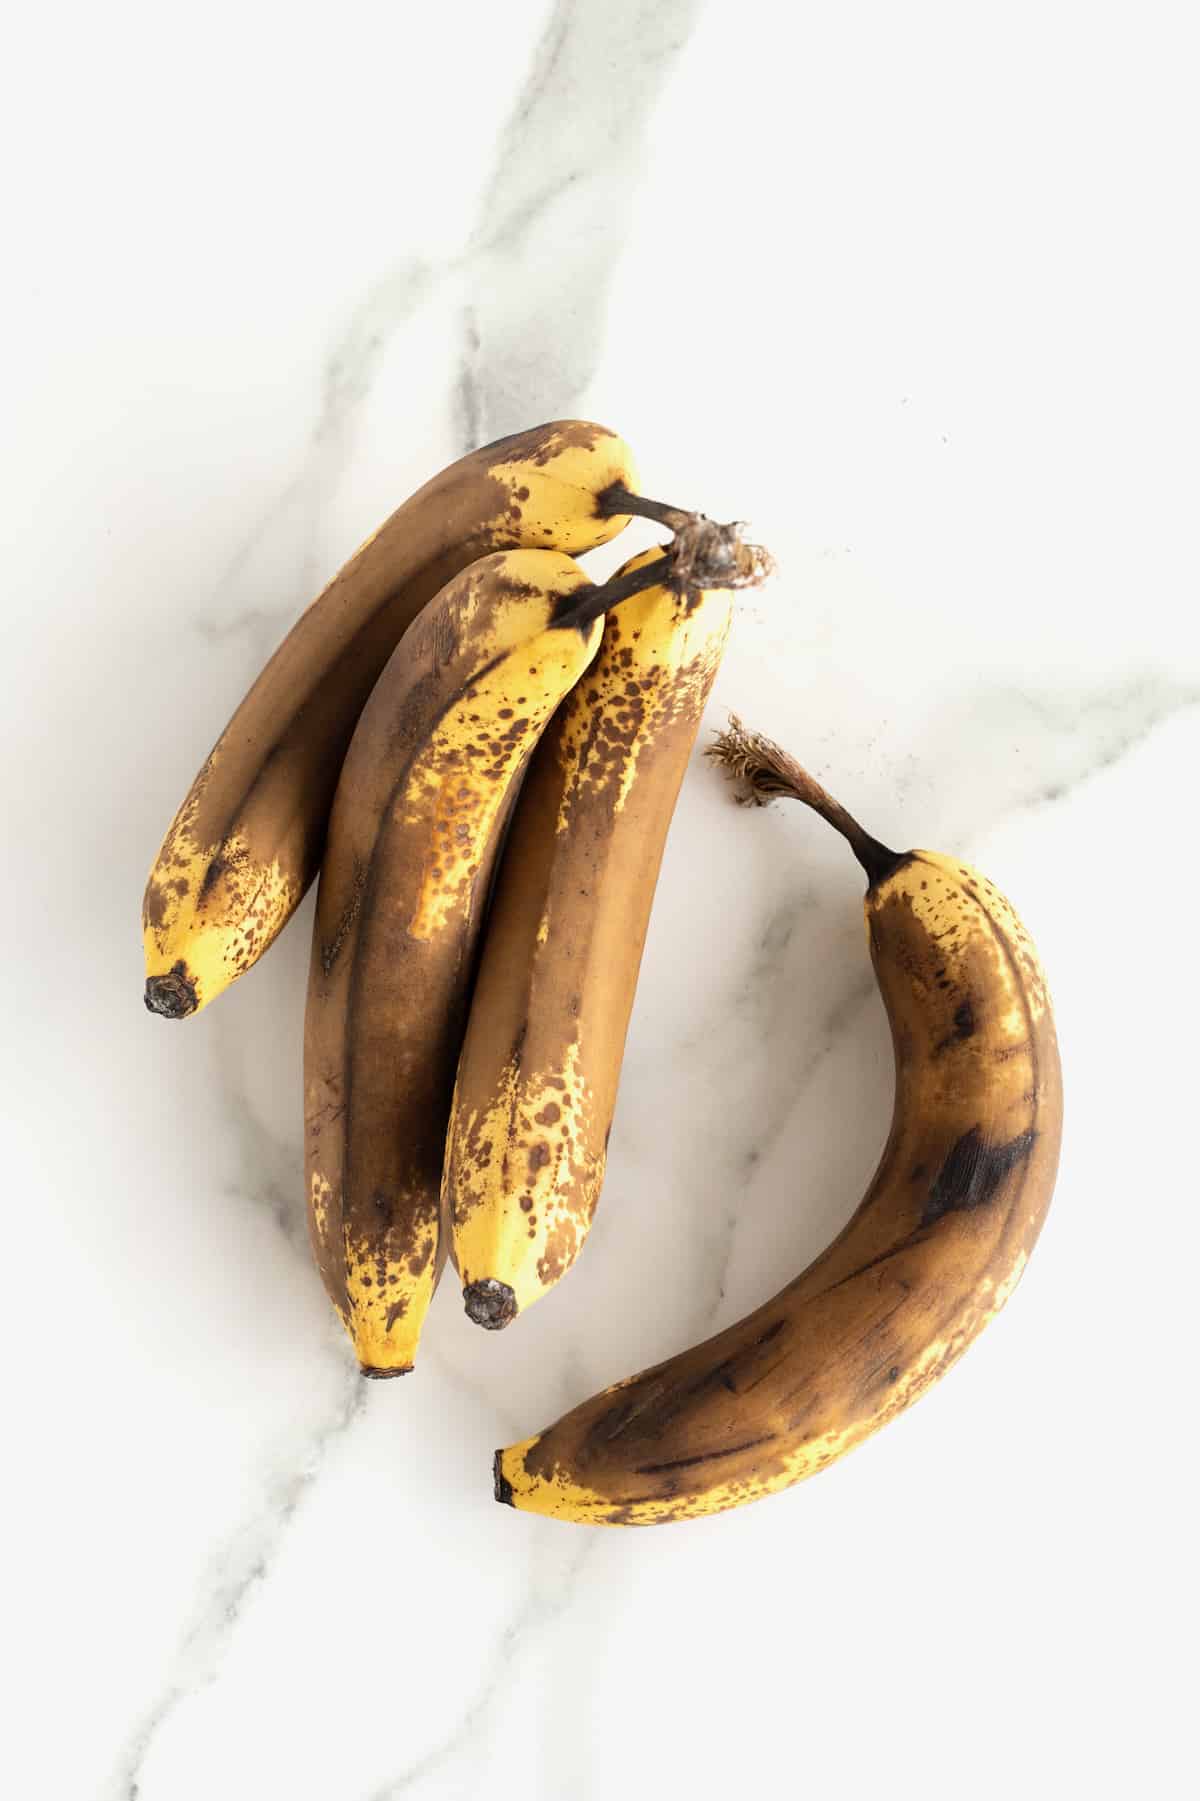
Riper the Bananas, Sweeter the Loaf
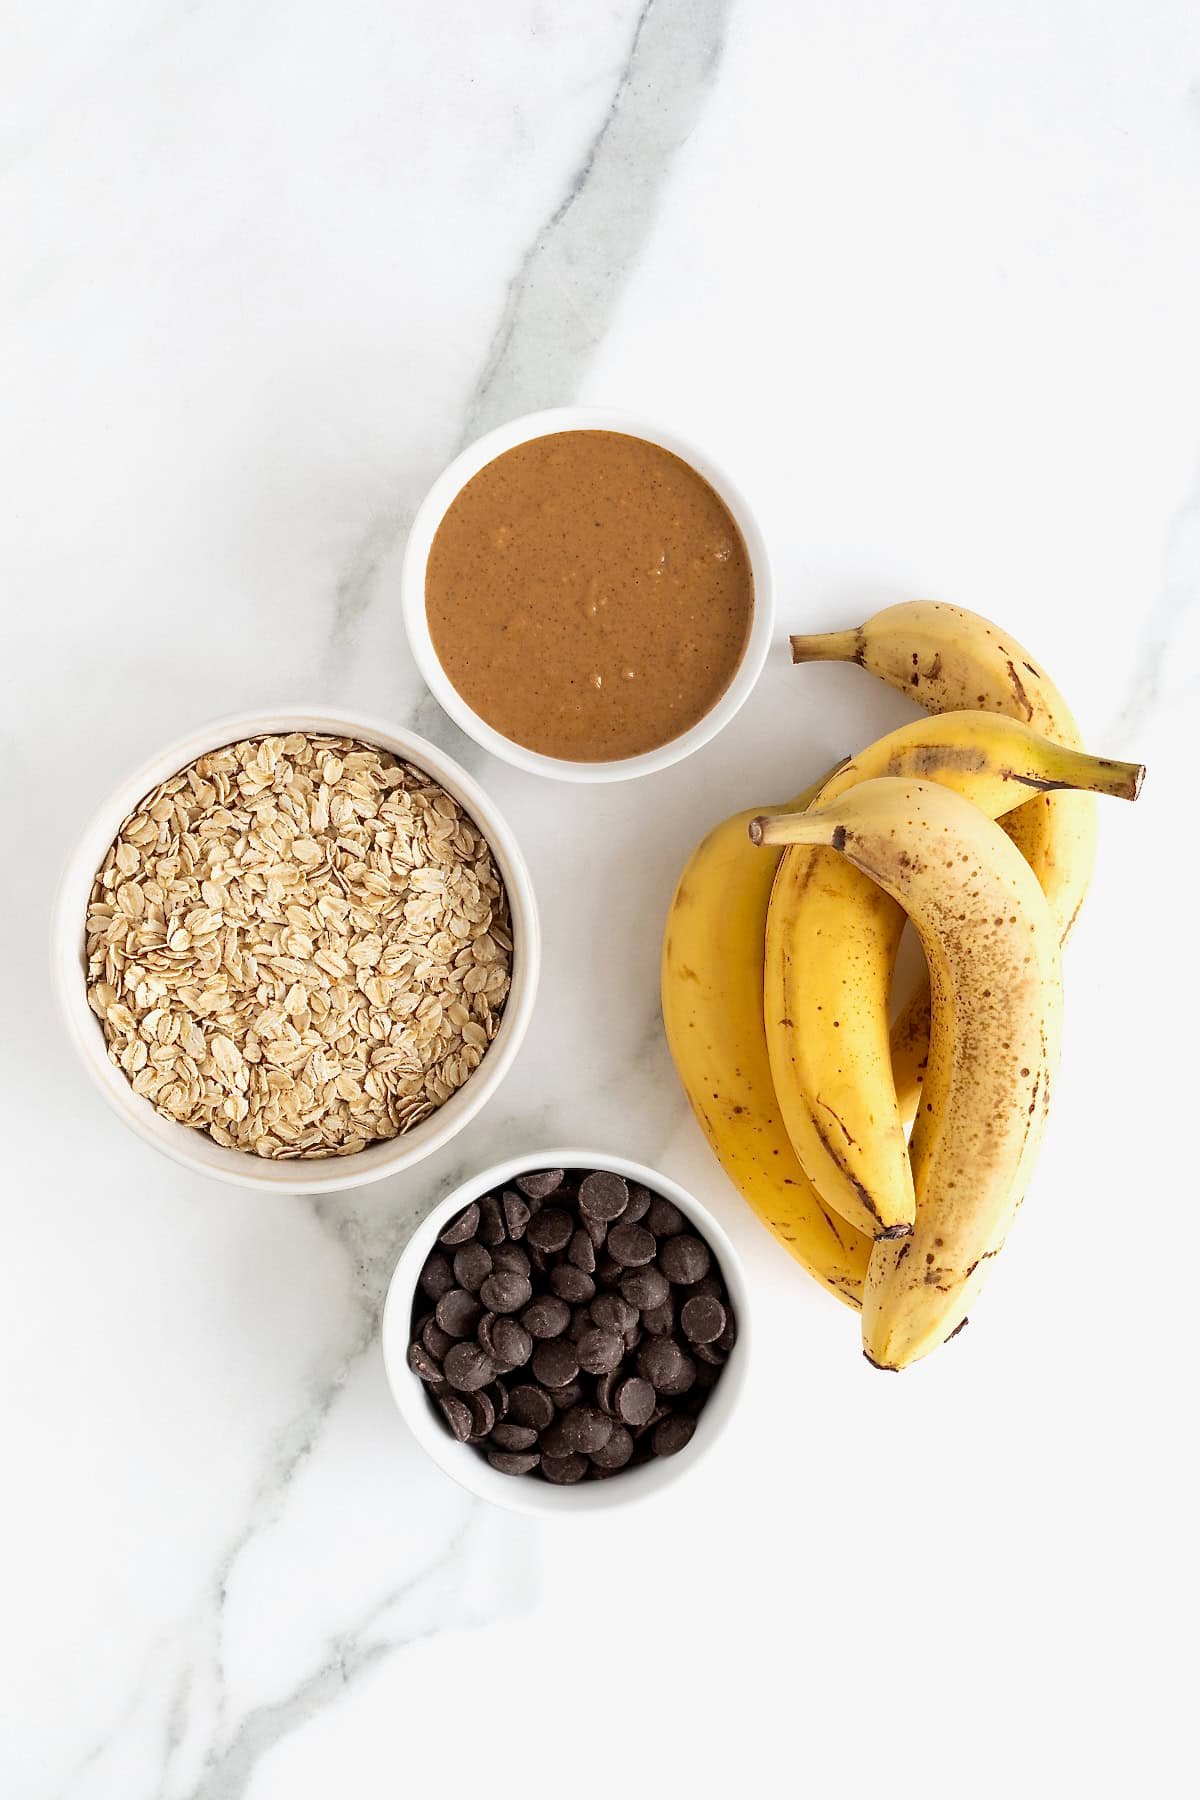
Like I said, just 4 ingredients! And ones that you probably always have on hand.
Bananas – I always buy extras so I can bake a loaf of banana bread at least once a week. The riper the bananas, the sweeter the loaf.
Peanut Butter (or another nut butter) – I use a natural peanut butter and it works great! The runnier the peanut butter is, the easier it will blend in with the other ingredients. I love the combo of banana, peanut butter and chocolate! Feel free to substitute the peanut butter with almond butter or another nut butter, if preferred or necessary. Great source of protein!
Oatmeal – the oats are a great source of fiber and what give the bread its texture when they’re blended in the blender with the other ingredients. It’s such a perfect way to replace flour in quick breads. And you won’t need any special almond flour or gluten-free flour blend. Though, of course, if you want to make truly gluten-free chocolate chip banana bread, be sure to use gluten-free oats.
Chocolate Chips – the key ingredient, of course! 😉 I use dark chocolate chips, but feel free to use your favorite chocolate chips.
And that’s it! Just 4 ingredients! No added white or brown sugar, salt, baking powder, specialty gluten-free flours or coconut oil. And, in case simplicity is your thing, skip the bowl and the whisk. With this recipe, there’s no need to stir. You just blend all of the wet ingredients and dry ingredients together in your blender, stir in the chocolate chips, pour the batter into a loaf pan and bake.
When Is a Banana Ripe Enough for Baking?
Learn how to tell if your banana is ripe enough for baking banana bread. Plus, tips for freezing bananas at their baking prime!
Ingredients and Supplies
(see recipe card at the bottom of this post for measurements and details. To learn more about specific baking ingredients and how they function in baking recipes, reference my Complete Guide to Baking Ingredients)
Ingredients:
- Ripe bananas (about 4-5 medium bananas)
- Old-fashioned oats
- Creamy or crunchy natural peanut butter (or another nut butter, such as almond butter)
- Chocolate chips
Supplies:
How to Make 4-Ingredient Flourless Chocolate Chip Banana Bread
- Preheat oven to 350°F. Lightly grease 9×5-inch loaf pan with non-stick cooking spray and line with parchment paper; set aside.
- Add the bananas, oats and peanut butter to a blender.
- Note: If your blender is not very powerful or your batter is just too thick to blend in your blender, add 1/4 cup water to help it blend.
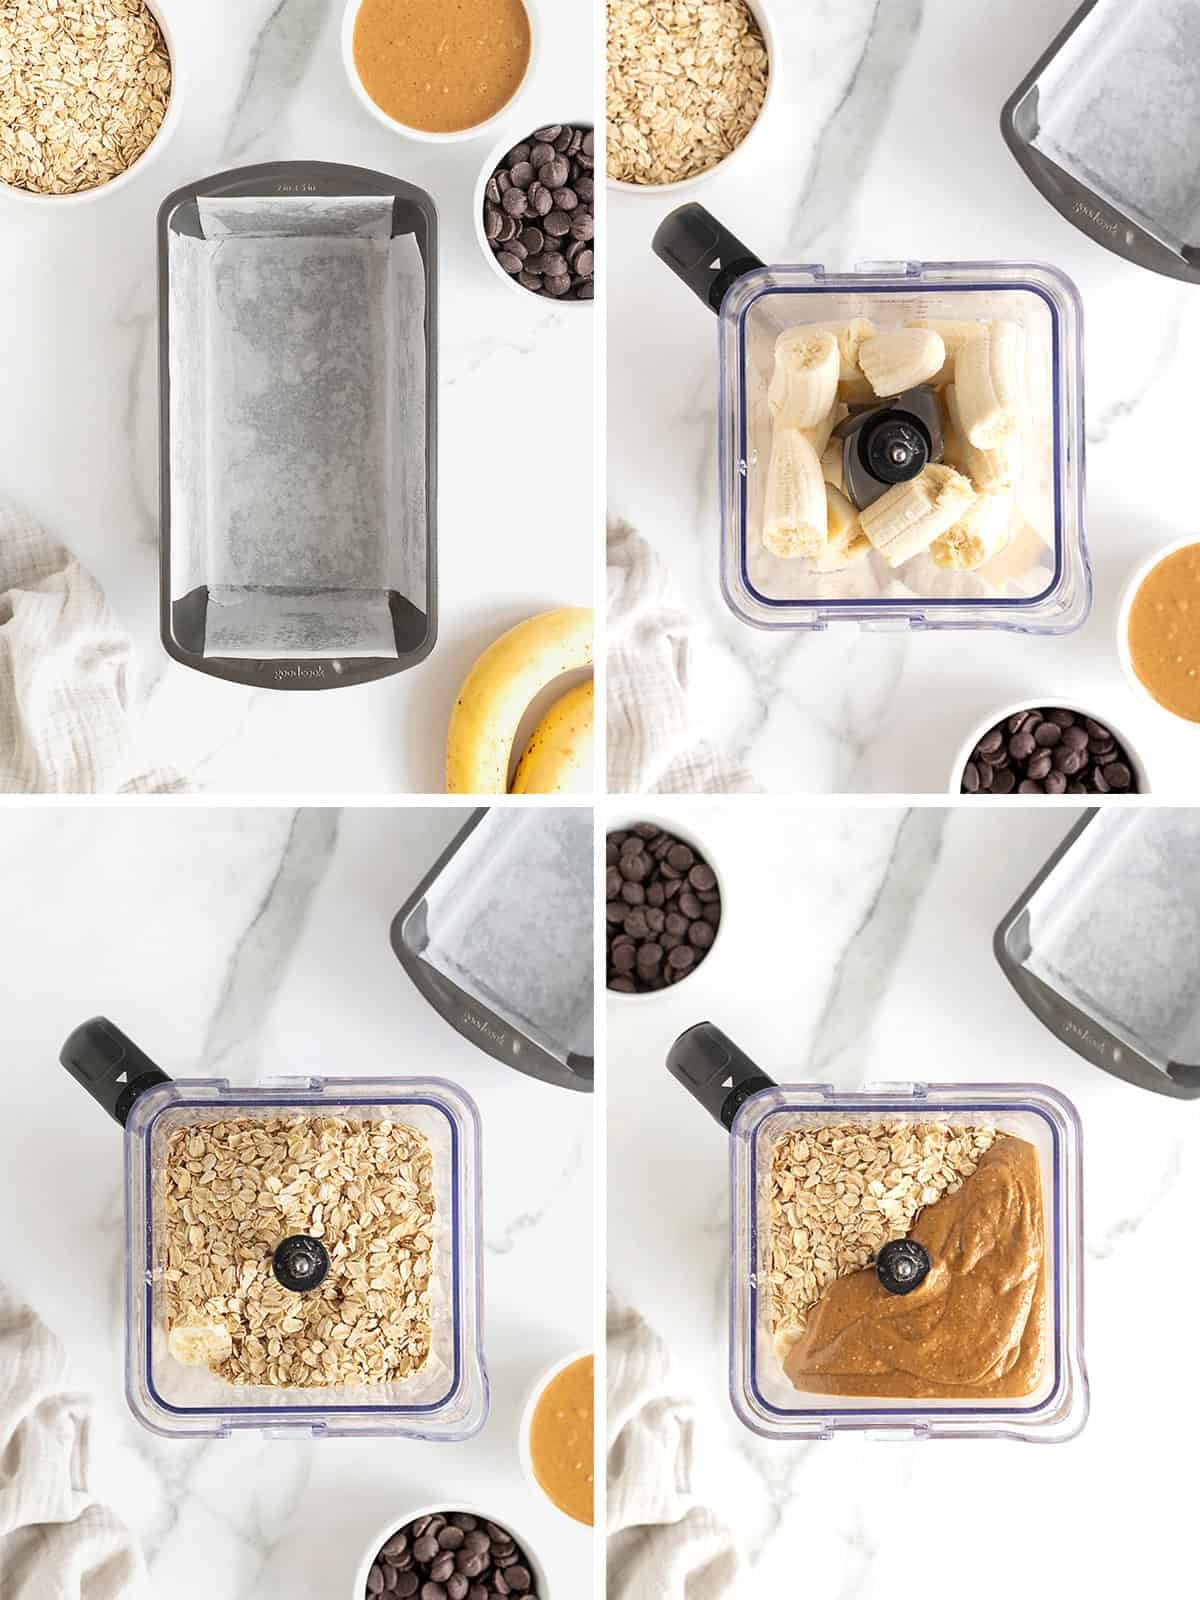
- Blend until smooth, scraping down the sides of the blender a few times to incorporate all of the ingredients well.
- Try not to over blend the batter as this will lead to a denser loaf. Blend just until the oats are ground. You should still recognize some oat shapes throughout the batter.
- Stir in the chocolate chips.
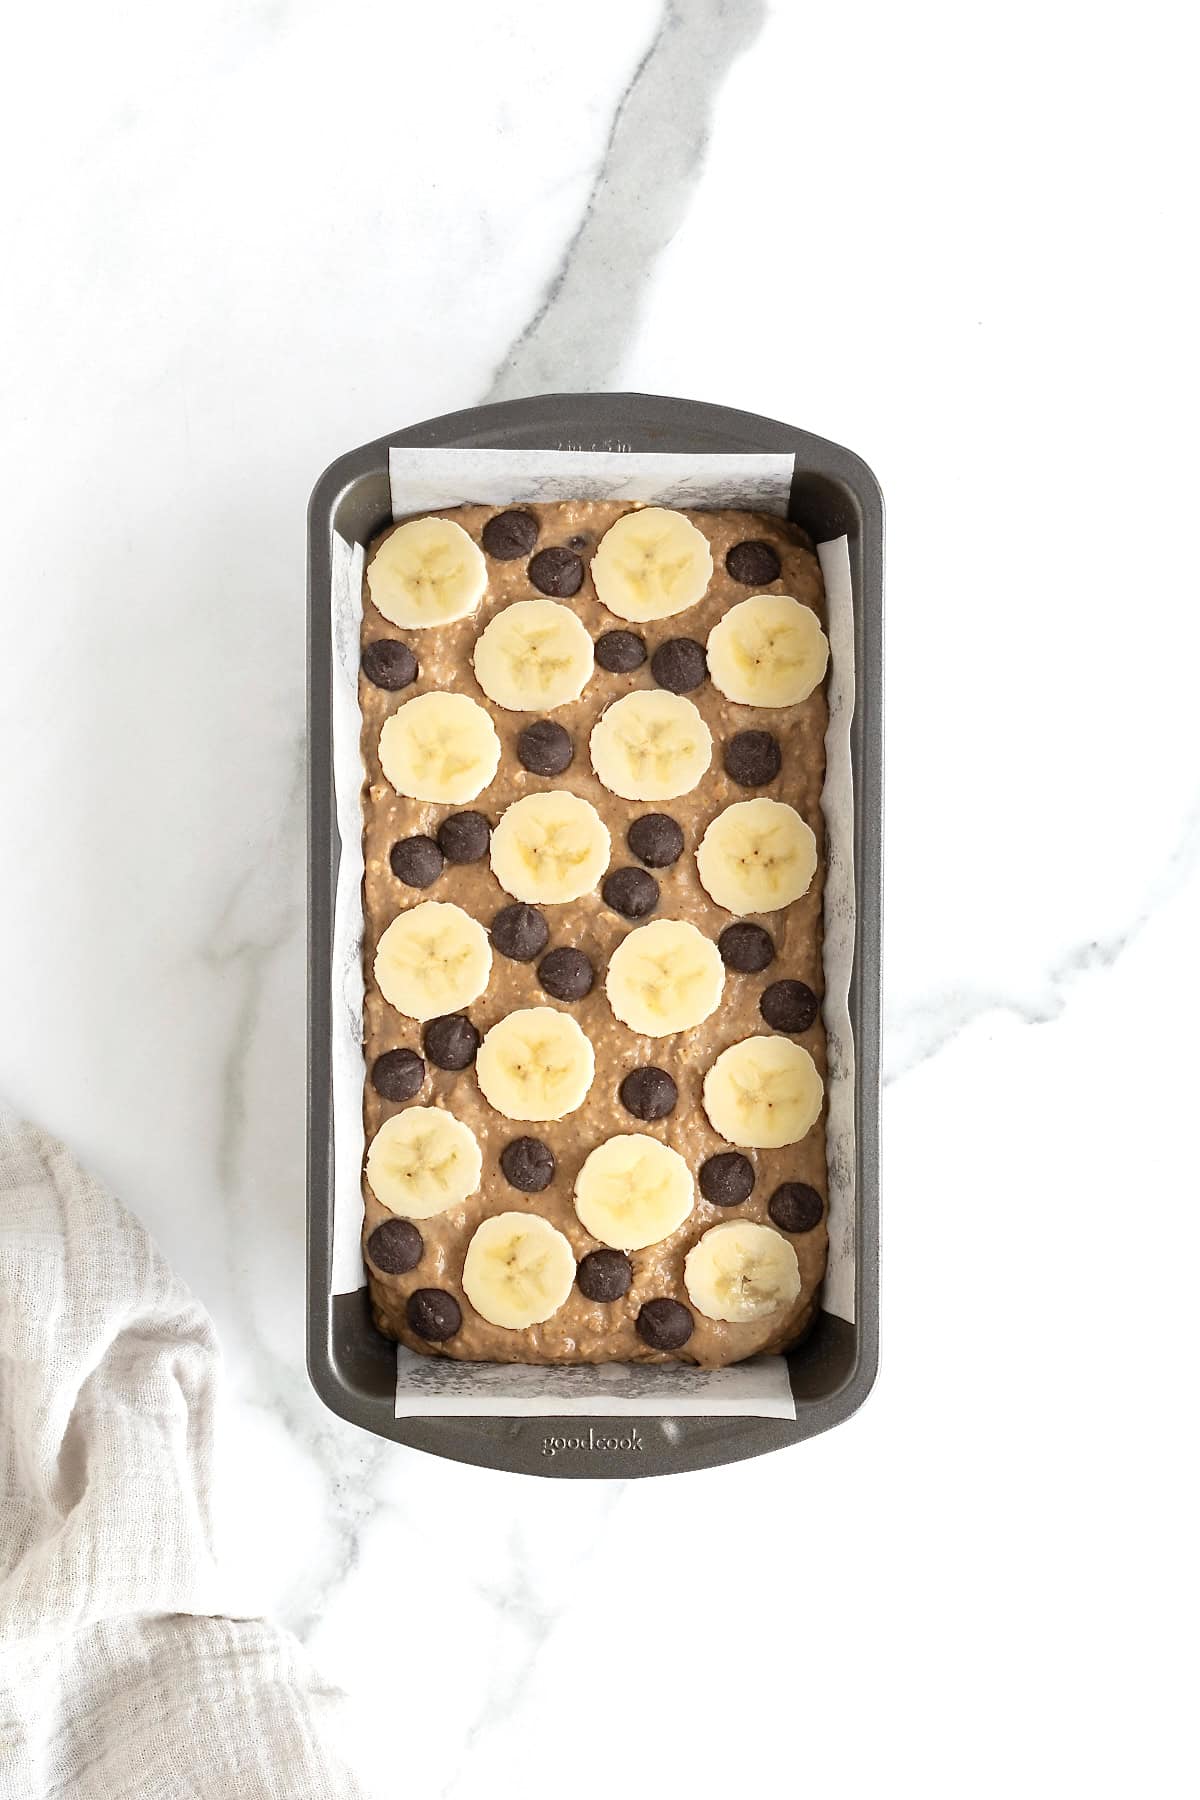
- Pour batter into prepared loaf pan.
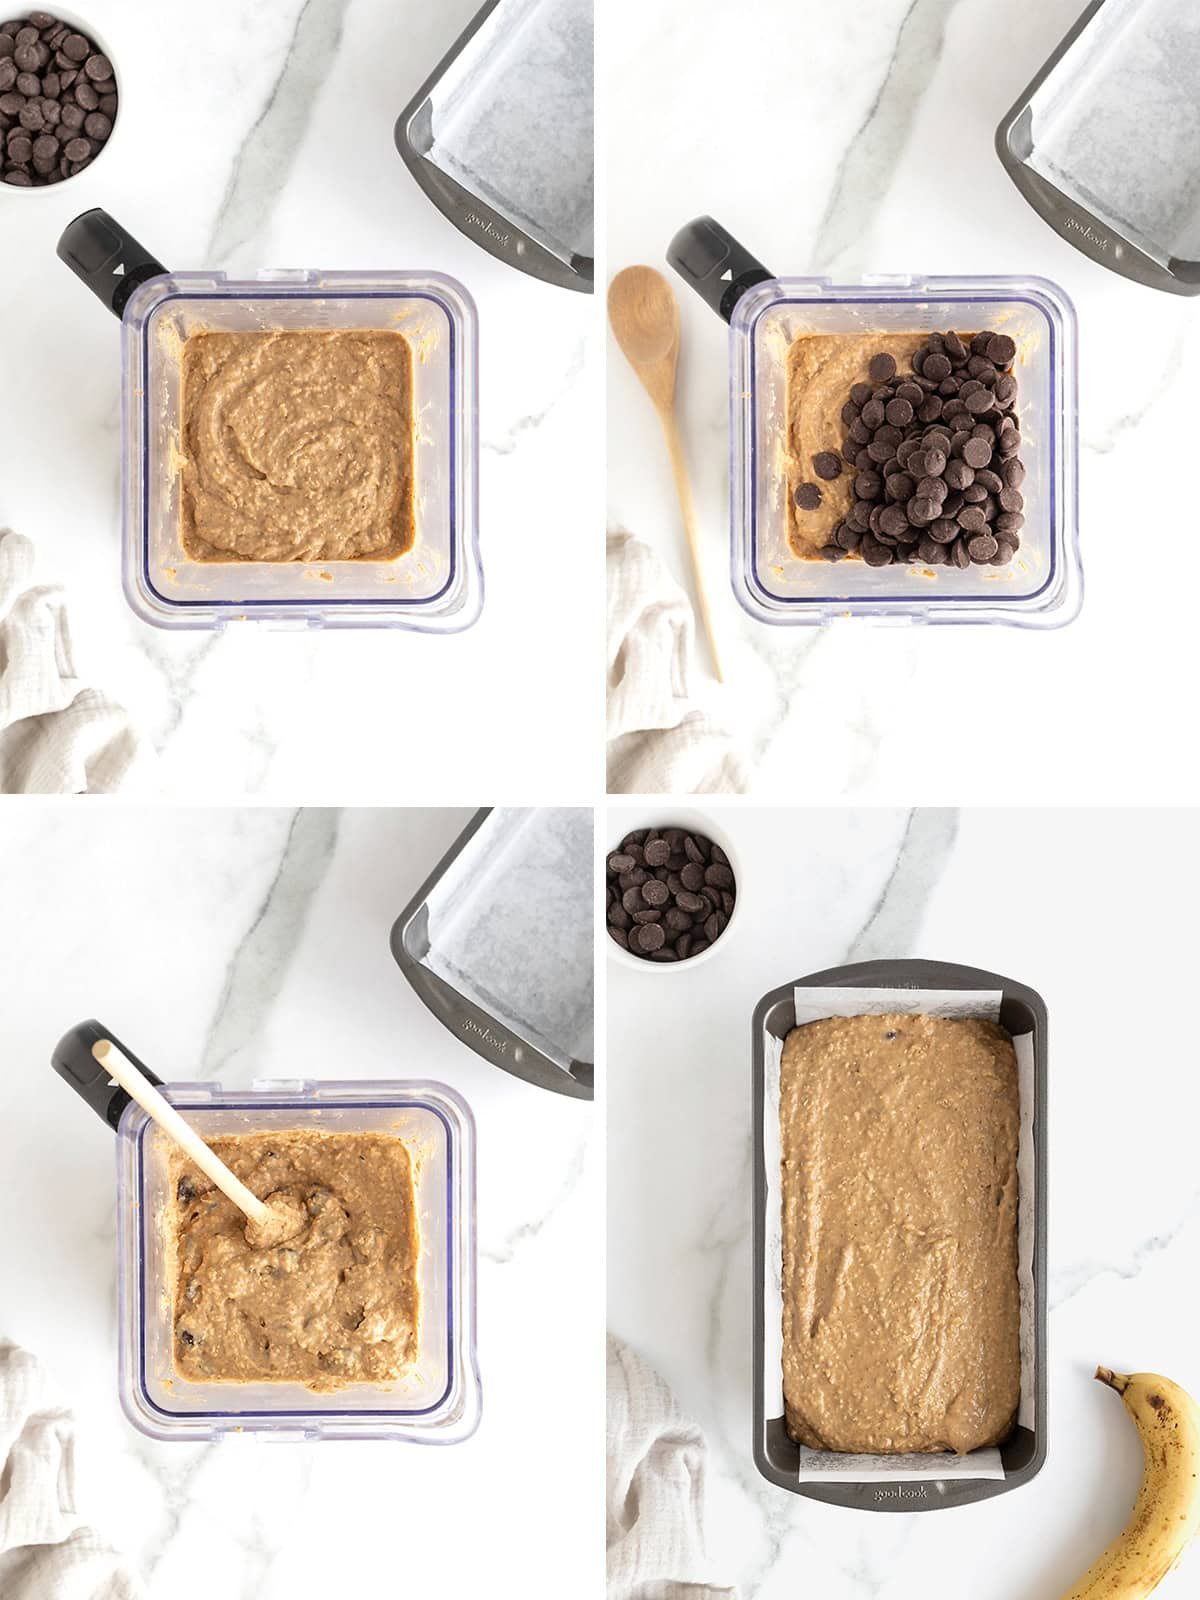
- Garnish with thin banana slices and more chocolate chips, if desired.
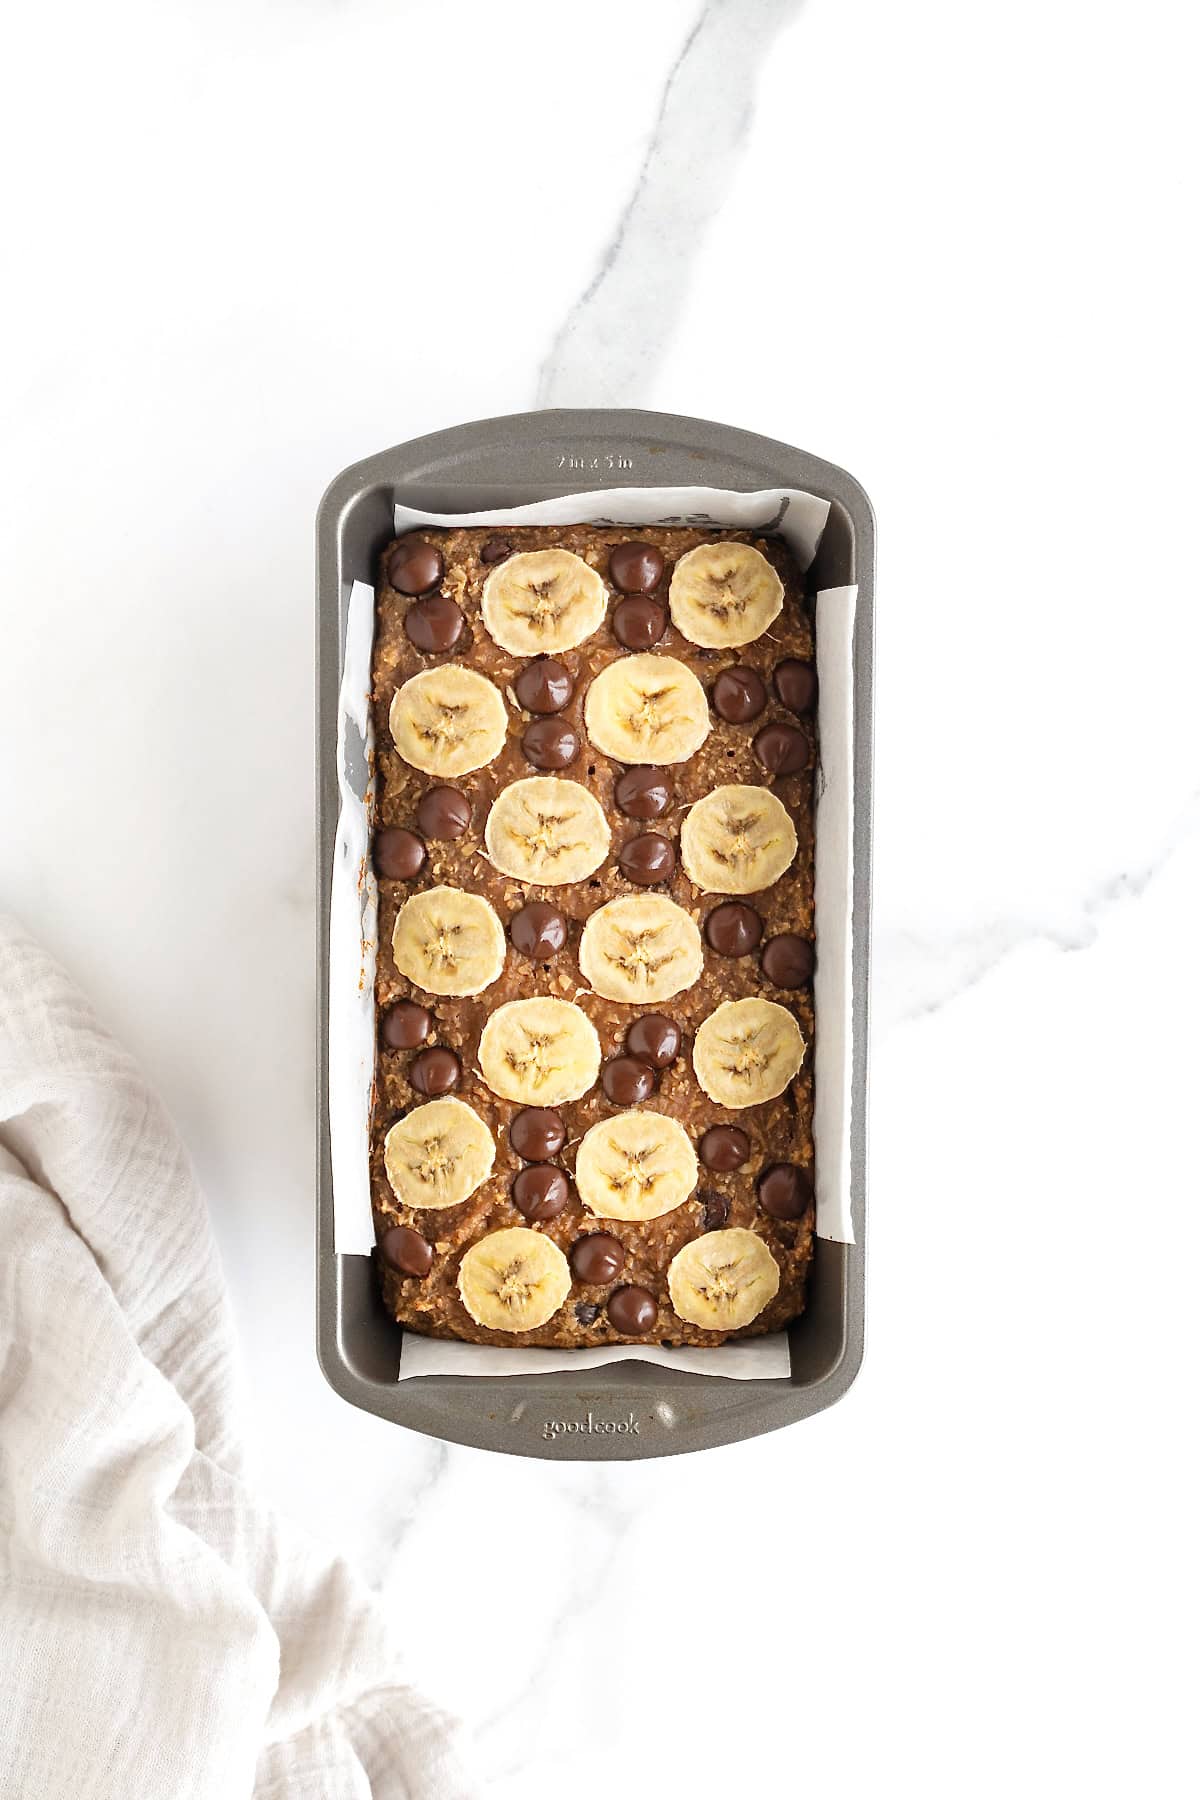
- Bake for 30-35 minutes or until a toothpick inserted in the center comes out clean. If the loaf starts to brown on top before the middle is done baking, tent the pan with foil and let continue baking until baked all the way through.
- Let bread cool completely in loaf pan.
Storage
Store bread in an airtight container at room temperature for 2 days or in the refrigerator for up to 5 days.
If you store the bread in the refrigerator it will become denser. You can put it in the microwave for 15-20 seconds or heat it in a warm oven for a few minutes to easily soften it back up.
To freeze, let cool completely, wrap tightly in plastic wrap and then place in a freezer safe baggie or wrap in a layer of foil. Freeze for up to two months. Thaw in the refrigerator overnight or loosely covered at room temperature for a few hours.
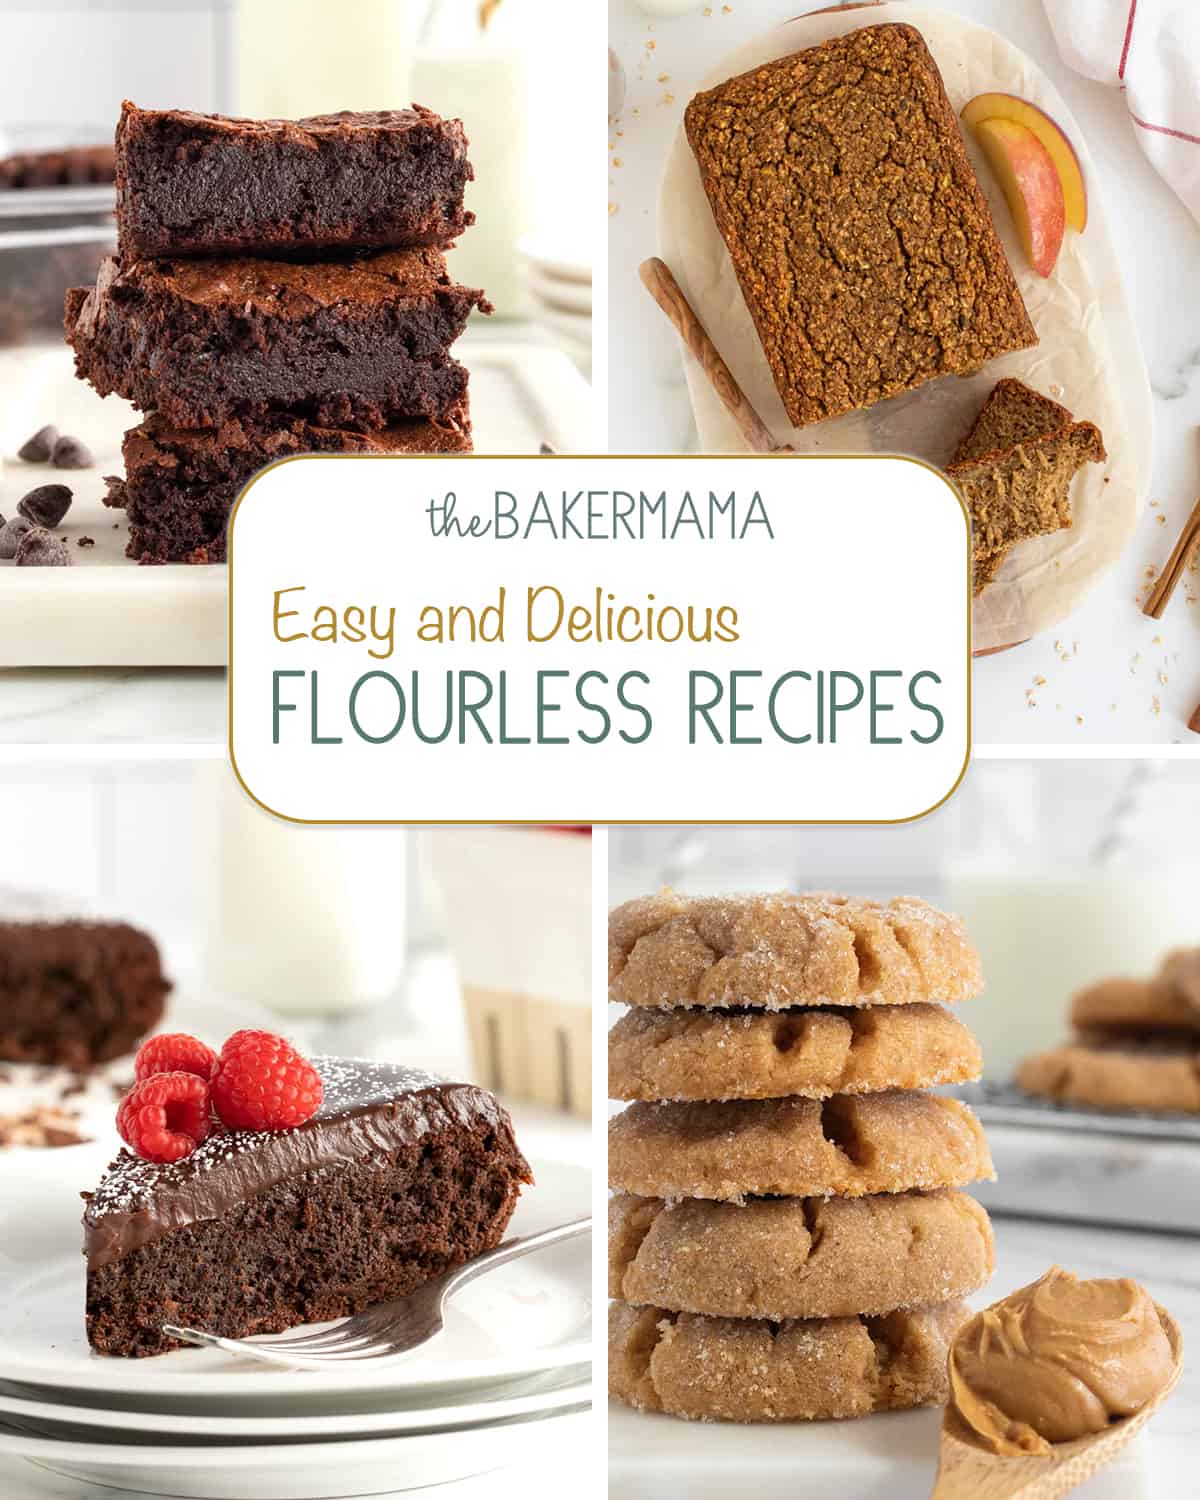
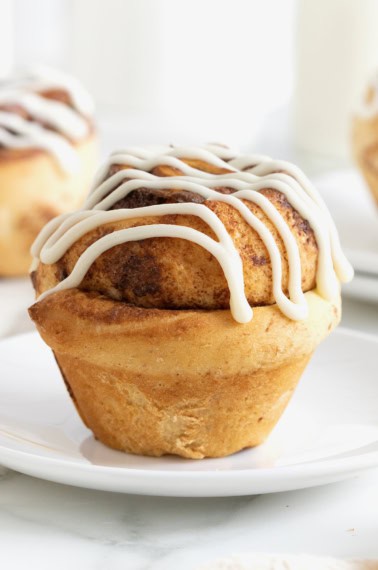
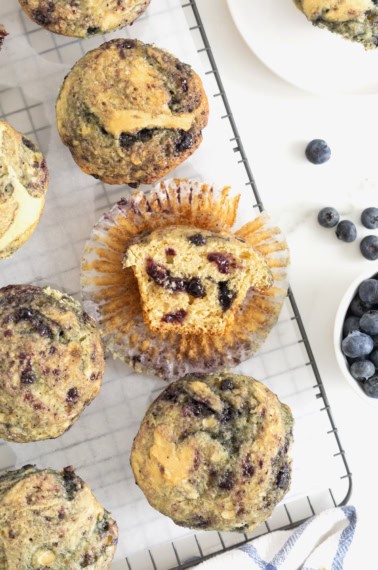
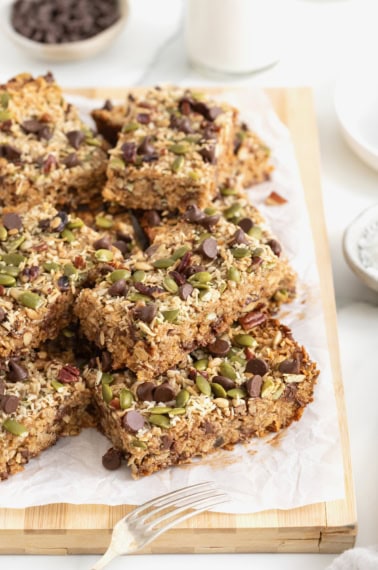
More Easy and Delicious Flourless Recipes
The only thing easier than making these Easy and Delicious Flourless Recipes is falling in love with them. Made without flour and packed with flavor, these flour-free alternatives are sure to become family favorites.
If you make this Flourless Chocolate Chip Banana Bread, be sure to snap a picture and share it with me on Instagram @thebakermama so I can see. If you’re on Facebook, be sure to join my Friends of The BakerMama group to connect and share all the fun and yummy recipes of mine that you make!  I just love seeing how inspired and creative y’all get with the ideas I share. Enjoy!
xoxo,

4-Ingredient Flourless Chocolate Chip Banana Bread
- Prep Time: 5 mins
- Cook Time: 30 mins
- Total Time: 35 mins
- Yield: 8-10
- Category: Breakfast
Description
This 4-Ingredient Flourless Chocolate Chip Banana Bread is made with just bananas, oats, peanut butter and chocolate chips. That’s it and it’s so unbelieveably AMAZING!
Ingredients
- 1.5 pounds ripe bananas (about 4–5 medium bananas)
- 2 cups old-fashioned oats
- 1 cup creamy or crunchy natural peanut butter (or another nut butter such as almond butter)
- 1 cup chocolate chips
Instructions
- Preheat oven to 350°F. Lightly grease 9×5-inch loaf pan with non-stick cooking spray and line with parchment paper; set aside.
- Add the bananas, oats and peanut butter to a blender and blend until smooth, scraping down the sides of the blender a few times to incorporate all of the ingredients well. (Try not to over blend the batter as this will lead to a denser loaf. Blend just until the oats are ground. You should still recognize some oat shapes thoughout the batter.)
- Stir in the chocolate chips.
- Pour batter into prepared loaf pan. Garnish with thin banana slices and more chocolate chips, if desired.
- Bake for 30-35 minutes or until a toothpick inserted in the center comes out clean. If the loaf starts to brown on top before the middle is done baking, tent the pan with foil and let continue baking until baked all the way through.
- Let bread cool completely in loaf pan. Store bread covered tightly with plastic wrap in the loaf pan or in an airtight container in the refrigerator.
Notes
If your blender is not very powerful or your batter is just too thick to blend in your blender, add 1/4 cup water to help it blend.
If you store the bread in the refrigerator it will become denser. You can put it in the microwave for 15-20 seconds or heat it in a warm oven for a few minutes to easily soften it back up.
Hi Michelle, made your 4 ingredients Banana bread today and it is sensational 😋😋😋 My very first cake in my new convection oven! Made it with 3 very ripe bananas, 1 cup oats, 1 cup very crunchy peanut butter ans 1 cup dark chocolate bits, just delicious. Thanks for posting your recipe, Barb
Hi, Barb! I’m so thrilled you enjoyed it! Thank you so much for sharing.
Have you made this in a muffin tin?
Hi Michelle! I haven’t tried baking the 4-Ingredient Flourless Chocolate Chip Banana Bread batter as muffins yet, but I think it would work great! I’d just keep an eye on the baking time depending on the size of your muffin pan. If you’re looking for something already tested as muffins, these 5-Ingredient Flourless Banana Chocolate Chunk Oatmeal Mini Muffins are very similar in ingredients and turn out great every time! I hope this helps and that you enjoy!
I wanted to like this but it was very thick and the peanut butter flavor overpowered the bread. It just wasn’t for me.
Hi Lora! It’s definitely a hearty bread with a good amount of peanut butter flavor. It’s important not to over-blend the batter as that contributes to a more dense texture as the bread bakes. You could try substituting some of the peanut butter with another nut butter or a combination of nuts butters or even use some regular butter to tame down the overall peanut butter flavor. Also, the riper the bananas, the sweeter the bread which helps balance the overall flavor and texture. I hope this helps and that you get to try it again soon with better results!
Hi! I’ve made this several times and it always turns out delicious! Do you by chance have to nutrition facts for it?
Hi, Sarah! I don’t provide nutritional information at this time. To find out, I would recommend plugging the ingredients you use into a free online recipe nutrition calculator like: https://whisk.com/recipe-nutrition-calculator/ Hope this helps. Enjoy! ❤️
This was very good! I only had 2 bananas so I just halved the recipe. Took the advice of other reviews and blended the oats first. Added a dash of vanilla and sea salt.
Thanks for sharing!
Hi, Kiesha! So happy that you enjoyed it!
What type of chocolate chips would you recommend for this recipe? Thanks!
Hi, Marisa! I’m a big fan of semi-sweet chocolate chips in this recipe but really, any kind works great! Hope this helps. Enjoy! ❤️
It was so easy to make. l love ❤️ the healthier way of ingredients! it’s in the oven now. Can’t wait to eat some!
Hi Reenie! I’m so happy to hear you found it easy to make and hope that you bake and enjoy it again and again. It’s one of our faves!