
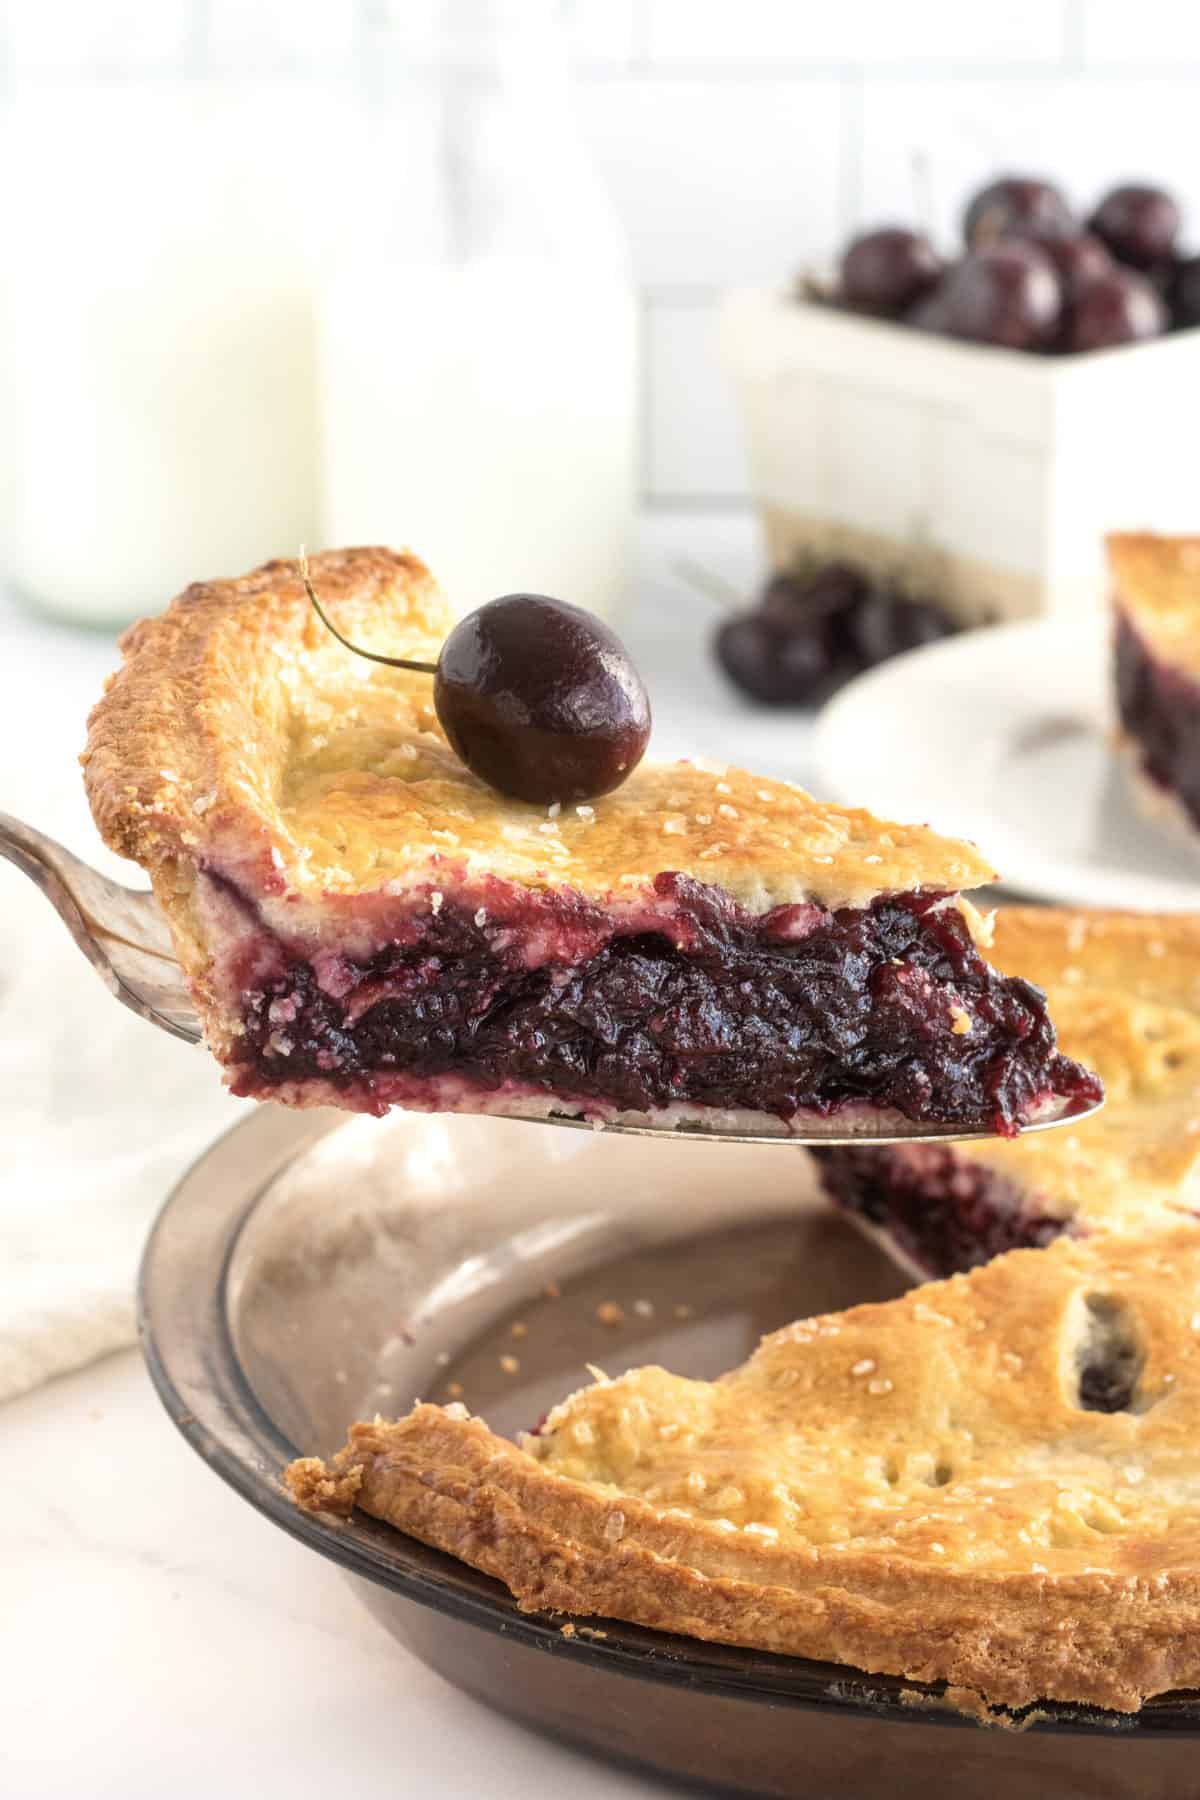
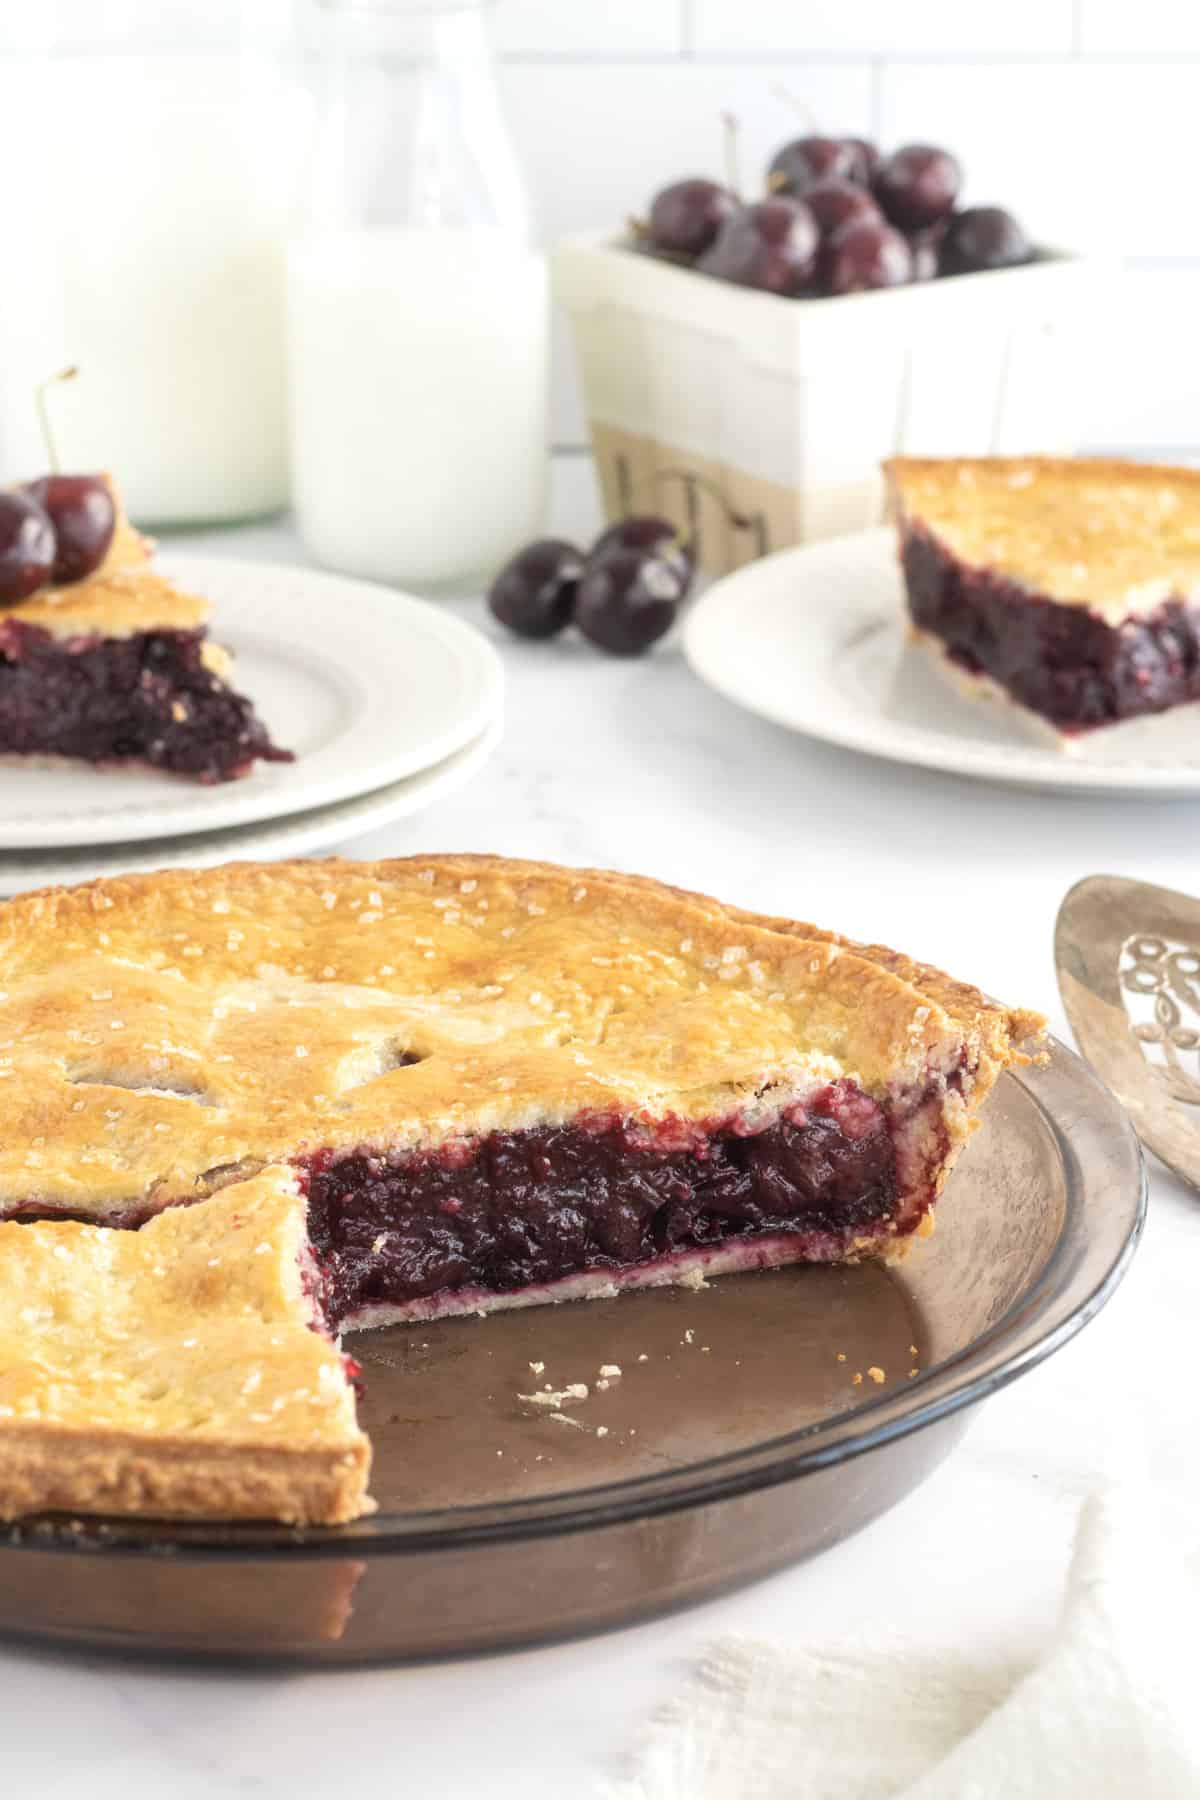
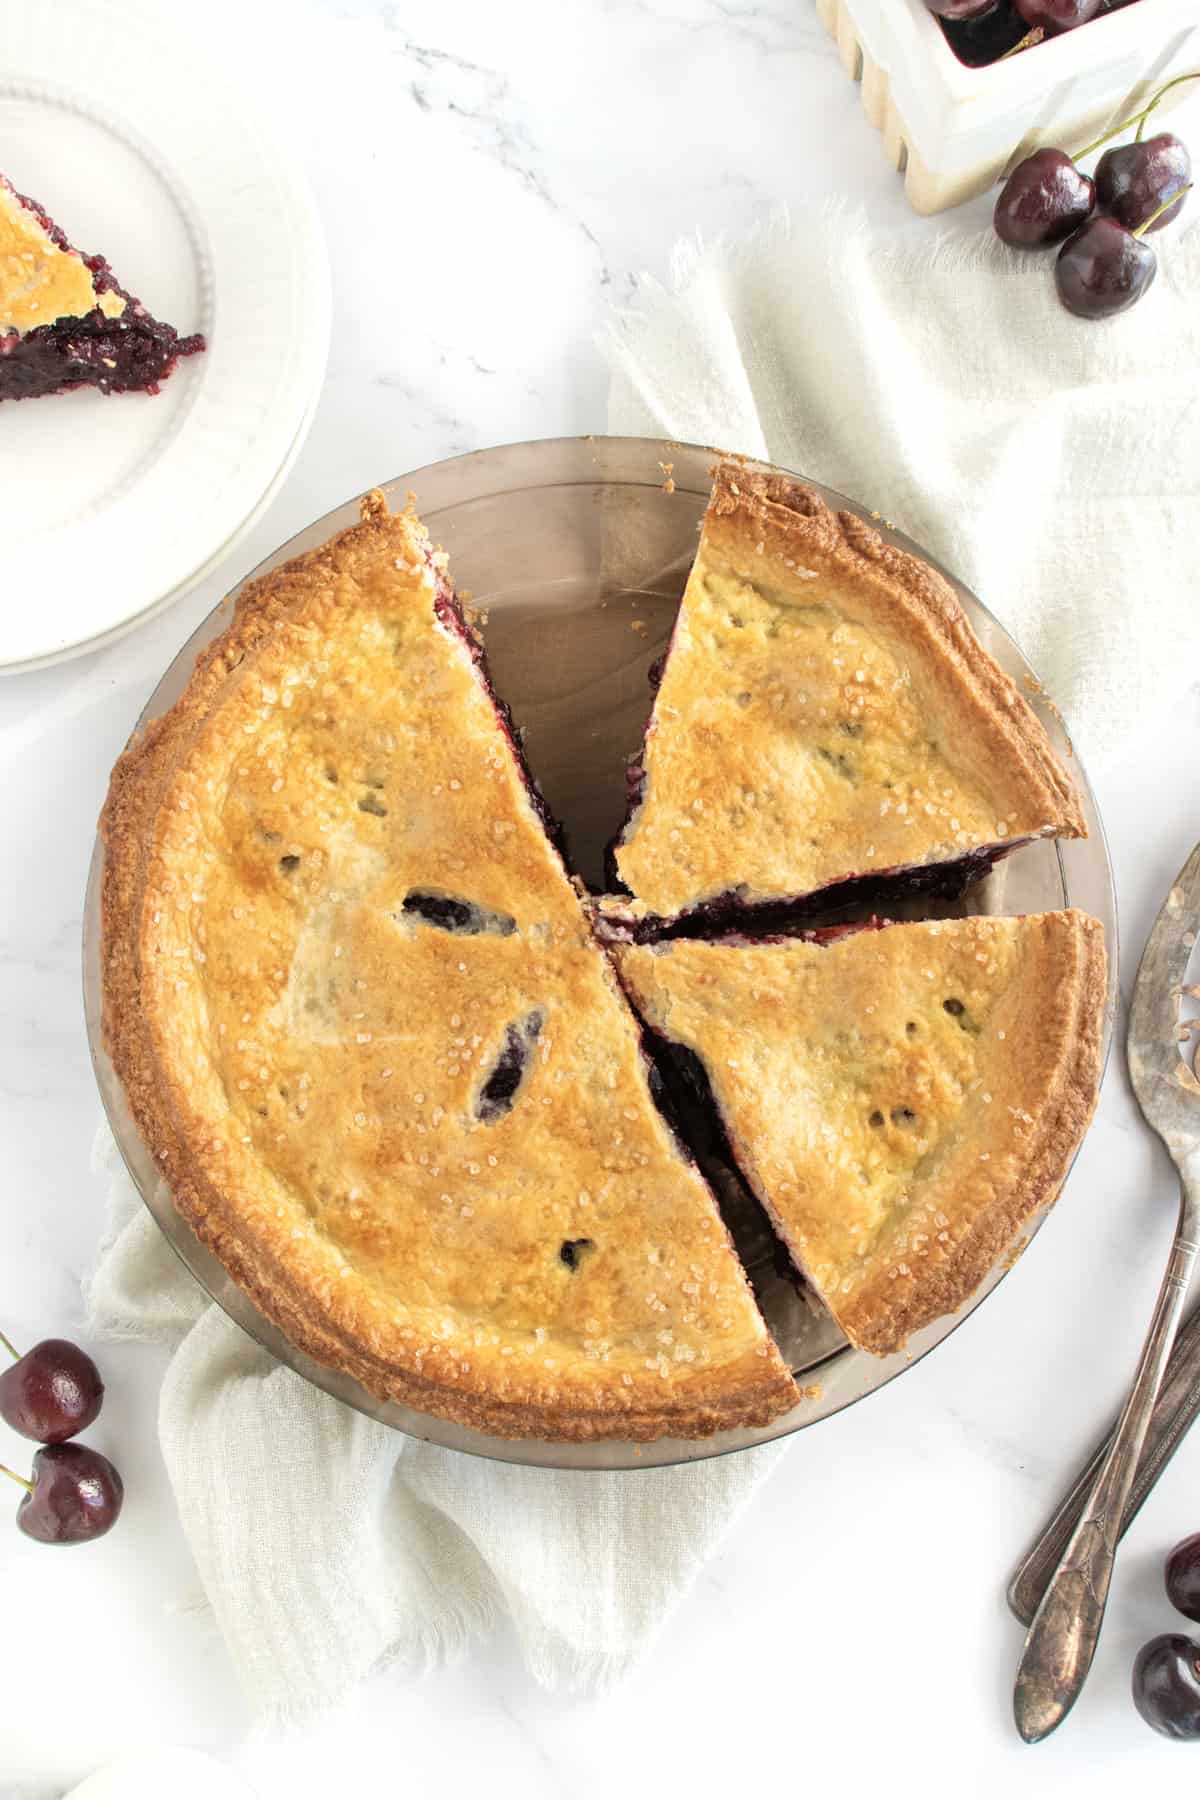
A stunning double-crusted Fresh Cherry Pie makes for a show-stopping summer dessert! With a buttery crust and a sweet tart filling, it’s sure to become a favorite.
She’s My Cherry Pie
The crusts are buttery and flaky and the filling is sweet and juicy. Oh me! Oh my! I LOVE this pie! And what’s not to love about homemade Fresh Cherry Pie with a double crust?!
A few fresh ingredients all come together in this homemade cherry pie recipe to create something so special. You’ll be eager to bake it again and again. The smiles and satisfaction coming from your loved ones as you serve up slices of this delicious pie will fill you with so much happiness and pride.
The Pie Crust Challenge
I think I’ve finally got this pie thing down! Ever since I started baking at a very young age, I’ve always left the pie baking to my mom. The thought of pulling a perfect homemade pie crust from the oven seemed nearly impossible.
I seriously thought you had to go to culinary school to learn how to bake a pretty pie crust from scratch! Not sure how I let that craziness into my head because my mom and grandmothers always baked the most perfect pies from scratch and none of them ever went to culinary school.
So slowly, but surely I’ve been braving the whole scratch-made pie crust process and I’m here to tell you it’s not as scary as it seems. In fact, it’s pretty simple and the homemade difference is truly spectacular. This double-crusted Fresh Cherry Pie is how I’m going to prove it to you!
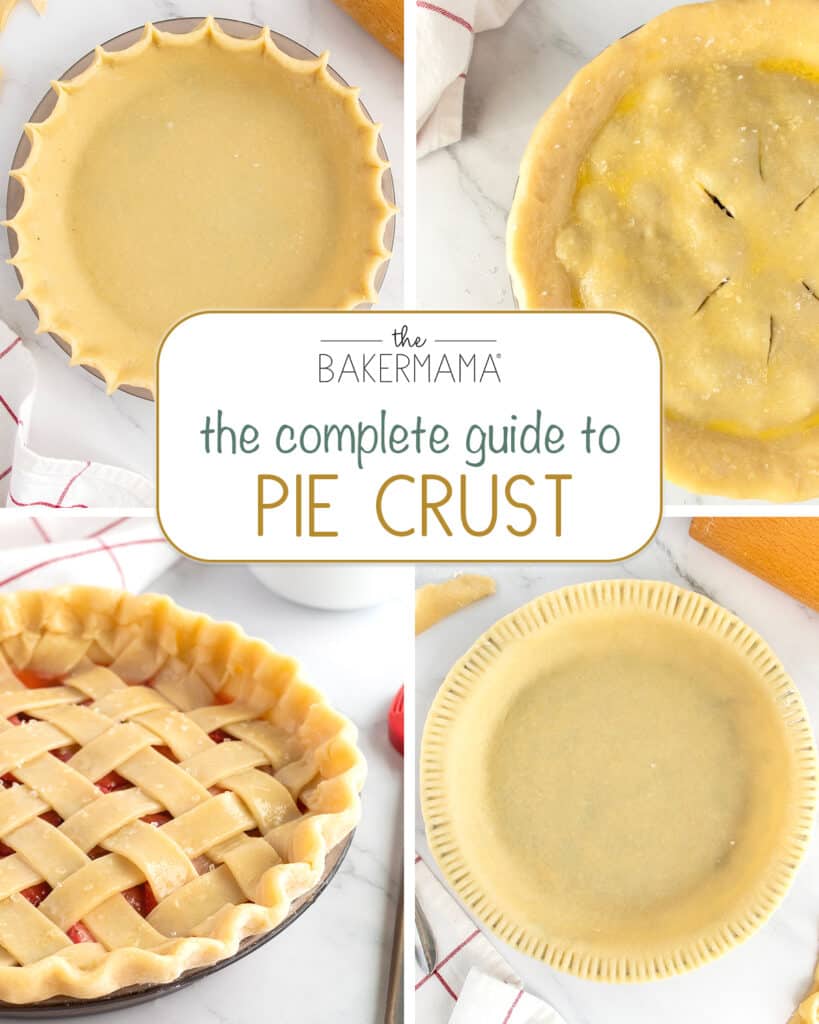
The Complete Guide to Pie Crust
Take the mystery out of how to make pie crust from scratch with The Complete Guide to Pie Crust! I’ll take you step-by-step from making the dough to baking picture-perfect pies. My guide has everything from a great crust recipe to the finishing touches that make a pie crust look and taste amazing.
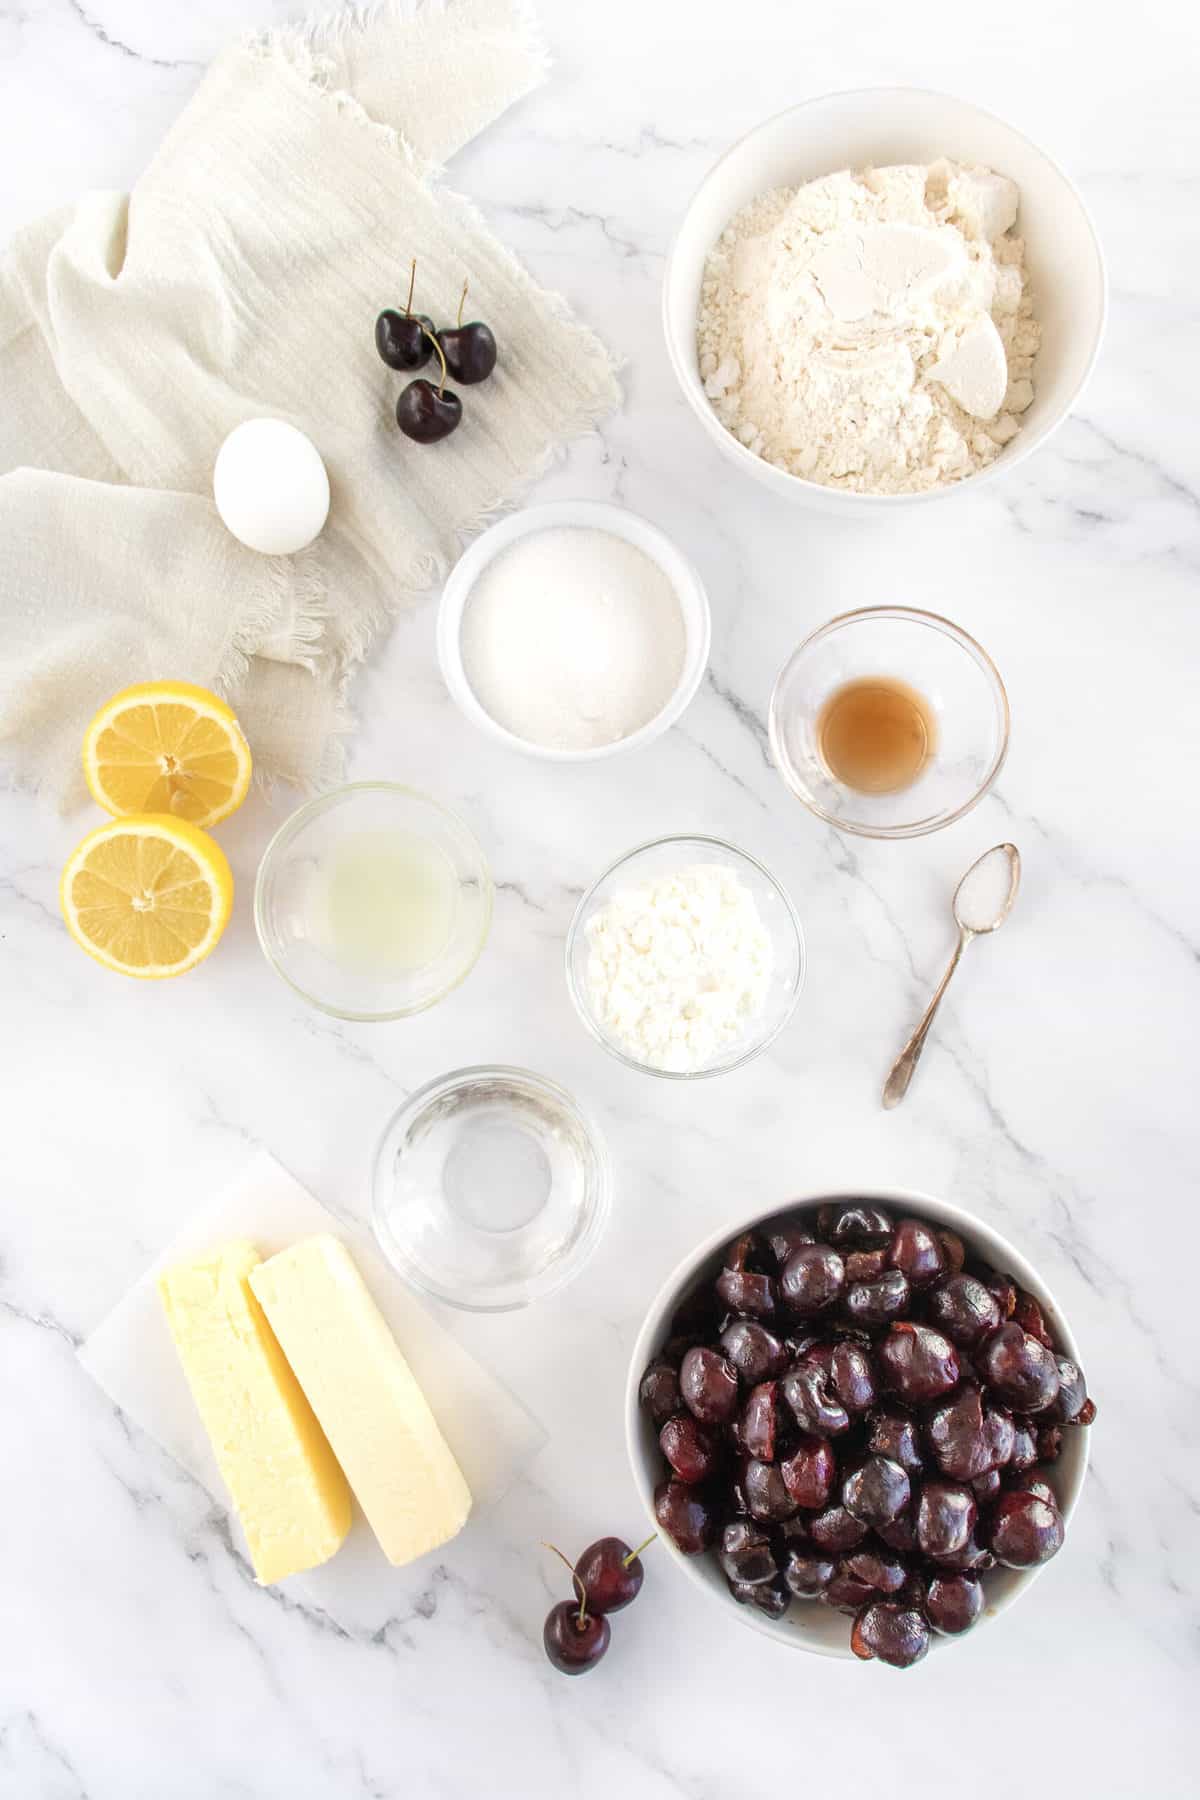
What Do I Need to Make Fresh Cherry Pie?
- Fresh cherries, pitted
- Fresh lemon juice
- Vanilla extract
- Granulated sugar
- Cornstarch
- Salt
- Unsalted butter, cold & cubed
- Cold water
- Large egg
- 9-inch pie plate
- Pastry blender
Quick Tip: How to Pit Cherries
No cherry pitter? No problem! The easiest, quickest and cheapest way I’ve found to pit cherries is by placing the cherry on top of an empty bottle and poking the pit into the bottle with a chopstick. Ta-da!
How to Make Fresh Cherry Pie
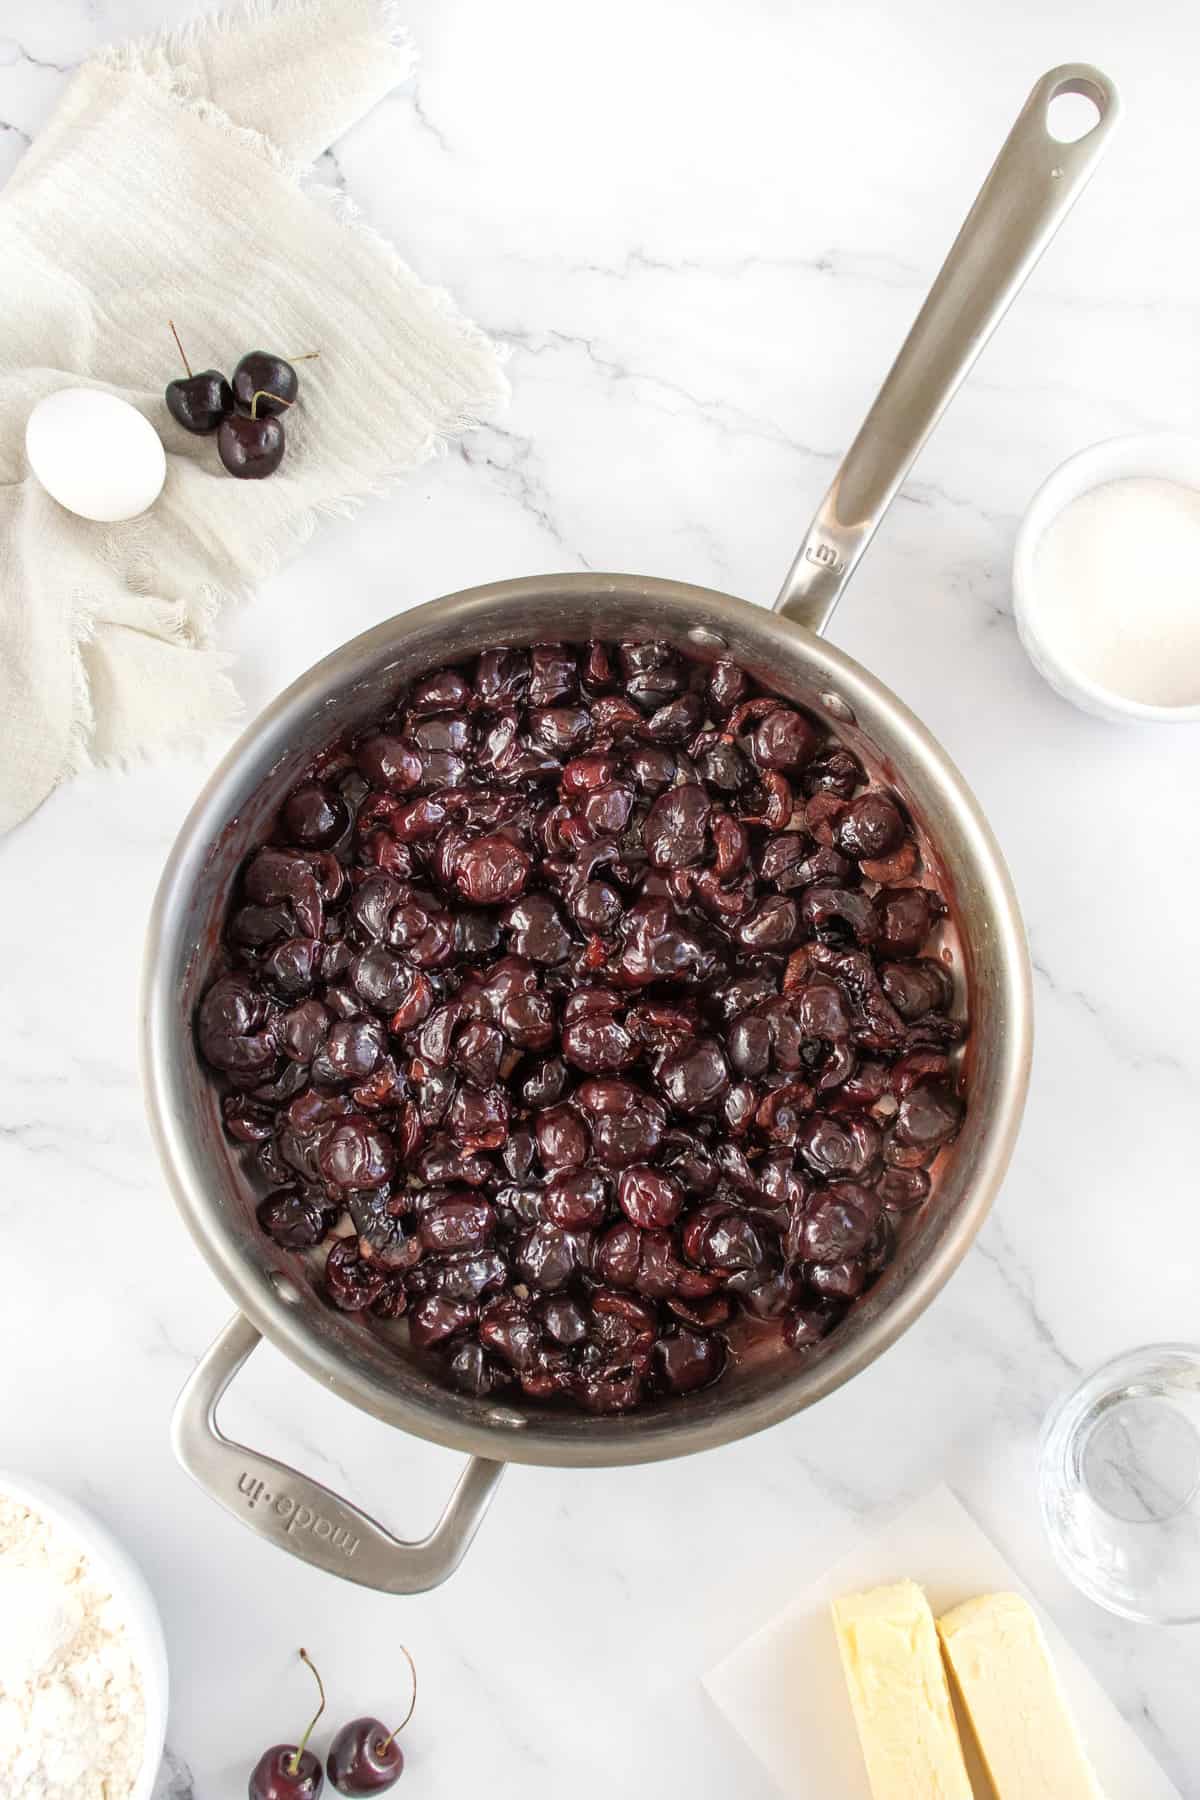
To make the cherry pie filling:
- In a saucepan over medium heat, add the pitted cherries (lemon juice, vanilla, sugar, cornstarch and salt.
- Bring to a simmer and then reduce heat to low.
- Continue to let simmer, stirring frequently, for about 10 minutes until thickened.
- Remove from heat and let cool.
To make the cherry pie crust:
- Preheat oven to 425°F. Generously butter a 9-inch pie plate and set aside.
- In a large bowl, whisk together the flour and sugar.
- Cut in the butter with a pastry blender or two knives until mixture is crumbly.
- Add the water and knead with your hands until well combined.
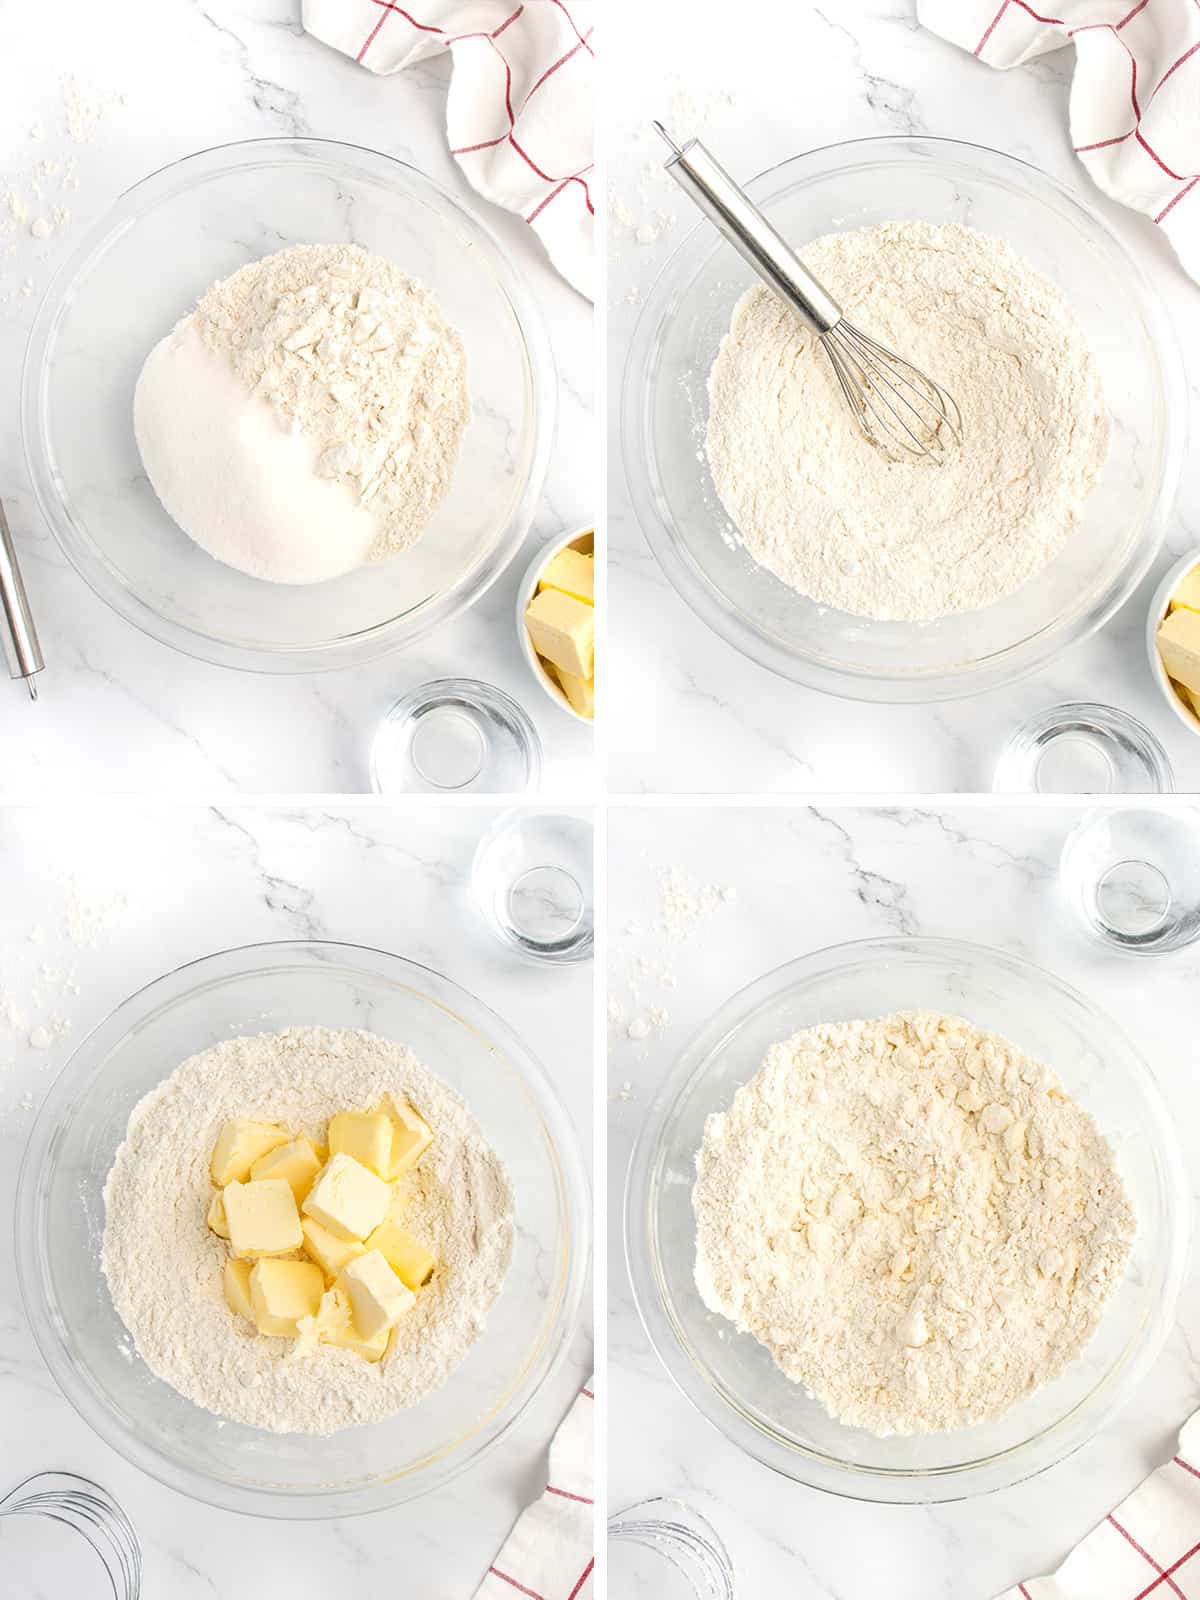
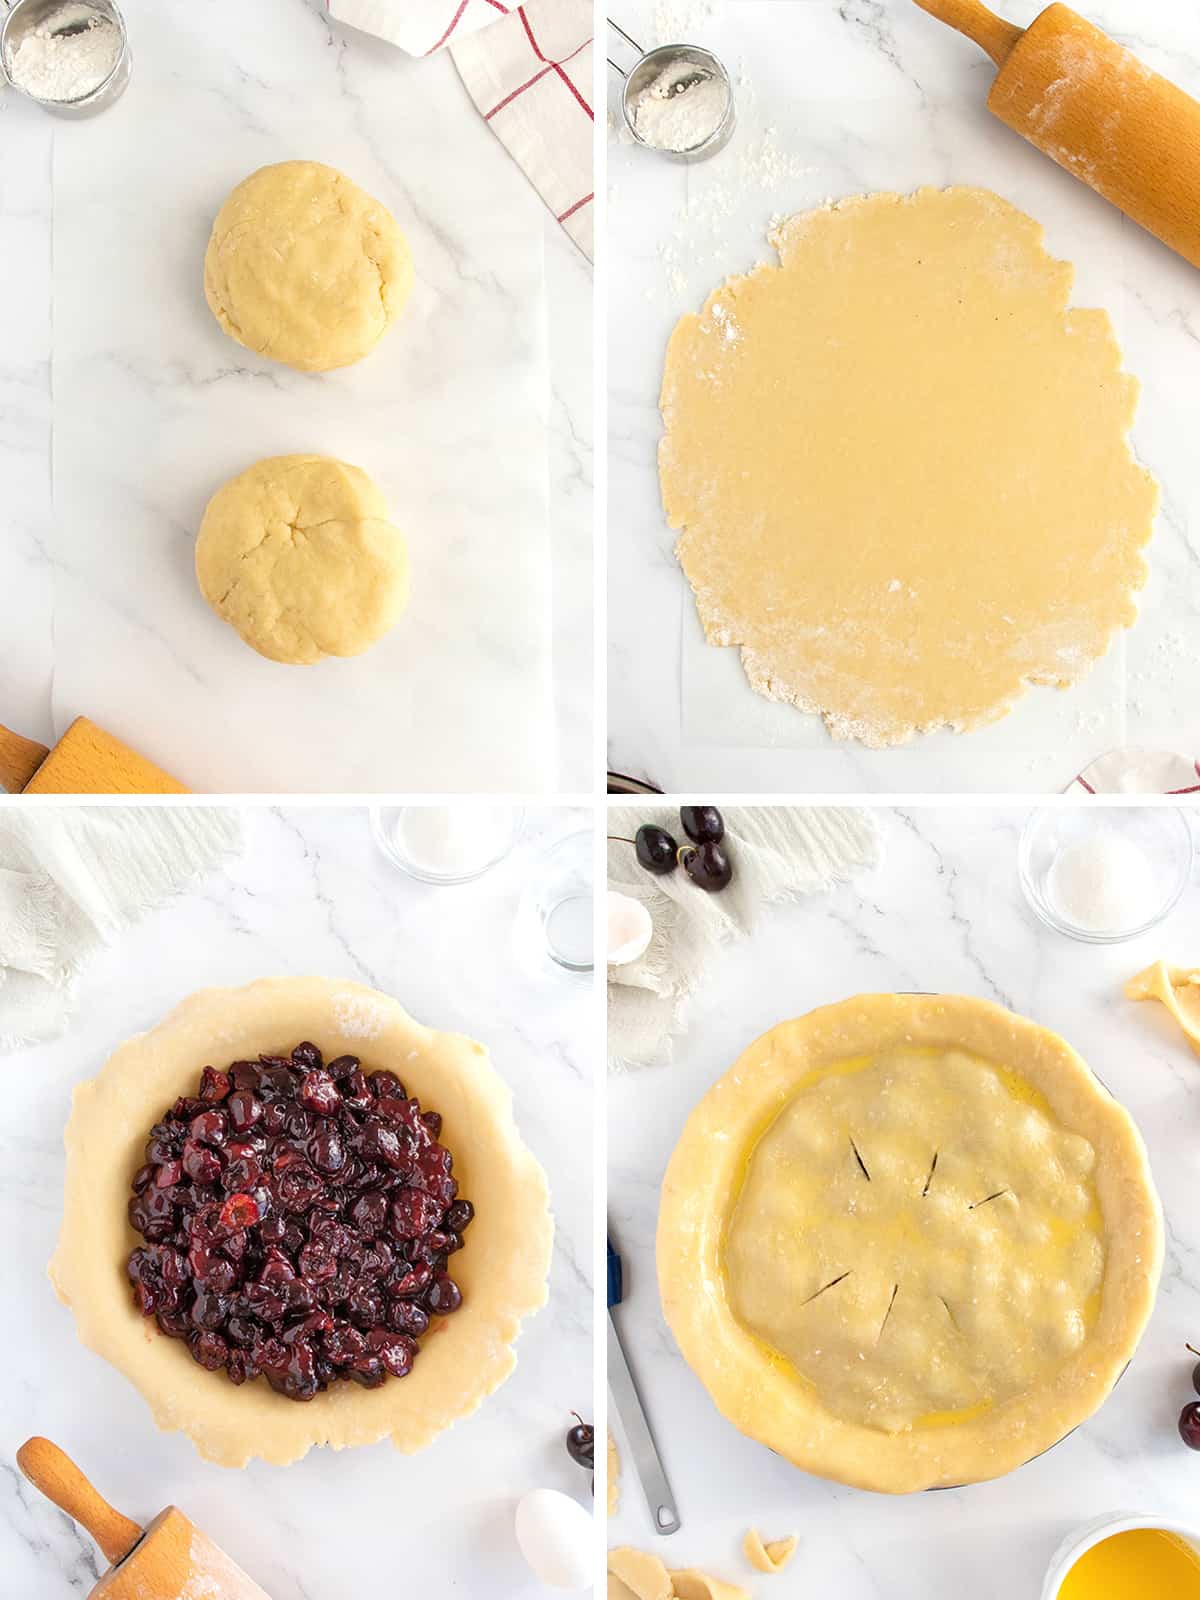
- Divide pie dough into two equal balls.
- Flatten each ball of dough slightly and wrap with plastic wrap. Place in the refrigerator for 30 minutes.
- Remove the dough from the refrigerator and let set while you prep the work surface. On a lightly floured surface using a floured rolling pin, roll each ball of dough into a disc that is about 1-inch larger than the pie plates.
- Check for size by inverting the pie plate over the rolled out disc of dough to measure for a 1-inch edge surrounding the pie plate. The disc should be about 1/8-inch thick.
- Transfer the dough to the pie plate by gently rolling the dough up around your rolling pin and then placing the rolling pin on one side of the pie plate and rolling it into the plate. Press down and around to make the dough fit the pie plate and hang over the sides.
- Fill the pie with the cooled cherry filling.
- Roll the other ball of dough out to the same size as the first dough. Place over the top of the cherry filling in the pie plate.
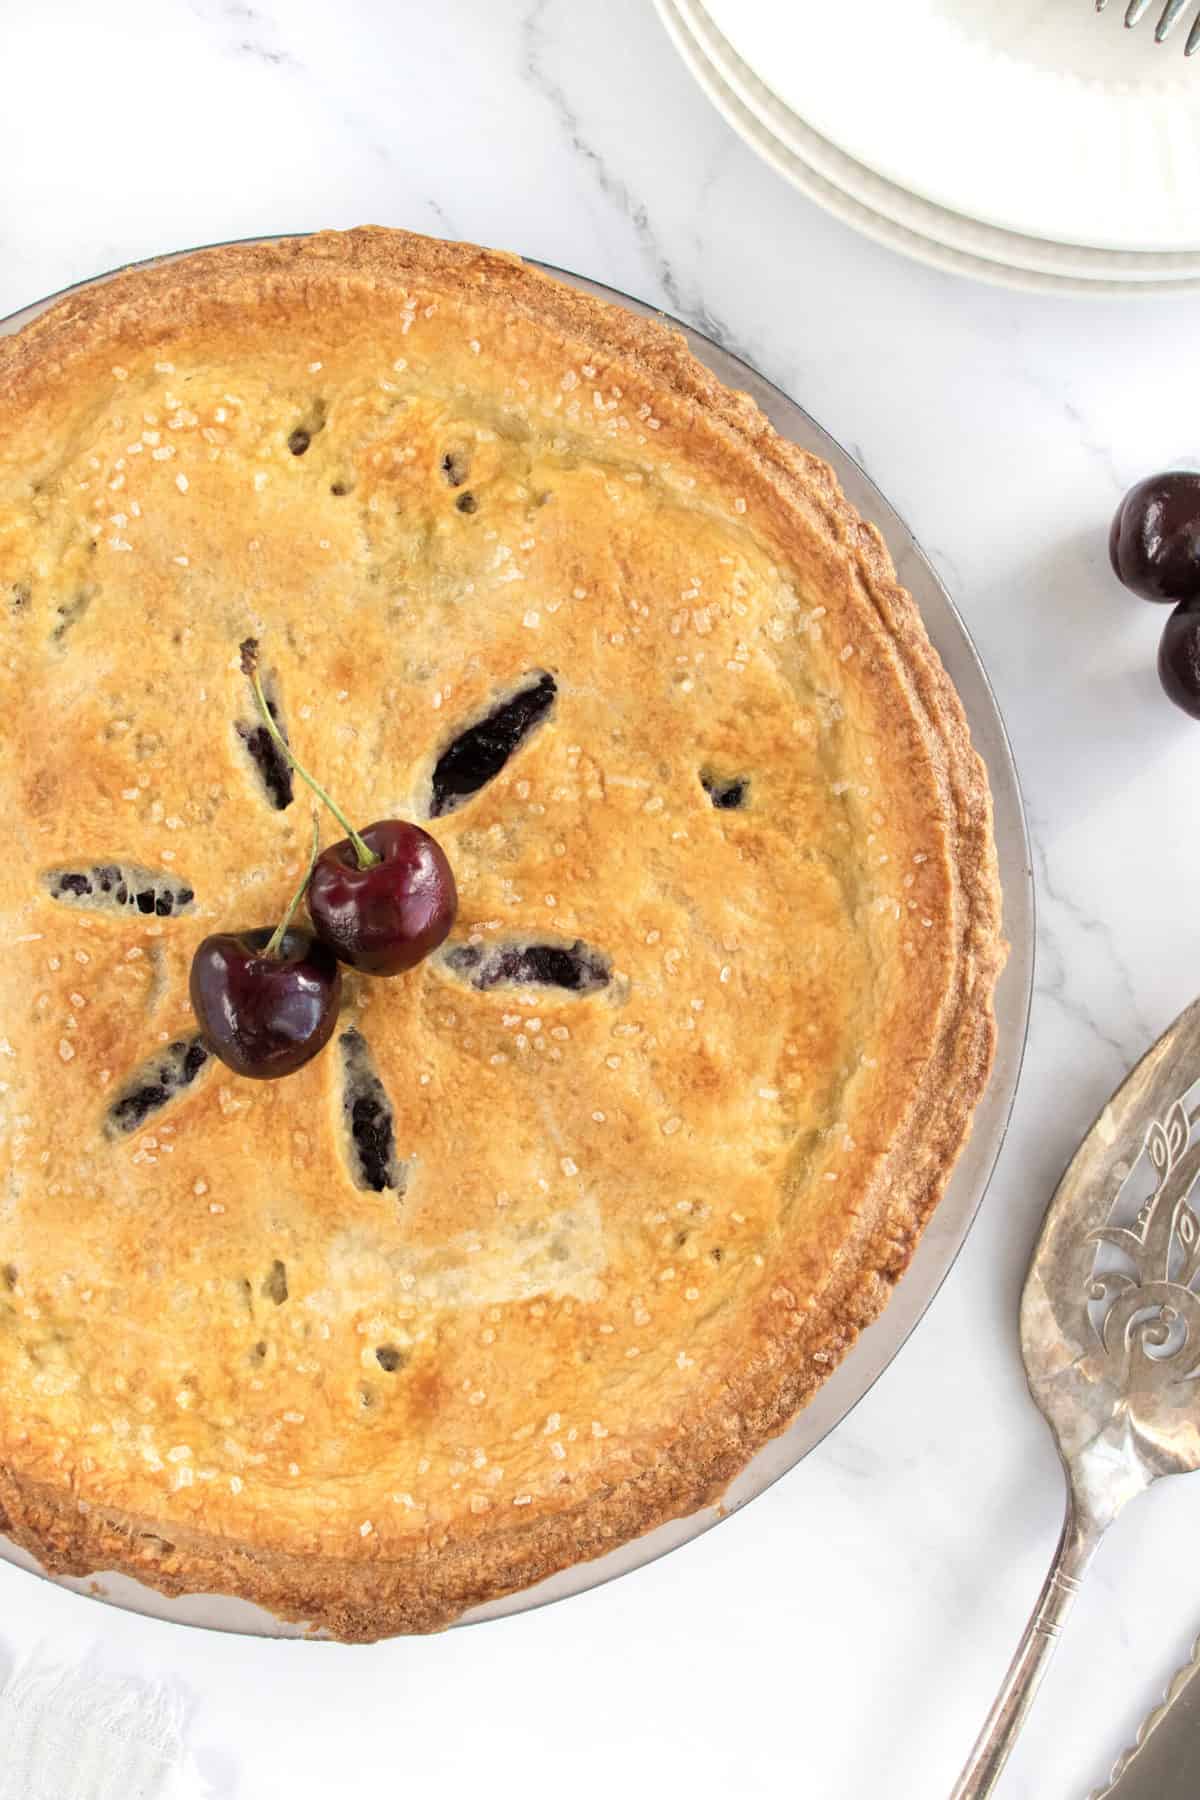
- Trim the dough all around the rim of the pie plate and then decorate (flute, pinch or fork) the crusts together or just gently press the top and the bottom crusts together around the edges.
- With a sharp knife, make six small slits in a circle pattern in the middle of the top crust. In a small bowl, whisk together the egg and 1 tablespoon water to make an egg wash.
- Brush egg wash over the top of the pie as well as the edges of the pie. Sprinkle with sugar.
- Place pie on a rimmed baking sheet and bake for 30 minutes, rotating after 15 minutes.
- Remove from the oven and wrap the edges of the crust with foil to protect them from getting burnt.
- Return to the oven for 30 more minutes or until the top crust is golden brown and the cherries are bubbling.
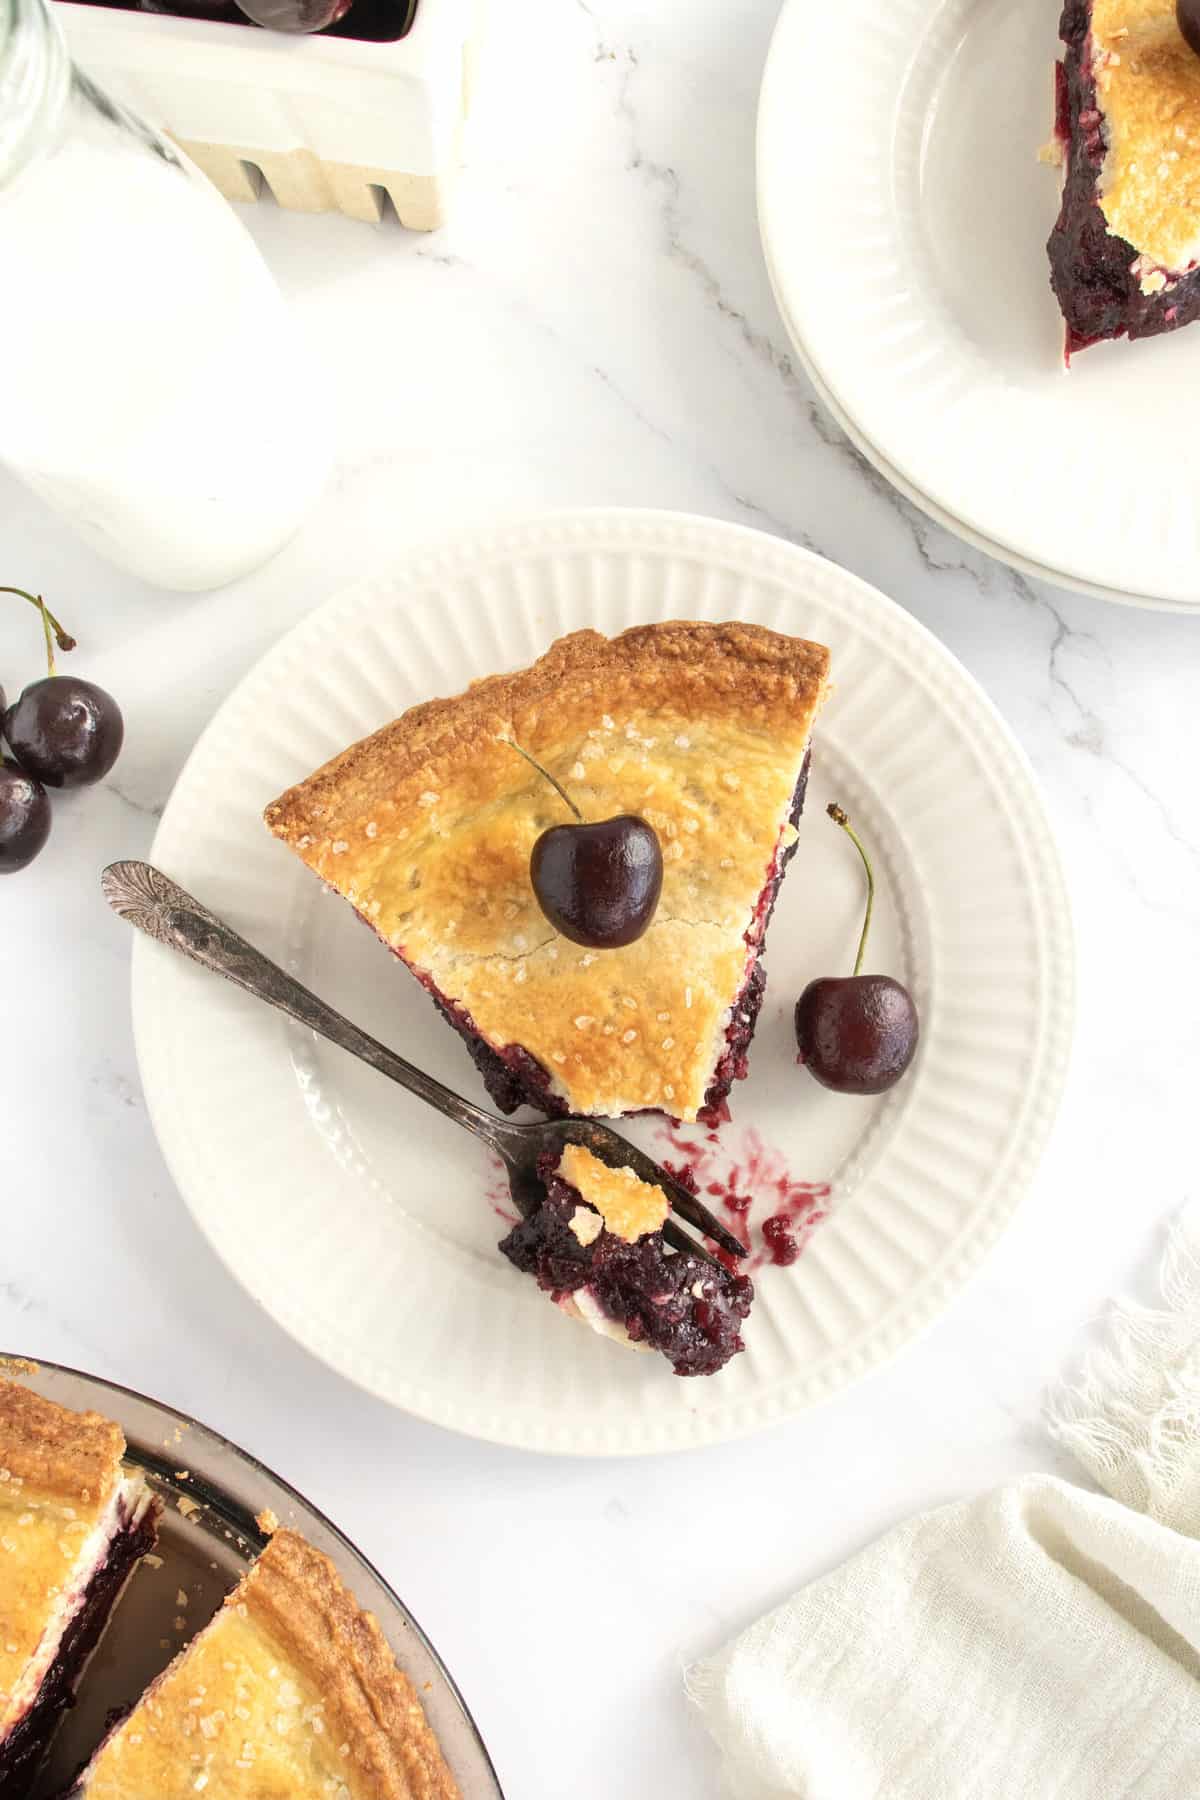
- Remove from the oven, remove the foil around the edges, and let pie cool on a wire rack for at least 2 hours before slicing into.
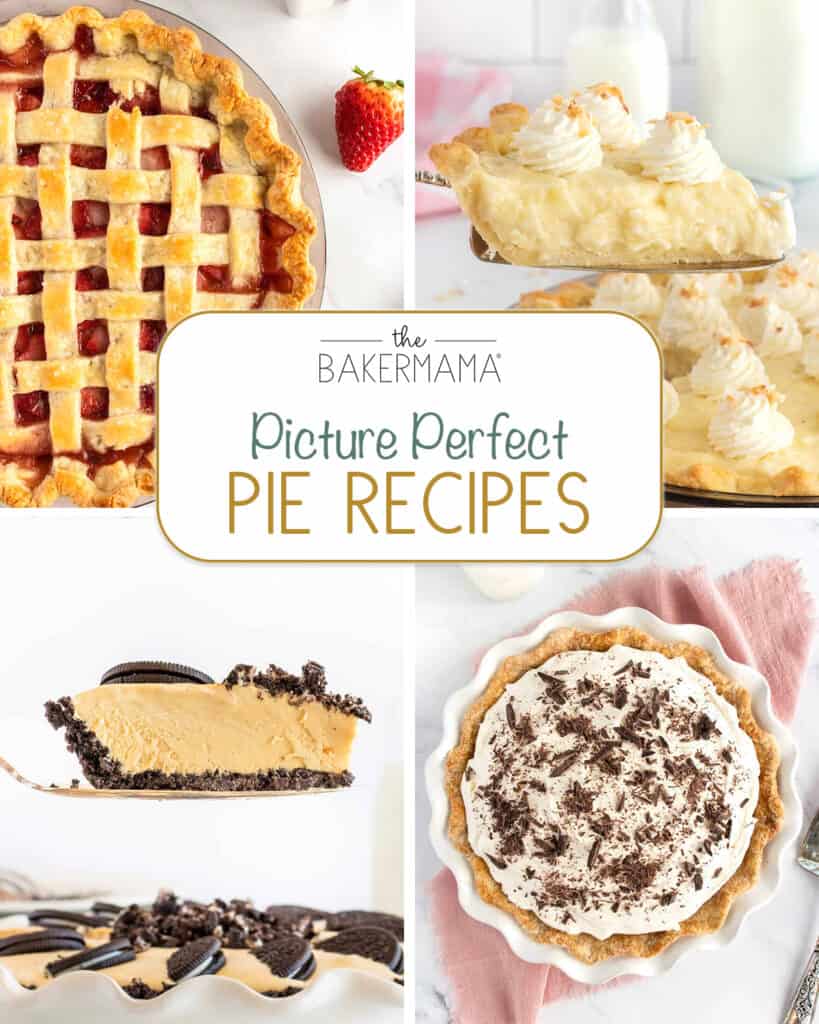
More Picture Perfect Pies
As beautiful as they are delicious, these Picture Perfect Pie Recipes will make an impression at any dessert table! From scratch-baked pumpkin pie to my mom’s special apple pie and my famous no-bake peanut butter pie, there’s something you’re sure to love!
How to Store Fresh Cherry Pie
To store leftover cherry pie: Allow the pie to cool completely. Then cover loosely with plastic wrap and store at room temperature for up to two days. Or store in the refrigerator for up to three days.
If you make this Fresh Cherry Pie, be sure to snap a picture and share it with me or tag me on Instagram @thebakermama so I can see.  I love seeing how inspired and creative y’all get with the recipes I share. Enjoy!
xoxo,


Fresh Cherry Pie
- Prep Time: 30 mins
- Cook Time: 3 hours
- Total Time: 3 hours 30 mins
- Yield: 8
- Category: Dessert
Description
A stunning double-crusted cherry pie using fresh cherries for a show-stopping summer dessert!
Ingredients
Filling:
- 6 cups fresh cherries, pitted
- 1 tablespoon fresh lemon juice
- 1/2 teaspoon vanilla extract
- 3/4 cup granulated sugar
- 1/4 cup cornstarch
- pinch of salt
Crust:
- 2 and 1/2 cups all-purpose flour
- 1/2 cup granulated sugar
- 1 cup (2 sticks) unsalted butter, cold & cubed
- 1/4 cup cold water
Topping:
- 1 large egg
- 1 tablespoon water
- 1 tablespoon granulated sugar
Instructions
- To make the filling: In a saucepan over medium heat, add the pitted cherries (see tip below for a quick and easy way to pit cherries*) lemon juice, vanilla, sugar, cornstarch and salt. Bring to a simmer and then reduce heat to low. Continue to let simmer, stirring frequently, for about 10 minutes until thickened. Remove from heat and let cool.
- To make the pie crust: Preheat oven to 425°F. Generously butter a 9-inch pie plate and set aside.
- In a large bowl, whisk together the flour and sugar. Cut in the butter with a pastry blender or two knives until mixture is crumbly. Add the water and knead with your hands until well combined. Divide dough into two equal balls.
- Flatten each ball of dough slightly and wrap with plastic wrap. Place in the refrigerator for 30 minutes.
- Remove the dough from the refrigerator and let set while you prep the work surface. On a lightly floured surface using a floured rolling pin, roll each ball of dough into a disc that is about 1-inch larger than the pie plates. Check for size by inverting the pie plate over the rolled out disc of dough to measure for a 1-inch edge surrounding the pie plate. The disc should be about 1/8-inch thick.
- Transfer the dough to the pie plate by gently rolling the dough up around your rolling pin and then placing the rolling pin on one side of the pie plate and rolling it into the plate. Press down and around to make the dough fit the pie plate and hang over the sides.
- Fill the pie with the cooled cherry filling.
- Roll the other ball of dough out to the same size as the first dough. Place over the top of the cherry filling in the pie plate. Trim the dough all around the rim of the pie plate and then decorate (flute, pinch or fork) the crusts together or just gently press the top and the bottom crusts together around the edges. With a sharp knife, make six small slits in a circle pattern in the middle of the top crust.
- In a small bowl, whisk together the egg and 1 tablespoon water. Brush over the top and edges of the pie. Sprinkle with sugar.
- Place pie on a rimmed baking sheet and bake for 30 minutes, rotating after 15 minutes. Remove from the oven and wrap the edges of the crust with foil to protect them from getting burnt. Return to the oven for 30 more minutes or until the top crust is golden brown and the cherries are bubbling.
- Remove from the oven, remove the foil around the edges, and let pie cool on a wire rack for at least 2 hours before slicing into.
Notes
- No cherry pitter? No problem! The easiest, quickest and cheapest way I’ve found to pit cherries is by placing the cherry on top of an empty bottle and poking the pit into the bottle with a chopstick. Ta-da!


[…] Word, Food Network, Cooking With a Cajun, Food 52, Velo Eatery, Tastebook, Confetti Couture, The Baker Mama, Simple Bites, Espresso & Cream, Spatulas, Corkscrews & Suitcases, & The […]