
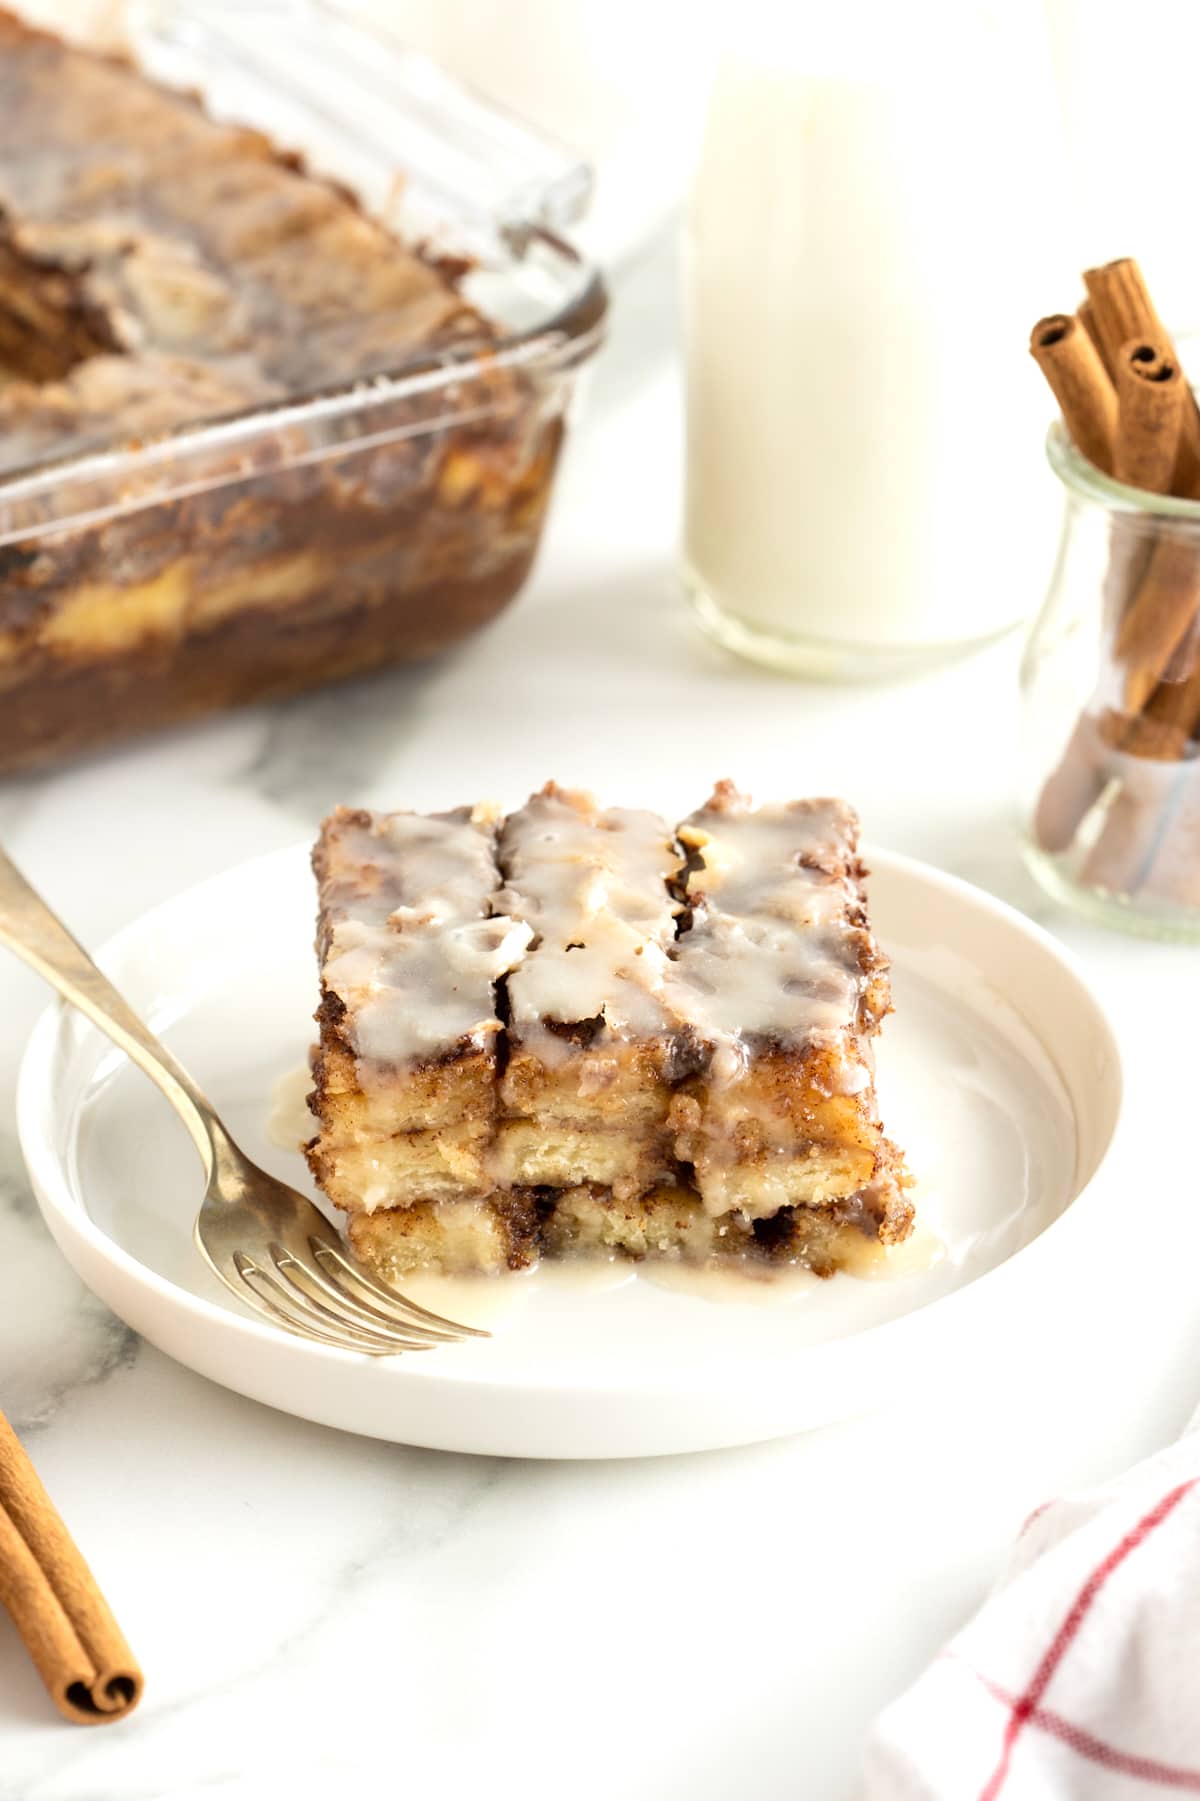
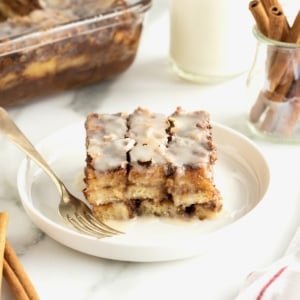
Cinnamon Roll Lasagna is a fun and delicious twist to everyone’s favorite breakfast indulgence!
Layers and Layers of Goodness
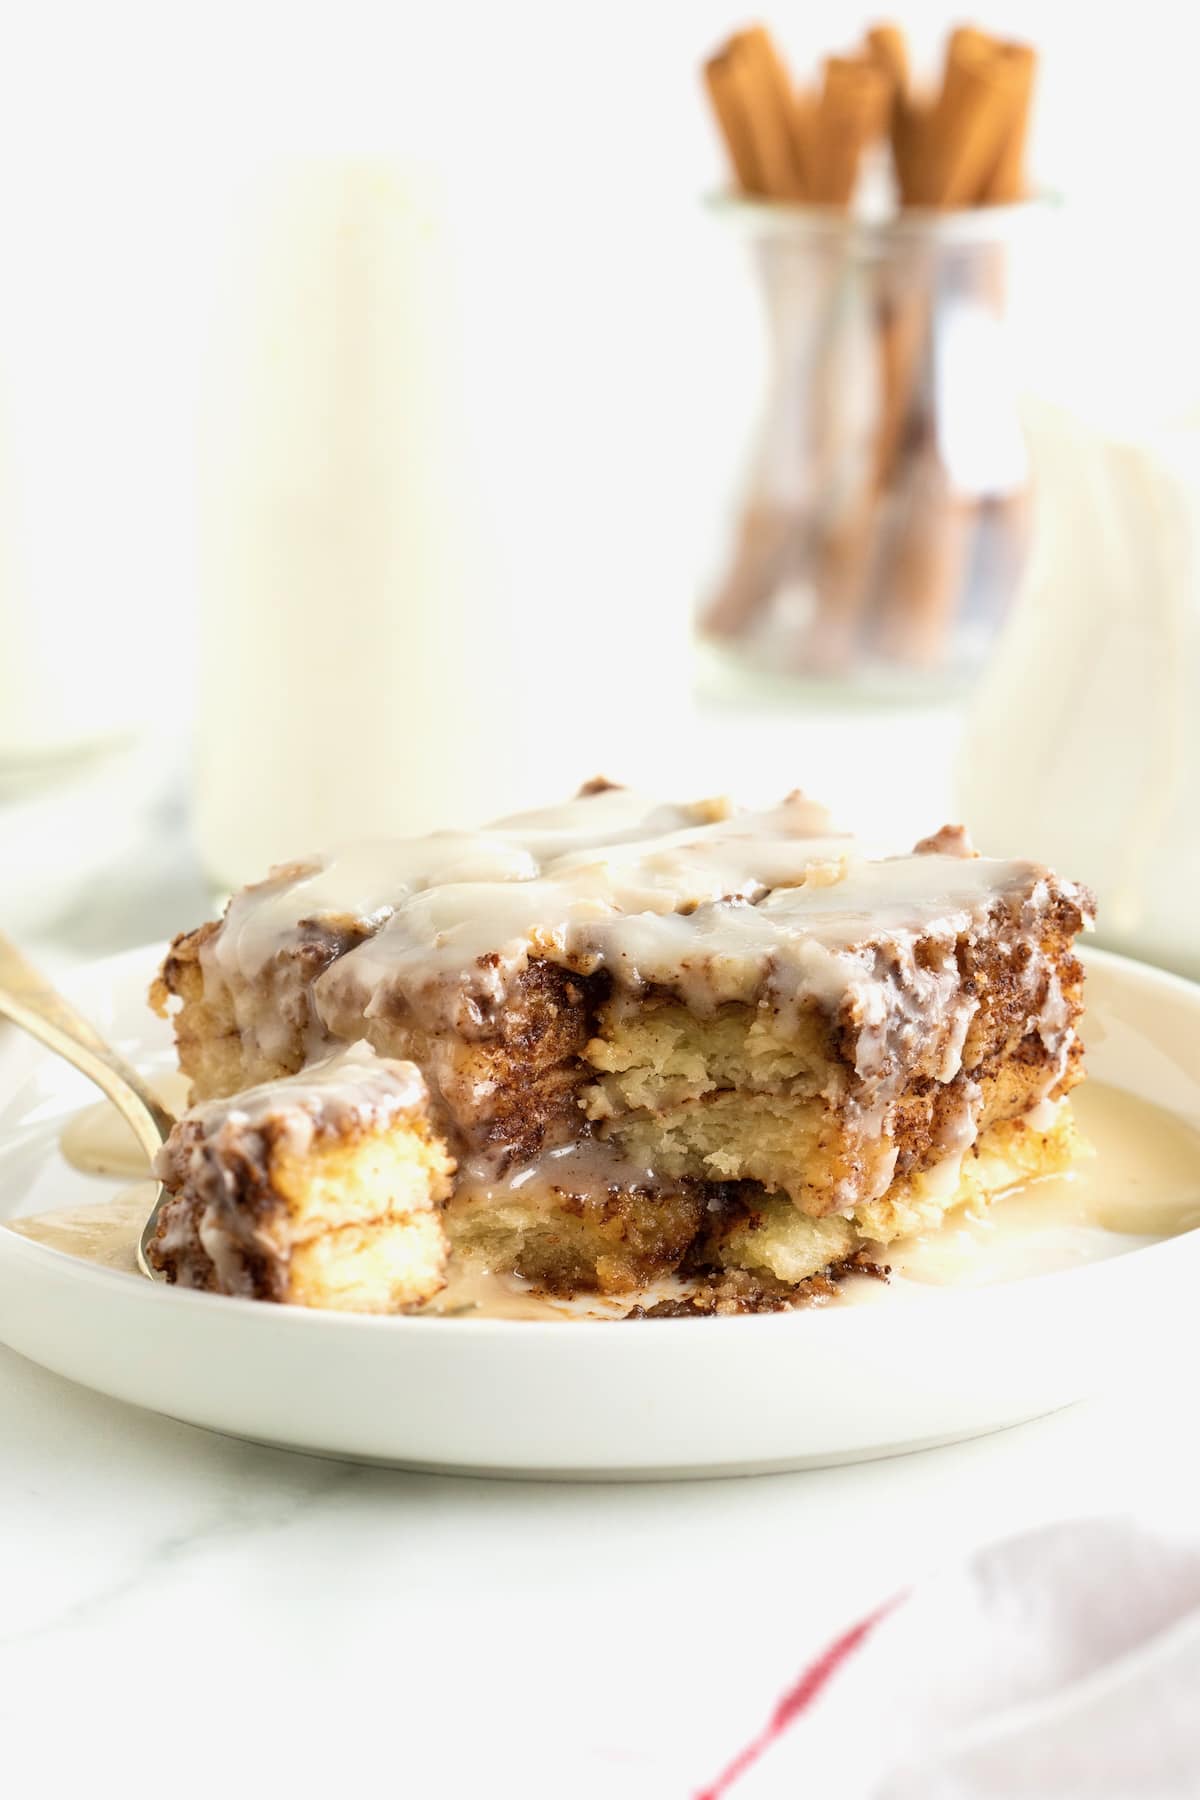
Cinnamon Roll Lasagna is quite possibly the greatest greatness to ever come out of my oven! It’s cinnamon rolls that are layered like a lasagna and every single bite tastes like the doughy middle that everyone loves! Enough said, right?!
So Decadent and Delicious!
This decadent dish actually happened on a whim one morning when I was planning to make mini cinnamon rolls, but they kept unrolling so I just layered them in a baking dish and breakfast brilliance was born!
We were amazed by how great it turned out and I was so relieved because I had volunteered to bring cinnamon rolls to breakfast with the parents that morning at Baker’s school. Needless to say, this dish disappeared within minutes and I can’t even tell you how many people have asked for the recipe since!
Layer after layer of soft dough, butter, cinnamon sugar and a sweet vanilla glaze. A simple breakfast treat that will blow your loved ones away! Let me show you how simple it is to make this delicious breakfast treat! No rising required…just layer and bake! Seriously, the best! I don’t know if I’ll ever make regular cinnamon rolls again!
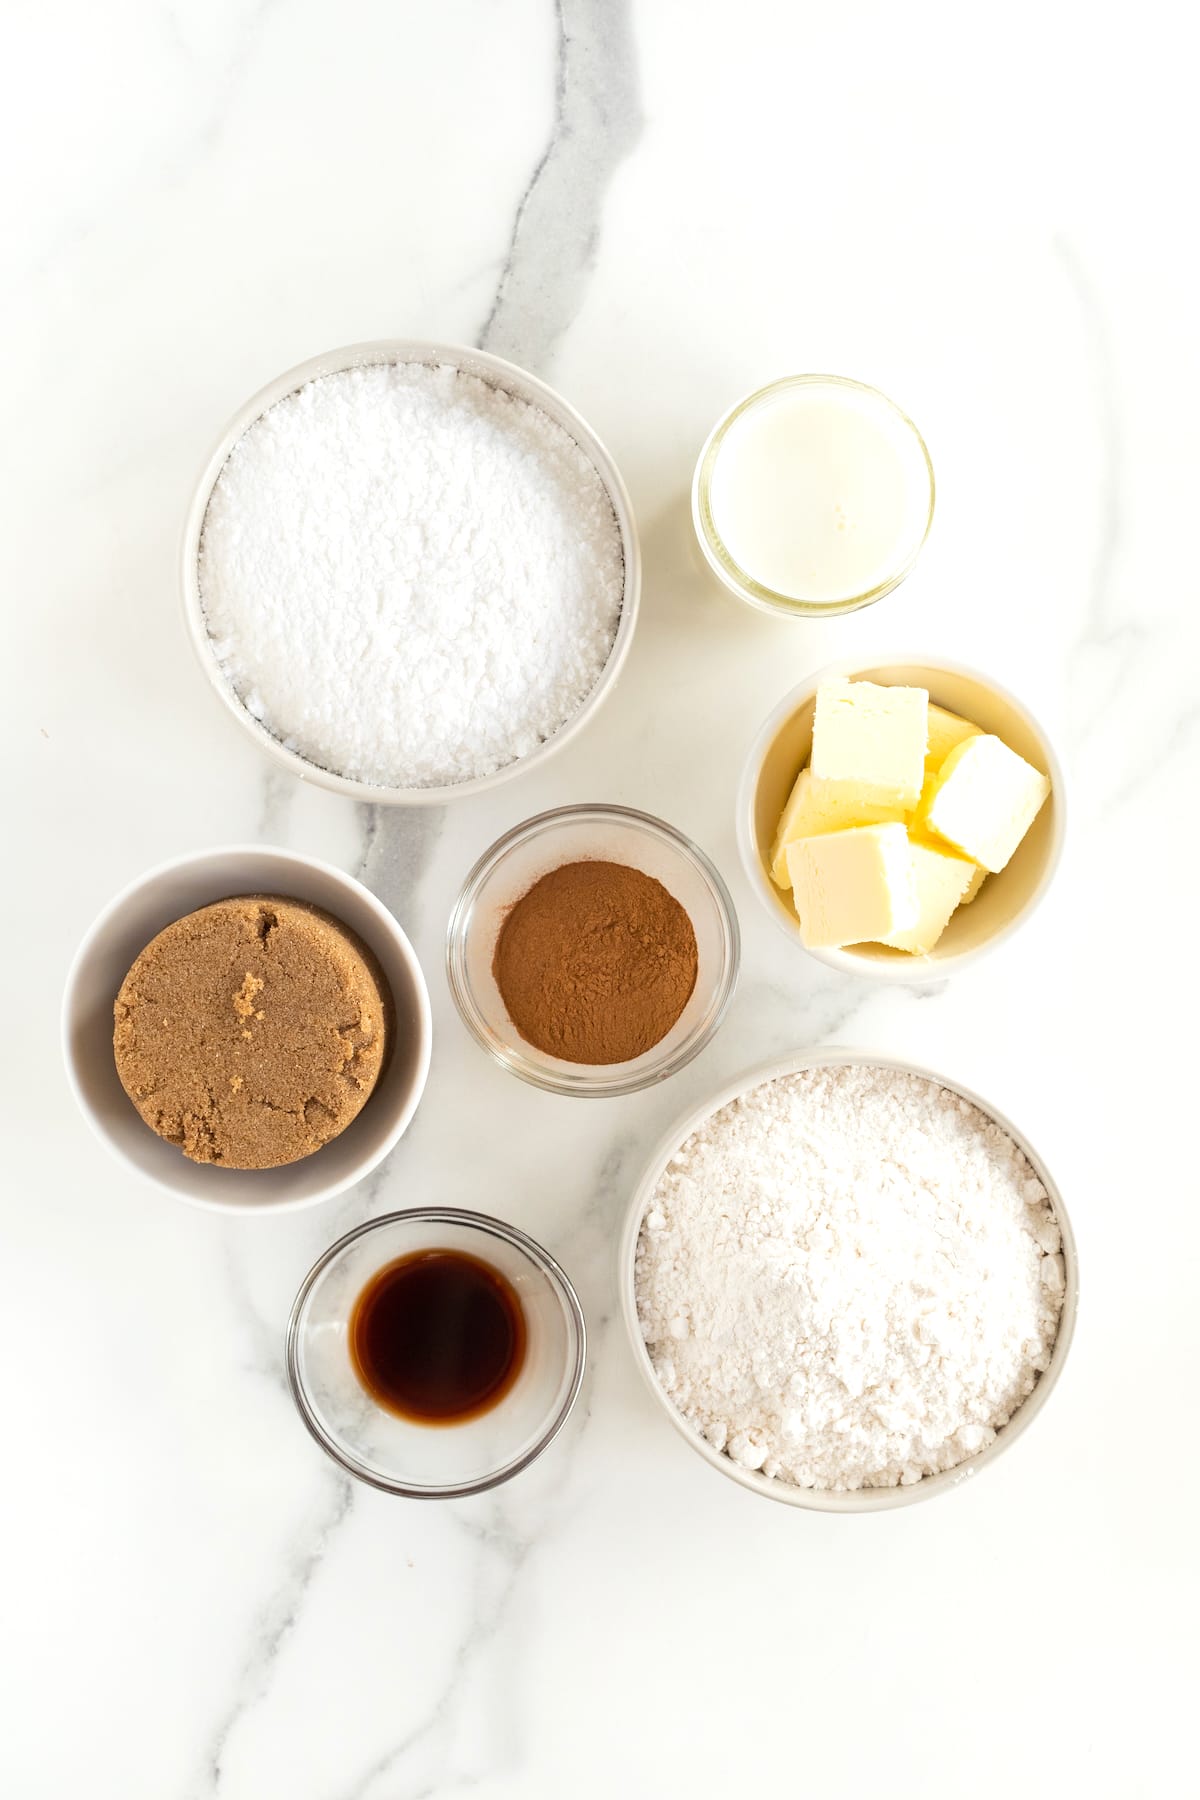
What Do I Need to Make Cinnamon Roll Lasagna?
- Self-rising flour
- Unsalted butter
- Buttermilk
- Dark brown sugar
- Cinnamon
- Powdered sugar
- Vanilla extract
- 8 inch square baking dish
How to Make Cinnamon Roll Lasagna
- Preheat oven to 375°F. Butter an 8-inch square baking dish and set aside.
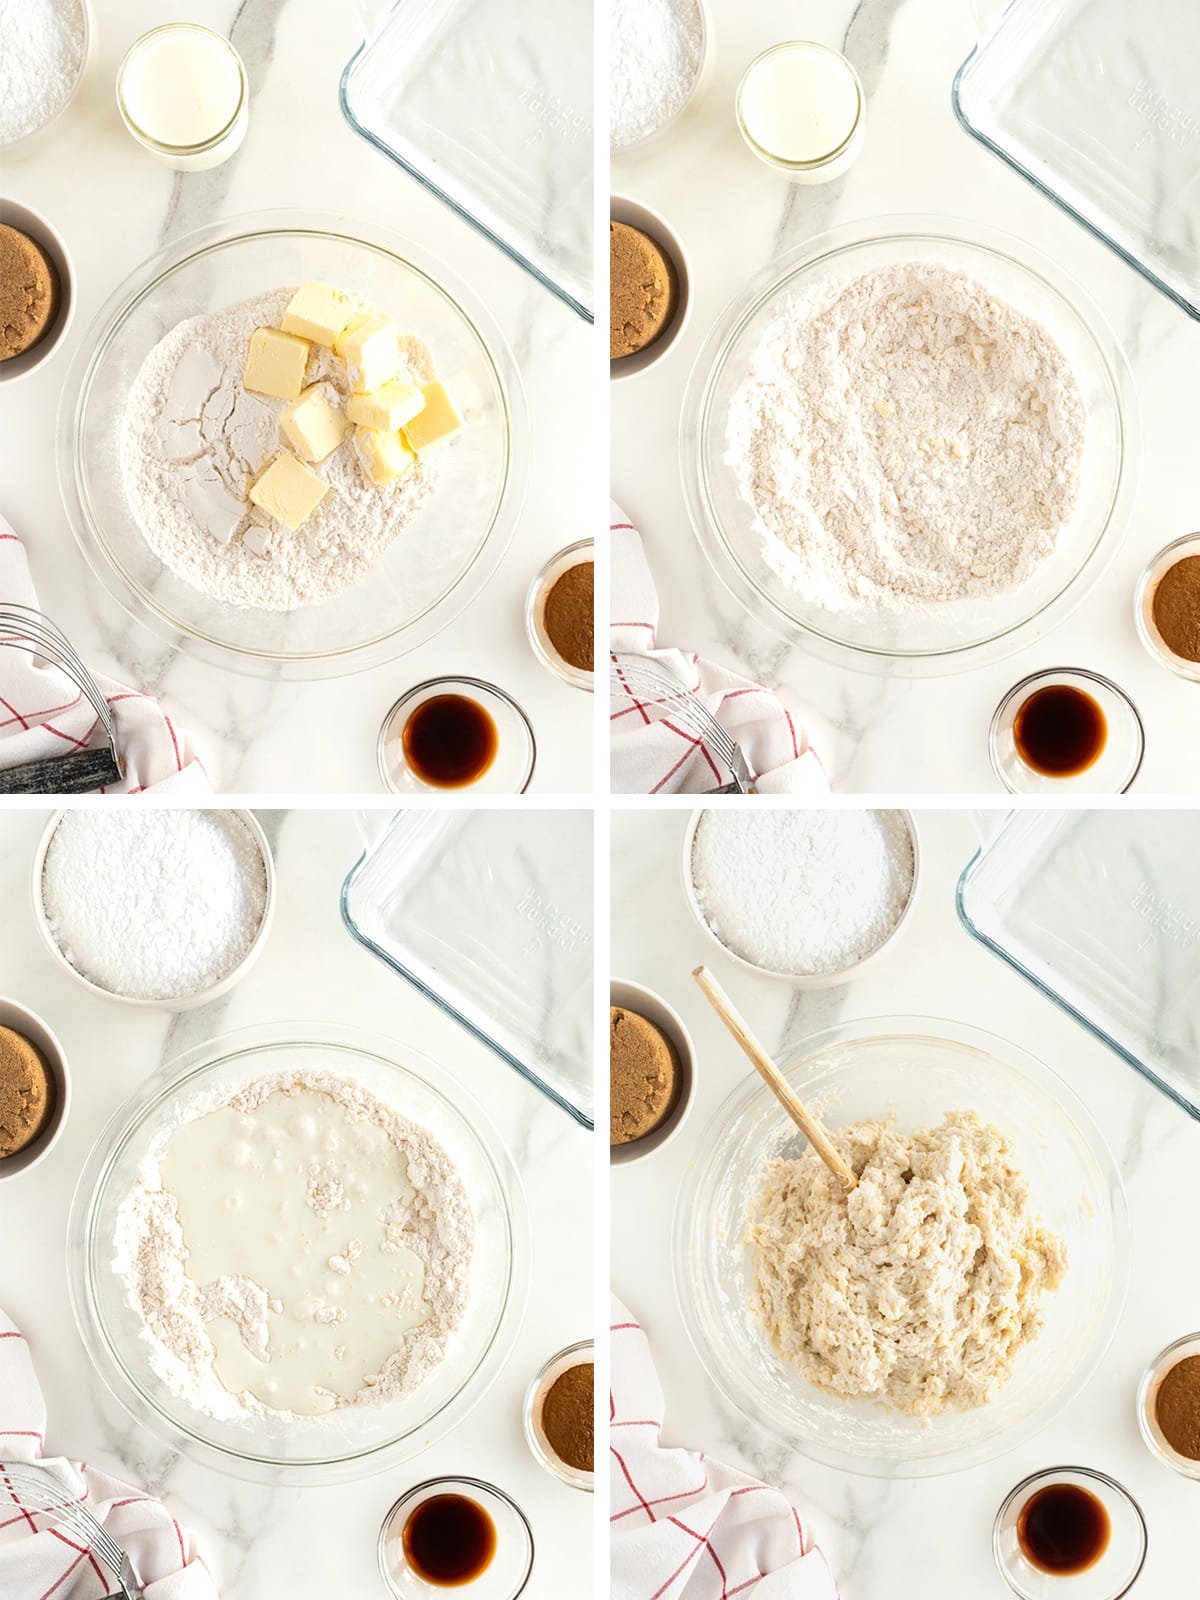
- In a large bowl, add the flour and cut the 1/2 cup softened butter in with a pastry blender or two knives until well combined and mixture is crumbly.
- Stir in the buttermilk until a thick dough forms.
- Let rest in the bowl while preparing the filling and glaze.
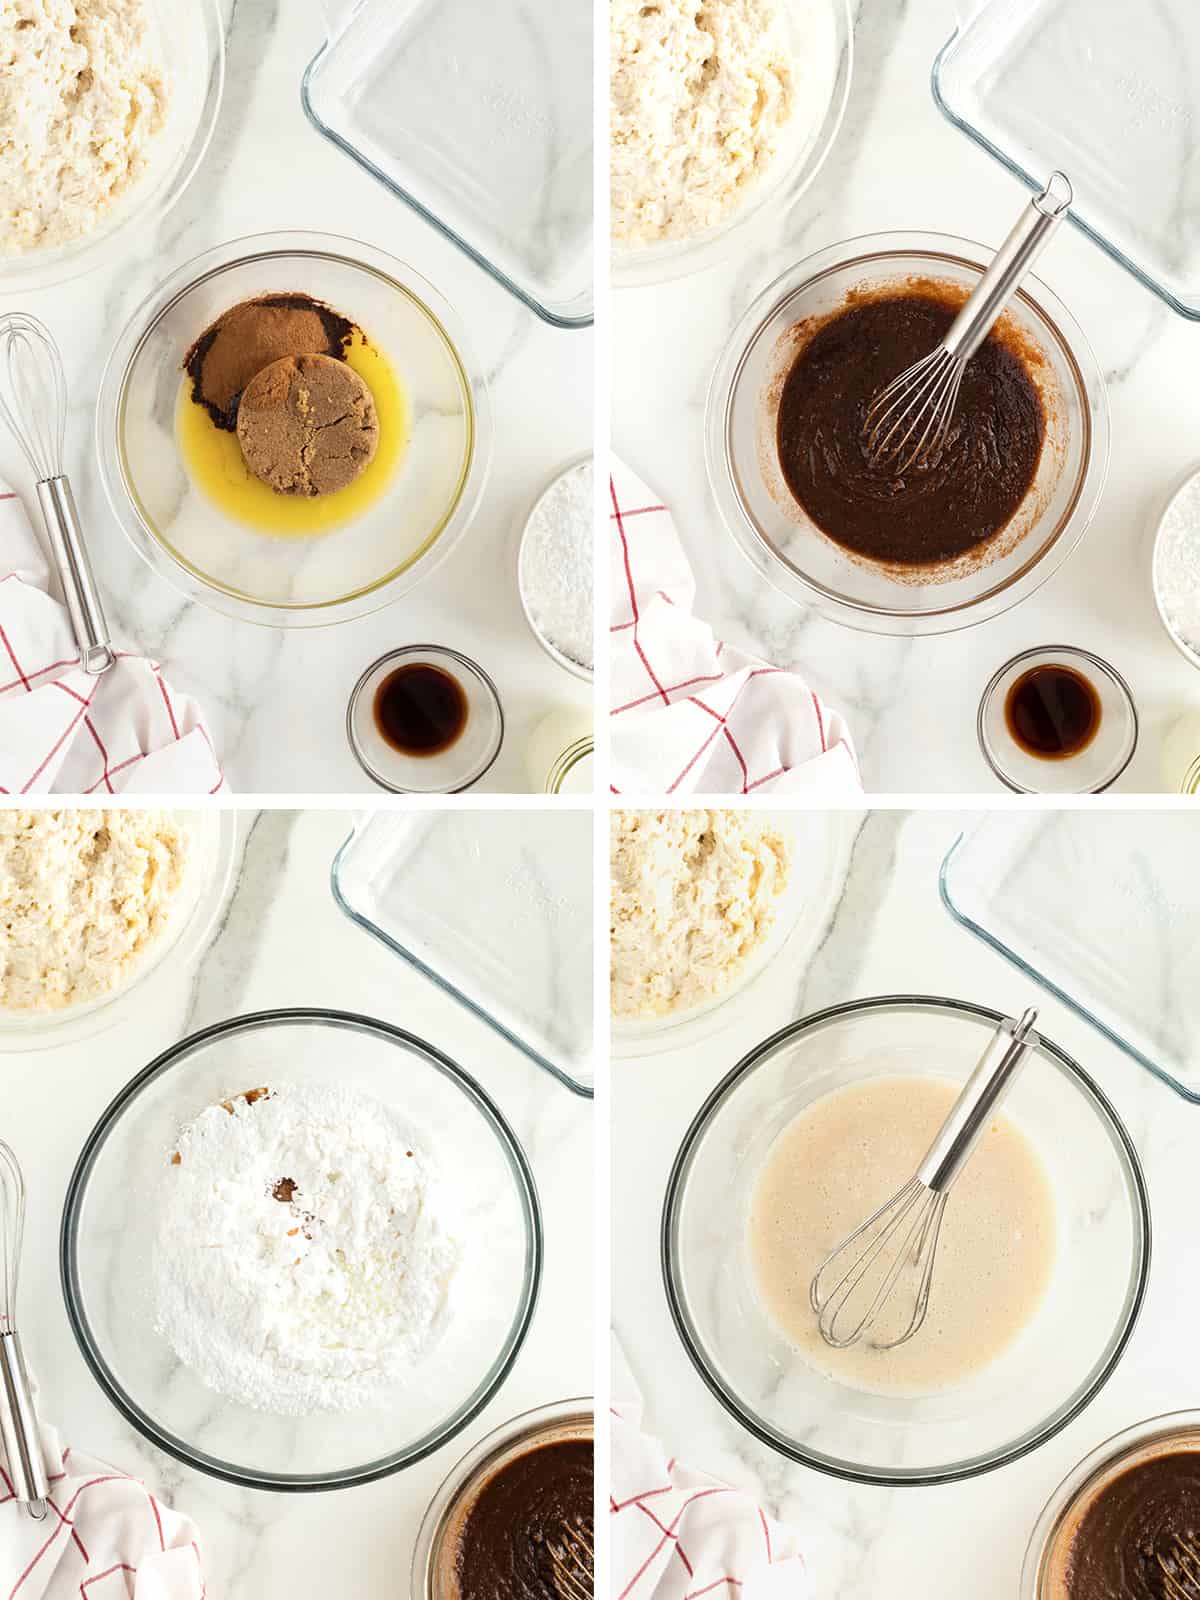
- In a small bowl, melt the 1/2 cup butter for the filling.
- Once melted, whisk in the brown sugar and cinnamon until well combined and smooth. Set aside.
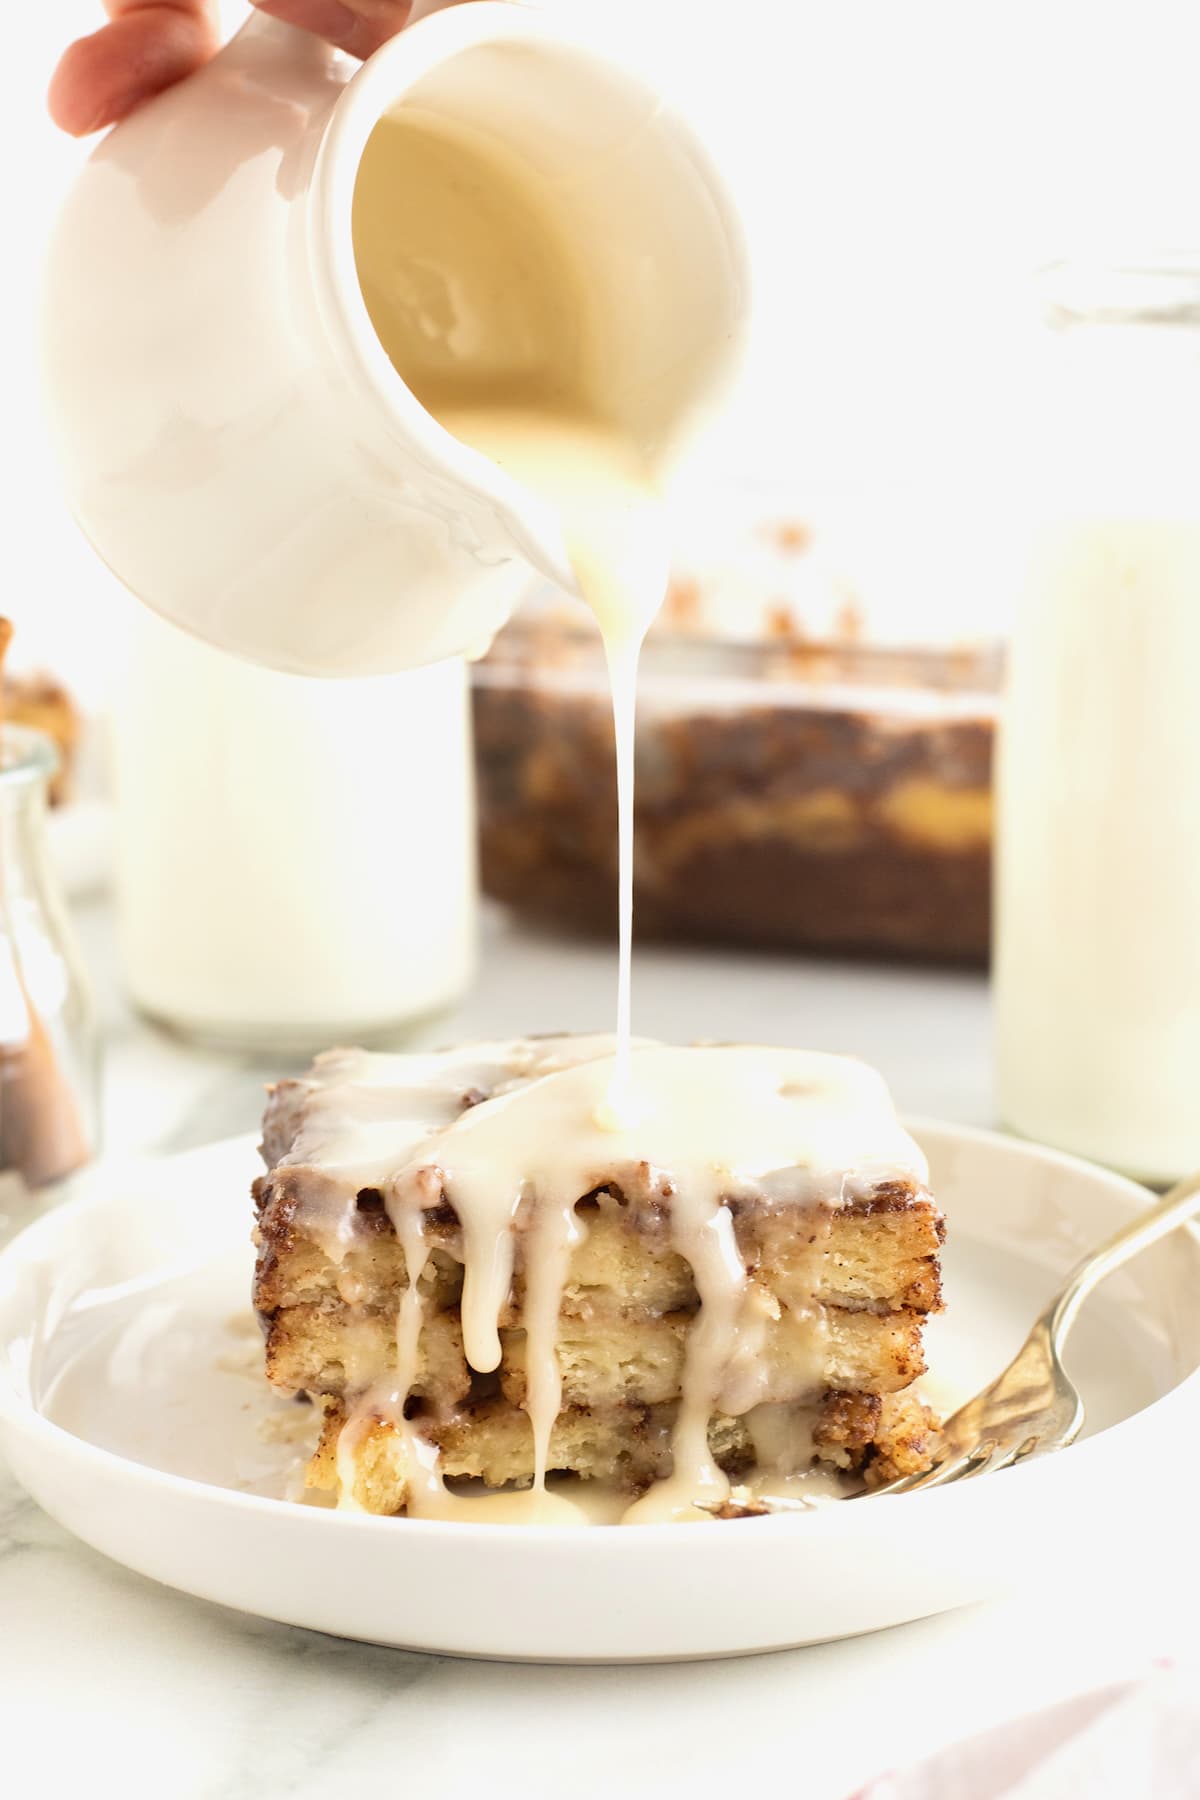
- In a medium bowl, whisk together the glaze ingredients until smooth. Set aside.
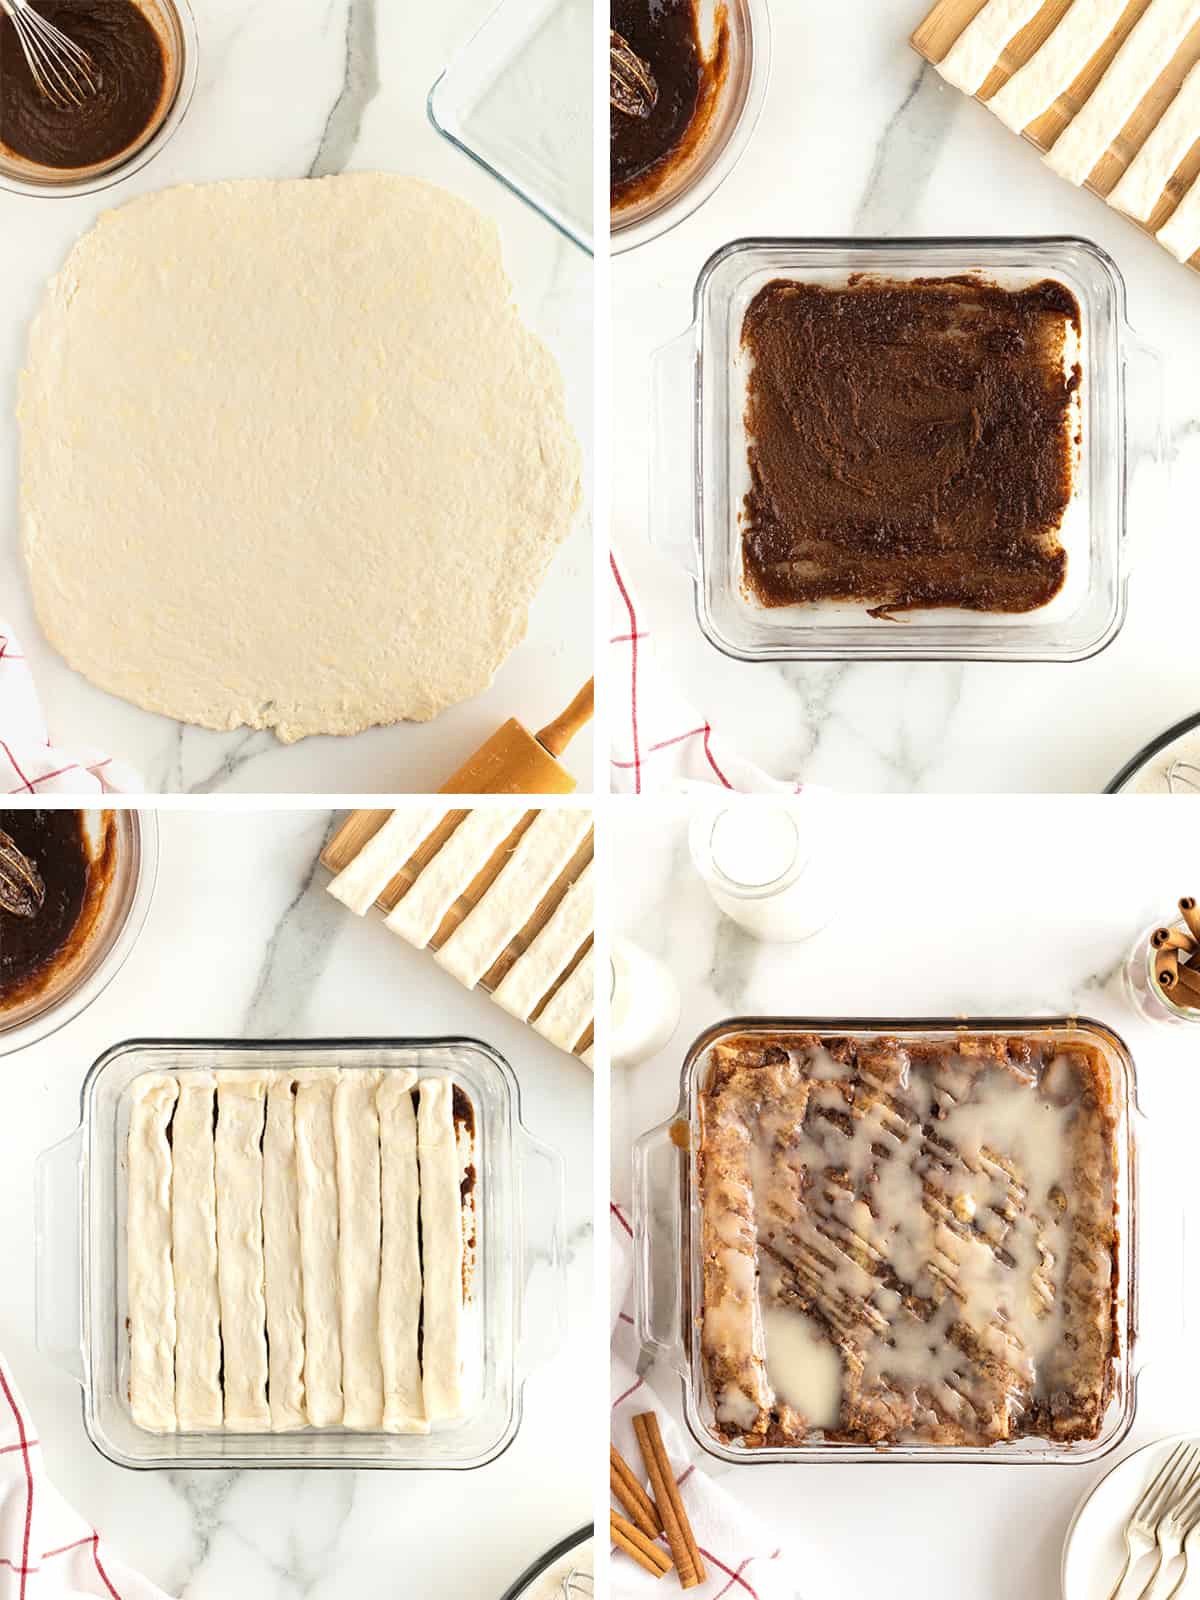
- Roll the dough out into a rough 16×16-inch square. Cut the dough into 1-inch strips and cut each strip in half.
- Spread a few tablespoons of filling evenly over the bottom of the prepared baking dish. Place enough strips of dough into the bottom of the baking dish so it is completely covered and the dough strips are touching.
- Spread with about 1/4 cup filling. Drizzle with about 1/2 cup glaze.
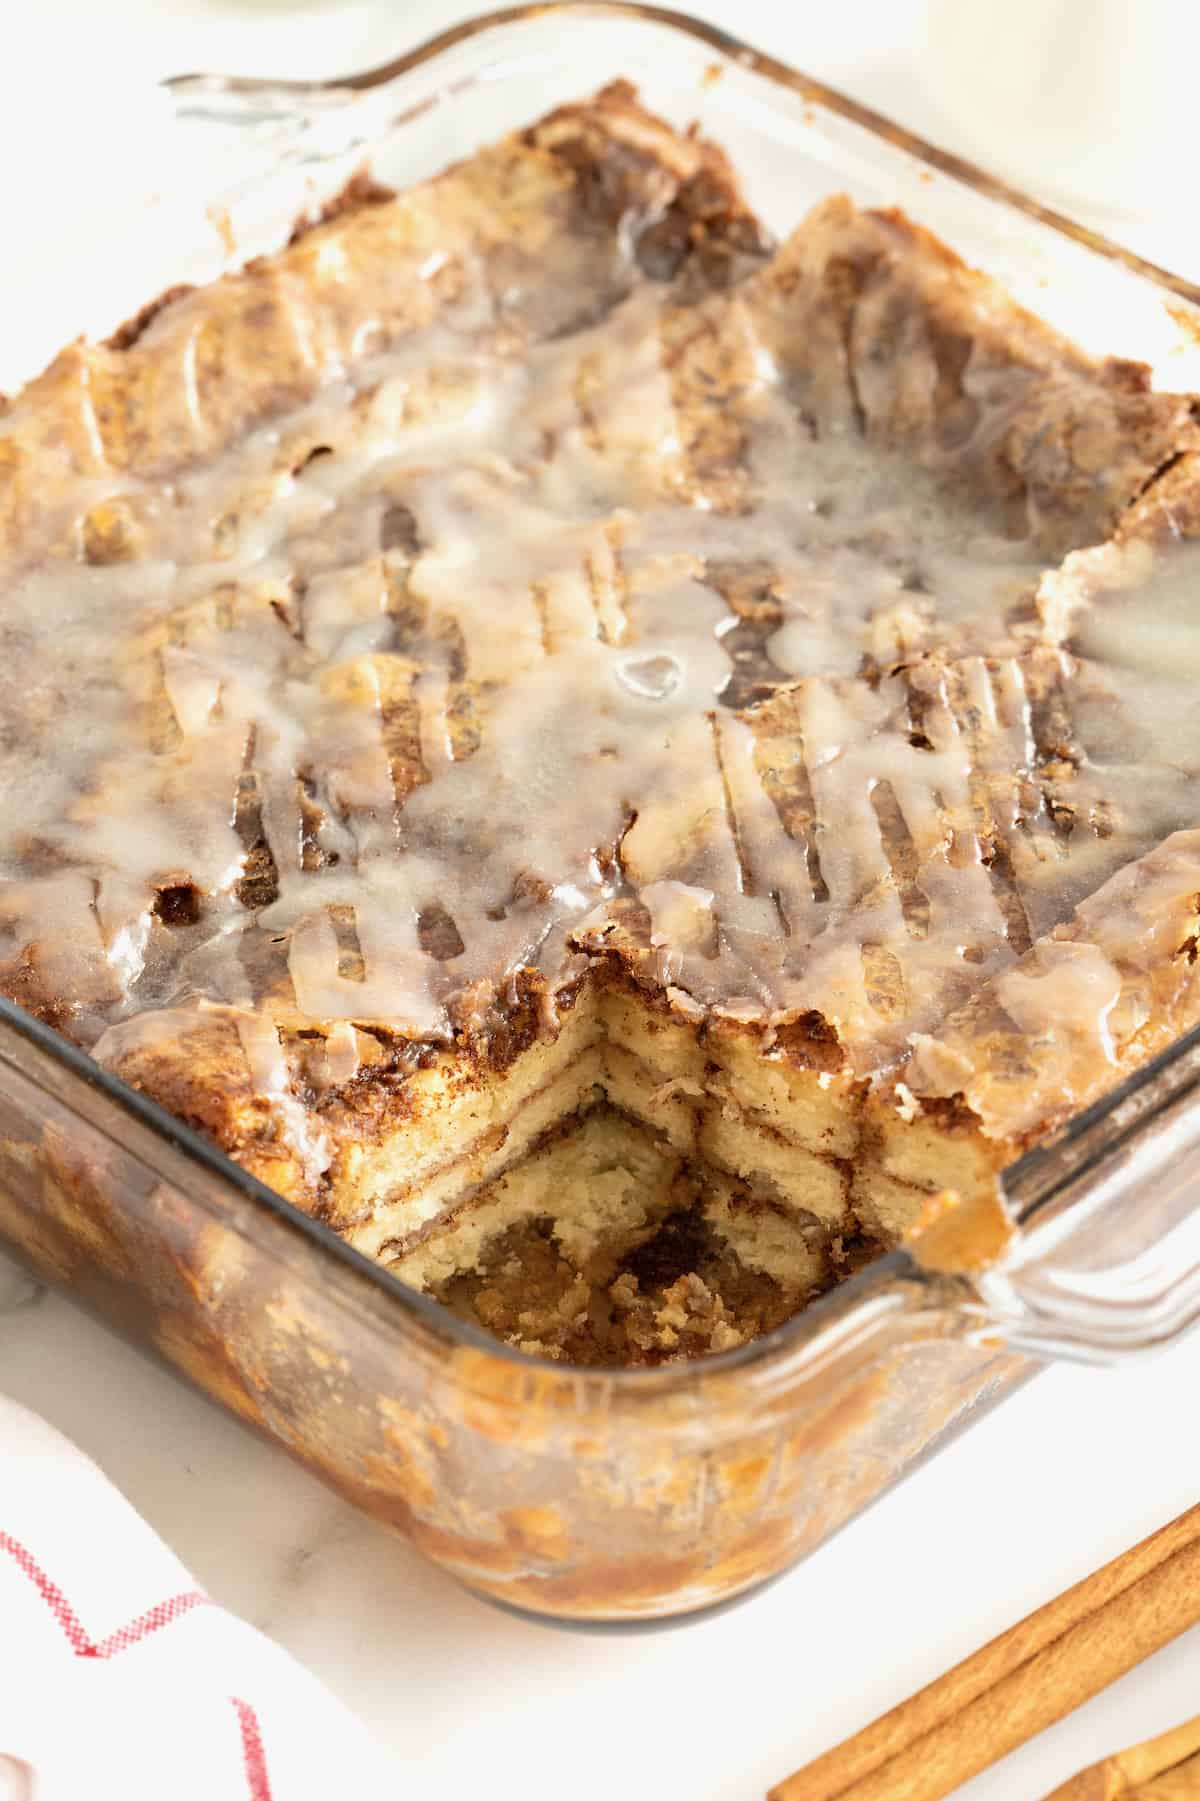
- Repeat with remaining dough strips, filling and glaze until you have three layers in the baking dish, covering the top layer with filling and glaze, but reserving about 1/4 cup glaze for drizzling over the lasagna once it’s baked.
- Bake for 30-35 minutes or until the top is starting to crisp and brown. Let set at least 10 minutes before serving. Drizzle with remaining glaze just before serving.
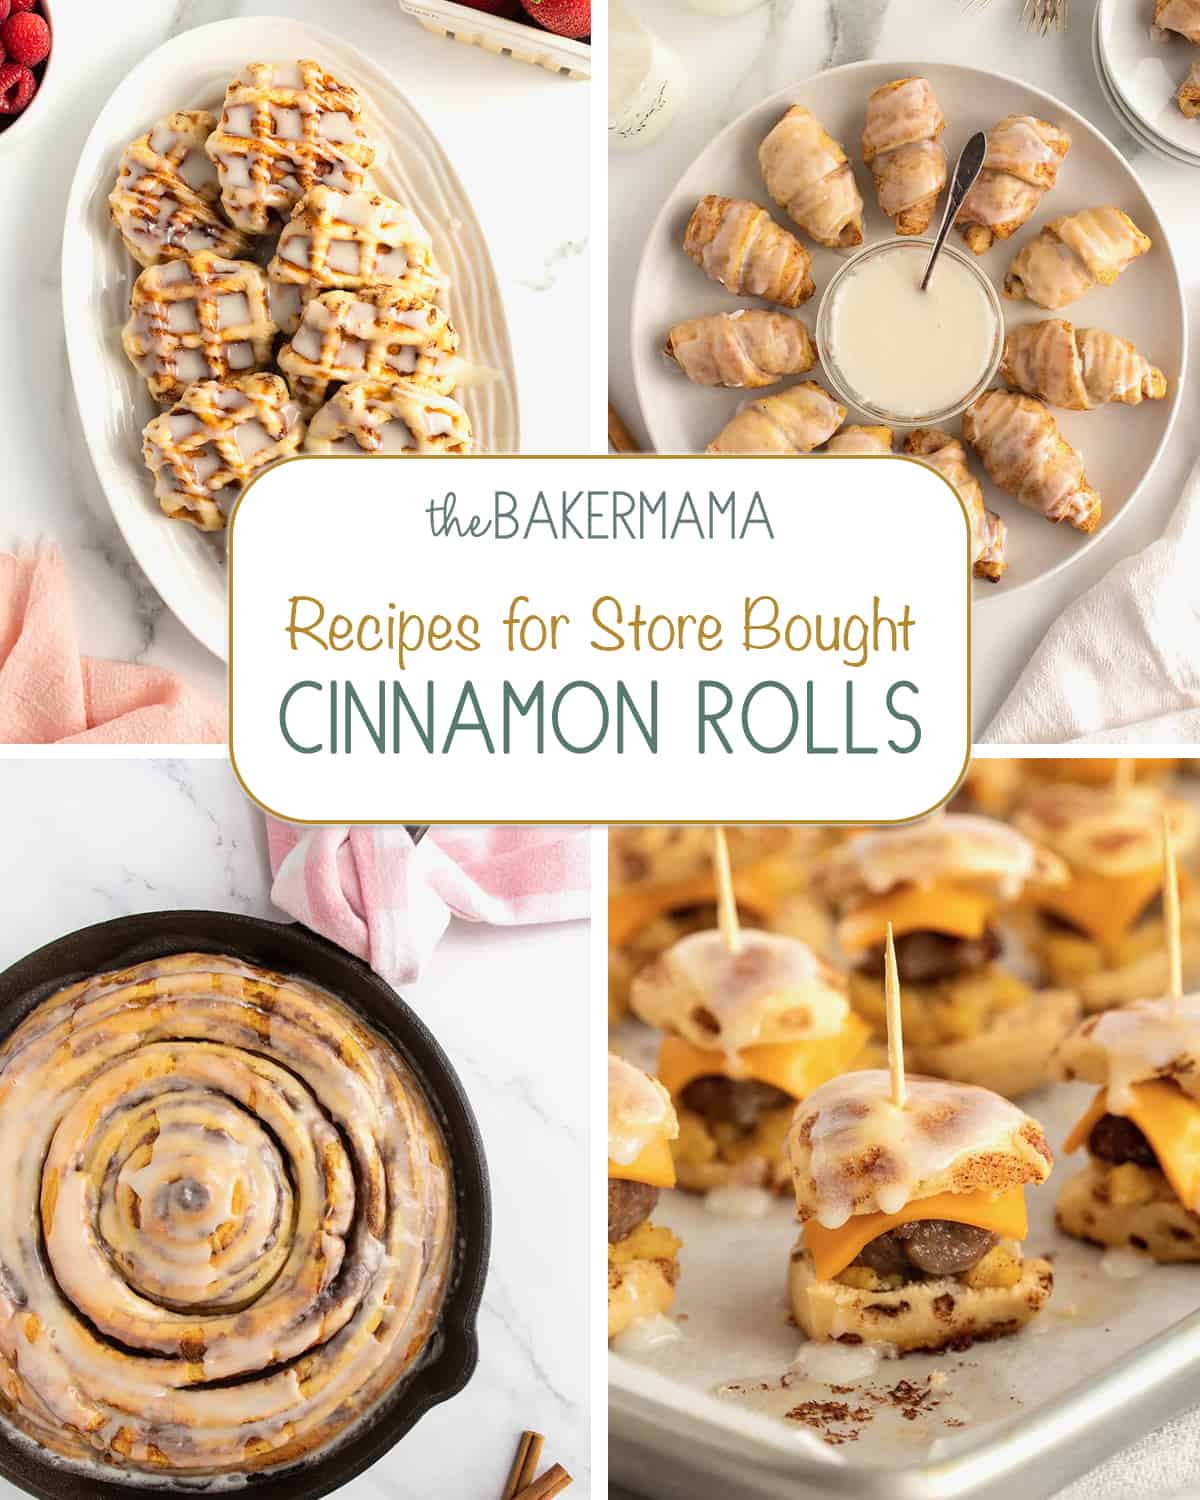
Recipes for Store Bought Cinnamon Rolls
Doesn’t have to be homemade to be ah-mazing! Turn canned cinnamon rolls into dreamy, delicious treats with my favorite Recipes for Store Bought Cinnamon Rolls. They’re creative, fun and easy!
If you make this Cinnamon Roll Lasagna, be sure to snap a picture and tag me on Instagram @thebakermama so I can see! 😍 I just love seeing how inspired and creative y’all get with the recipes and ideas I share. Enjoy!
xoxo,

Cinnamon Roll Lasagna
- Prep Time: 20 mins
- Cook Time: 35 mins
- Total Time: 55 minutes
- Yield: 12
- Category: Breakfast
Description
Cinnamon Roll Lasagna is a fun and delicious twist to everyone’s favorite breakfast indulgence!
Ingredients
Dough:
- 3 cups self-rising flour
- 1/2 cup (1 stick) unsalted butter, softened a bit
- 1 and 1/4 cups buttermilk
Filling:
- 1/2 cup (1 stick) unsalted butter, melted
- 1 cup dark brown sugar
- 2 tablespoons cinnamon
Glaze:
- 3 cups powdered sugar
- 2 teaspoons vanilla
- 1 cup buttermilk
Instructions
- Preheat oven to 375°F. Butter an 8-inch square baking dish and set aside.
- In a large bowl, add the flour and cut the 1/2 cup softened butter in with a pastry blender or two knives until well combined and mixture is crumbly. Stir in the buttermilk until a thick dough forms. Let rest in bowl while preparing the filling and glaze.
- In a small bowl, melt the 1/2 cup butter for the filling. Once melted, whisk in the brown sugar and cinnamon until well combined and smooth. Set aside.
- In a medium bowl, whisk together the glaze ingredients until smooth. Set aside.
- Roll the dough out into a rough 16×16-inch square. Cut dough into 1-inch strips and cut each strip in half.
- Spread a few tablespoons of filling evenly over the bottom of the prepared baking dish. Place enough strips of dough into the bottom of the baking dish so it is completely covered and the dough strips are touching.
- Spread with about 1/4 cup filling. Drizzle with about 1/2 cup glaze. Repeat with remaining dough strips, filling and glaze until you have three layers in the baking dish, covering the top layer with filling and glaze, but reserving about 1/4 cup glaze for drizzling over the lasagna once it’s baked.
- Bake for 30-35 minutes or until the top is starting to crisp and brown. Let set at least 10 minutes before serving. Drizzle with remaining glaze just before serving.

Hi there.
This recipe looks great. Have you ever made it with a yeast dough?
Hi MaryLou! I haven’t made it with a homemade yeast dough, but I have made it with canned cinnamon rolls and it turned out great. I think it took 3 cards of jumbo or GRANDS! cinnamon rolls (5 per can) and I then unraveled each roll to cut and create the layers. I hope this helps. Enjoy!
I am going to make this tomorrow but can you use canned cinnamon rolls and unroll to fix a pan with the filling and the glaze? We love the Cinnamon roll Waffles made them yesterday. You are so full of great ideas.
Hi Eva! Yes, you definitely can. It takes about 5-10 extra minutes to bake. If the top starts to brown too much before the inside is baked through, just tent with foil until baked all the way through. Enjoy!
Wow, never thought about making them that way, it gives a nice twist. Does adding more levels influence a lot cooking time ?
Hi! Yes, the thicker it is, the longer it will take to bake all the way through. I would suggest covering it with foil once you notice the top is baked so the middle continues to bake. You can stick a toothpick or thin knife in the center through the dough to test it for doneness. If it comes out with wet dough on it, the lasagna needs to bake longer. Hope this helps. Enjoy!
This is delicious but has a lot of liquid in it. Is this normal? It almost seems like I could have used half instead
Hi Wendy! The cinnamon sugar should be like a syrup all around the layers of dough…like the middle of a cinnamon roll. The ratio of dough to syrup should be a nice balance. Did you bake it in an 8-inch square dish and have about 6 layers of dough?
hi! what do u mean by 1-1/4 buttermilk? do u mean a cup and a quarter?
Hi Sylvia! Yes, 1 cup and a quarter cup of buttermilk. Enjoy!
Are you using salted or unsalted butter?
Hi Katie! I use unsalted. I just updated the recipe to clarify. Thanks so much for asking. Enjoy!
Oh, I just saw someone else already asked this. Never mind. 🙂
Just wondering, if you are going to have the strips of dough touching why do you need to cut them into strips? Why not just roll out 8″ x 8″ squares of dough?
Hi – looks amazing, can’t wait to try. Wondering why you cut into strips to form each layer, rather than adding 1 whole piece for each layer? Is it to do with how well it cooks?
Hi Danielle! I cut them into strips so the filling cooks all around and between each strip, similar to a lasagna. You could certainly use 1 whole layer or larger strips and it should still bake up great, there just might not be as good of a coverage of filling with each serving. Enjoy!