This colorful and delicious Build-Your-Own Rice Bowl Board lets everyone customize a healthy, satisfying meal that’s just the way they like it!
Build-Your-Own vs One-Size-Fits-All
When you have a big family, one-size-fits-all dinners don’t always…fit. My kids can’t all agree on what they like and I can’t always keep up on who likes what. Do-it-yourself is way more our speed! And this Build-Your-Own Rice Bowl Board is the perfect example of a flexible, delicious, customizable meal that everyone loves.
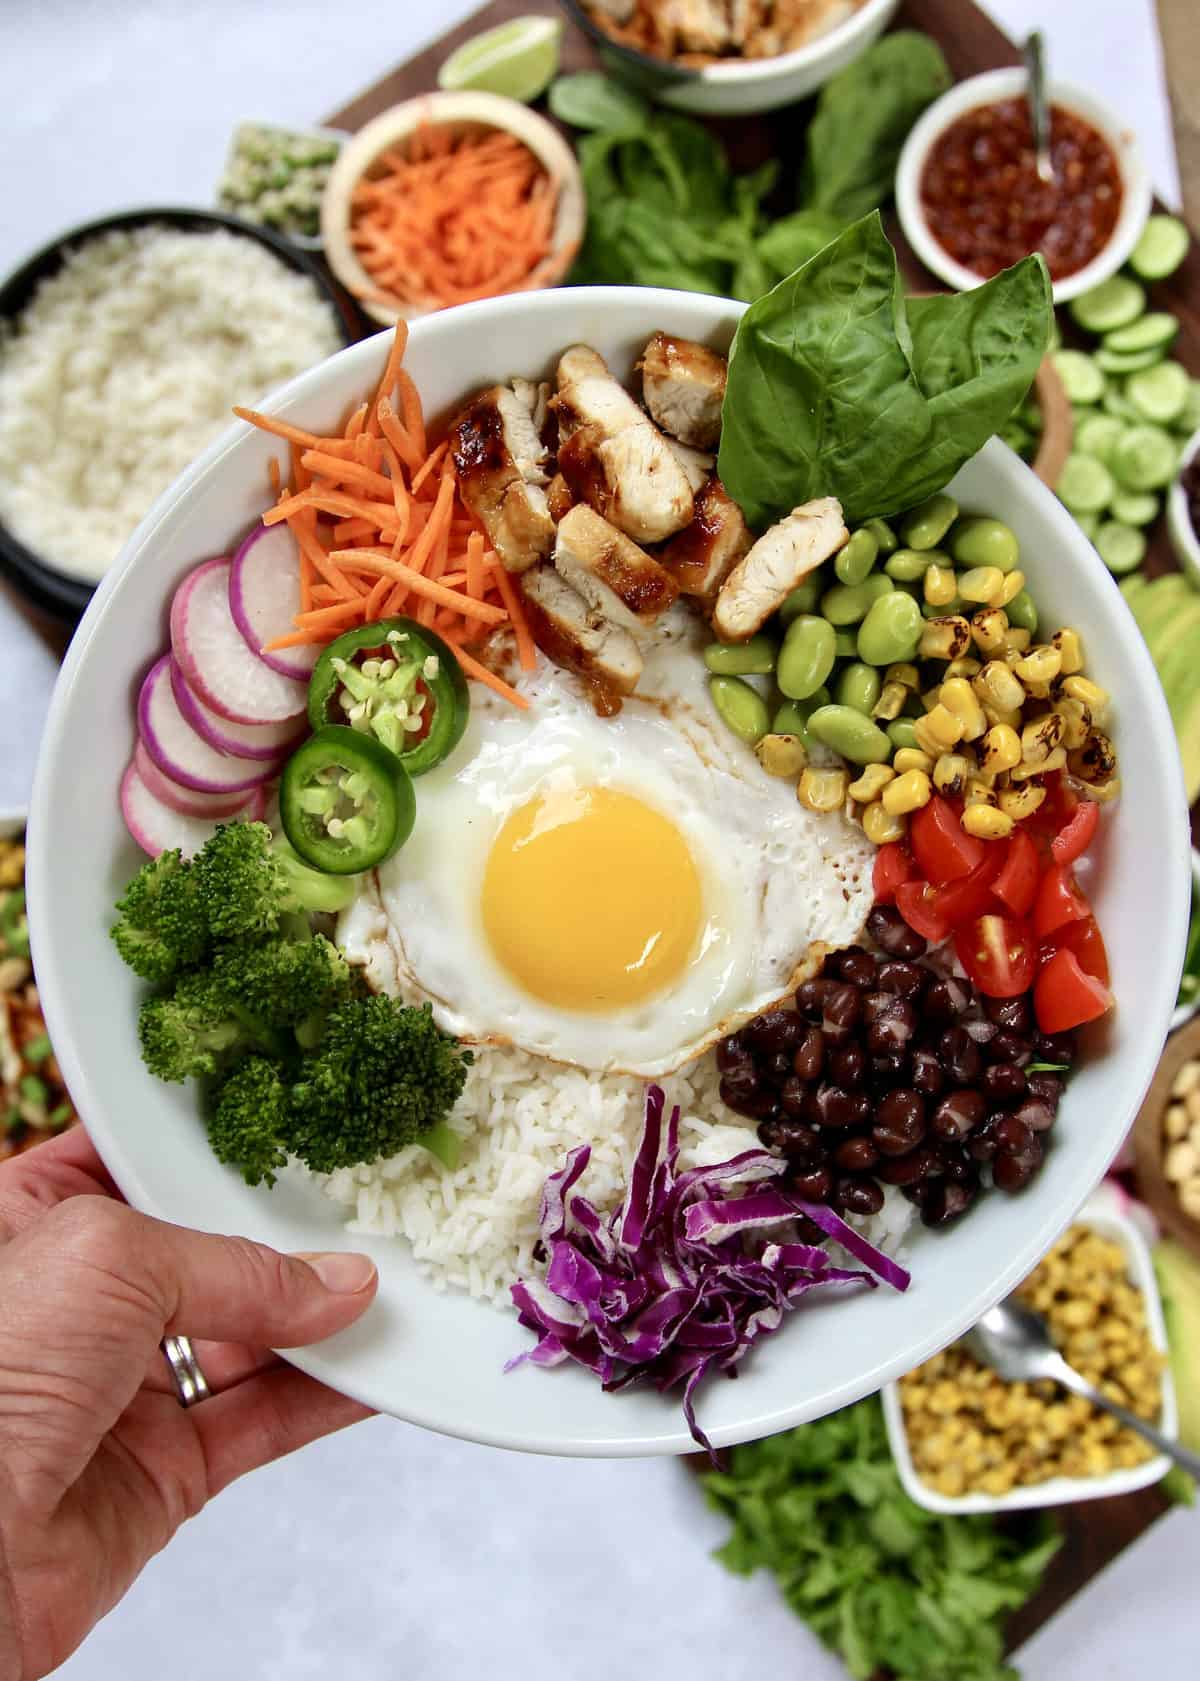
Pile on the protein with grilled teriyaki chicken, sunny-side-up eggs, peanuts, or edamame. Add an array of bright veggies from broccoli to tomatoes to cabbage. Top with a slice of avocado and a squeeze of lime or top with diced mango and just a touch of hot sauce. It’s your call and your delicious creation!

Use what your family would enjoy most or what you already have on hand. Let’s get to it!
Perfect Rice Every Time
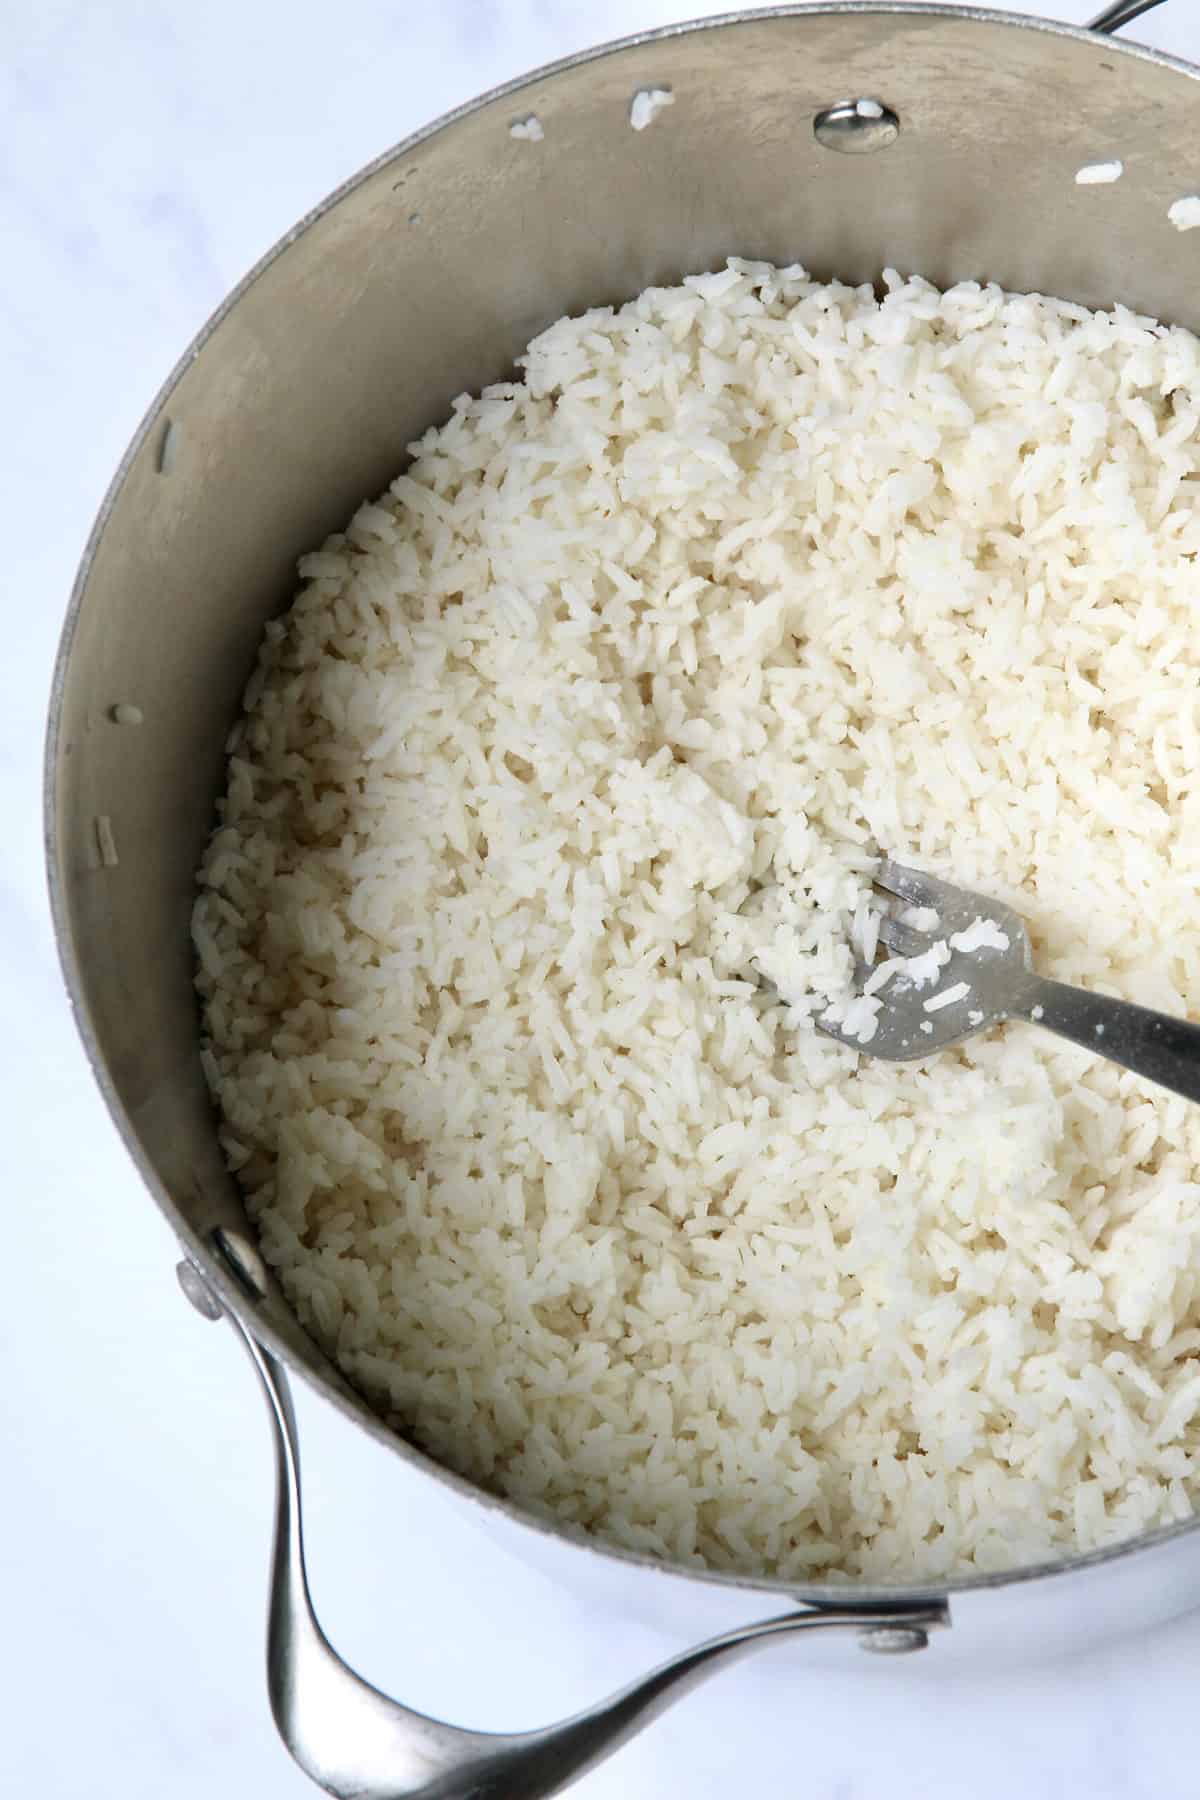
Start by cooking the long-grain Texmati rice according to package directions: combine 2 cups rice and 3.5 cups water in a medium saucepan with 1 teaspoon salt and 2 teaspoons butter. Bring to a boil; stir once.
Cover with a tight-fitting lid or foil; reduce heat and simmer for 15 minutes. Remove from heat and let stand (covered) for 5-10 minutes longer. Yields 6 cups of cooked rice.
Or, for those rice cooker devotees out there, follow the directions on your rice cooker. You do you!
Finger-Lickin’ Teriyaki Glazed Chicken
While the rice is cooking, combine the chicken tenderloins and ½ cup teriyaki glaze in a mixing bowl. Gently stir until tenderloins are completely coated in the glaze. Then add the chicken to a lightly-greased large skillet over medium-high heat and cook for 3-5 minutes on each side, brushing with some of the teriyaki glaze each time you flip the chicken.
Cook until the chicken is golden brown and the internal temperature of each tenderloin reaches 165°F. Remove the cooked chicken to a cutting board and slice into bite-sized pieces. Keep warm until ready to add to the board.
Sunny Side Up!
To fry the eggs with a runny yolk, heat a griddle or non-stick skillet over medium-high heat. First, crack the eggs into individual bowls and then pour them into the skillet. Cook the eggs until the whites are set, about 2 minutes. Then sprinkle with a little salt and keep warm until ready to transfer to the plate on the board. Check out my Sunny-Side-Up Eggs tutorial for more help!

Build the Board!
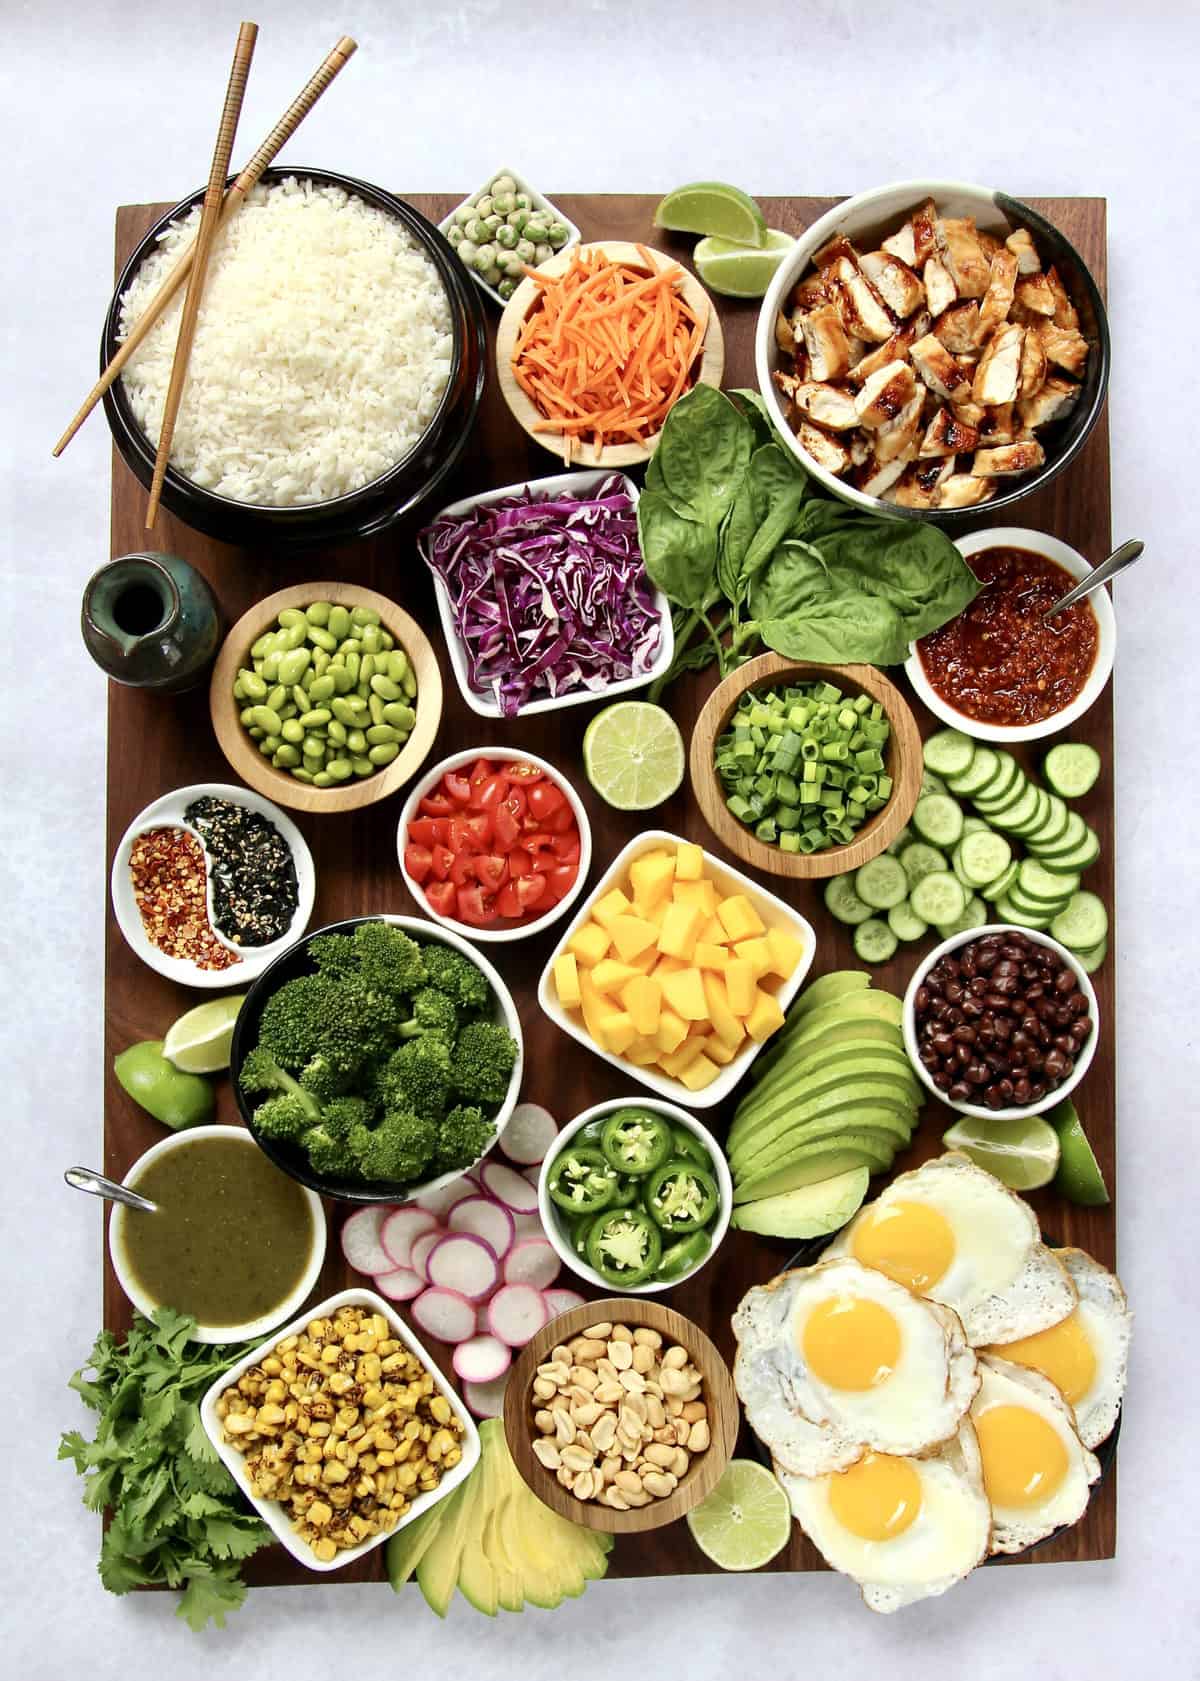
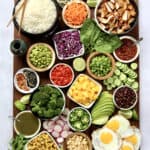
- For the Build-Your-Own Rice Bowl Board, I used our 24″ x 18″ walnut wood board. Start by placing a large bowl for the cooked rice in the upper left corner, a medium bowl for the chicken in the upper right corner, and a small plate in the bottom right corner for the sunny side up eggs.
- Place all of the other toppings in small serving bowls across the board. The cucumbers, radishes, basil, cilantro, avocado, and limes can be placed directly on the board.
- Once all of the toppings are on the board, add the cooked rice to the large bowl and the cooked chicken to the medium bowl. Put the cooked sunny-side-up eggs on the plate in the lower right corner of the board.

Serve the board and let each person build their own rice bowl. Enjoy!
If you make this Rice Bowl Board, be sure to snap a picture and share it with me on Instagram @thebakermama so I can see. If you’re on Facebook, be sure to join my Friends of The BakerMama group to connect and share all the fun and yummy recipes of mine that you make!  I just love seeing how inspired and creative y’all get with the ideas I share. Enjoy!
xoxo,

Build-Your-Own Rice Bowl Board
- Prep Time: 30 minutes
- Cook Time: 45 minutes
- Total Time: 1 hour 15 minutes
- Yield: 6-8
Description
This colorful and delicious Build-Your-Own Rice Bowl Board lets everyone customize a healthy, satisfying meal that’s just the way they like it!
Ingredients
- 2 cups uncooked RiceSelect® Texmati rice (cooked according to package directions to make 6 cups cooked rice)
- 1.5 pounds boneless skinless chicken tenderloins
- ½ cup teriyaki glaze
- 1.5 cups broccoli florets
- 1 cup cubed mango
- 1 cup shredded carrots
- 1 cup shredded purple cabbage
- 1 cup roasted or grilled corn kernels
- 1 cup steamed edamame
- 1 cup roasted peanuts
- 1 cup chopped green onion
- ½ cup sliced jalapeno
- ½ cup cherry tomatoes, cut into fourths
- ½ cup sliced cucumber
- ½ cup sliced radishes
- ¼ cup chili garlic sauce
- ¼ cup green hot sauce
- 1/3 cup soy sauce
- ¼ cup wasabi peas
- 2 tablespoons Japanese multi-purpose seasoning (white sesame seeds, black sesame seeds, nori, salt)
- 2 tablespoons red pepper flakes
- 1 large avocado, sliced thin
- 2 limes
- 1 small bunch fresh basil
- 1 small bunch fresh cilantro
- 5 eggs
Instructions
Rice
- Cook the Texmati rice according to package directions: combine 2 cups rice and 3.5 cups water in a medium saucepan with 1 teaspoon salt and 2 teaspoons butter.
- Bring to a boil; stir once. Cover with a tight-fitting lid or foil; reduce heat and simmer for 15 minutes.
- Remove from heat and let stand (covered) for 5-10 minutes longer. Yields 6 cups of cooked rice.
Chicken
- Meanwhile, cook the chicken. Combine the chicken tenderloins and ½ cup teriyaki glaze in a mixing bowl. Gently stir until tenderloins are completely coated in the glaze.
- Add the chicken to a lightly greased large skillet over medium-high heat. Cook for 3-5 minutes on each side, brushing with some of the teriyaki glaze when you flip the chicken. Let cook until the chicken is golden brown and the internal temperature of each tenderloin reaches 165°F.
- Remove the cooked chicken to a cutting board and slice into bite-sized pieces. Keep warm until ready to add to the board.
Sunny-Side-Up Eggs
- To fry the eggs with a runny yolk, heat a non-stick skillet over medium-high heat.
- Crack the eggs into individual bowls and then pour them into the skillet. Cook until the whites are set, about 2-3 minutes.
- Sprinkle with a little salt and keep warm until ready to transfer to the plate on the board.
Building the Board
- Start building the board by placing a large bowl for the cooked rice in the upper left corner, a medium bowl for the chicken in the upper right corner and a small plate in the bottom right corner for the cooked sunny-side-up eggs.
- Place all of the other toppings in small serving bowls across the board. The cucumbers, radishes, basil, cilantro, avocado and limes can be placed directly on the board.
- Once all of the toppings are on the board, add the cooked rice to the large bowl and the cooked chicken to the medium bowl. Place the cooked eggs on the plate in the bottom right corner of the board.
- Serve the board and let each person build their own rice bowl. Enjoy!