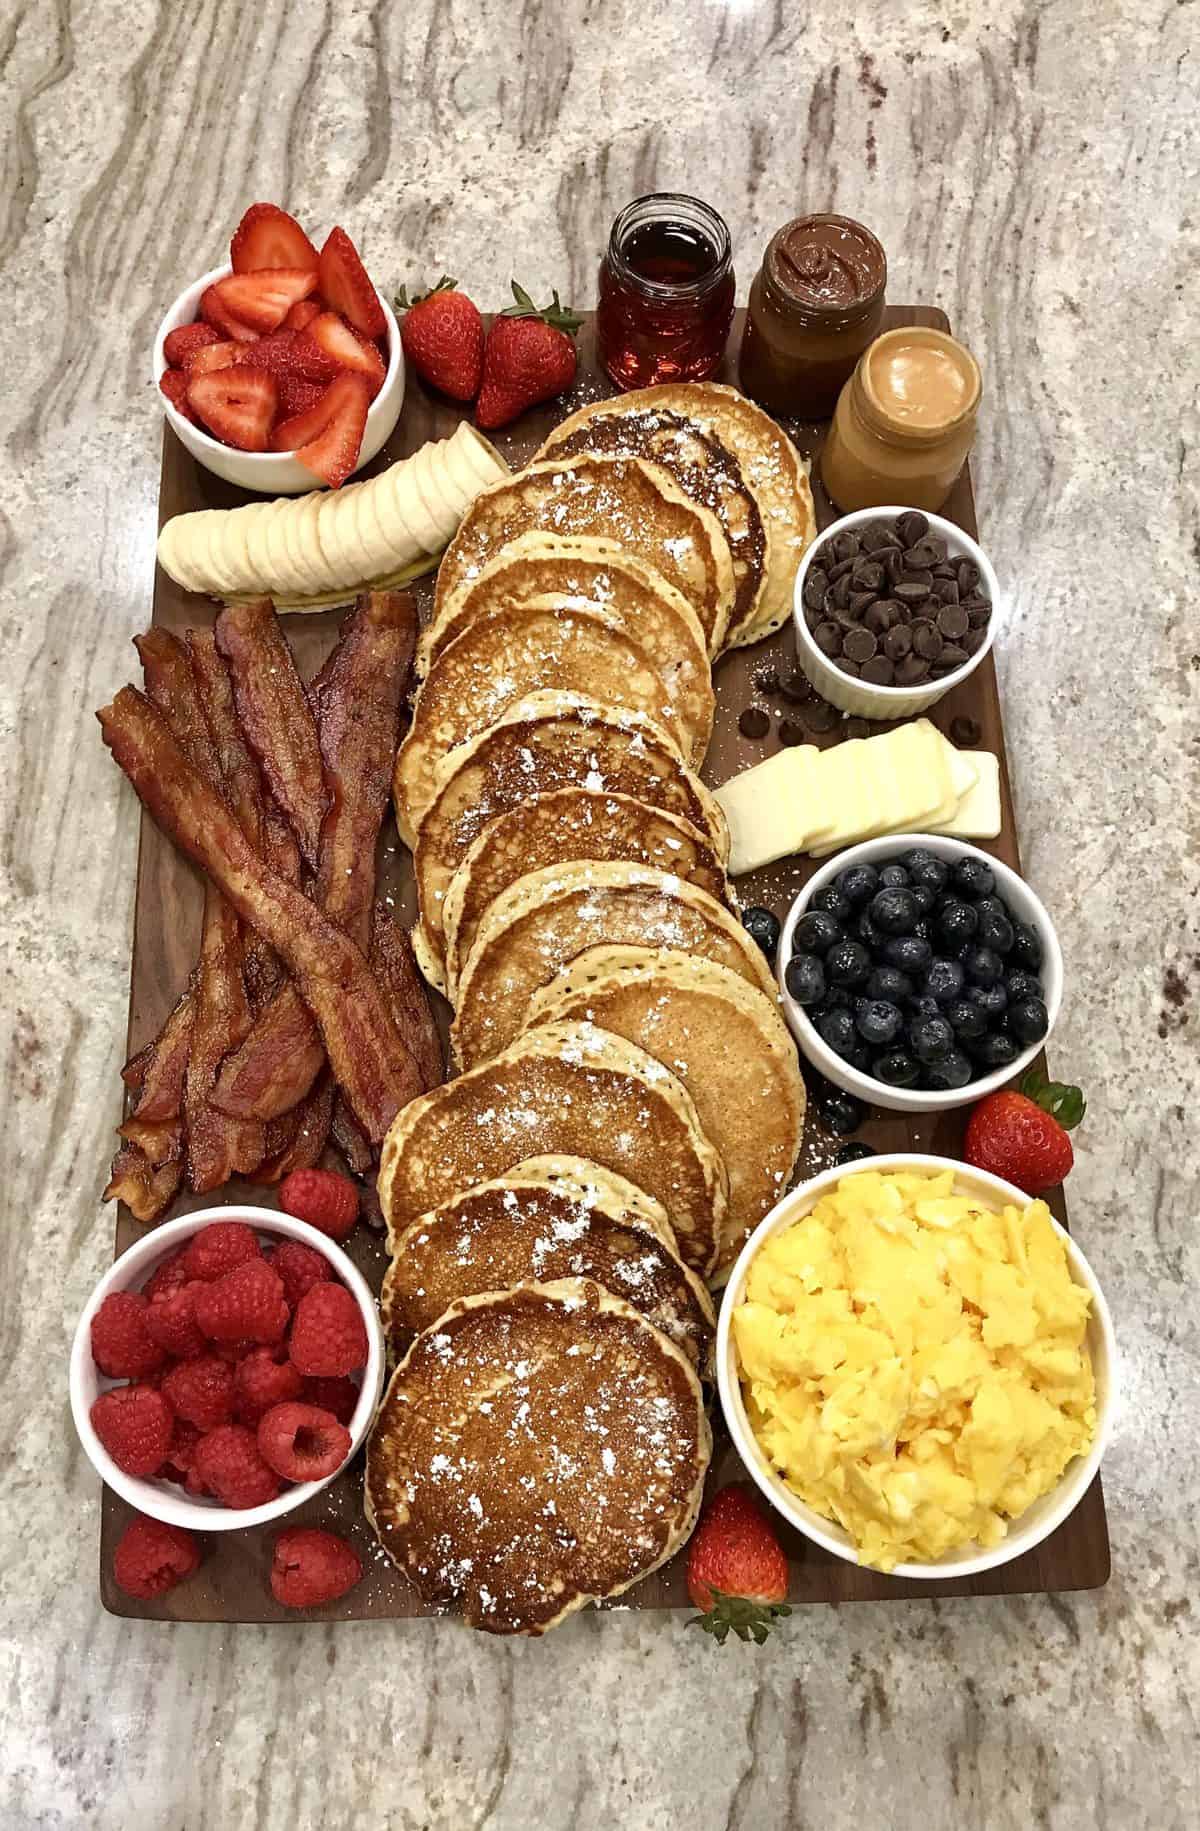
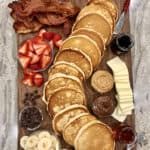
A fabulous Pancake Board with all the toppings and sides is such a creative way to serve breakfast, brunch or brinner!
It’s a Pancake Party!
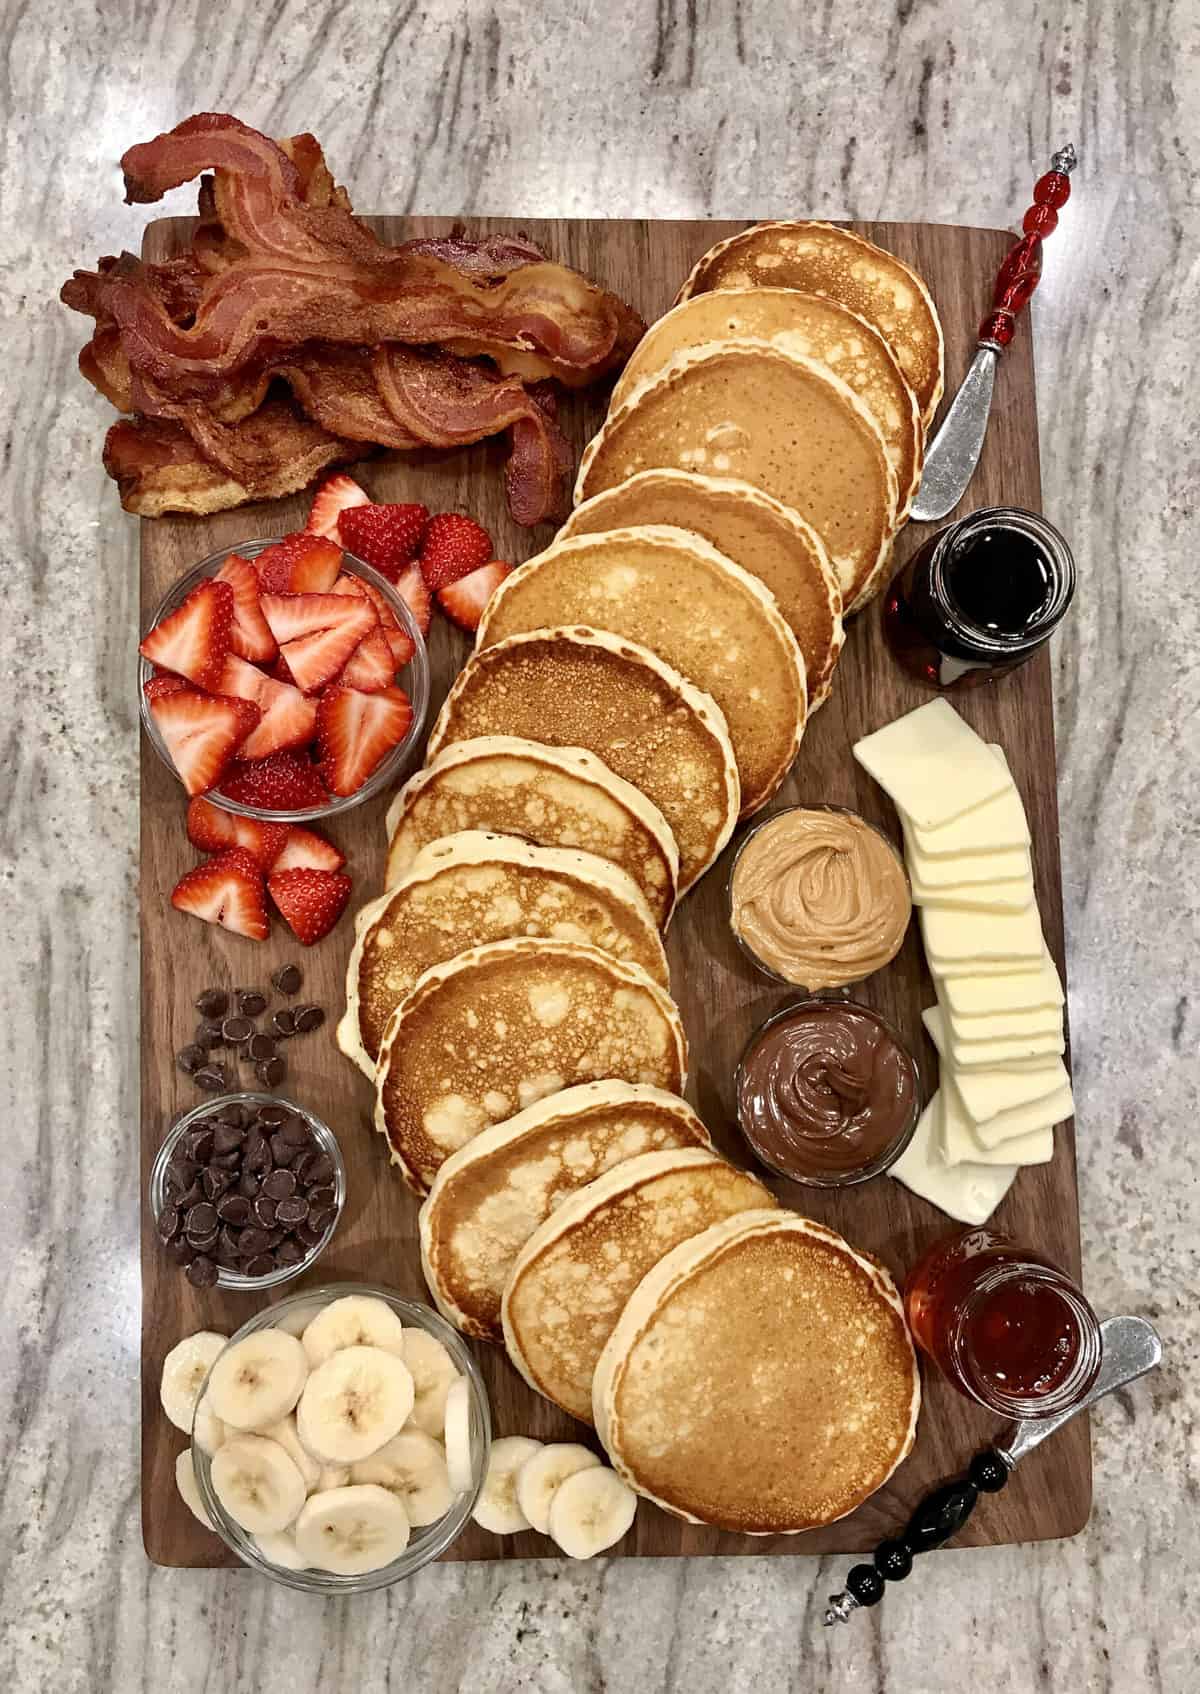
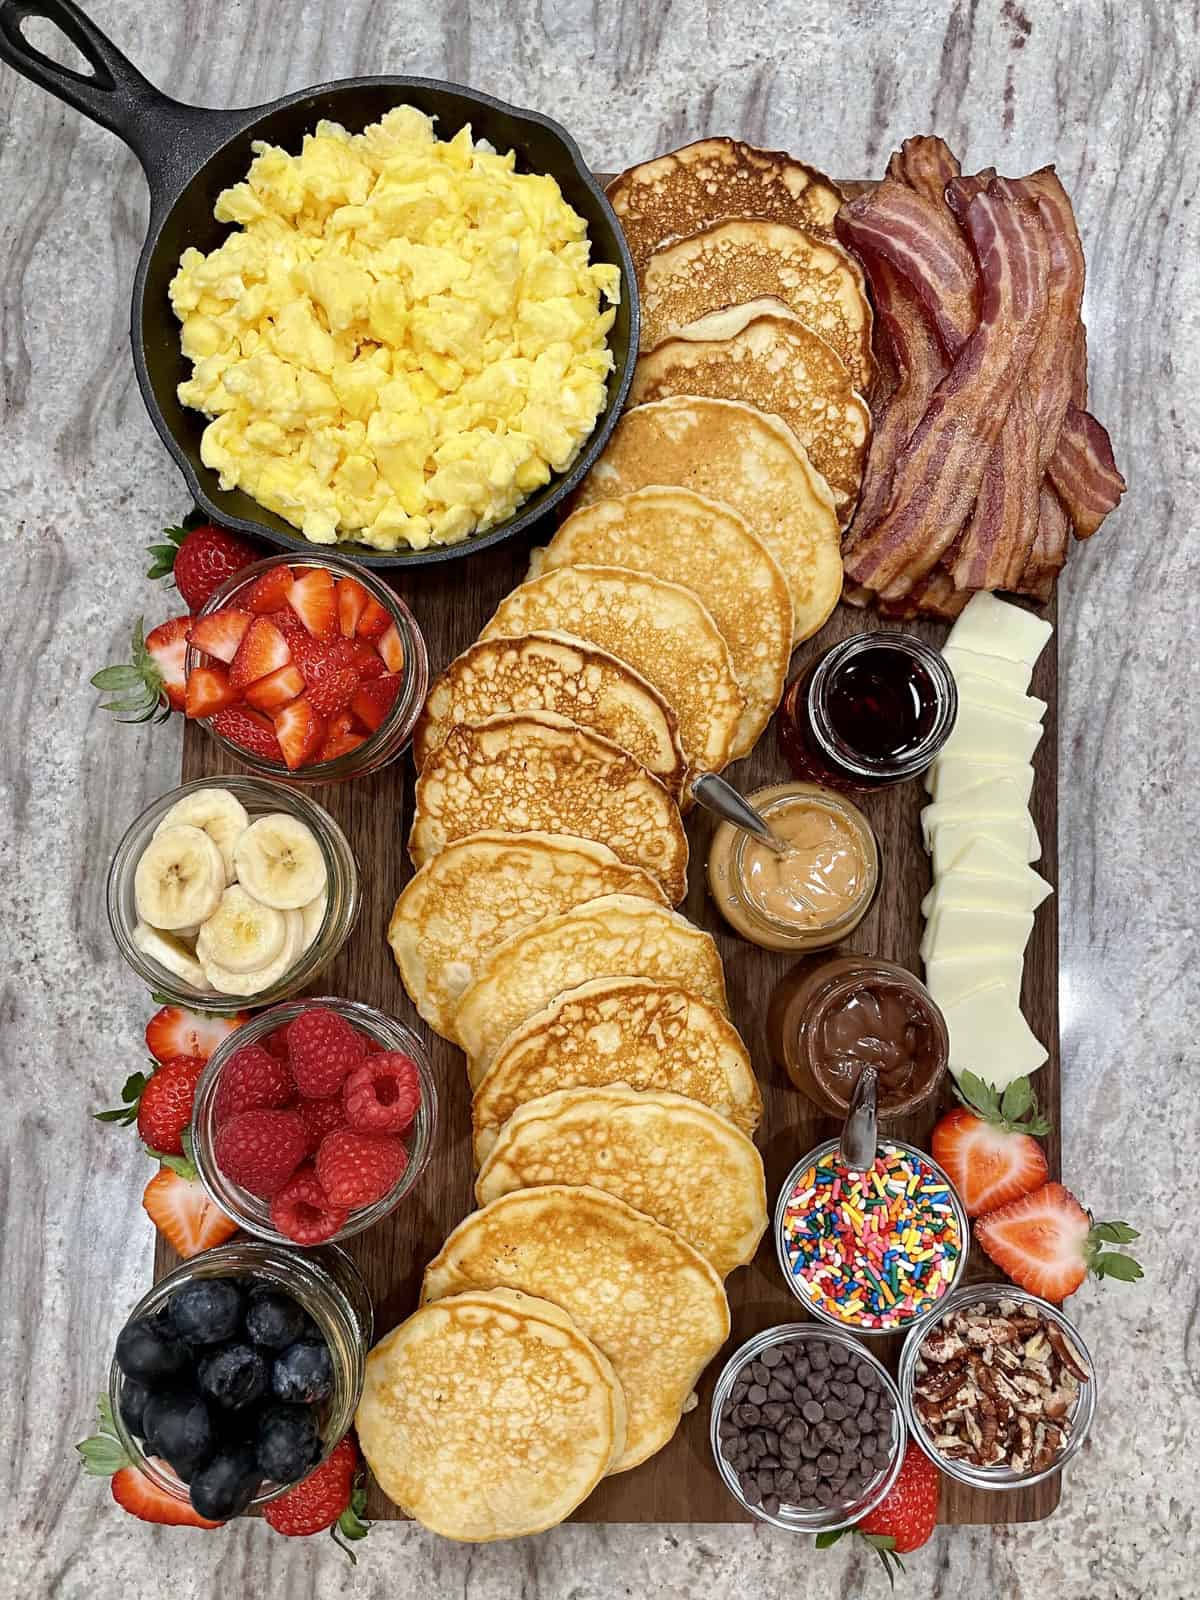
Pancake Party!!! Who wouldn’t run to the table if this amazing pancake board was being served?! We’re talking classic buttermilk pancakes with butter and syrup as well as the option to top your own pancakes with a variety of fruits and maybe even some chocolate chips. If you don’t already have a favorite, this pancake batter recipe is the best. Served with some perfectly baked bacon (or breakfast sausage!) and soft scrambled eggs, it’s a Sunday brunch that’s sure to excite and please!
Watch Me Build a Pancake Board
Let me walk you through how easy it is to build this pancake board.
The Best Breakfast for Dinner
Board meals are our favorite meals and breakfast for dinner (aka brinner!) is on a weekly rotation so this pancake charcuterie board makes an appearance quite often at our dining table. We’ll also make it for breakfast or brunch on a weekend morning. The excitement that brews as I’m building the board and the enjoyment that we all experience as we’re eating off of it is truly the best!
What Do I Need to Build a Pancake Board?
- Classic Buttermilk Pancakes
- Baked Bacon
- Scrambled Eggs
- Butter
- Maple Syrup
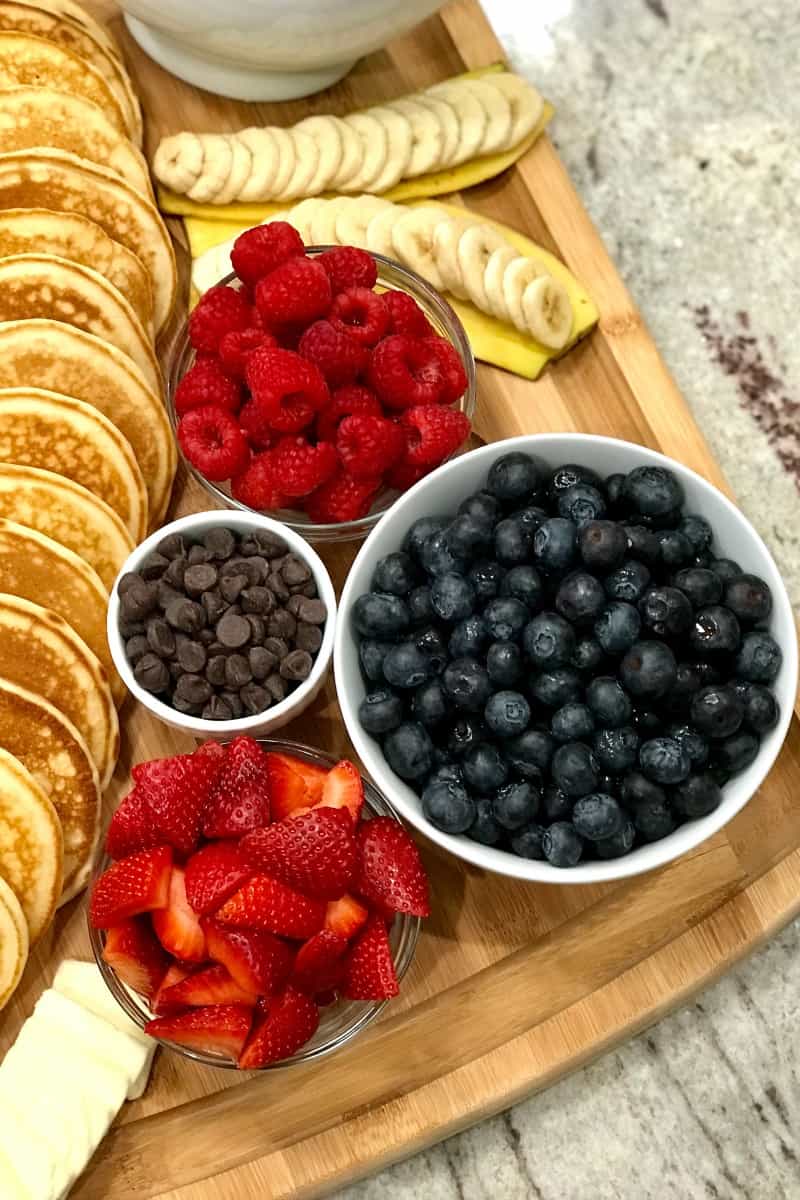
- Fresh Fruit (strawberries, blueberries, raspberries, bananas)
- Chocolate Chips
- Peanut Butter
- Nutella
- Whipped Cream
How to Build a Pancake Board
- First of all, the boards I use most often for our pancake boards is this 24″ x 18″ walnut wood board or this 18″ x 12″ walnut wood board or this 20″ x 14″ wooden board. A large cutting board will do, too!
Click here for my favorite board building accessories like serving bowls, spreaders, the mini cast iron skillet and more.
- Start by washing berries and slicing the fruit to have it ready to put on the board first.
- Set out the syrup, butter and extras like peanut butter, Nutella and chocolate chips in small dishes.
- Bake the bacon baking in the oven.
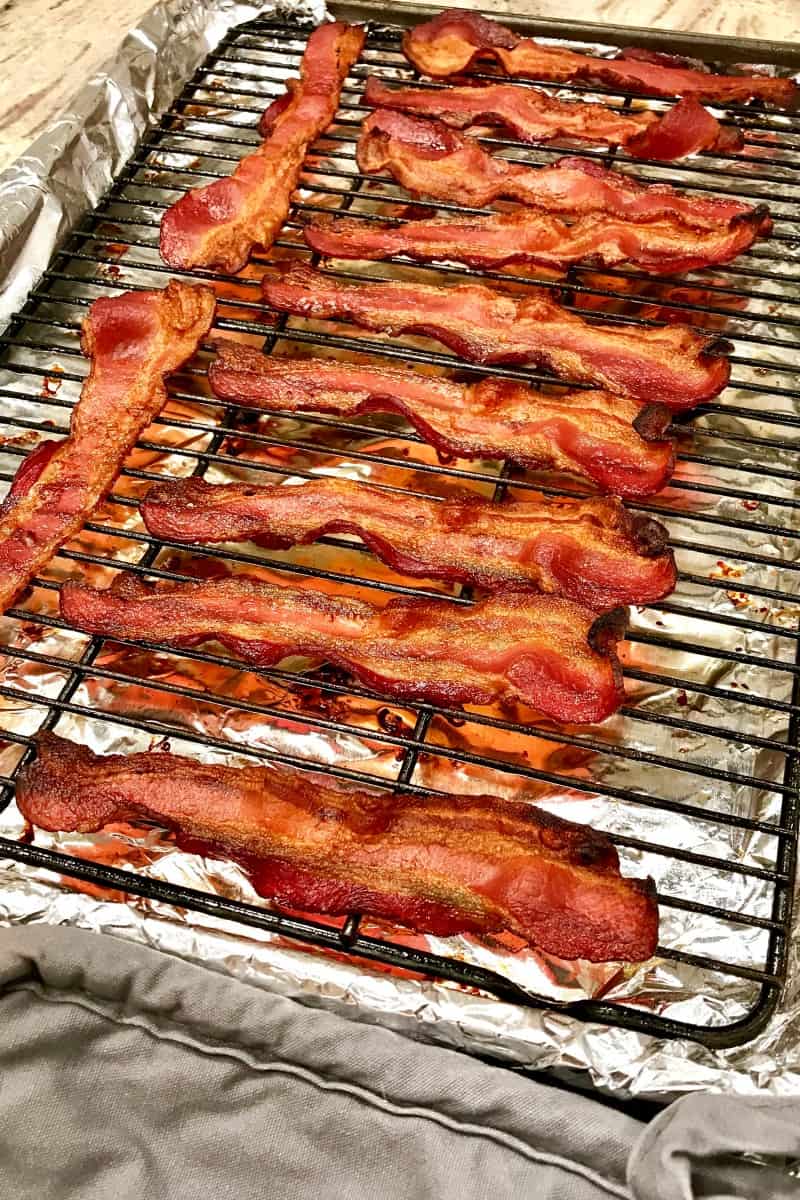
- Start making my Classic Buttermilk Pancake recipe. The most perfect pancakes that turn out light and fluffy with crisp, golden brown edges every time…

- Once the bacon is finished baking, turn the oven down to 200°F and then keep the cooked bacon and pancakes in the oven to keep them warm until I’m ready to put them on the board.
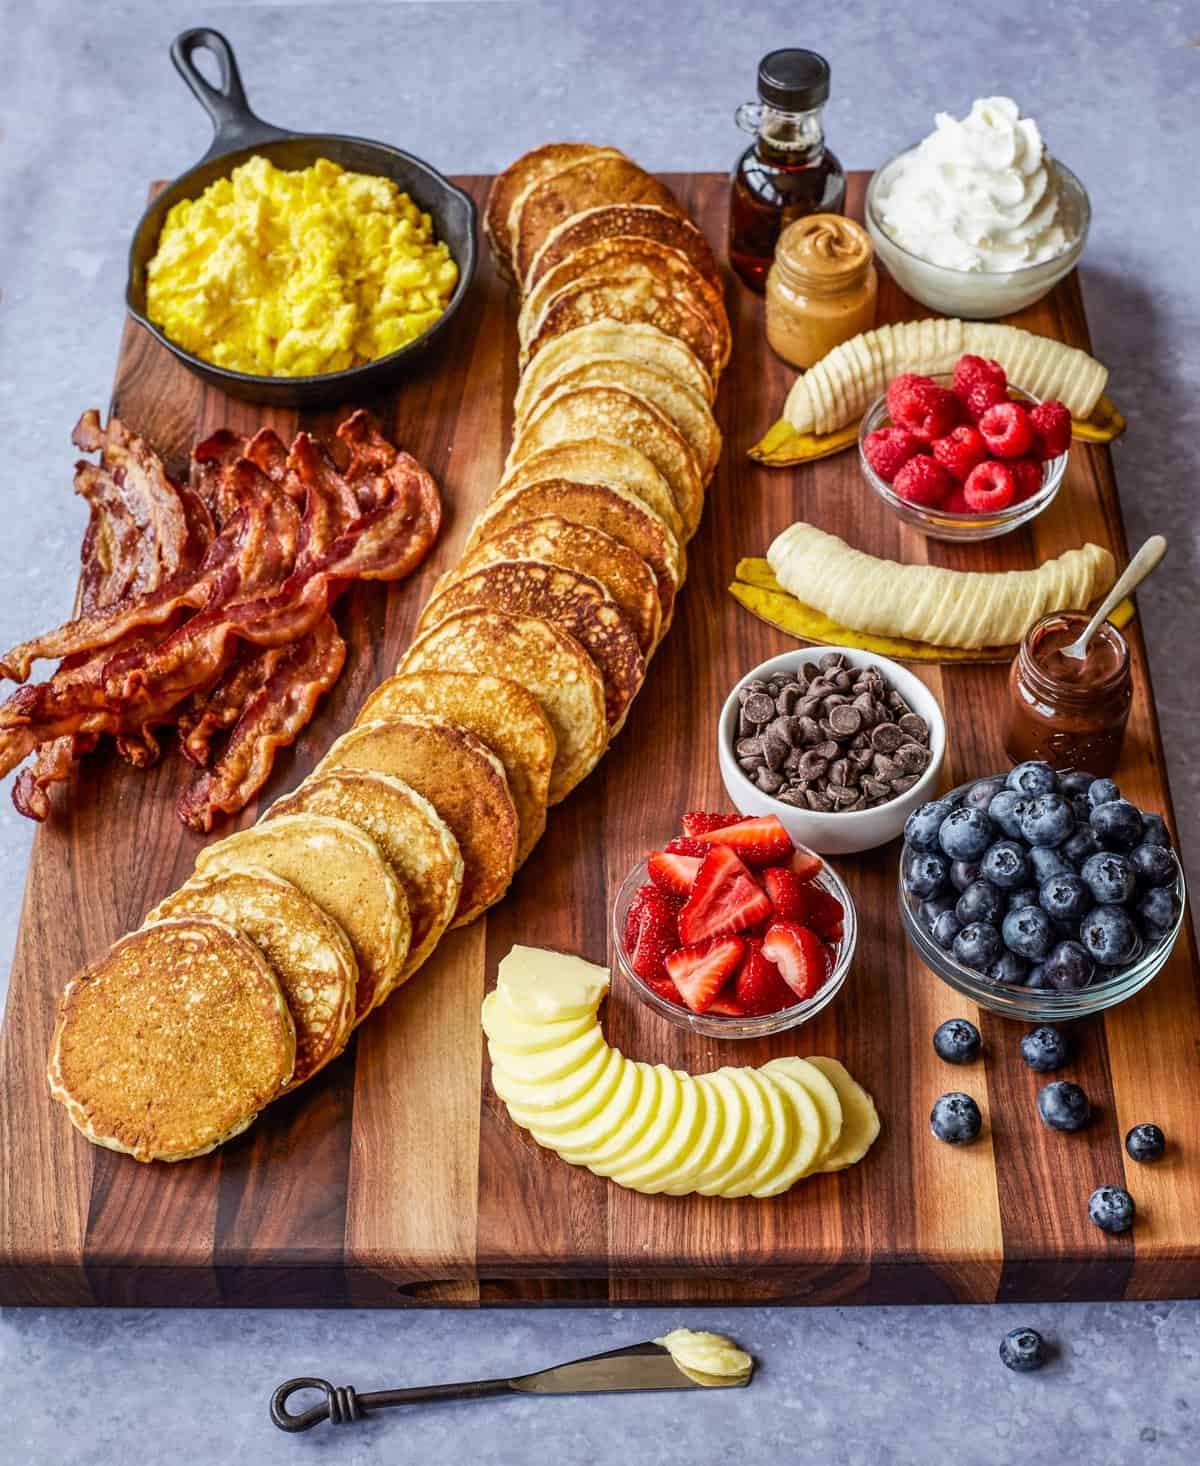
- Start building the board while the eggs are scrambling, putting the fruit, chocolate chips, butter, peanut butter, Nutella warmed up syrup and whipped cream on the right side of the board first.
- Arrange the hot pancakes down the center of the board…
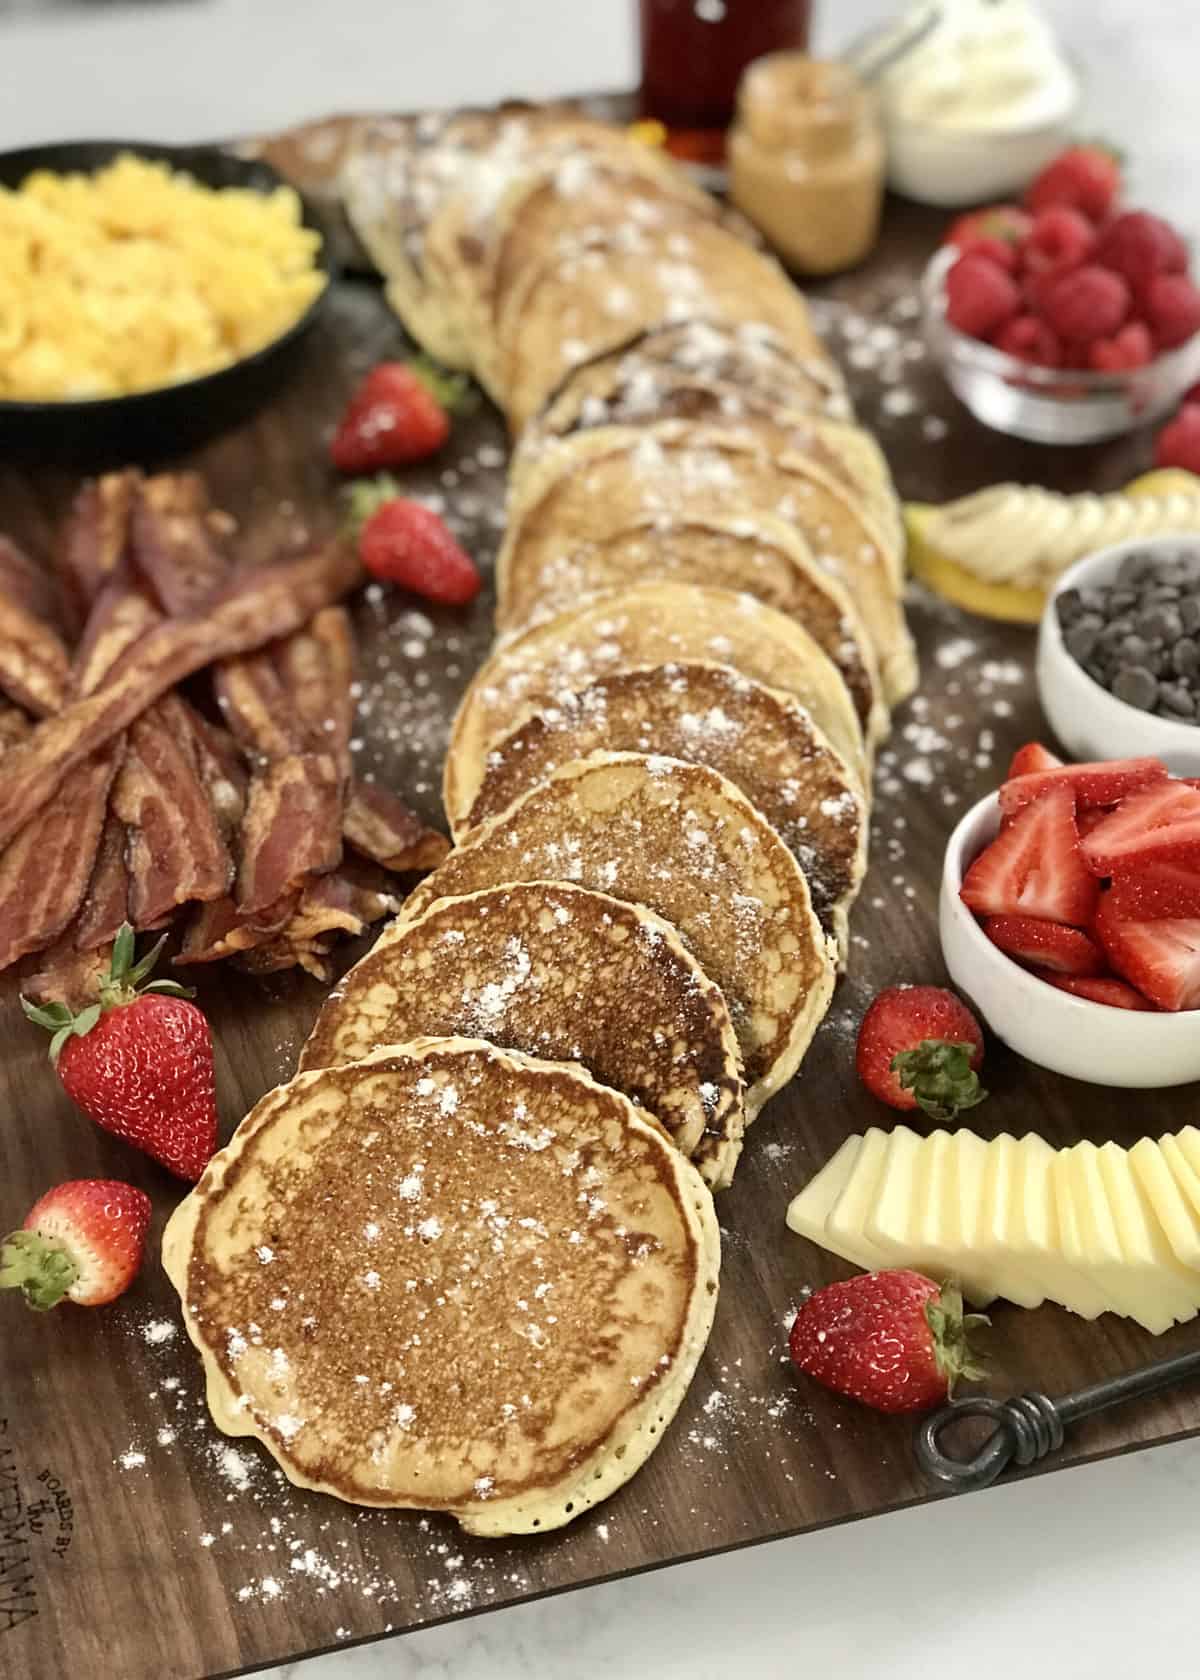
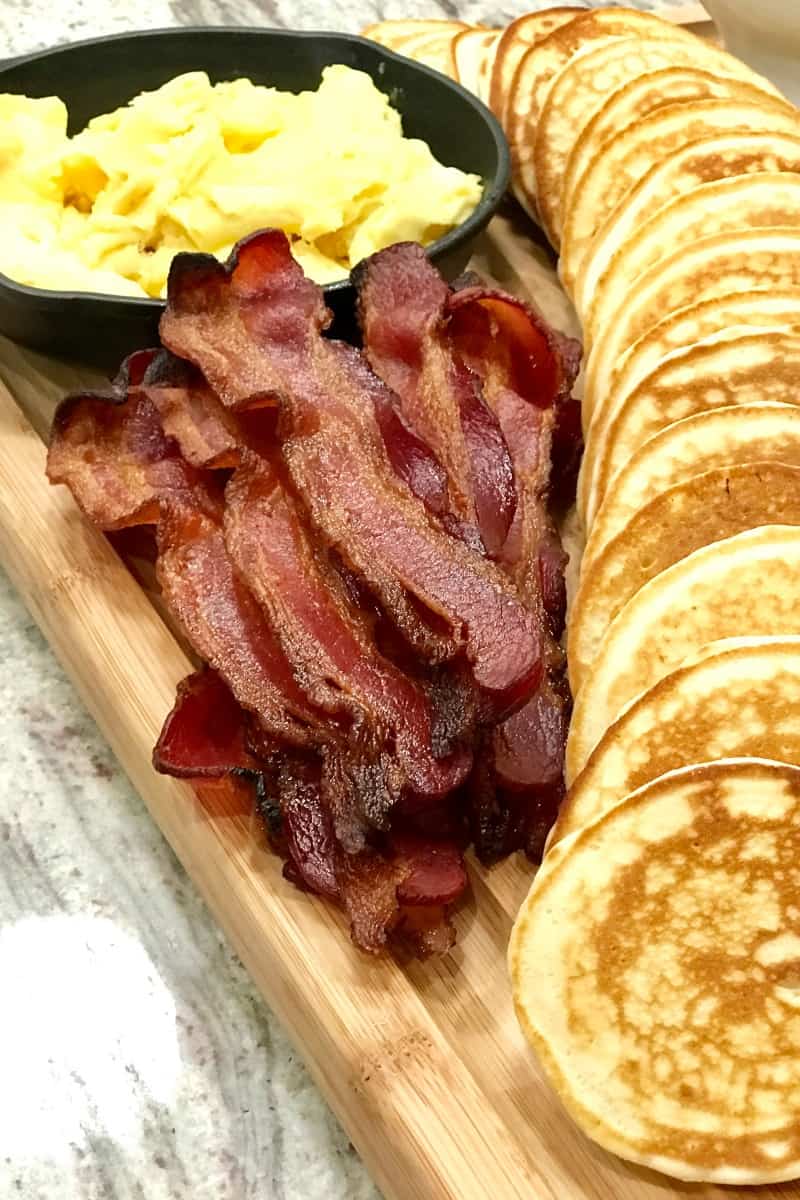
- And finish with the baked bacon and scrambled eggs on the left side of the board.
Straight to the table it goes so we can enjoy the deliciousness while it’s all still warm.
More Breakfast Boards You’ll Love
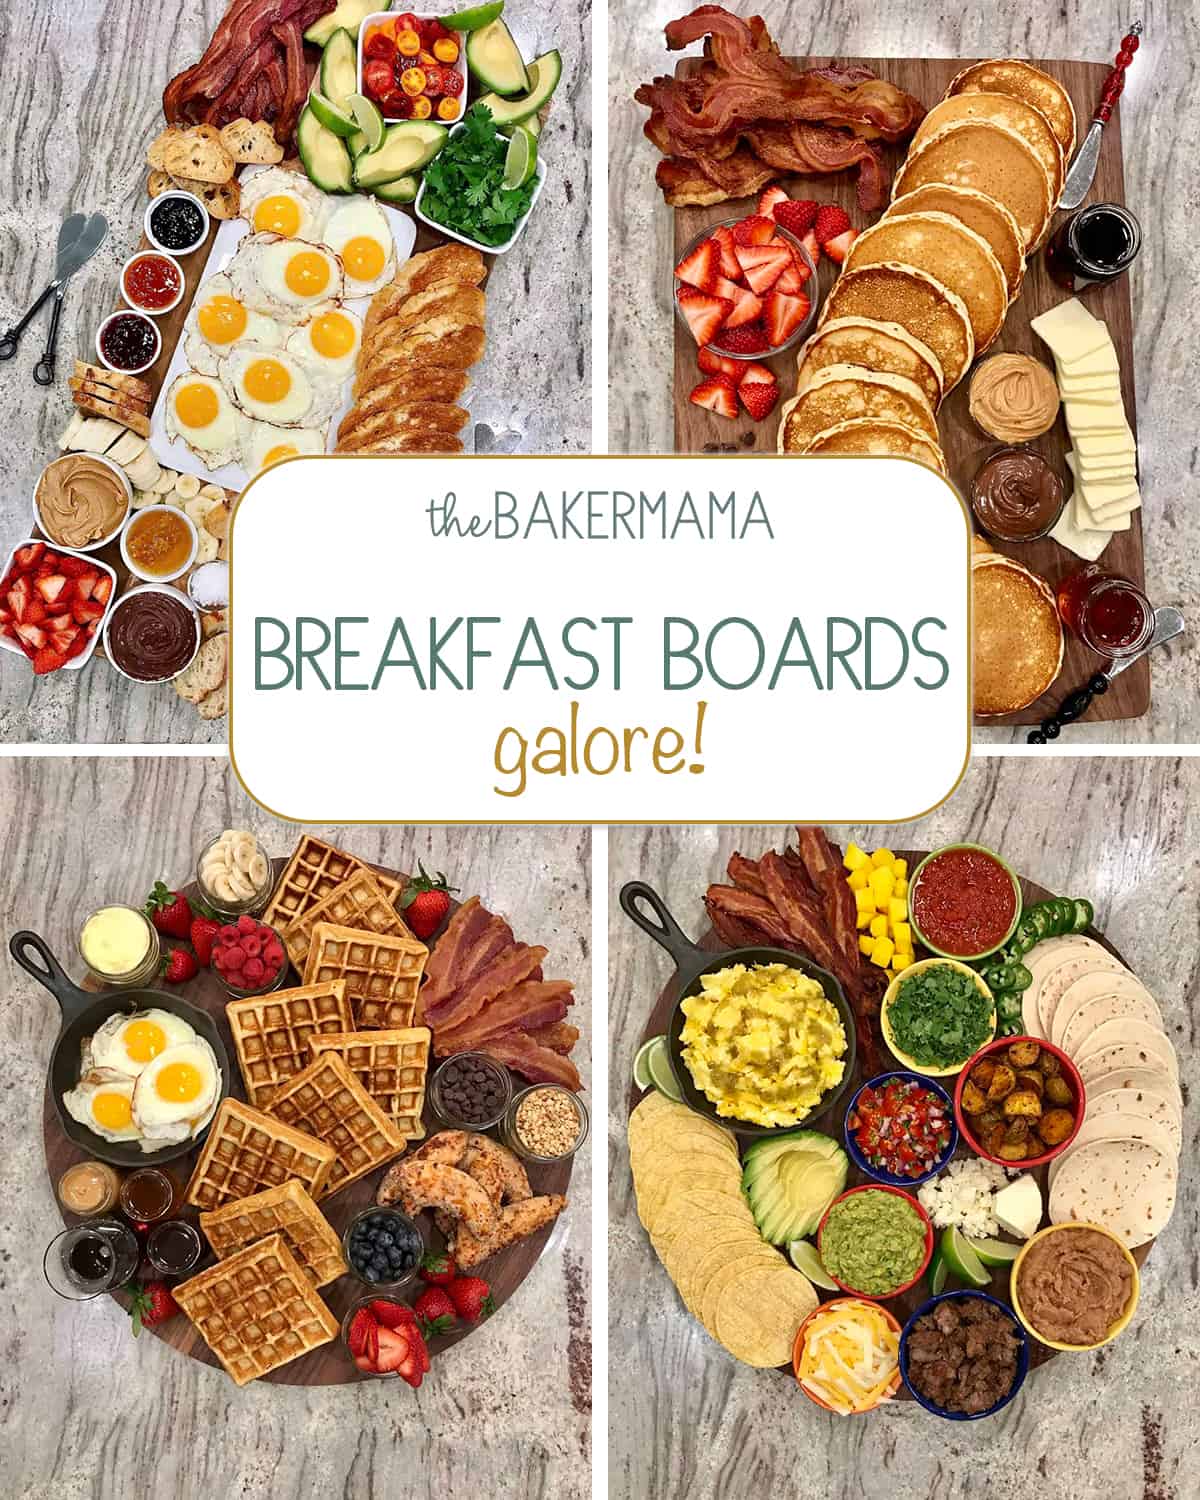
Make breakfast, brunch or brinner grand with an awesome build-your-own breakfast board. Pancakes, waffles, biscuits, bagels and more, oh my! There’s so much inspiration you can get from my Breakfast Boards Galore for your next family breakfast or brunch with friends!
That’s all there is to it! It’s such a fun and, of course, yummy way to serve pancakes. I hope you love building this pancake board and eating off of it with your loved ones as much as we do. If you make this Pancake Board, be sure to snap a picture and share it with me or tag me on Instagram @thebakermama so I can see. 😍 I love seeing how inspired and creative y’all get with the recipes I share. Enjoy!
xoxo,

Pancake Board
- Prep Time: 20 mins
- Cook Time: 20 mins
- Total Time: 40 mins
- Yield: serves 6-8 people
- Category: Breakfast
Description
A fabulous Pancake Board with all the toppings and sides is such a creative way to serve breakfast, brunch or brinner!
Ingredients
- Classic Buttermilk Pancakes
- Baked Bacon
- Scrambled Eggs
- Butter
- Maple Syrup
- Fresh Fruit (strawberries, blueberries, raspberries, bananas)
- Chocolate Chips
- Peanut Butter
- Nutella
- Whipped Cream
Instructions
- Start by washing and slicing the fruit to have it ready to put on the board first. I also set out the syrup, butter, chocolate chips, Nutella and peanut butter at this time.
- Bake the bacon.
- While the bacon is baking, make the pancakes.
- When the bacon is finished baking, turn the oven down to 200°F. Keep the cooked pancakes and baked bacon in the warm oven while you scramble the eggs and start arranging everything on the board.
- Using a large wood board, start by putting the fruit, chocolate chips, Nutella, peanut butter, butter, warmed up maple syrup and whipped cream on the right side. Arrange the cooked pancakes down the center for the board. Finish by placing the baked bacon and scrambled eggs on the left side of the board.
- Serve immediately while everything is warm. Enjoy!

BakerMom;
I am in love with your breakfast boards! I have made these for when my daughter has family gatherings.
Everyone fixes their own plate & RARELY is there any waste.
Hi I absolutely love this!!!! Where did you get the small skillet the eggs are on??! I love this idea and want to bring it to my family’s table!!!
Hi Josie! It’s a Lodge 6.5 inch Cast Iron Skillet. You can order it on Amazon: https://amzn.to/39LtoBO I hope your family enjoys it!